How To Scan On A Printer Canon
Ah, the humble scanner! For many, the word might conjure up dusty archives or tedious office work. But let's be honest, there’s a certain satisfaction, a quiet triumph, in transforming a physical document into a sleek digital file. Whether you’re a budding scrapbooker digitizing old photos, a student archiving lecture notes, or just someone who needs to send a signed contract via email, scanning on your Canon printer can be surprisingly satisfying and incredibly useful. It's like having your own personal digital archivist right on your desk!
The benefits of mastering the art of scanning are numerous and truly enhance our everyday lives. Think about it: no more losing important receipts, no more bulky photo albums taking up space, and the sheer convenience of being able to access important documents from anywhere with an internet connection. Scanning allows us to preserve memories, streamline paperwork, and share information effortlessly. It’s about taking the tangible and making it accessible in the digital realm, bringing a modern convenience to a world still filled with paper.
The applications are as varied as our lives. Imagine digitizing your grandmother’s treasured recipes so they’re safe forever, or creating high-resolution copies of artwork to share with galleries. For professionals, it's about quickly sending invoices, contracts, or reports. Students can scan textbooks or notes to study on their tablets. Even something as simple as scanning a child's drawing to frame digitally can bring a smile to your face. It's a bridge between the past and the present, the physical and the digital.
Must Read
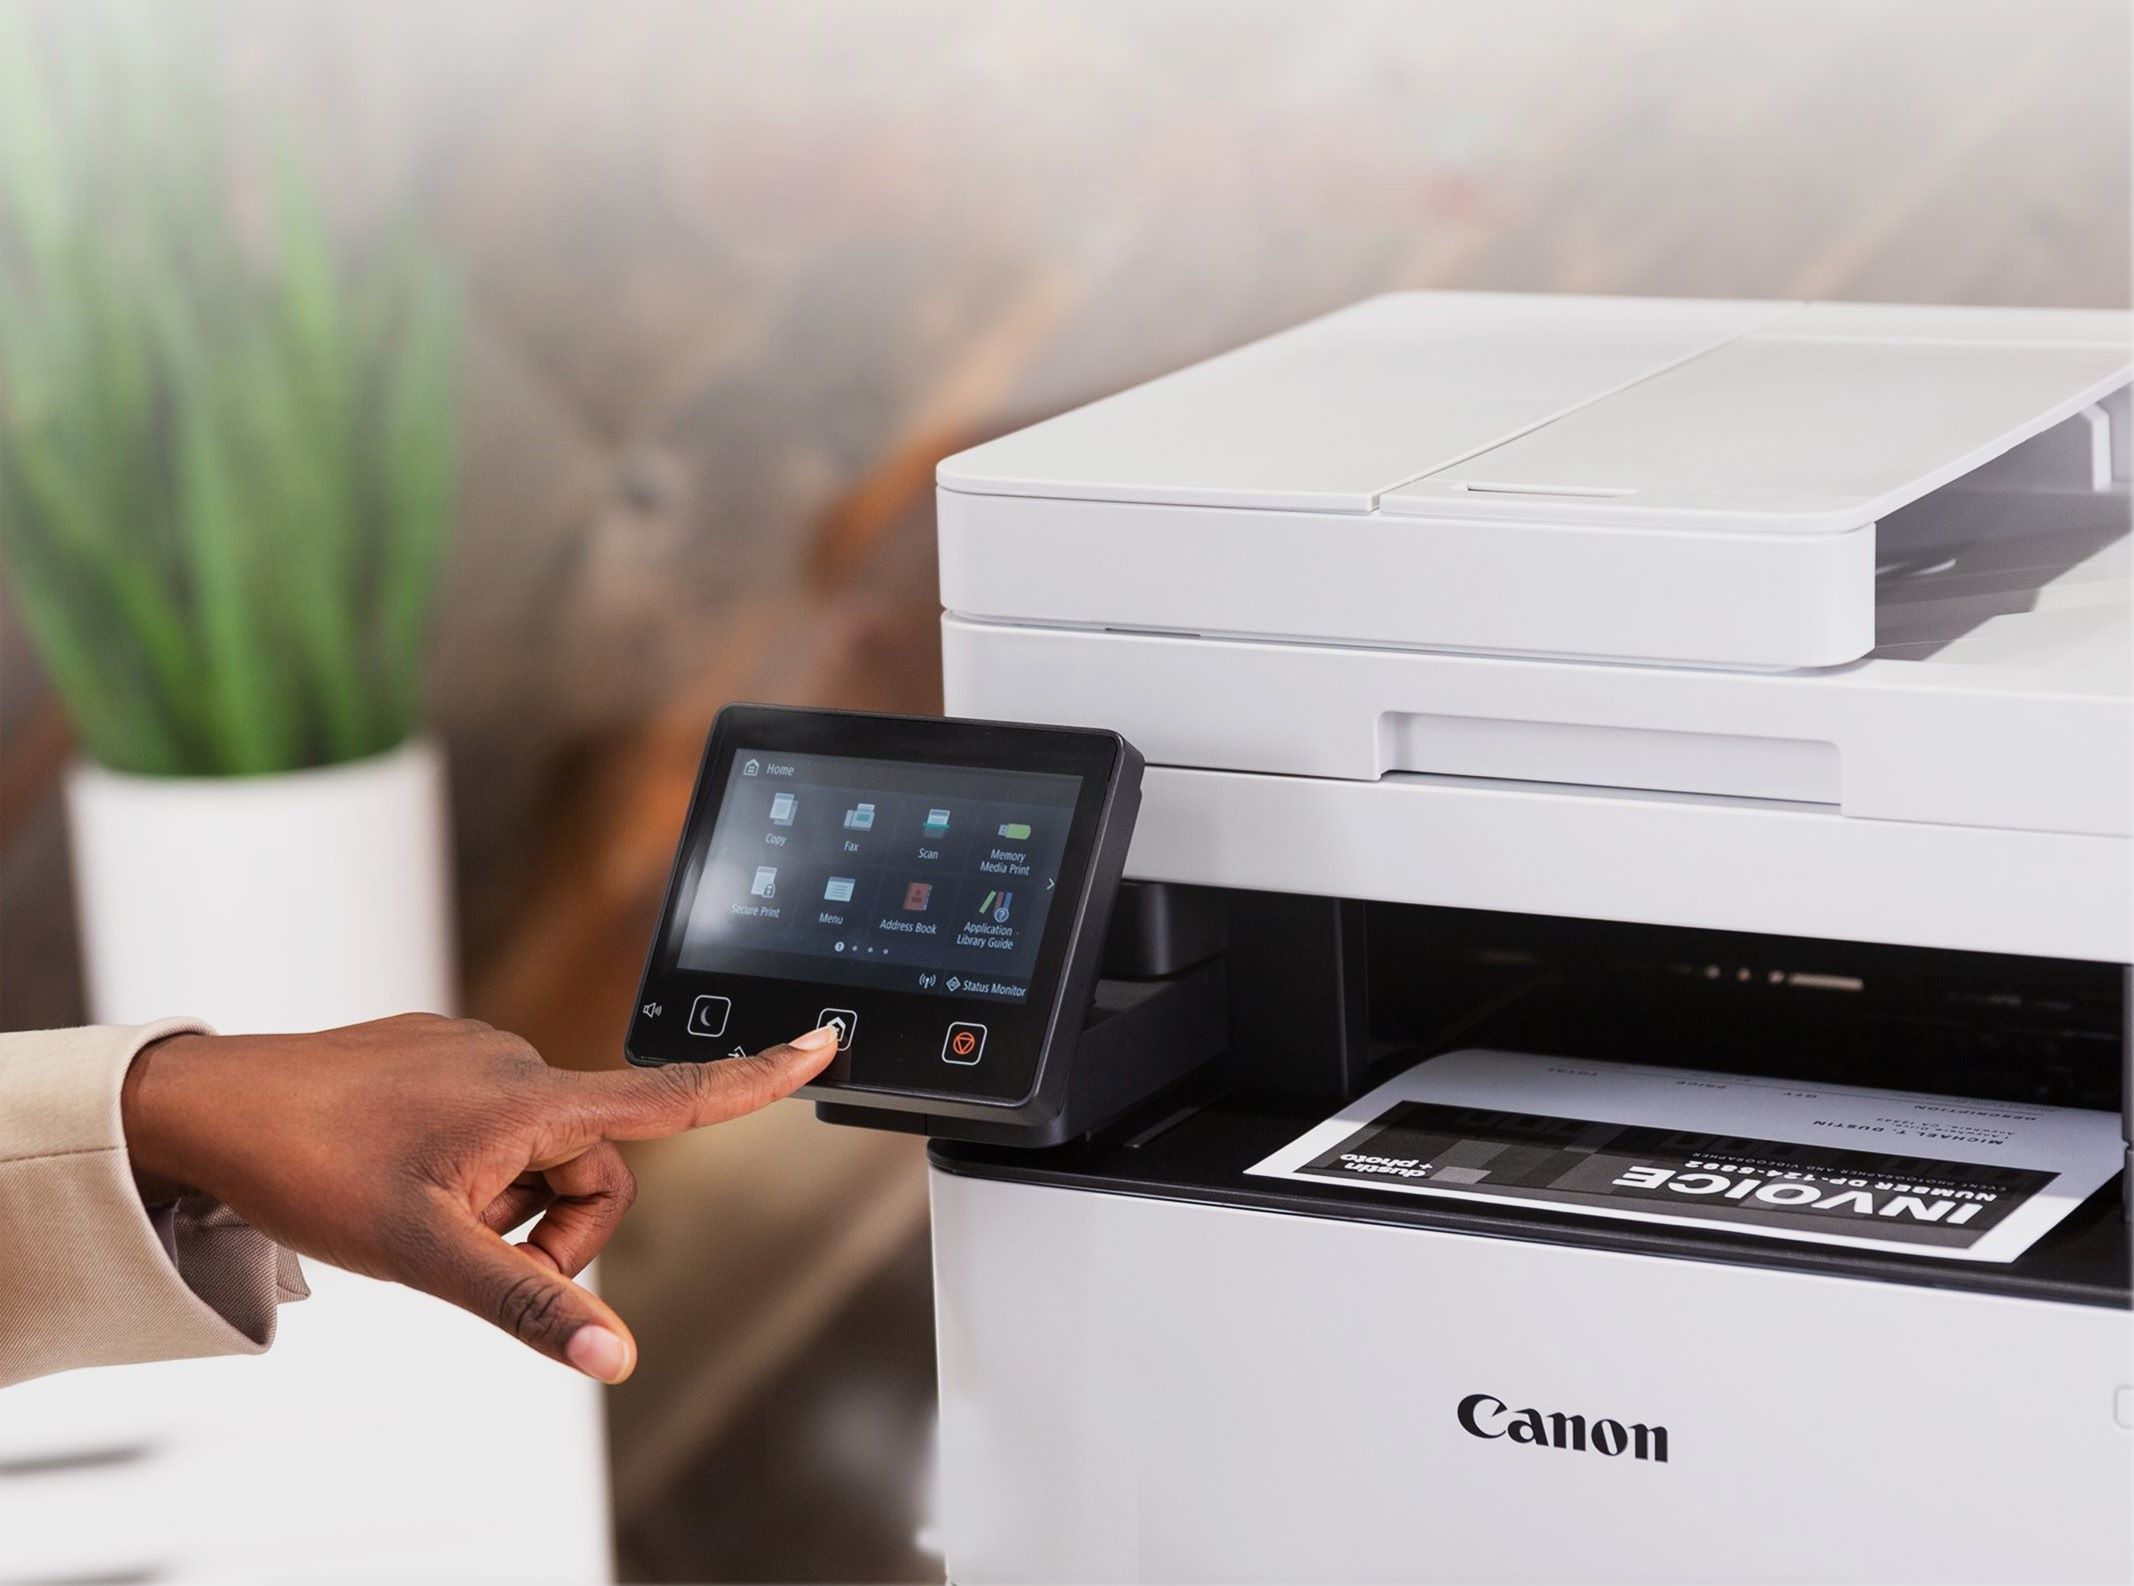
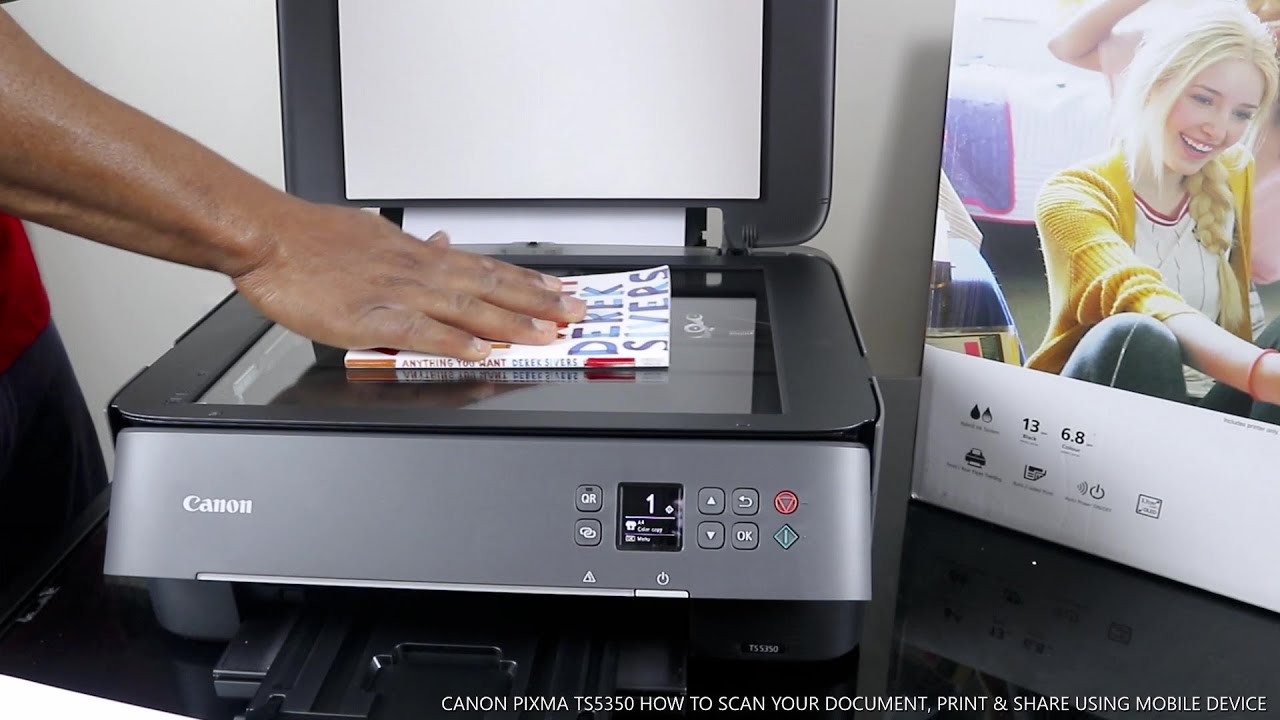
Now, let's talk about making this process not just functional, but actually enjoyable. First things first: proper preparation is key. Ensure your document is flat and free of any stray hairs or dust that could mar your digital copy. For photos, it's worth giving them a gentle wipe. When placing your item on the scanner glass, make sure it’s aligned correctly to avoid crooked scans. Most Canon printers offer software that allows you to choose the scan resolution (DPI – dots per inch). For general documents, 300 DPI is usually sufficient. If you’re scanning photos or artwork where detail is crucial, consider upping it to 600 DPI or even higher for superb clarity.
Don't shy away from the settings! Explore the options in your Canon’s scanning software. You can often adjust color settings, brightness, and contrast. This is where you can really bring your scans to life. Experiment with different settings until you achieve the look you desire. For multi-page documents, most Canon software has a feature to create a single PDF file, saving you the hassle of merging multiple scans later. This is a game-changer for efficiency. Finally, remember to save your scans in an organized manner. Create clear folder structures with descriptive filenames. This might seem like a small detail, but trust me, future you will be incredibly grateful when you can find that important document in seconds!