How To Reupholster An Ottoman With Buttons
Ottomans have a way of becoming the unsung heroes of our living spaces. They’re the perfect footrests, impromptu coffee tables, extra seating, and sometimes, let’s be honest, a convenient spot to toss that pile of mail. And when it comes to adding a touch of elegance and personality, an ottoman dressed in beautiful fabric and adorned with charming buttons is a real showstopper. Reupholstering one yourself isn't just a smart way to refresh tired furniture; it's a surprisingly accessible and incredibly rewarding creative endeavor.
This project is a fantastic opportunity for anyone looking to dip their toes into the world of DIY home decor. For the budding artist, it’s a chance to experiment with color, texture, and form on a three-dimensional canvas. Hobbyists will find the process of stripping, cutting, and stapling a satisfyingly tactile experience, offering a tangible sense of accomplishment. Even the most casual learner can tackle this with confidence, as the core steps are straightforward and forgiving, leading to a beautifully customized piece that’s far more unique than anything you'd find off the shelf.
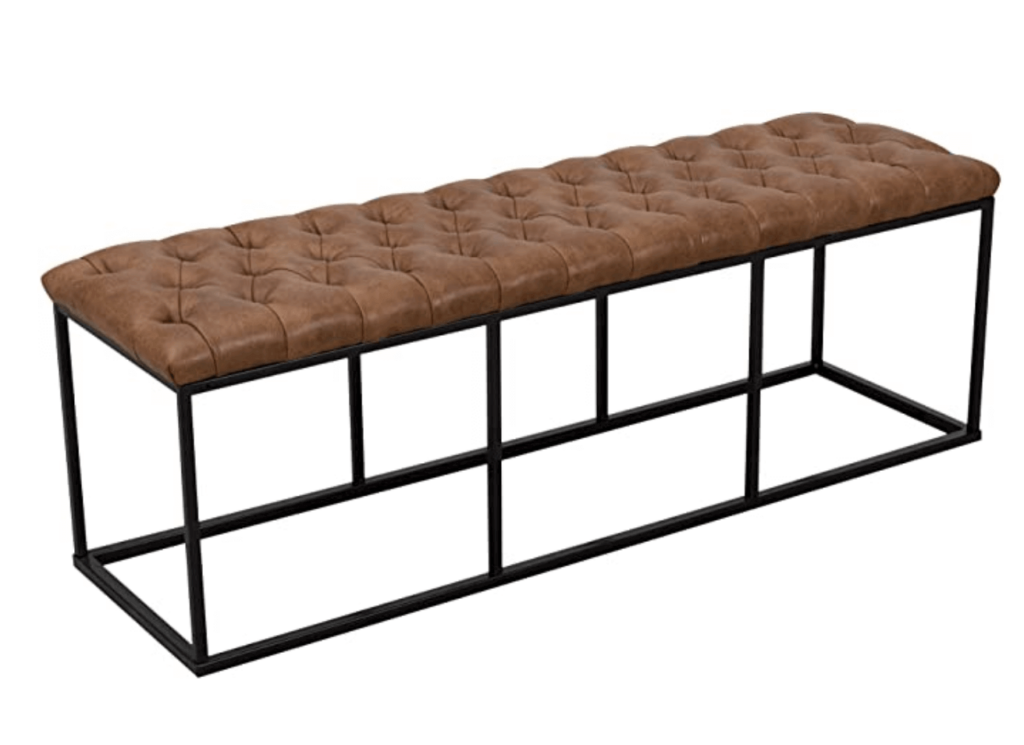
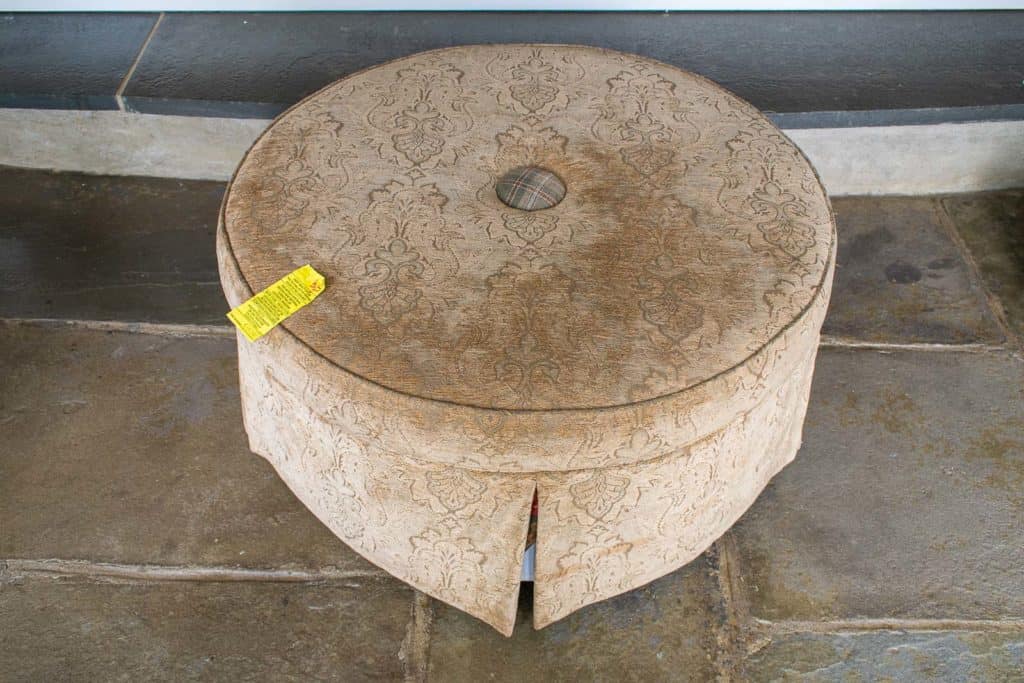
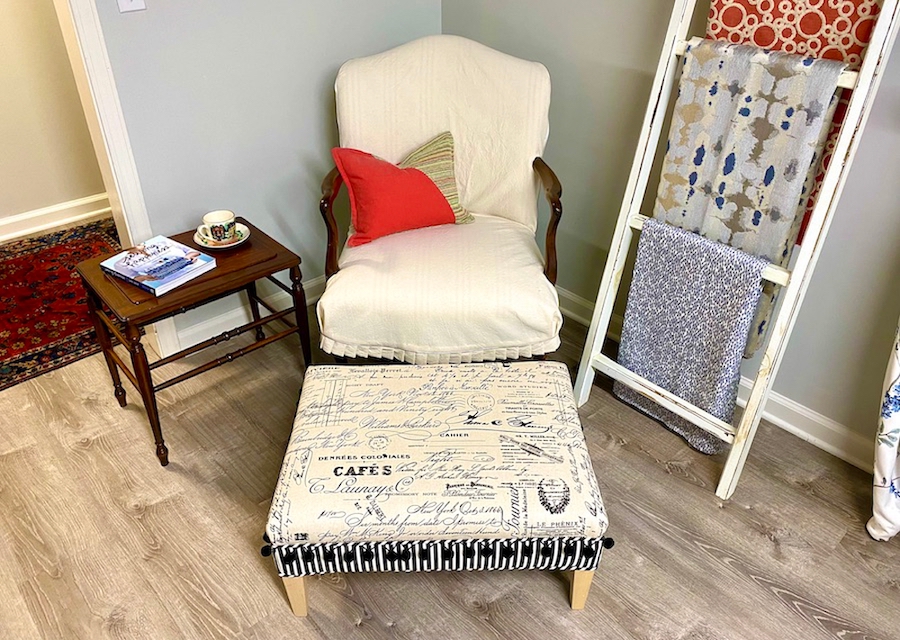
The beauty of an upholstered ottoman lies in its versatility. Imagine a classic, deeply tufted ottoman in a luxurious velvet, bringing a touch of old-world charm to a sophisticated living room. Or perhaps a vibrant, geometric-patterned ottoman for a more modern, playful vibe. You could even create a whimsical, animal-themed ottoman for a child's room, or a sleek, minimalist design in a natural linen for a Scandinavian-inspired space. The possibilities are truly endless, allowing you to tailor your creation to your exact taste and your home’s aesthetic.
Must Read
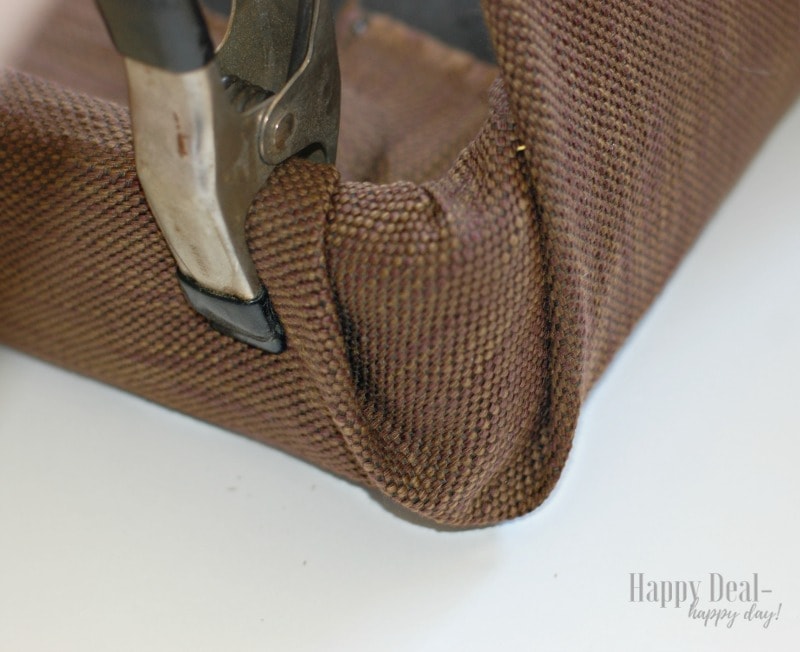
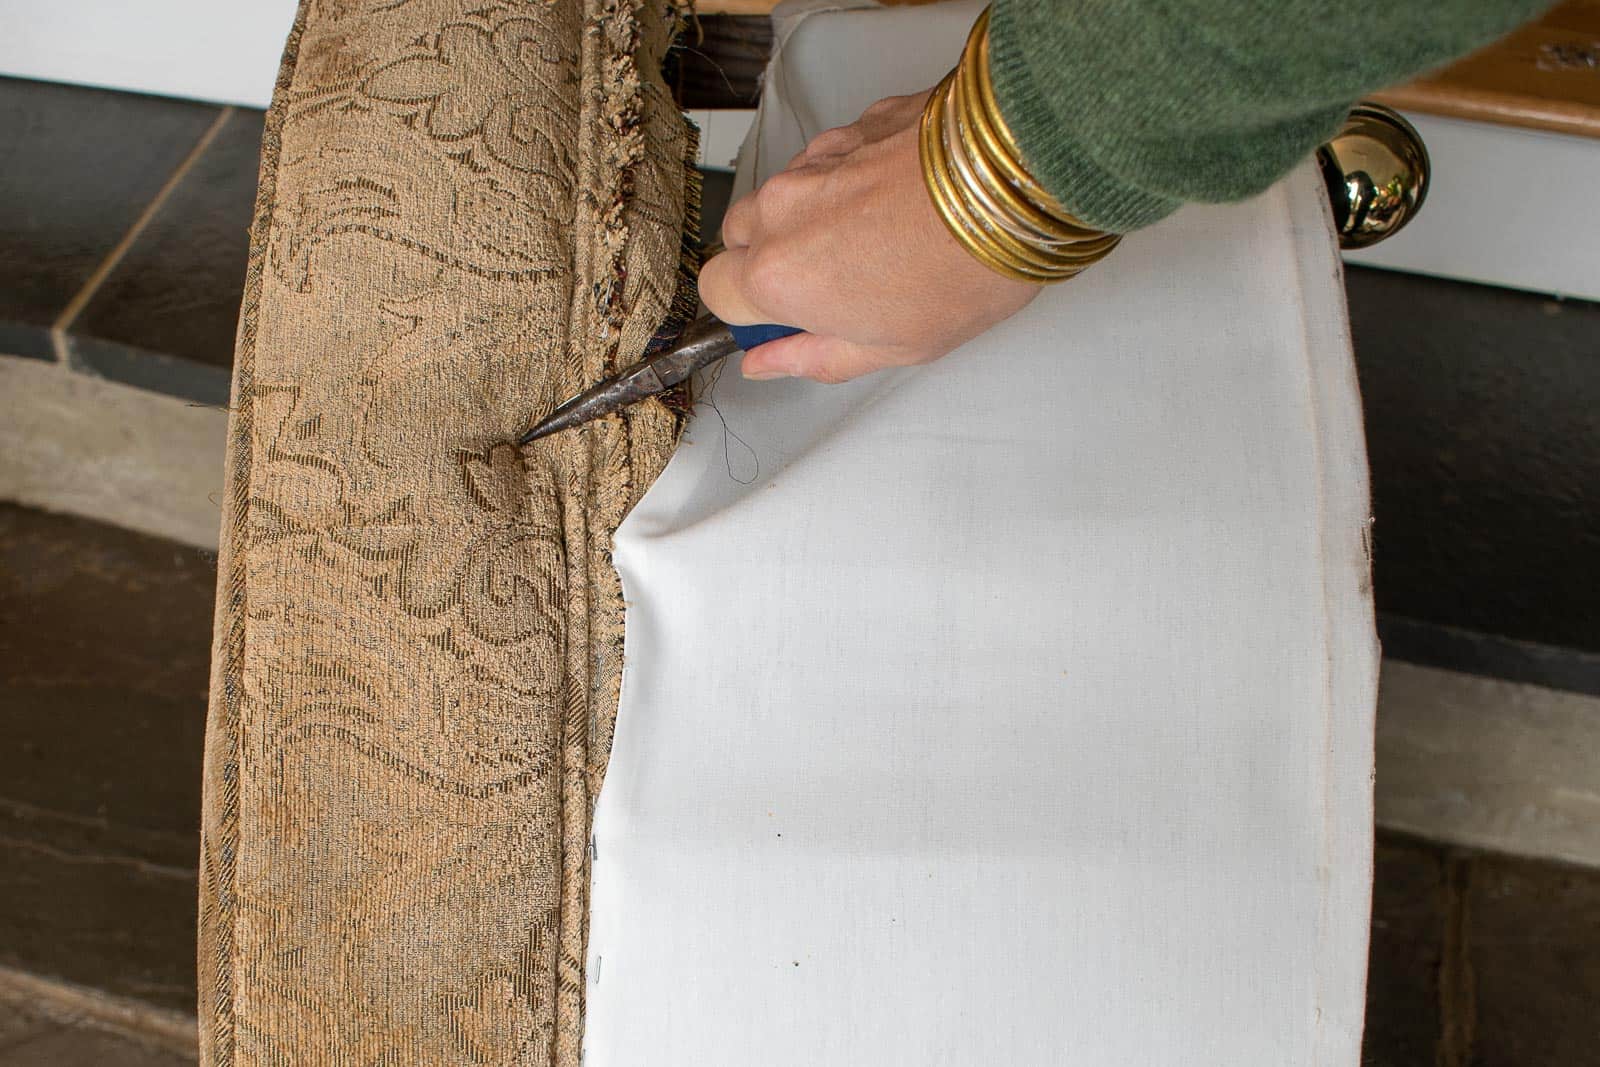
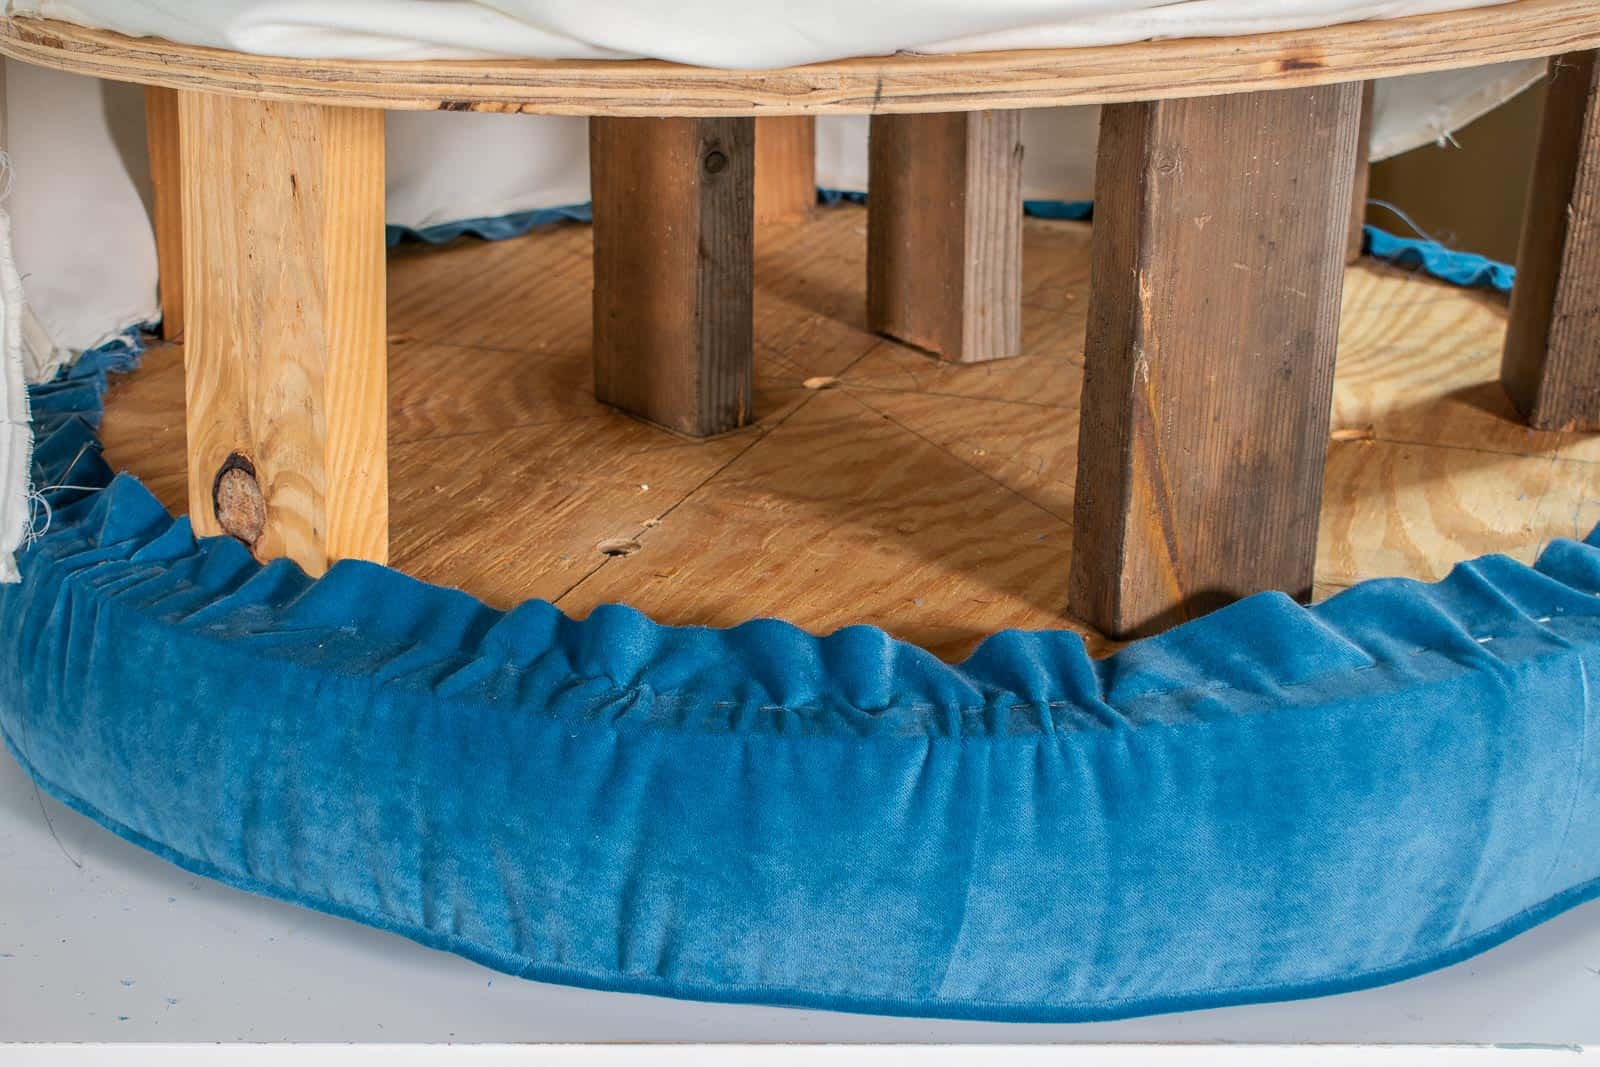
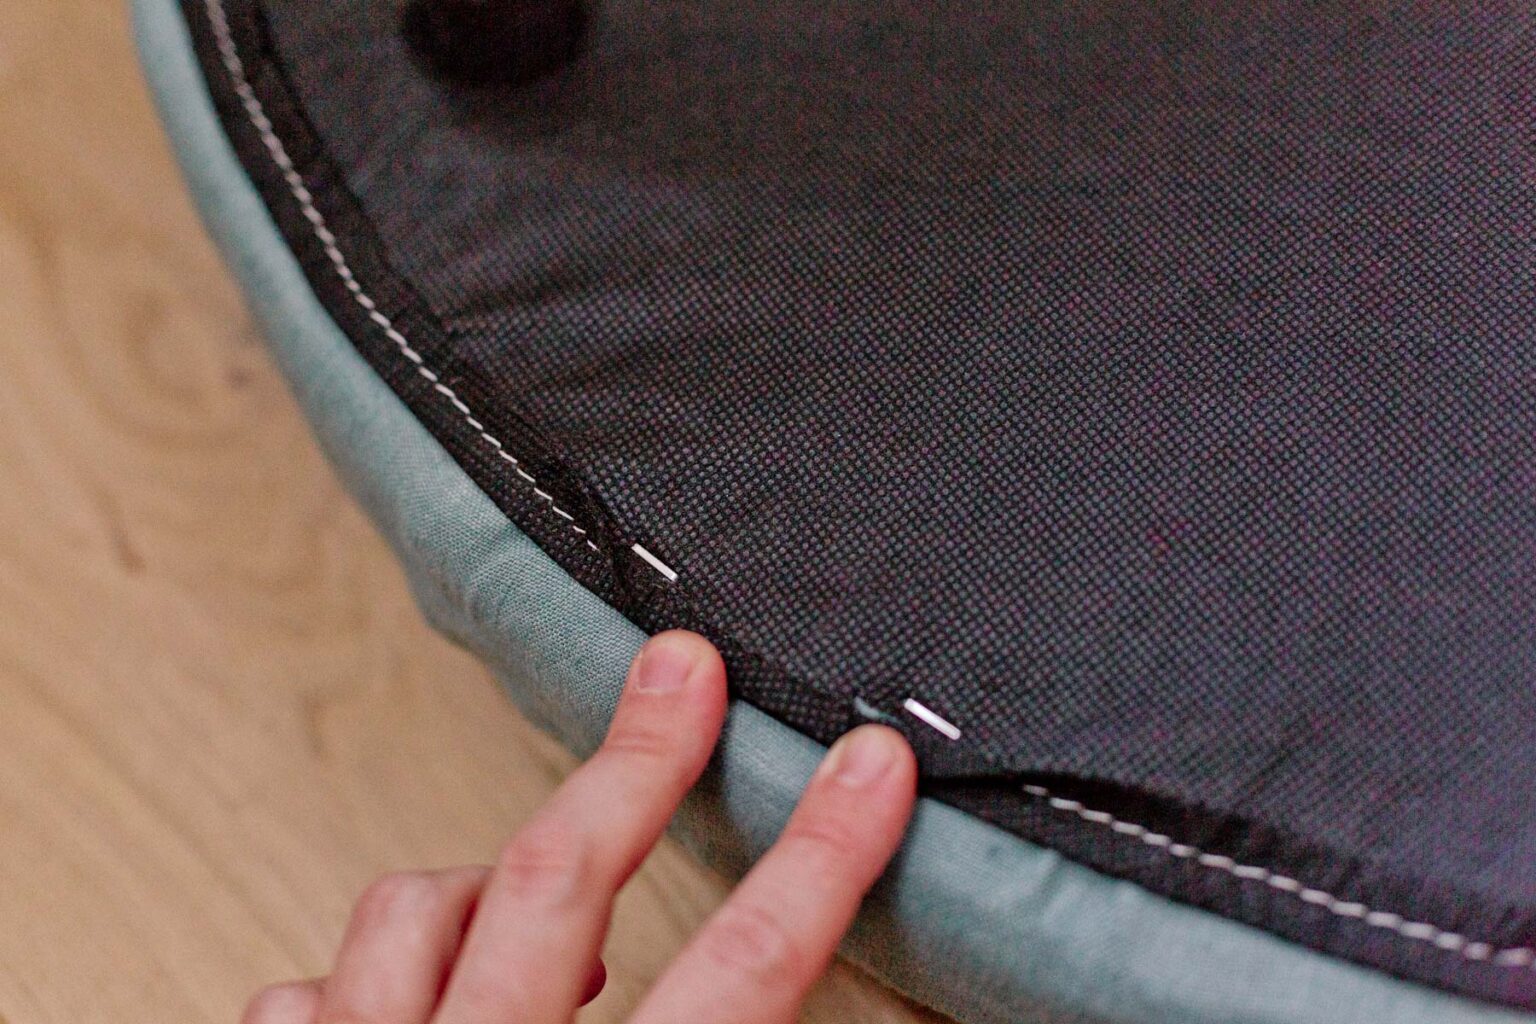
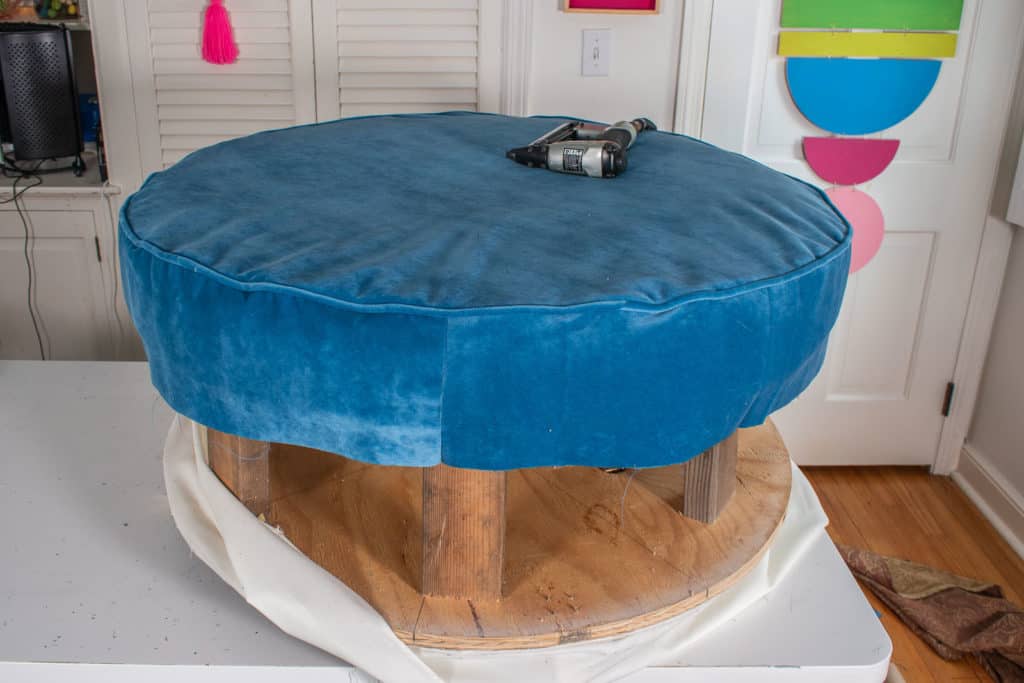
Ready to give it a try? Here are a few essential tips. First, choose your fabric wisely. Consider durability, stain resistance, and how it will feel. Next, gather your tools: a staple gun (electric is a dream!), upholstery staples, a screwdriver, scissors, a measuring tape, and of course, your chosen fabric and buttons. When removing the old fabric, take plenty of pictures and pay close attention to how it was attached – this is your blueprint! Cut your new fabric slightly larger than needed, allowing for a good overlap. For the buttons, pre-drilling small holes in the ottoman’s frame before stapling can make threading the upholstery needle much easier. And remember, patience is a virtue. Don't rush the process, and embrace the occasional mistake; they often lead to learning new techniques!
There’s a special kind of joy that comes from sinking your feet into an ottoman you’ve brought back to life with your own two hands. It’s not just about the saved money or the unique style; it's about the sense of pride and the satisfaction of creating something beautiful and functional. The rhythmic thwack of the staple gun, the smooth glide of the fabric, and the final flourish of the buttons all contribute to a deeply enjoyable and surprisingly meditative experience. So, go ahead, pick out that perfect fabric, and get ready to transform your ottoman into a true statement piece!