How To Replace Washing Machine Shut Off Valve
Let's face it, laundry is a chore. But what if the chore itself gets a little… wet? We’re talking about that moment when you notice a drip, a drip, a drip where there absolutely should not be a drip. Yep, it’s time to talk about the unsung heroes (or villains, depending on your perspective) of your washing machine’s water supply: the shut-off valves.
These little guys are usually tucked away behind your washing machine. They look innocent enough, just small metal handles. But when they decide to stage a protest, well, things can get splashy.
So, you've spotted the rogue drip. Maybe it’s a gentle weep, or maybe it’s a full-on H2O rave happening behind the machine. Either way, the culprit is likely one of those humble shut-off valves. They're like the bouncers for your washing machine's water party, and sometimes, they get a little tired of their gig.
Must Read
Now, I have a confession to make. I used to be terrified of these things. The idea of messing with water and plumbing felt like stepping into a Mad Scientist’s lab. But here’s an unpopular opinion: replacing a washing machine shut-off valve is actually… not that bad. Shocking, I know!
Think of it this way: you’re not building a rocket ship. You’re just swapping out a leaky faucet handle, but for your washing machine. And the payoff? No more impending flood. That’s a win in my book!
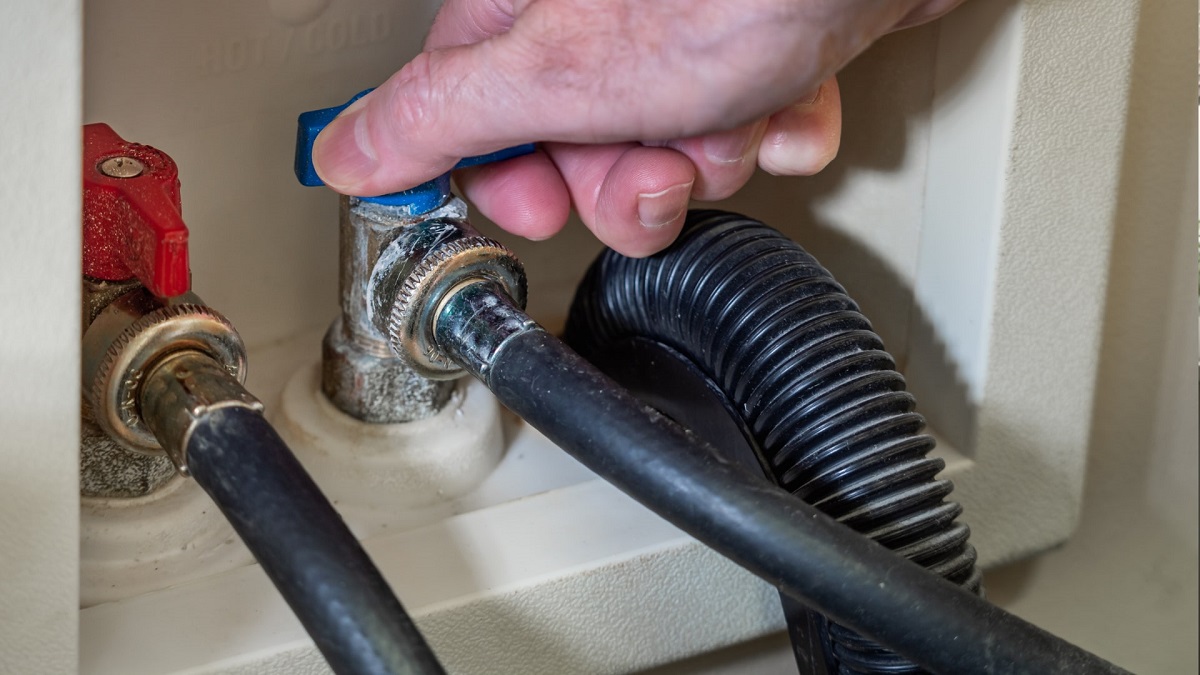
The first step, of course, is to get acquainted with your enemy. Or, you know, your necessary plumbing component. You’ll find them lurking there, usually one for hot water and one for cold. They’re usually made of sturdy brass, which is nice. It means they’ve been through a lot, probably.
When you decide it’s time for an upgrade, the most important thing is to remember one magical word: TURN OFF THE WATER. Seriously. This is not the time to play a daring game of "what if?" Let’s avoid any impromptu indoor water features. You’ll want to find the main water shut-off for your house. It’s often in the basement, the garage, or near your water meter.

Once the main water is off, you can breathe a little easier. Now, you can go back to those little valves behind the washer. Give them a good, firm turn. They should be all the way in the “off” position. It’s like tucking them into bed for a nap. A very important nap.
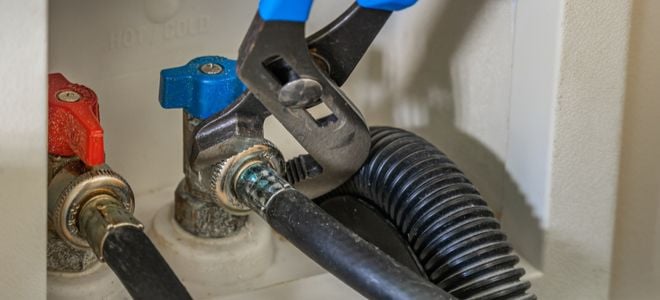
Now for the exciting part: unscrewing the old ones. You’ll need a wrench. A pipe wrench or an adjustable wrench usually does the trick. Just be gentle but firm. Think of it as a polite but insistent handshake.
The hoses connecting your washer to the valves will be attached. You’ll have to disconnect those. There might be a little bit of residual water in the hoses. So, have a small bucket or a towel handy for any minor leaks. It’s like a tiny, controlled surprise shower. Don't be alarmed if a little dribble escapes.
This is where the real magic happens. You’re going to unscrew the old valve from the pipe coming out of the wall. This might take a bit of wiggling and a determined twist. Sometimes, they’re a bit stubborn. They’ve been there, chilling, for years, after all.

Once the old valve is off, take a moment to admire your handiwork. You’ve successfully… deconstructed something! You’re practically a plumber already. Now, get ready for the shiny new valve. These are usually pretty easy to find at any hardware store.
When you get your new shut-off valve, you’ll notice it might have some thread sealant tape, often called Teflon tape, on the threads. This is your friend! It helps create a watertight seal. Wrap it around the threads of the pipe sticking out of the wall, in the direction the valve will be screwed on. About three to four wraps should do the trick.
Now, carefully screw the new valve onto the pipe. Hand-tighten it first, making sure it’s going on straight. Then, use your wrench to give it a final snug. Don’t go crazy here; you don’t want to overtighten and crack it. Just make it snug and secure, like a firm hug.
After the valve is in place, reattach the hoses. Make sure they’re screwed on securely. We don’t want any surprises here, do we?
And then comes the moment of truth. Slowly, and I mean slowly, turn the main water supply back on. Go back to your newly installed valve and gently turn it on. Listen for any hissing or dripping. If all is quiet, you’ve done it! Congratulations, plumbing wizard!

It’s a small victory, I know. But it’s a victory nonetheless. You’ve tamed the water. You’ve conquered the leak. You’ve faced your plumbing fears and emerged victorious. All while potentially saving yourself a pretty penny on a service call.
Think of the stories you can tell! "Oh, you had a leak? Yeah, I totally replaced my shut-off valves last weekend. Piece of cake!" You’ll sound like a seasoned DIY pro. It’s a confidence booster, really.
And the best part? You can now do laundry without that nagging fear of a watery disaster. Your washing machine can do its thing, and you can do yours, all while staying relatively dry. It’s a beautiful partnership.
So, the next time you see a drip, don't despair. Don't call the cavalry. Just grab your wrench, your bucket, and your newfound bravery. You’ve got this. And who knows, you might even enjoy it. (Okay, maybe not enjoy it, but you'll definitely feel pretty darn good about yourself.)

Remember, these shut-off valves are just metal. They don't have feelings. They just have a job to do, and sometimes, they need a little help from a capable human like yourself. Don't let them intimidate you.
It's really about understanding the basics. Water flows, valves stop it. When they stop working, you replace them. Simple, right? Well, maybe not always simple, but definitely doable. And the satisfaction of a job well done is truly priceless.
Plus, think of all the things you can buy with the money you save! A new set of fancy detergent pods? A really comfortable pair of fuzzy socks for laundry day? The possibilities are endless.
So, go forth and conquer those shut-off valves! Your washing machine (and your floor) will thank you. And you’ll have a great story to tell. Maybe even a little bit of plumbing swagger. You've earned it.