How To Replace Drive Belt On Whirlpool Dryer

Alright, gather ‘round, my friends, and let me tell you a tale of domestic heroism. It’s a story of lint, frustration, and the triumphant moment you realize you’ve conquered the beast that is a broken dryer belt. Yes, that infernal rubber band that keeps your socks from becoming sad, damp lumps. You know the one. The one that, when it snaps, sounds like a frustrated yak letting out a mournful sigh. My dryer, bless its spinning heart, decided to impersonate a very expensive paperweight the other day. Cue the dramatic music! The laundry piles began to resemble Mount Everest, and my significant other gave me that look. You know, the one that says, "The socks are not going to magically dry themselves, darling." So, naturally, I decided to become a dryer whisperer. And let me tell you, it was an adventure.
First things first, let’s acknowledge the elephant in the room. You might be thinking, "Oh, a drive belt? That sounds complicated. I’ll just call a repairman and sell a kidney to pay for it." Nonsense! This is less "brain surgery" and more "advanced Lego building." With a little patience and a willingness to embrace the occasional grease smudge, you too can be a dryer belt-replacing champion. Plus, think of the bragging rights! You can casually drop into conversation, "Oh, you replaced a drive belt? Cute. I wrestled a Whirlpool dragon and emerged victorious."
Operation: The Great Dryer Unveiling
So, your dryer is making that tell-tale "thump-thump-silence" sound. Or maybe it’s just… silent. Like a mime convention in a library. The first step, my friends, is to unplug the beast. Seriously, unless you fancy a permanent hairstyle that rivals a startled porcupine, unplug it. Safety first, then lint-covered glory. Now, we need to get to the heart of the matter, which involves… drumroll please… taking the dryer apart. Don't panic. It’s not like disassembling a bomb.
Must Read
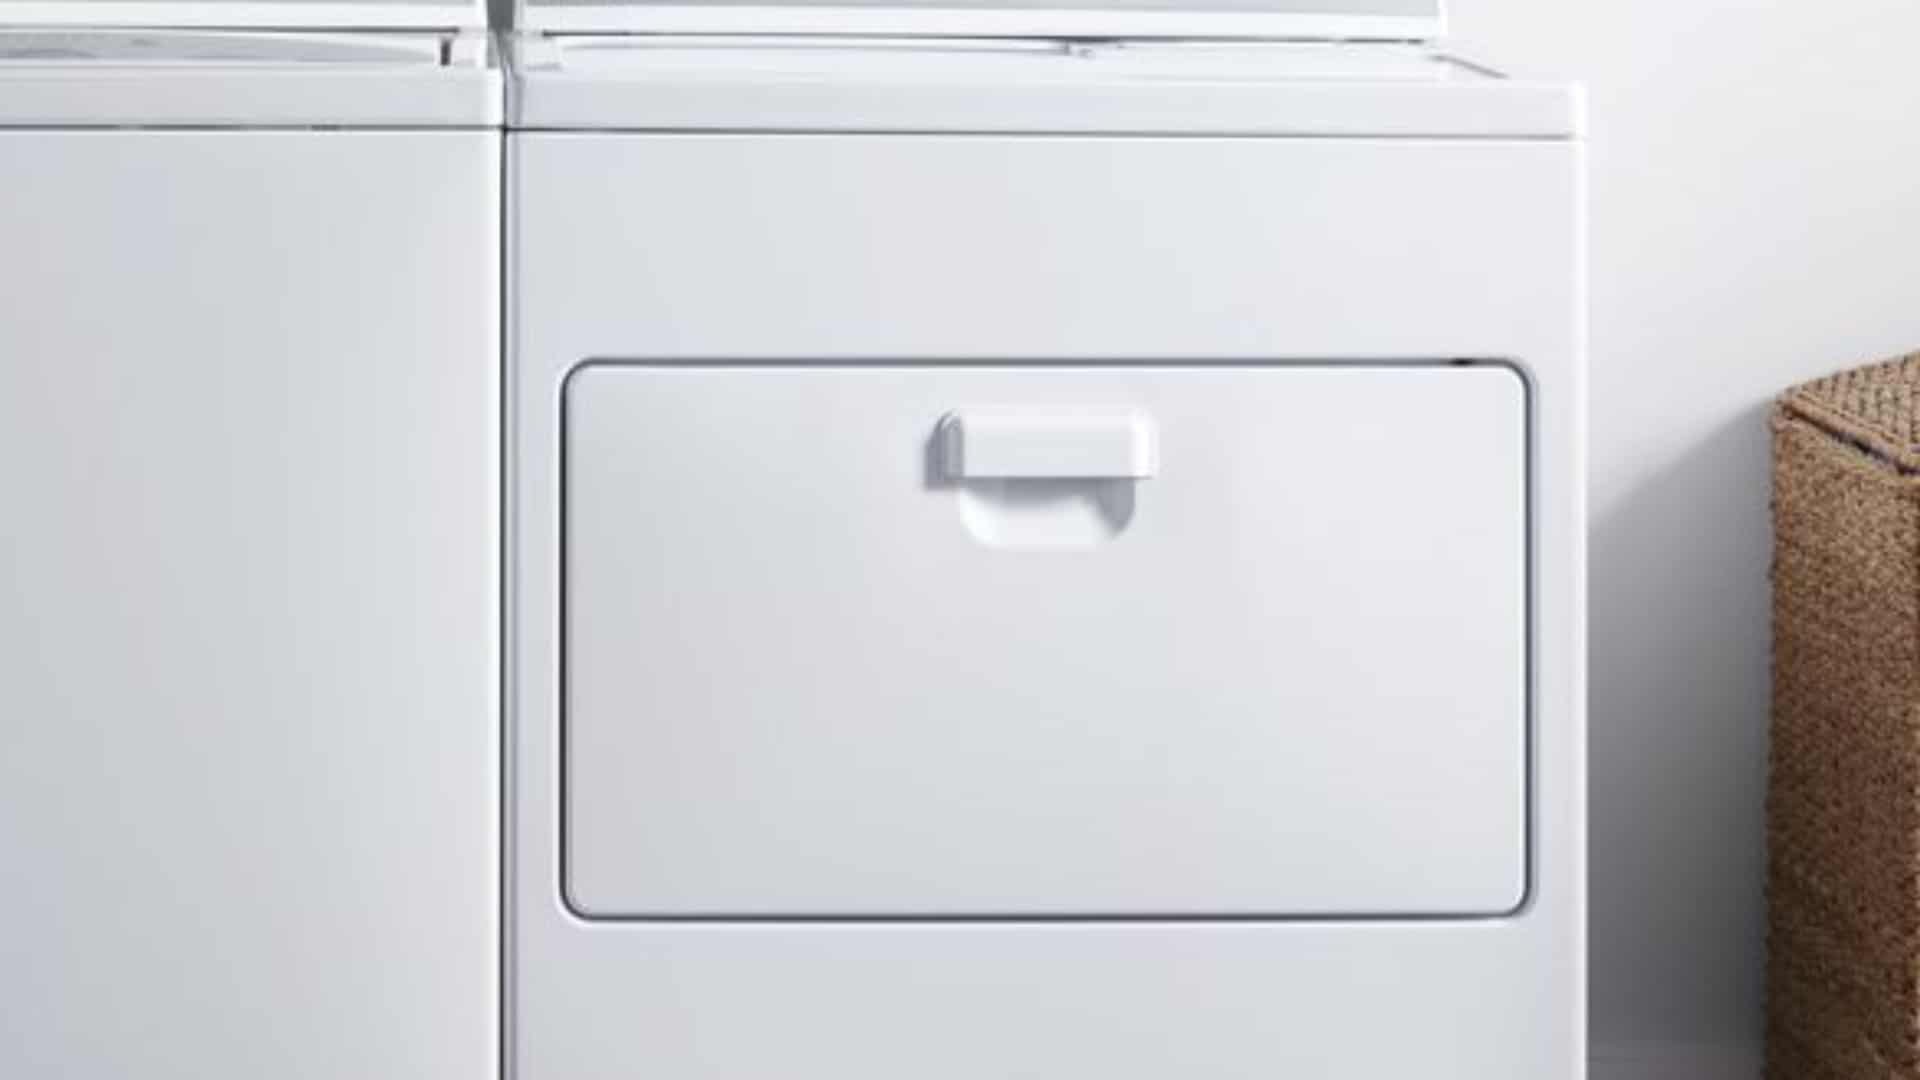
Most Whirlpool dryers have a front panel that needs to come off. You'll likely find a couple of screws, usually at the bottom or around the lint trap area. Sometimes they’re hiding like shy garden gnomes. Get yourself a good Phillips head screwdriver – the one that feels just right in your hand, like a wizard’s wand of DIY. You might also need a flathead screwdriver for gently prying things apart. Imagine you’re a detective, and those screws are clues leading you to the truth of your dryer’s ailment.
Once those screws are out, the front panel usually slides up or pulls away. Sometimes it’s a bit stubborn, like a toddler refusing to wear matching socks. Give it a gentle, gentle wiggle. If you hear a snapping sound, that’s probably not a good sign. We’re aiming for a smooth unveiling, not a dryer demolition derby.

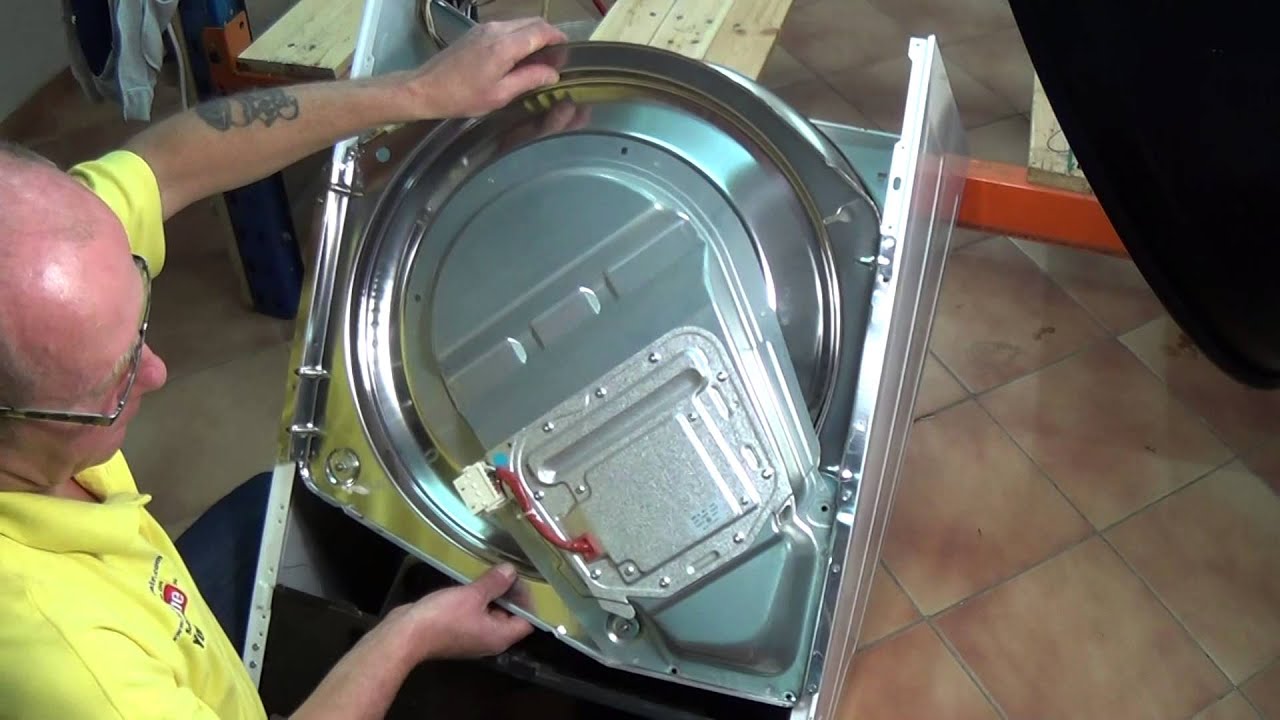
Behold! The Inner Workings (and the Lint!)
And there you have it! You’re staring into the mechanical soul of your dryer. It’s probably a little dusty in there. Embrace the lint. It’s like a badge of honor from past laundry cycles. You might see some dust bunnies that have formed their own civilization. Feel free to name them. Bartholomew, the Brave, and his linty kin.
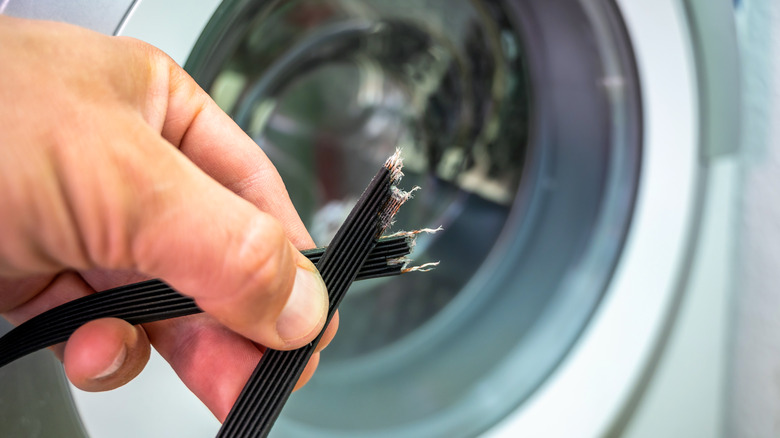
Now, the star of our show, the elusive drive belt, is usually wrapped around a motor pulley and a larger drum pulley. It’s probably looking a bit sad and frayed, or it might be completely missing, having made a daring escape into the dryer underworld. If you can’t spot it, don’t fret. Sometimes it's tucked away, playing hide-and-seek with the motor. Try to get a good look. You’re looking for a long, flat, rubbery thing.
This is also a great time for a thorough lint cleaning. Get in there with a vacuum cleaner hose attachment or a brush. Think of it as giving your dryer a spa day. A very dusty, potentially electrically charged spa day.

The Great Belt Swap: A Dance with Destiny (and Rubber)
Okay, time for the main event. You’ve either bought a new belt (make sure it’s the correct model number for your dryer – a quick online search or a peek at your dryer’s manual will save you heartache!) or you’re about to wrestle the old one off. If the old one is still attached, you’ll need to loop it off the pulleys. This might require some wiggling and a bit of strategic pushing. Imagine you’re untangling a particularly stubborn knot in your headphones.
Now, for the new belt. This is where the magic happens. You need to get it onto the motor pulley, which is usually the smaller one. Then, you’ll stretch it around the drum, weaving it onto the larger drum pulley. This is where you might need to channel your inner octopus. You'll need to hold the belt, twist the drum a bit, and coax that rubbery serpent into place.
Here’s a pro tip: sometimes it helps to have a second pair of hands. If your significant other is still giving you that look, this is their chance for redemption. They can hold the belt while you work the drum. It’s a team effort! A beautiful ballet of mechanics and mutual desperation. Don’t worry if it feels a little tight. That’s what it’s supposed to be. A loose belt is a sad belt. A tight belt means business.
One surprisingly helpful trick? Sometimes you can use the weight of the drum itself to help guide the belt. Give the drum a gentle spin with the belt partially in place, and it can help pull the belt around the pulleys. It’s like the dryer is helping you help itself. How thoughtful!
The Moment of Truth: Reassembly and Hope
Once the new belt is snugly in place, you’re on the home stretch. This is where you reverse the disassembly process. Put that front panel back on. Reattach those screws. Make sure everything is lined up correctly. Don’t rush this part. A loose panel can lead to some rather alarming rattling sounds during operation. We’re going for "smooth operator," not "rocking spaceship."

With the panel secured, it’s time for the grand finale. Plug the dryer back in. Take a deep breath. And then, with the grace of a seasoned performer, press the start button. Listen closely. If you hear that familiar hum and then the reassuring rumble of the drum, you’ve done it! You’ve resurrected your dryer!
If, by some cruel twist of fate, it’s still making weird noises or not spinning, don’t despair. Take a break. Grab a cup of coffee. Admire your lint-free (hopefully) hands. Sometimes you just need to step away and come back with fresh eyes. There are also plenty of excellent online video tutorials that can show you the process visually. Sometimes seeing is believing, especially when dealing with potentially grumpy appliances.
But for most of you, you’ll be back to fluffy towels and perfectly dry socks in no time. You’ll be the hero of your household, the vanquisher of the damp. And who knows? You might even discover a hidden talent for appliance repair. Just imagine the possibilities! Washing machine woes? Dishwasher dilemmas? You'll be ready. So go forth, my DIY warriors, and conquer your Whirlpool dryer belt! And if all else fails, there’s always the clothesline. It’s very… rustic.