How To Replace An Above Ground Pool Skimmer
You know, I remember the summer I was about twelve, and our old above-ground pool was our absolute kingdom. We’d splash, we’d dive (badly, mostly), and we’d spend hours just floating around, feeling like we were on a tropical vacation in our own backyard. Then, one particularly humid afternoon, as I was reaching for a rogue pool noodle, my hand brushed against something… loose. It was the skimmer. Just… hanging there. The entire side of our pool kingdom was literally bleeding water. Panic! Utter, unadulterated, twelve-year-old panic. My dad, bless his patient soul, managed to patch it up temporarily, but it was a stark reminder that even the coolest backyard features can have their Achilles' heel.
And that, my friends, is how we arrive at today's topic: replacing your above-ground pool skimmer. Because just like my childhood pool, yours might decide to throw a little temper tantrum and start leaking. Or maybe it's just old, cracked, and generally looking a bit worse for wear. Whatever the reason, don't despair! It’s not as daunting as it sounds, and with a bit of patience and the right tools, you can get your pool back to its former glory (and water-holding glory, specifically).
Think of your skimmer as the pool’s mouth. It’s where all the surface gunk goes to die – leaves, bugs, that rogue pool noodle that’s seen better days. It’s also crucial for your pool's filtration system, pulling water in to get cleaned. So, when it’s acting up, it’s a pretty big deal. And honestly, calling a pool professional for something like this can get pricey. Why pay someone to do what you can totally handle yourself? Plus, there's a certain satisfaction that comes with DIY, right? Like a little pat on the back from your inner handy person. Or maybe just relief that you didn’t have to drain the whole darn pool.
Must Read
Before You Dive In: What You'll Need
Alright, before we start wielding wrenches and pretending to be master plumbers (we’re not, but we can fake it for a bit), let's gather our supplies. It’s always better to have everything ready before you’re knee-deep in pool water and realizing you’re missing that one crucial bolt. Trust me on this. I’ve learned that lesson the hard way, often involving frantic trips to the hardware store in my PJs.
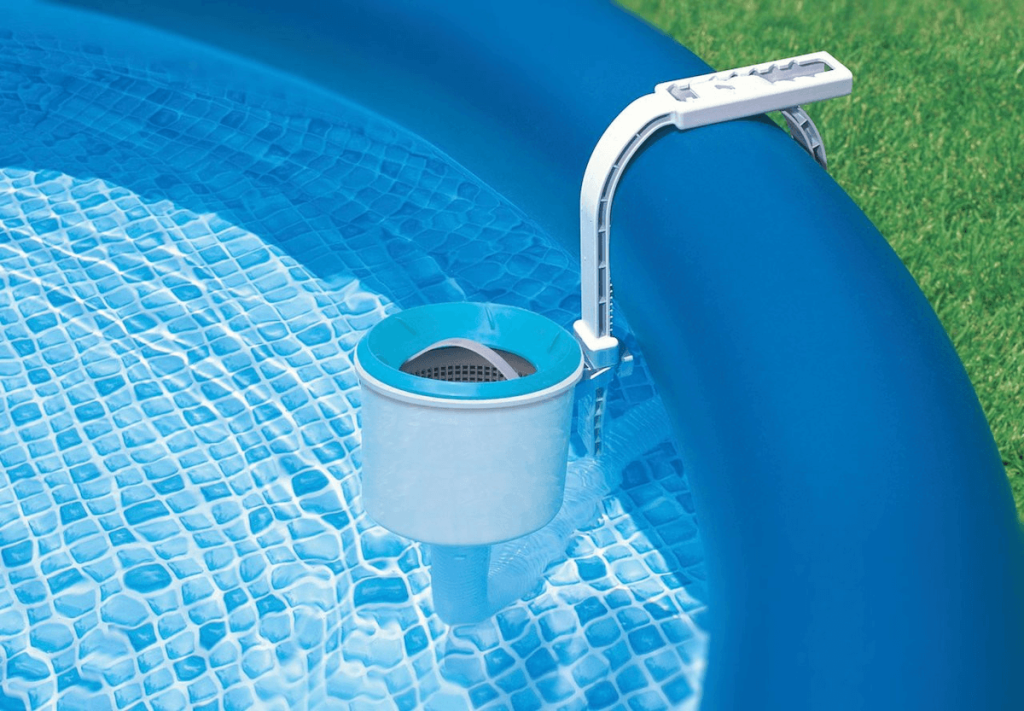
The New Skimmer Assembly
This is obviously the star of the show. You’ll need to make sure you get the correct replacement skimmer for your specific pool. Most above-ground pools use a standard wide-mouth skimmer, but it’s always a good idea to check your pool’s manual or measure your old one to be sure. You want to make sure the dimensions match, especially the cut-out size in your pool’s wall. Also, consider if you need just the skimmer body or the entire assembly, which might include the faceplate, gasket, and weir. Often, buying the whole kit is the easiest route.
Tools of the Trade (or Household)
- Screwdriver set: You’ll likely need a Phillips head and maybe a flathead.
- Pliers: Good for gripping and twisting things that are a bit stubborn.
- Adjustable wrench: Handy for any bolts or nuts you encounter.
- Putty knife or scraper: For gently prying away old sealant or gunk.
- Bucket: For catching any residual water. Every little bit helps!
- Old towels or rags: Because, well, water. And maybe some mud. Let's be realistic.
- Utility knife or box cutter: For any stubborn sealant or perhaps trimming a slightly-too-tight gasket (but be careful!).
- Optional: Pool sealant or silicone caulk: Some people like to add a little extra insurance.
- Optional: Safety glasses: Always a good idea when working with tools and potentially spraying water.
See? Not too scary, right? Most of these are probably already lurking in your garage or toolbox. If not, a quick trip to your local hardware store should set you right. Think of it as investing in your pool’s future well-being. And yours, because who wants to deal with a leaky pool?
Step-by-Step: The Great Skimmer Swap
Alright, deep breaths. We're going to tackle this together. Imagine we're a crack team of pool-fixing ninjas. Quiet, efficient, and determined to stop this leak.
Step 1: The Great Water Level Dive (Down, Not Up!)
First things first: lower your water level. You don't need to drain the entire pool, but you absolutely need the water level to be below the skimmer opening. This is crucial. If you try to do this with the water level still high, you'll have a mini-flood on your hands, and nobody wants that. Think of it as making your job easier. You can let your filter run for a bit and let the water drain out through the skimmer itself, or if you have a pump with a drain setting, that’s even better. Just make sure the water is well below that opening.

How far below? A good rule of thumb is to get it at least 4-6 inches below the skimmer opening. This gives you plenty of breathing room and ensures no surprise splashes when you start taking things apart. This is also a good time to sweep out any debris that might have accumulated at the bottom if you're feeling particularly ambitious. (Or you can just do that later. No judgment here).
Step 2: Unmasking the Old Skimmer
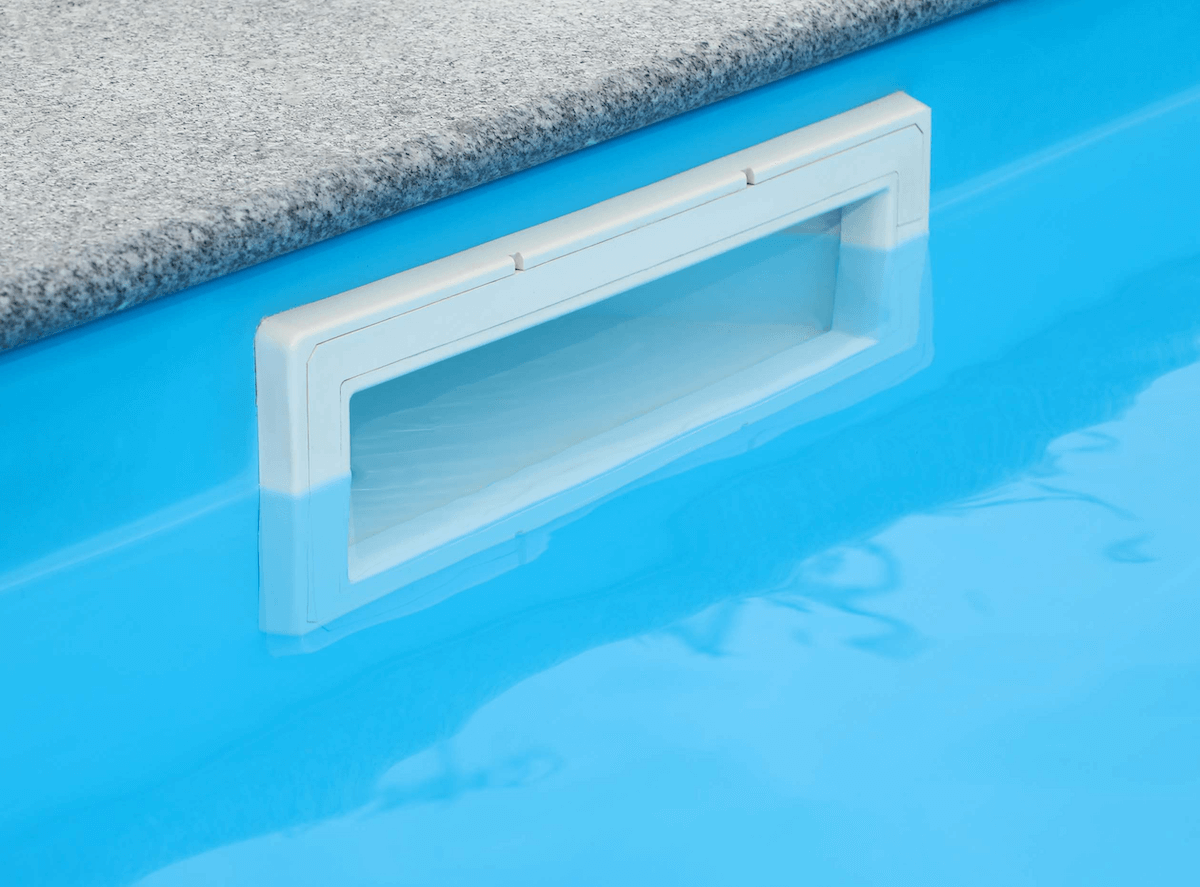
Now for the slightly messy part. Locate the screws holding the skimmer faceplate to the pool wall. They're usually on the inside of the pool, around the perimeter of the skimmer opening. Grab your screwdriver and get to work. These screws can sometimes be a bit tight, especially if they've been sitting there for a while. A little bit of gentle wiggling might be necessary. Don’t force it too much, you don’t want to strip the screw heads.
Once the screws are out, the faceplate should come off. You might need that putty knife here to carefully pry it away if it's sealed on pretty tight. Be gentle! We're not trying to rip the liner here. As you remove the faceplate, you'll see the old gasket underneath. This is also a good time to note how the gasket is positioned – this will help you when you put the new one on.
Now, on the outside of the pool, you'll see the main skimmer body. This is usually held in place by a gasket and the tension from the faceplate. You might have some clamps or other hardware connecting it. Gently detach any clamps and you should be able to pull the old skimmer body out from the outside. Again, be prepared for a little residual water to drip out. Have your bucket and towels ready!
Step 3: Inspecting the Damage (and the Opening)
Before you pop in the new skimmer, take a good look at the hole in your pool wall. Is the liner around the opening intact? Are there any tears or weaknesses? If you see any minor damage, you might be able to address it with a patch, but significant damage might require a more involved repair. For now, let's assume it's looking good.

Also, take a moment to inspect the old skimmer you just removed. What failed? Was it cracked? Was the gasket completely disintegrated? Understanding the cause of failure can sometimes help you prevent future issues, like ensuring you're cleaning your pool regularly or not letting it get too full.
Step 4: Preparing the New Skimmer and Pool Wall
Unpack your shiny new skimmer assembly. Make sure you have all the parts: the skimmer body, the new faceplate, the gasket, and any screws that came with it. If your new skimmer didn’t come with a gasket, you’ll need to purchase one separately. It’s usually a flat, rubbery piece.
Now, take your new gasket and line it up with the opening on the pool wall. Some gaskets have pre-drilled holes that will line up with the screw holes for the faceplate. Others are more generic and you’ll just be relying on their fit around the opening.
On the inside of the pool, you’ll want to clean up the area around the skimmer opening. Use your putty knife or scraper to remove any old caulk, sealant, or gunk. You want a nice, clean surface for the new gasket and faceplate to seal against. This is a really important step for preventing leaks. Don't skimp on the cleaning!
Step 5: The New Skimmer's Grand Entrance
This is where we reverse the process. On the outside of the pool, position your new skimmer body into the opening. Make sure it's sitting flush and straight. You might need to wiggle it a bit to get it to seat properly.

Now, on the inside of the pool, place your new gasket over the opening. Make sure it’s positioned correctly, aligning any holes with the screw points on the skimmer body. Then, take your new faceplate and position it over the gasket and skimmer opening. Again, line up those screw holes.
Start putting in the screws. You’ll want to do this gradually and evenly. Tighten each screw a little bit at a time, working your way around in a star pattern, similar to how you’d tighten lug nuts on a car wheel. This ensures that the pressure is applied evenly and creates a good seal. Don't overtighten any single screw, as this can warp the plastic or damage the gasket. Just snug them up until they feel secure.
Once all the screws are in and snugged, you should have a nice, tight fit. You can gently press on the faceplate to ensure it’s not wobbling. If it feels loose, go back and tighten the screws a bit more, again, evenly.
Step 6: The Moment of Truth (and Refilling!)
Now for the exciting part! You can start refilling your pool. Slowly turn your water source back on. As the water level rises, keep an eye on your new skimmer. You’re looking for any signs of leaks around the faceplate or the skimmer body. A little drip here or there might be okay as the gasket settles in, but you don’t want a steady stream of water escaping.
If you do notice a leak, don’t panic just yet. Sometimes, the gasket needs a little time to fully seat itself under pressure. If the leak persists after the water level has risen a bit, you might need to shut off the water, drain it down slightly, and re-tighten the screws a bit more, ensuring even pressure. If it’s a more significant leak, you might need to check if the gasket is damaged or if there’s an issue with the skimmer body itself.
Once you’re confident there are no leaks, let your pool fill up to its normal operating level. Then, reconnect your filter and pump and let them run. Watch your skimmer in action! It should be happily sucking up all the surface debris, just as it was meant to.
Troubleshooting and Tips
So, what if things don't go perfectly smoothly? Here are a few things to keep in mind:
- Leaking after replacement: As mentioned, this can be due to uneven tightening, a damaged gasket, or a faulty skimmer body. Double-check that all screws are snug and that the gasket is seated properly. Sometimes, a thin bead of pool-grade silicone sealant around the outside of the faceplate can provide extra insurance, but it’s often not necessary if everything else is done correctly.
- Difficulty removing the old skimmer: If it's really stuck, a bit of gentle persuasion with a rubber mallet might help. Be careful not to damage the pool wall or liner.
- Screws won't catch: This could mean the threads are stripped. You might need to use slightly larger screws or consider a repair kit specifically for stripped threads.
- Liner damage: If you find significant tears or holes around the skimmer opening, you’ll need to address those before installing the new skimmer. Pool liner patch kits are available, but for larger damage, you might need professional help.
- Weir door: Don't forget to attach the weir door (the flap that swings open and shut) to your new skimmer. It’s a small part but essential for its function.
And a pro tip from someone who’s learned this the hard way: take pictures as you disassemble the old skimmer. Seriously. When you’re putting the new one together, you might find yourself thinking, "Wait, which way did that little plastic doo-hickey go?" A quick glance at your phone’s camera roll can save you a lot of head-scratching.
Replacing an above-ground pool skimmer might seem like a big undertaking, but it's really just a series of manageable steps. It’s a great way to save money, gain a new skill, and ensure your pool stays a leak-free oasis all summer long. So, next time your skimmer looks a little… sad, don’t dread it. Embrace the challenge. You’ve got this!
And hey, if all else fails and you’re staring at a gaping hole in your pool wall with water gushing out, well, there’s always the garden hose and a really big tarp… just kidding! But seriously, with a little patience and these steps, you’ll have your skimmer replaced and your pool back in tip-top shape in no time. Happy swimming!


