How To Repair Pitted Concrete Garage Floor
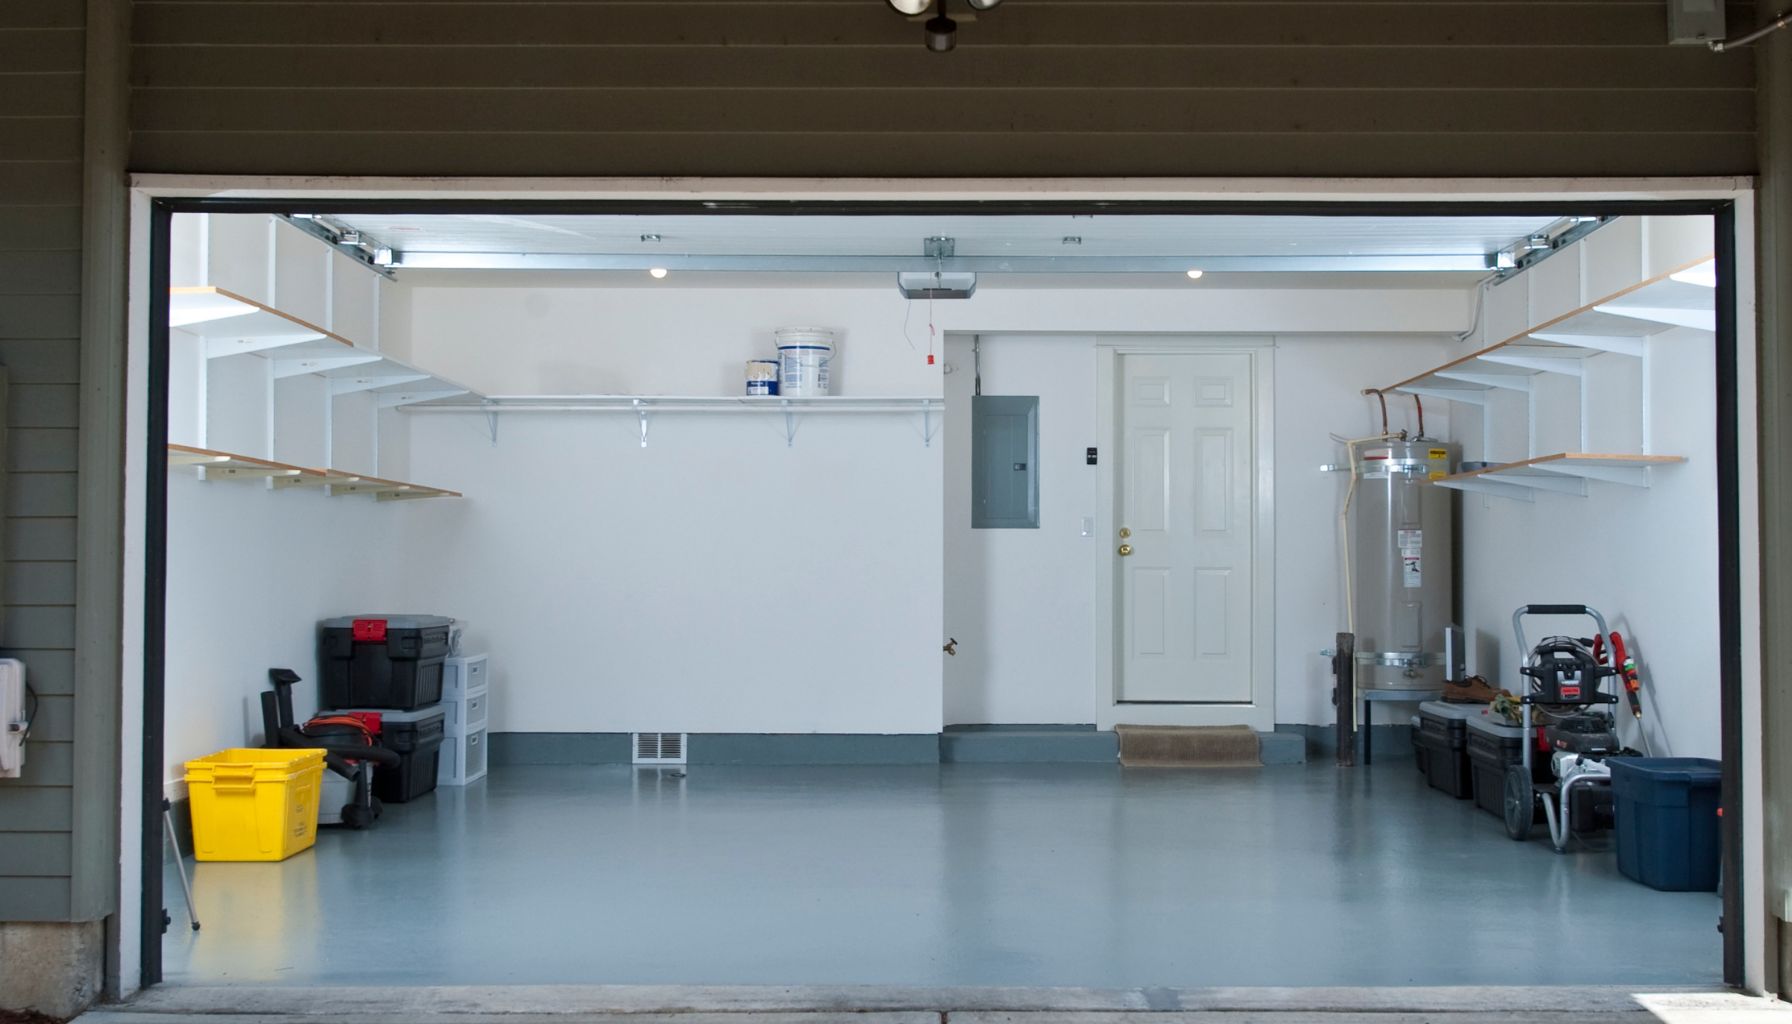
Hey there, fellow garage warriors and car-coddling comrades! Is your trusty concrete garage floor looking a little… well, like it’s been through a few too many epic bike-downhill attempts or maybe a friendly wrestling match with a rogue bowling ball? Those little pockmarks and divots can start to make your sanctuary of four wheels and DIY dreams look less like a pristine workshop and more like a battlefield of minor household mishaps. But fear not, my friends, because transforming that pitted panorama into a smooth sailing surface is totally achievable, and dare I say, a little bit fun!
Think of your garage floor like your favorite old pair of jeans. They’ve seen some action, got a few character-building holes, but with a little love and attention, they can be patched up and ready for another adventure. We’re not aiming for a Louvre-worthy marble finish here, just a happy, healthy floor that won’t trip you up when you’re reaching for that elusive jar of pickles.
So, let’s roll up our sleeves, put on some tunes, and get ready to give your concrete a sweet, sweet spa treatment. It’s not as intimidating as it sounds, promise! We’re talking simple steps, readily available materials, and a satisfying feeling of accomplishment that’s better than finding a forgotten twenty-dollar bill in your winter coat.
Must Read
The Pitting Predicament: It's Not the End of the World!
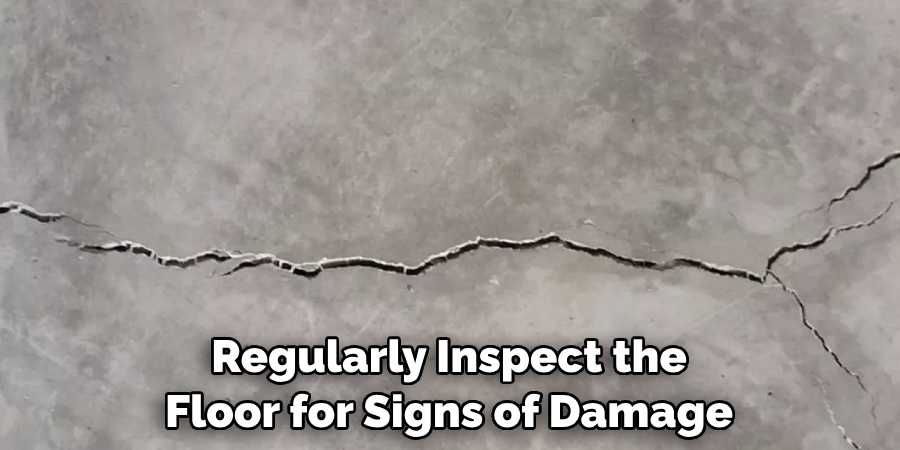
Those little holes, those tiny craters, those… uh… concrete dimples – they’re like the rogue breadcrumbs of your garage’s past. Maybe it was a dropped wrench, a misplaced hammer, or even just the relentless march of time and the occasional salt truck assault. Whatever the culprit, they’re there, staring you down like tiny, uninvited guests.
But don't you worry your pretty little head about it. These aren't insurmountable foes. We're going to conquer them with the mighty power of a good old-fashioned concrete patch. Yes, it's a thing, and it's going to be your new best friend for this mission.
Gathering Your Arsenal: What You'll Need to Wage War on Pits
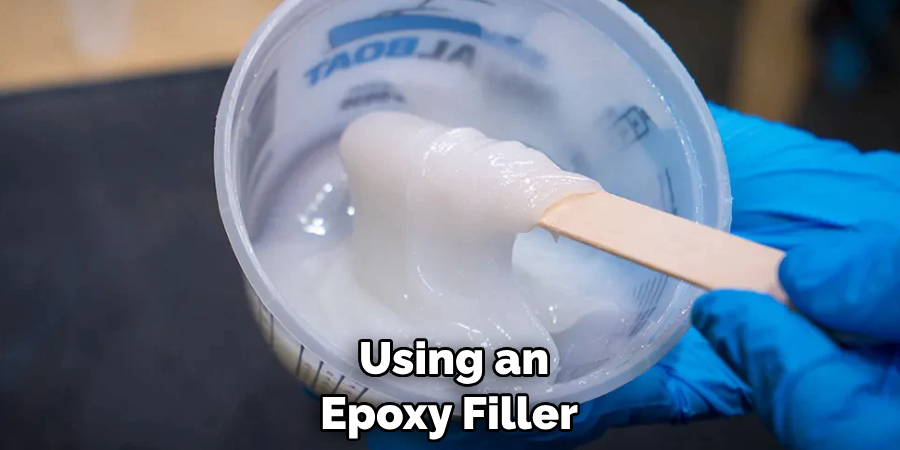
Alright, time to assemble your crack-fighting crew! Think of this like preparing for a friendly, yet determined, DIY battle. First and foremost, you'll need your trusty concrete patch. You can find this at pretty much any hardware store. Look for something that says "concrete repair," "patching compound," or "mortar mix." It's usually a powder that you'll mix with water, like making a cake, but for your floor!
Next up, you’ll need something to mix that magical powder in. A sturdy bucket is perfect. And to do the actual mixing? A good old trowel or a sturdy putty knife will be your best friends. They’re like the little spatulas of the concrete world.
Don't forget your safety squad! We're talking about some serious work, so grab some gloves to protect those hands that do all the amazing things, and some safety glasses to keep any rogue dust bunnies from staging a surprise attack on your peepers. If your garage is particularly dusty, a simple dust mask is a wise addition to your ensemble.
Prepping for Perfection: Cleaning Up the Battlefield
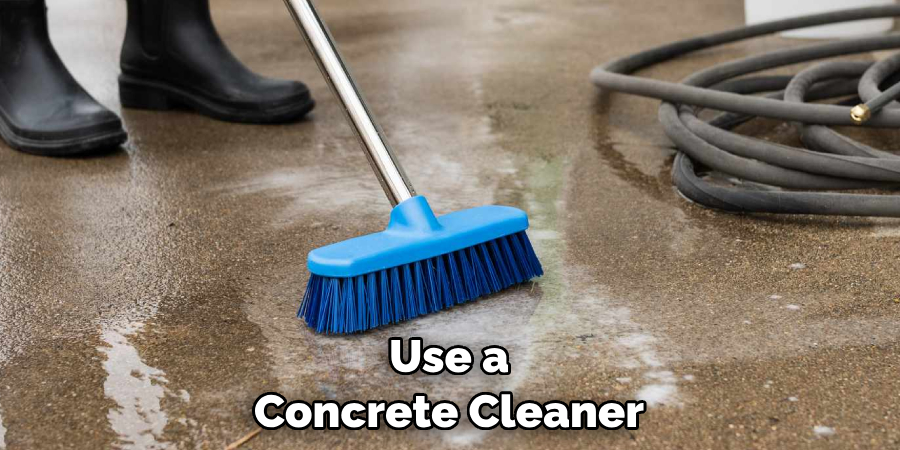
Before we get all gung-ho with the patching, we need to give our battlefield a good scrub. Think of it as giving your floor a pep talk before the big game. First, sweep up any loose debris. You don't want any sneaky pebbles trying to sabotage your smooth finish!
Then, you'll want to get a stiff brush and really get into those pits. We need to make sure they're clean and free of any gunk. This is also a good time to gently scrape away any loose or flaking concrete around the edges of the pits. We want a solid surface to work with, not a crumbly foundation for our repair.
If your floor has any oil or grease stains, now’s the time to tackle those. A good concrete degreaser can work wonders. The cleaner your pits are, the better your patch will stick, and the happier your floor will be. Trust me on this!
The Main Event: Mixing and Applying the Magic Potion
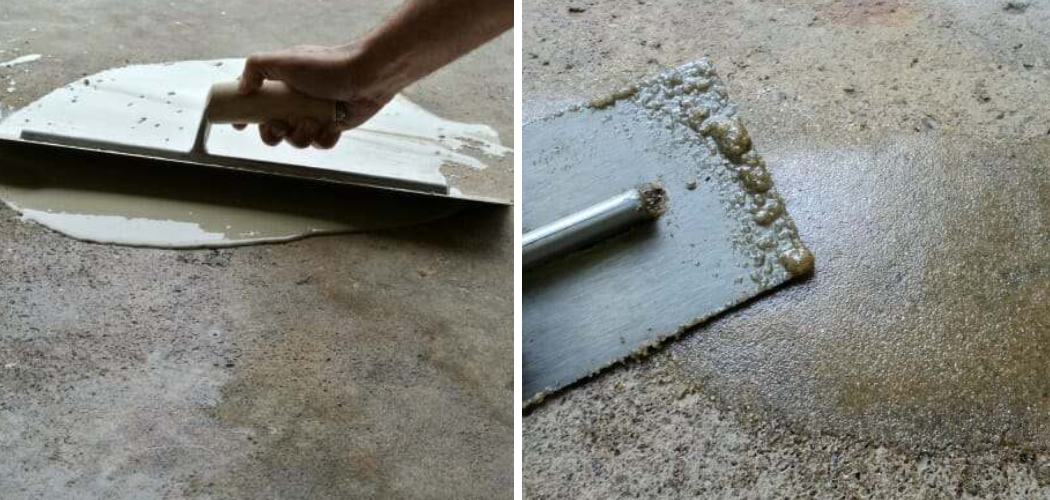
Okay, deep breaths! It’s time to mix our concrete patch. Follow the instructions on the bag meticulously. It’s usually a matter of adding water to the powder until you get a consistency like thick peanut butter. You don't want it too watery, or it'll just run away like a scared mouse!
Once you’ve got that perfect consistency, it’s time for the application. Take your trusty trowel or putty knife and scoop up a good dollop of the mixture. Now, gently press it into the pit. You want to really push it in there, making sure there are no air pockets. Think of it like tucking a tiny, concrete blanket into bed.
Smooth it out as best you can so it’s level with the surrounding concrete. Don’t worry about perfection at this stage; we’re going for good coverage. Overfilling a little is better than underfilling. You can always shave off the excess later.
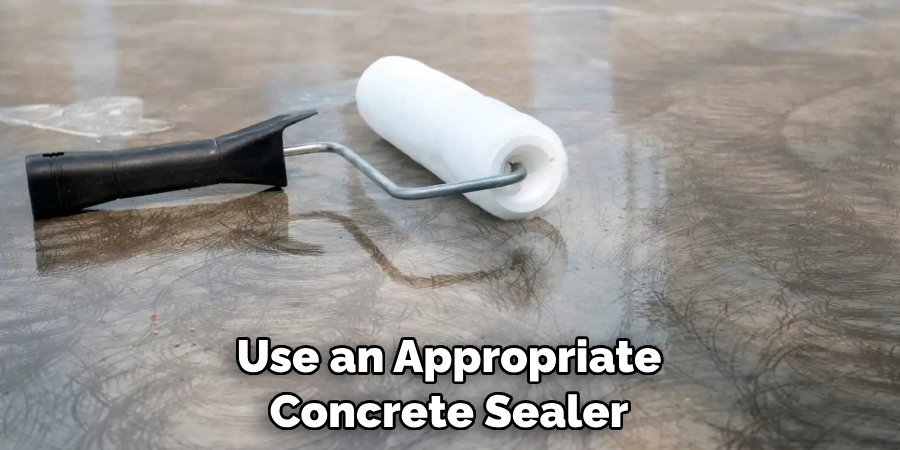
The Art of the Smooth Finish: Making It Look Like a Pro Did It
Now, this is where the magic truly happens. Once you've filled a few pits, you can start to smooth things out. Use your trowel with a gentle, sweeping motion. The goal is to make the patched area as level and smooth as the rest of your floor. It’s like giving your floor a little facial massage.
If you notice any high spots, you can gently scrape them down. If you see any low spots, just add a little more patch and smooth it over again. Patience is key here. This isn’t a race; it’s a marathon of smooth surfaces!
Don't be afraid to go over an area a few times. The more you work it, the smoother it will become. And remember, a little bit of imperfection adds character, so don't beat yourself up if it's not showroom perfect. We're aiming for improvement, not necessarily flawlessness.
The Waiting Game: Patience is a Virtue, Especially for Concrete
Once you’ve patched up all your little imperfections, it’s time for the hardest part: waiting. Your concrete patch needs time to cure. Check the instructions on your patch bag for the recommended drying time. This can range from a few hours to a full day, or even longer depending on the product and the humidity.
Resist the urge to walk on it, roll heavy things over it, or even look at it too intently. Let it do its thing. It's like letting a good stew simmer – the longer it rests, the better it tastes (or in this case, the stronger and smoother it becomes).
During this curing period, you might want to lightly mist the patched areas with water occasionally, especially if it's very hot and dry. This helps the patch cure properly and prevents it from cracking. Think of it as giving your newly repaired spots a refreshing spritz of water on a hot day.
The Grand Reveal: Admiring Your Handiwork
And then, the moment you’ve been waiting for! Once your patch is fully cured, you can step back and admire your work. Those pits that were once an eyesore are now just a distant memory. Your garage floor looks smoother, cleaner, and dare I say, a little bit more sophisticated!
You might even feel a surge of pride as you drive your car onto your newly revitalized floor. It’s like giving your car a brand new welcome mat. You’ve tackled a home improvement project, and you did it yourself!
This simple process of patching pitted concrete isn't just about aesthetics; it's about extending the life of your garage floor and making it a more enjoyable space. So go on, give yourself a pat on the back. You've earned it!
Remember, a little bit of elbow grease and the right materials can make a world of difference. Your garage floor will thank you for it, and you'll feel like a DIY superhero!
Now, go forth and conquer those pits! Your garage sanctuary awaits its smooth, unblemished future. And who knows, maybe after this, you'll be inspired to tackle that leaky faucet or that wobbly shelf. The world of DIY is your oyster, my friend!