How To Repair A Leaking Delta Bathtub Faucet

Alright, let's talk about something that’s probably lurking in the background of your life, like that one sock that always seems to disappear in the laundry – the leaky Delta bathtub faucet. You know the one. That gentle, persistent drip... drip... drip that starts to sound less like a soothing melody and more like a tiny water torture device designed by a mischievous gnome. If it’s not keeping you up at night (and let’s be honest, sometimes it is!), it’s probably costing you money and wasting precious water. Think of it as a tiny, unwelcome water bill that just keeps on ticking.
Now, I know what you might be thinking. "Me? Fix a faucet? I can barely assemble IKEA furniture without an existential crisis!" And hey, I get it. Plumbing can sound intimidating. It’s a world of washers, O-rings, and cartridges that sound like they belong in a sci-fi movie. But here’s the good news: fixing a leaking Delta bathtub faucet is often a surprisingly doable DIY project. It’s not about becoming a master plumber overnight; it’s about a few simple steps that can save you cash, conserve water, and give you that satisfying feeling of accomplishment. Plus, think of all the things you could do with the money you save – maybe an extra coffee, a new book, or even a small treat for yourself!
<{$h3}>Why Should You Even Bother? Let's Get Real.Let's paint a picture. Imagine your faucet has a tiny leak. Not a gushing Niagara Falls, but a steady, almost polite trickle. Over a day, that’s a few gallons. Over a week? It adds up. Over a month? You’re basically flushing money down the drain. Literally. It’s like leaving your car idling in your driveway for an extra hour every day – a quiet waste that you might not even notice until you see the gas bill.
Must Read
And then there’s the environmental bit. We all talk about saving the planet, right? Well, this is a super easy, tangible way to do your part. Every drop saved is a drop that doesn't need to be treated and pumped. So, by fixing that drip, you're not just being thrifty; you're being a little bit of an eco-hero. High fives all around!
Finally, there’s the peace of mind. That drip... drip... drip can be the soundtrack to your quietest moments, and not in a good way. It’s a constant reminder of something that’s not quite right. Imagine sleeping through the night without that nagging sound, or showering without feeling a pang of guilt about the water. That’s a win in my book.
<{$h2}>Okay, I'm In. What's the Plan?So, you’ve decided to take on this small but mighty challenge. Excellent! The first thing you’ll need is a little preparation. Think of it like packing for a short trip – you don’t need a giant suitcase, but a few essentials will make the journey much smoother.

Gather Your Tools: You’ll likely need a Phillips head screwdriver, a flathead screwdriver, an adjustable wrench (or pliers), and possibly a cartridge puller (more on that in a sec). Don't worry if you don't have these already; most of them are pretty standard household items, and if not, they’re a good investment for future small home victories. Also, grab a towel or two – things can get a little wet.
Turn Off the Water! This is the absolute most important step. Seriously, don't skip this. Find the shut-off valves for your bathtub. Usually, they’re located behind an access panel near the faucet. If you can’t find them, you might need to turn off the main water supply to your house. It’s usually in the basement, garage, or outside near your water meter. Give them a good twist to shut off the flow. Once the water is off, turn on the faucet to drain any residual water in the pipes. This prevents any unexpected mini-fountains when you start unscrewing things.
Identify Your Faucet Type: Delta makes a few different types of bathtub faucets. The most common ones are the single-handle faucets. You'll see a handle that you lift to turn on the water and move left or right to adjust the temperature. This is what we'll focus on today. If you have a two-handle faucet (one for hot, one for cold), the process is similar, but you'll be dealing with two separate valves or cartridges.
Now that the water is off and you’ve got your tools ready, it’s time to dive in. Remember, take your time. This isn't a race.
Removing the Handle: On most Delta single-handle faucets, you’ll find a small screw that holds the handle in place. This screw is often hidden behind a decorative cap or under the handle itself. Look for a small hole, usually on the underside or back of the handle. You might need to gently pry off a plastic cap with a flathead screwdriver to expose the screw. Once you see the screw, use your Phillips head screwdriver to remove it. Then, the handle should pull straight off. If it feels stuck, a gentle wiggle or a light tap might help. Don’t force it – we don’t want to break anything!
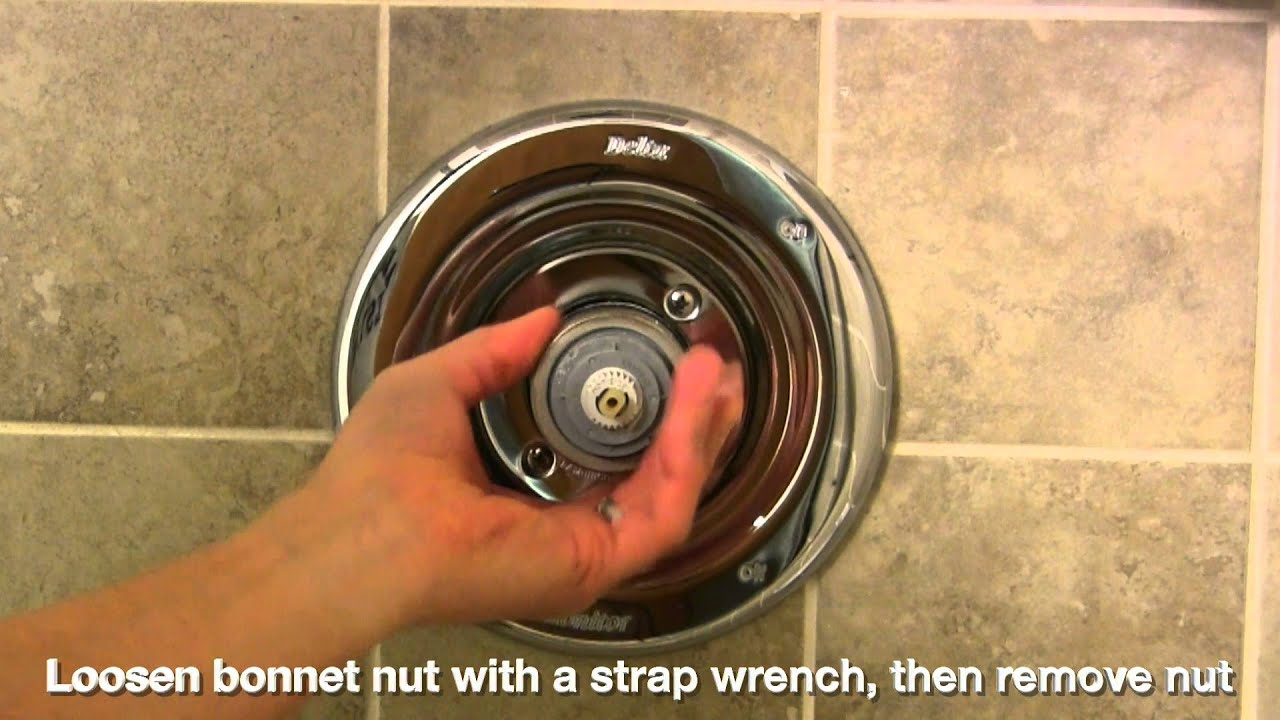
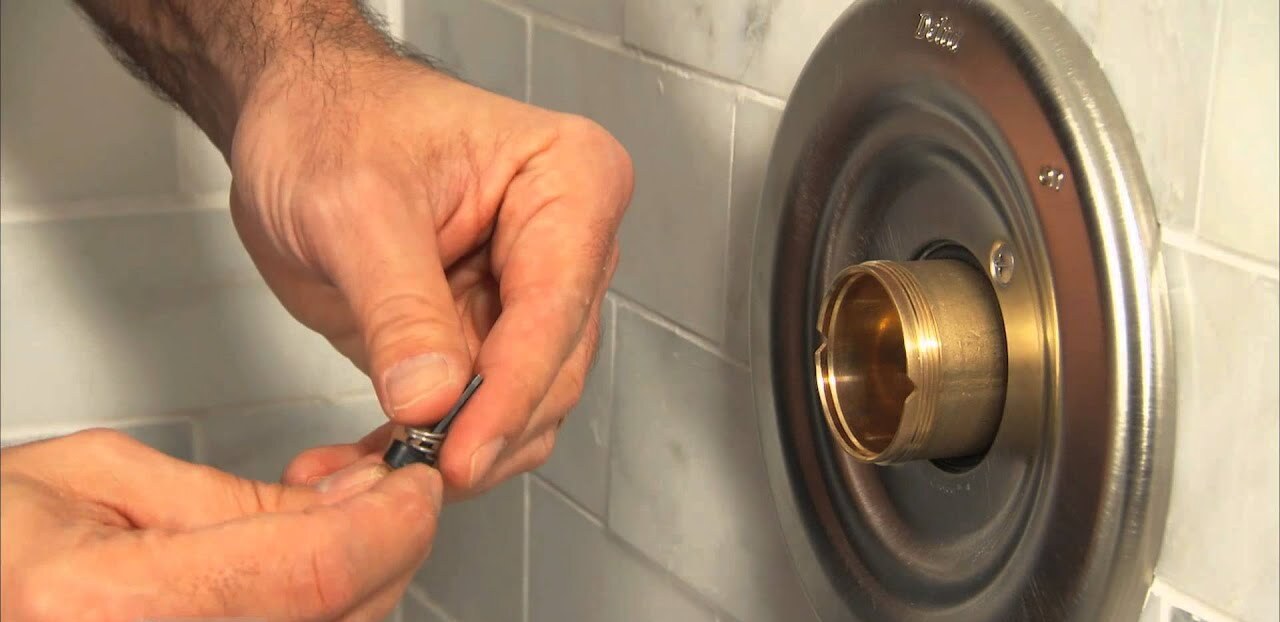
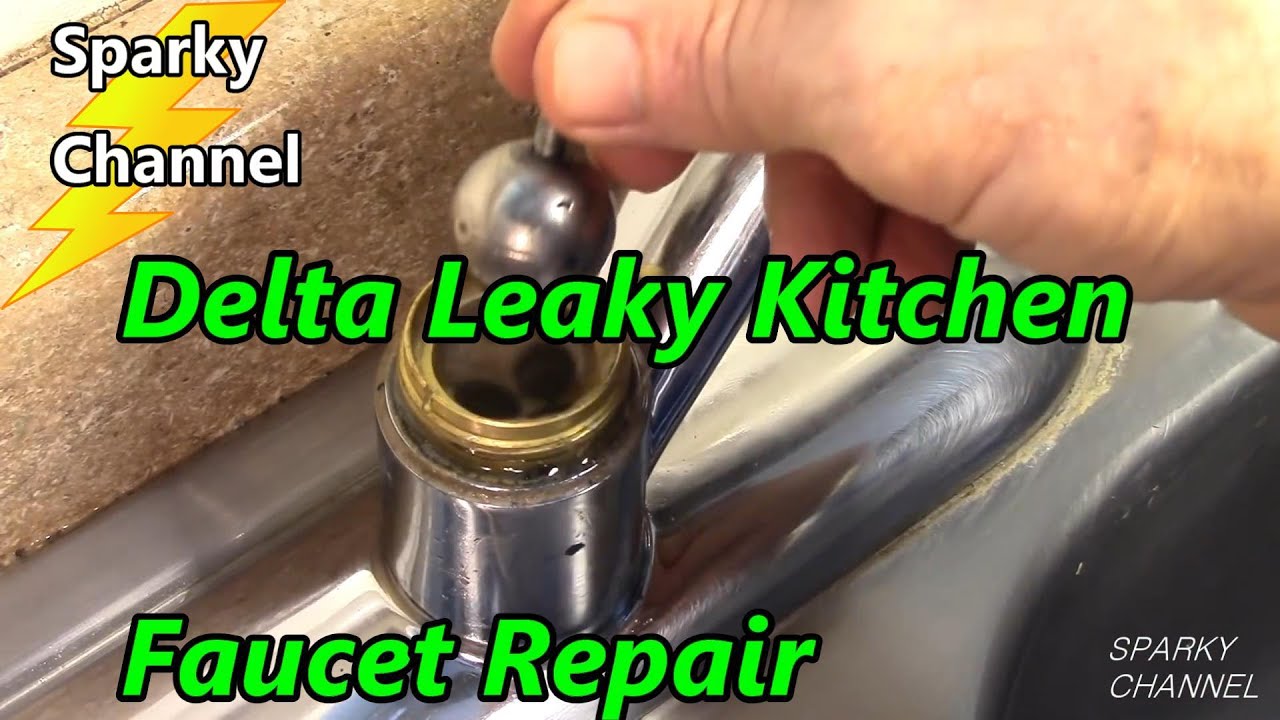
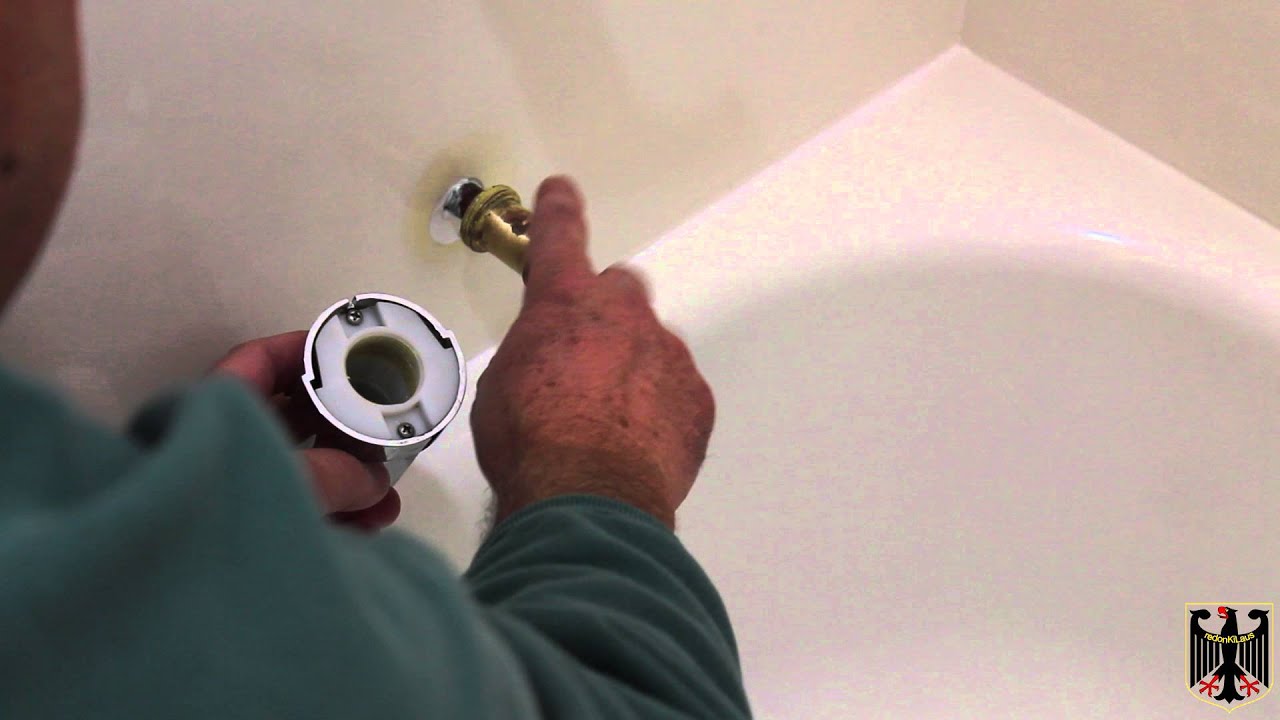
Getting to the Cartridge: With the handle off, you’ll see a metal or plastic component behind it – this is the cartridge. This is the heart of your faucet, and it’s usually the culprit when it comes to leaks. There might be a retaining clip or nut holding it in place. If it’s a clip, you’ll need to use pliers or needle-nose pliers to pull it straight out. If it’s a nut, use your adjustable wrench to unscrew it. Again, be gentle and don’t overtighten or force anything.
The Moment of Truth: The Cartridge Replacement: Once the clip or nut is removed, you should be able to pull the old cartridge straight out. Sometimes, especially if it's been in there for a while, it can be a bit stubborn. This is where a cartridge puller comes in handy. It’s a specialized tool that helps you grip and extract the cartridge without damaging the faucet body. You can usually rent these or find them at your local hardware store. If you don’t have one and it’s really stuck, try gently wiggling it while pulling upwards. Sometimes a little bit of gentle persuasion is all it takes.

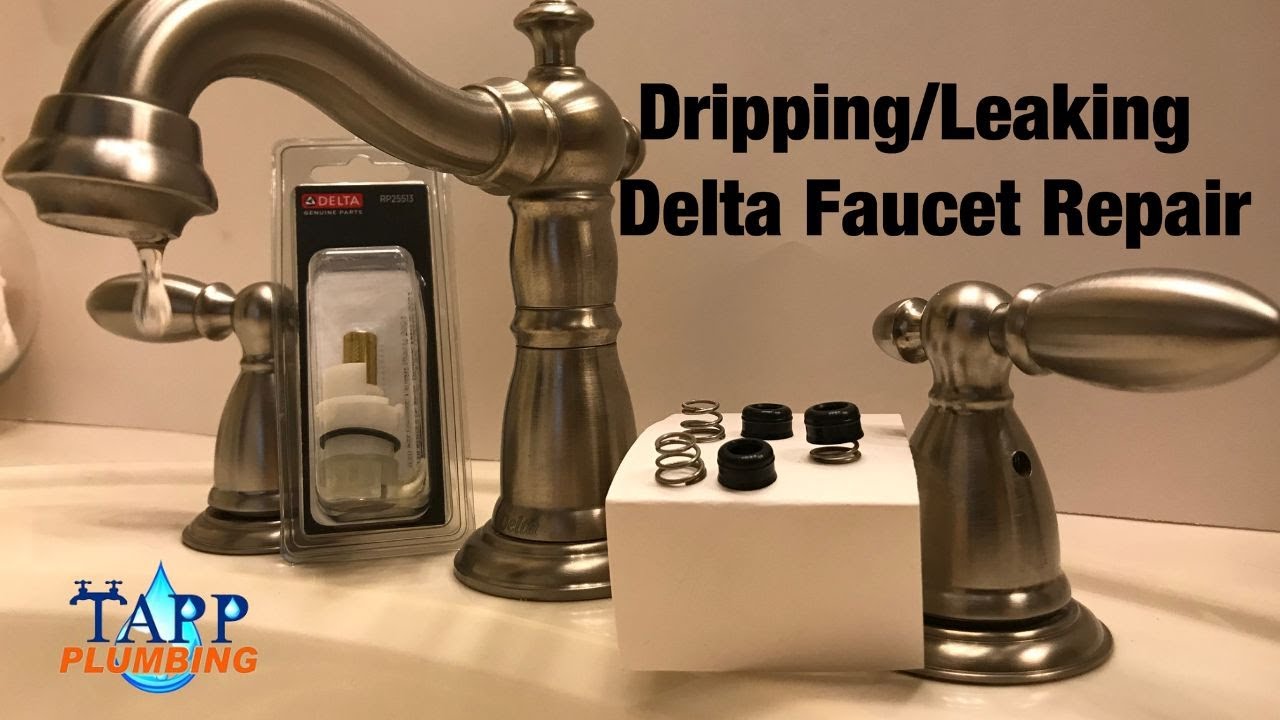
What to Do with the Old Cartridge: Once the old cartridge is out, take it with you to the hardware store. This is your golden ticket to getting the exact replacement part. Delta uses various cartridge models, so bringing the old one ensures you get a perfect match. They're usually labeled with a part number, which is even better!
Installing the New Cartridge: Now for the reverse process! Line up the new cartridge with the opening in the faucet body. Make sure it’s oriented correctly – there are usually notches or tabs that help guide it into place. Once it’s seated, reinsert the retaining clip or screw on the retaining nut. Make sure it’s snug but not overtightened.
Putting It All Back Together: Reattach the handle by sliding it back onto the stem and screwing it in place. Don’t forget to replace that decorative cap if you removed one. You’re almost there!
With everything back in place, it’s time for the moment of truth. Go back to those shut-off valves and slowly turn the water back on. Watch and listen. Does the drip... drip... drip still exist? If not, congratulations! You’ve conquered the leaky faucet!
If, by some chance, it’s still leaking, don’t despair. It might mean the cartridge wasn’t seated perfectly, or there might be a tiny O-ring or washer that needs replacing as well. Sometimes, the faucet body itself can be the issue, but this is less common.
A Quick Word on Other Leaks: While the cartridge is the most frequent culprit for a dripping faucet, sometimes leaks can come from the spout itself, or even from behind the handle if the O-rings there are worn. The general principle of shutting off the water and disassembling the faucet to find and replace the faulty part remains the same.
Fixing a leaky Delta bathtub faucet is a small victory that pays off in big ways. You’ve saved money, you’ve conserved water, and you’ve gained a little bit of confidence. So next time you hear that drip… drip… drip, don’t just sigh. Think of it as an opportunity to be a home-repair superhero!