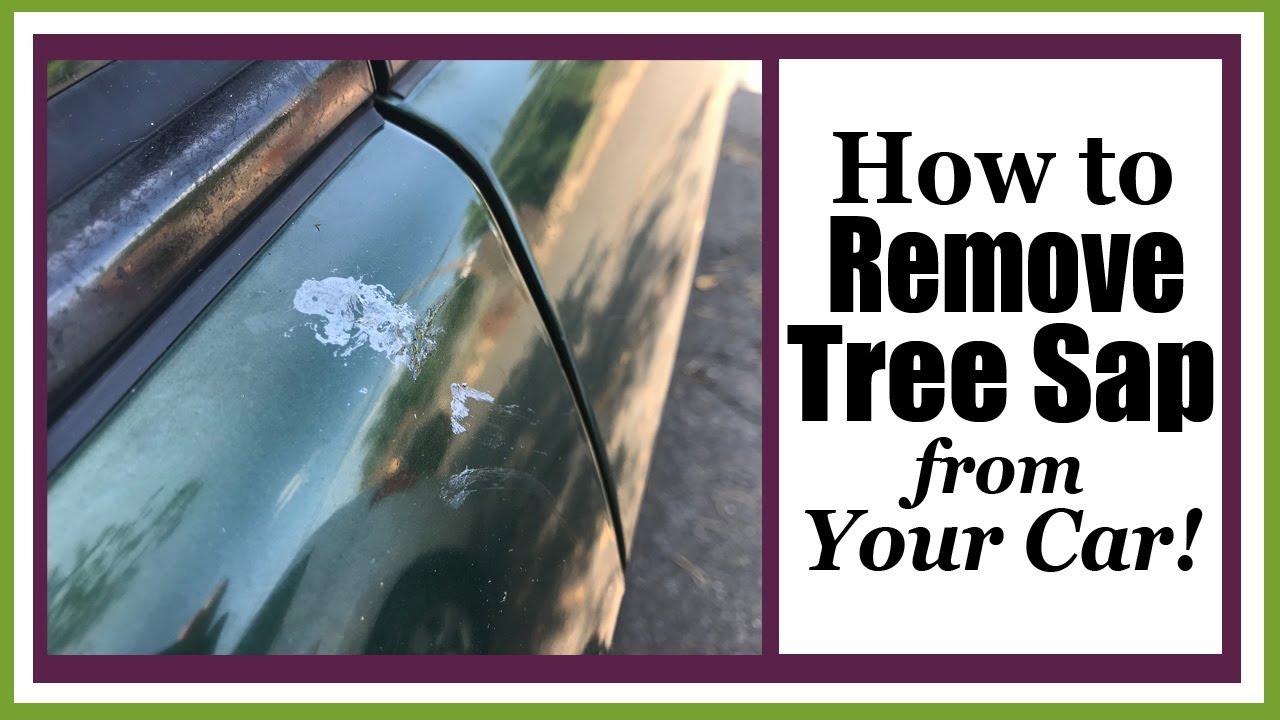
How To Remove Tree Sap From Car

Okay, so picture this: you’re just cruising along, windows down, feeling all free and fabulous. Then BAM! You park under that gorgeous tree, thinking, "Ah, shade!" Little do you know, that tree is a secret sap dispenser. Next thing you know, your car looks like it’s been through a sticky, gooey battle. Ugh. We’ve all been there, right?
It’s like nature’s prank, but instead of a whoopee cushion, it’s… well, tree sap. That super sticky, hard-to-get-off stuff that seems to fuse itself to your paintwork. It’s not just unsightly, it can actually damage your car’s finish if you let it sit there too long. So, what’s a car-loving human to do? Don't panic! We’re gonna tackle this sticky situation together.
Think of this as our little chat over coffee, a "how-to" whispered between friends. No need for fancy car jargon or expensive gadgets. We’re keeping it simple, effective, and hopefully, a little bit fun. Ready to get your car looking its shiny best again? Let’s do this!
Must Read
So, You’ve Got Sap. Now What?
First things first, acknowledge the situation. It’s sap. It’s sticky. It’s a minor inconvenience. But it’s not the end of the world, okay? Deep breaths. We’ve got this. The key to removing tree sap from your car is to act relatively quickly. The longer it sits there, the harder it becomes to remove. It's like leaving jam on your teeth – not ideal.
And by "relatively quickly," I don’t mean you need to pull over immediately and start scrubbing with your windshield wipers. Give yourself a reasonable timeframe. A day or two is usually fine. Any longer, and you might be looking at a tougher fight. So, if you see those little shiny blobs appearing, make a mental note to deal with it soon. Consider it a date with your car!
What you don't want to do is just ignore it. That’s like ignoring a leaky faucet – it’s just gonna get worse, probably with more drips. And trust me, no one wants a car that looks like it's perpetually crying sticky tears.
The Usual Suspects (And Why They Might Not Be Enough)
So, what are the common things people reach for? Well, you might think, "Hey, I’ve got soap and water! That’ll do it!" And for a light dusting of pollen or some fresh bird droppings, maybe. But tree sap? It's in a whole other league of sticky. Think of it like trying to wash off superglue with just water. It’s not gonna happen, friend.
Washing your car with regular car shampoo is a good first step. Always. It’s essential for removing loose dirt and grime that could scratch your paint when you start working on the sap. But on its own, it’s usually not strong enough to break down that stubborn sap. It’s like using a gentle cleanser on a stubborn makeup stain – you need something a bit more robust.
And please, for the love of all that is shiny, do not use abrasive scrubbers or harsh household cleaners. We're talking about your car's paint, not a greasy frying pan. You don't want to go from having a sap problem to a scratched-paint nightmare. That’s a whole different, much more expensive, conversation.
Let’s Get Down to Business: The Gentle Giants of Sap Removal
Alright, enough preamble. Let’s talk about the actual solutions. We’re going to start with the gentlest, most readily available options and work our way up if needed. Remember, patience is a virtue when it comes to sap removal. No aggressive scrubbing!
![How to Remove Tree Sap From a Car? [5 Top Products & Tips]](https://youramazingcar.com/wp-content/uploads/2020/05/How-to-remove-tree-sap-from-a-car.jpg)
Method 1: The Warm Water Soak (Sometimes, It’s That Simple!)
Okay, I know I just said soap and water might not be enough, but sometimes, for fresh sap, a good soak can loosen things up enough for a gentle wipe. Think of it as softening the enemy before the main attack.
Grab a bucket of warm water. Add a bit of your car wash soap to it. Now, get a clean microfiber towel. Dunk it in the soapy water, wring it out so it's damp but not dripping, and lay it directly over the sap spot. Let it sit there for a good 5-10 minutes. The warmth and the soap will start to break down the sap's stickiness.
After the soak, try gently wiping the sap away with the damp microfiber towel. You might be surprised how easily it comes off! If it’s still clinging on for dear life, don’t force it. Just re-soak and try again. This is a great starting point, especially if you caught the sap early.
Method 2: Rubbing Alcohol (Your New Best Friend, Maybe?)
Now, this is where things get a little more potent, but still generally safe for your car’s paint when used correctly. Rubbing alcohol, also known as isopropyl alcohol, is a fantastic solvent for sticky stuff. It's like the secret agent of cleaning supplies.
Grab some 70% or 91% isopropyl alcohol. You can find this at pretty much any drugstore or supermarket. Get a clean microfiber towel or a cotton ball. Dip a corner of the towel or the cotton ball in the alcohol. You don't need to drench it, just get it nicely saturated.
Now, here’s the crucial part: test it in an inconspicuous spot first. Seriously, do it. On a lower part of your bumper, or the edge of a door panel. Dab it on and see if it affects your paint. Most of the time, it’s perfectly fine, but it’s always better to be safe than sorry. We don’t want to cause a new problem while fixing an old one!
Once you’ve confirmed it’s safe, gently dab and rub the sap spot with the alcohol-soaked towel. You’ll notice the sap starting to dissolve and lift off. Don't scrub aggressively! Just let the alcohol do its magic and gently wipe away the residue. You might need to reapply alcohol to your towel a few times.
After you’ve removed all the sap, immediately wash the area with your car shampoo and water to remove any lingering alcohol. This is important to prevent any potential dulling of the paint over time. Think of it as cleaning up after the secret agent has done their job.
Method 3: Dedicated Bug and Tar Remover (For the Stubborn Cases)
So, you’ve tried the gentle methods, and the sap is still there, laughing at you? Don't despair! There are products specifically designed for this kind of sticky situation. Bug and tar removers are your next best bet. They are formulated to break down tough, sticky residues like sap, tar, and bug guts.
You can find these at any auto parts store. Brands like Goo Gone (while not strictly automotive, it works wonders!), Turtle Wax Bug and Tar Remover, or Meguiar's Bug & Tar Remover are all good choices. Read the instructions on the product carefully. They usually involve spraying the product onto the sap, letting it dwell for a specific amount of time, and then gently wiping it away.
Again, always test in an inconspicuous area first. These products are generally safe for car paint, but you never know! Some older or more delicate paint jobs might be more sensitive. So, a little patch test goes a long way in saving you future headaches.
When you apply it, spray it directly onto the sap. Don’t drench your entire car! Let it sit for the time recommended on the bottle – usually just a few minutes. Then, using a clean microfiber towel, gently wipe the sap away. You should see it start to lift and dissolve. If it’s a really thick glob, you might need to apply a second time or gently work at it with the towel.
Once all the sap is gone, thoroughly wash the area with your car wash soap and water. You want to remove any residue from the bug and tar remover. It’s all about getting back to that pristine, sap-free shine!
What NOT to Do (Seriously, Don't Do This!)
We’ve covered what to do, but let’s quickly touch on what you absolutely shouldn’t do. Think of this as the "danger zone" section.

Don't use a razor blade or scraper: Unless you have a professional detailer’s steady hand and know exactly what you’re doing, avoid sharp objects. You're way more likely to scratch your paint than to cleanly remove the sap. It's a recipe for disaster, my friend.
Don't use harsh chemicals like oven cleaner or paint thinner: These are designed for industrial cleaning, not your car's delicate finish. They will strip the paint, dull the clear coat, and leave you with a much bigger, more expensive problem. Please, just don't.
Don't use abrasive pads or steel wool: Again, we’re trying to remove sap, not sandblast your car. These will create deep scratches that will be very obvious and very difficult to fix. Microfiber towels are your best friend here!
Don't leave the cleaning product on for too long: Even the gentler products can sometimes affect your paint if left to sit for an extended period. Always follow the product instructions and rinse thoroughly.
The Grand Finale: Washing and Protecting
Once you’ve successfully banished the sap, it’s time for the finishing touches. You've earned it! Give the entire car a good wash with your favorite car shampoo. This ensures all traces of cleaning products are removed and makes your whole car sparkle.
After washing, you'll want to dry your car thoroughly with clean microfiber towels. This prevents water spots, which are annoying in their own right.
And for the ultimate victory? Consider applying a coat of wax or a sealant. This not only makes your car look amazing but also adds a protective layer that can make future sap removal a little easier. It’s like giving your car a superhero cape!

Preventative Measures: The Best Defense is a Good Offense
So, how can you avoid this whole sticky ordeal in the future? Well, parking under trees is often unavoidable, especially if you live somewhere with beautiful foliage. But there are a few things you can do:
Park Smart: If possible, try to park in covered areas like garages or carports. Even a shady spot under a building can help. If you have to park under a tree, try to do so for shorter periods. Maybe just while you pop into the store, not for an all-day picnic.
Use a Car Cover: This is a bit more effort, but a good quality car cover will protect your paint from sap, bird droppings, pollen, and pretty much anything else nature throws at it. Just make sure the cover is clean before you put it on, otherwise, you might be rubbing dirt into your paint.
Apply a Wax or Sealant Regularly: As I mentioned, a good coat of wax or sealant creates a barrier on your paint. Sap will have a harder time sticking to it, and when it does, it’s usually much easier to wipe off. Think of it as a non-stick coating for your car!
Consider a Ceramic Coating: If you're really serious about paint protection, a ceramic coating is the ultimate shield. It's more of an investment, but it makes your car incredibly hydrophobic (water-repellent) and resistant to contaminants like sap. Plus, it makes washing a breeze!
You’ve Conquered the Sap!
See? You’re a sap-removal pro now! It’s not as daunting as it seems, is it? With a little patience, the right tools (which you probably already have!), and a bit of elbow grease, your car can go from sticky mess to showroom shine in no time.
So next time you find yourself staring at those little amber blobs, don't sigh with defeat. Just remember this little chat, grab your microfiber towels, and get to work. Your car will thank you for it, and you'll have that satisfying feeling of a job well done. Happy de-sapping!

