How To Remove The Agitator On A Maytag Washer

Hey there, washing machine warrior! Ever find yourself staring down your trusty Maytag, wondering, "What is that thing in the middle, and can I, dare I, remove it?" Well, my friend, that whirring, churning pillar of laundry justice is called the agitator, and guess what? You, yes, you, can totally conquer it!
Now, before you go imagining yourself as some kind of appliance ninja, let's be real. This isn't exactly scaling Mount Everest, but it is a little victory that can make your life… well, a little more fun. Think about it! A cleaner tub, a better chance to tackle those stubborn stains, and the sheer satisfaction of saying, "I did that!" It's like unlocking a secret level in the game of household chores.
So, why would you even want to remove the agitator? Great question! Sometimes, you just need to give your washing machine a good deep clean. That agitator can trap all sorts of gunk and grime, and a good scrub-down can have your machine running smoother and smelling fresher than a spring meadow. Plus, if you've got a particularly bulky comforter or a duvet that’s giving you the side-eye, removing the agitator can give you that extra bit of space to get everything squeaky clean.
Must Read
Let's get down to business, shall we? First things first, safety first, always! Make sure your washing machine is unplugged. Seriously, no electricity, no surprises. We're going for empowerment, not electrocution! You'll also want to have a few basic tools handy. Think a flathead screwdriver, maybe a pair of pliers, and possibly a socket wrench depending on your specific Maytag model. Don't worry if you're not a tool-whisperer; we're just doing some gentle persuasion here.
The Agitator Adventure Begins!
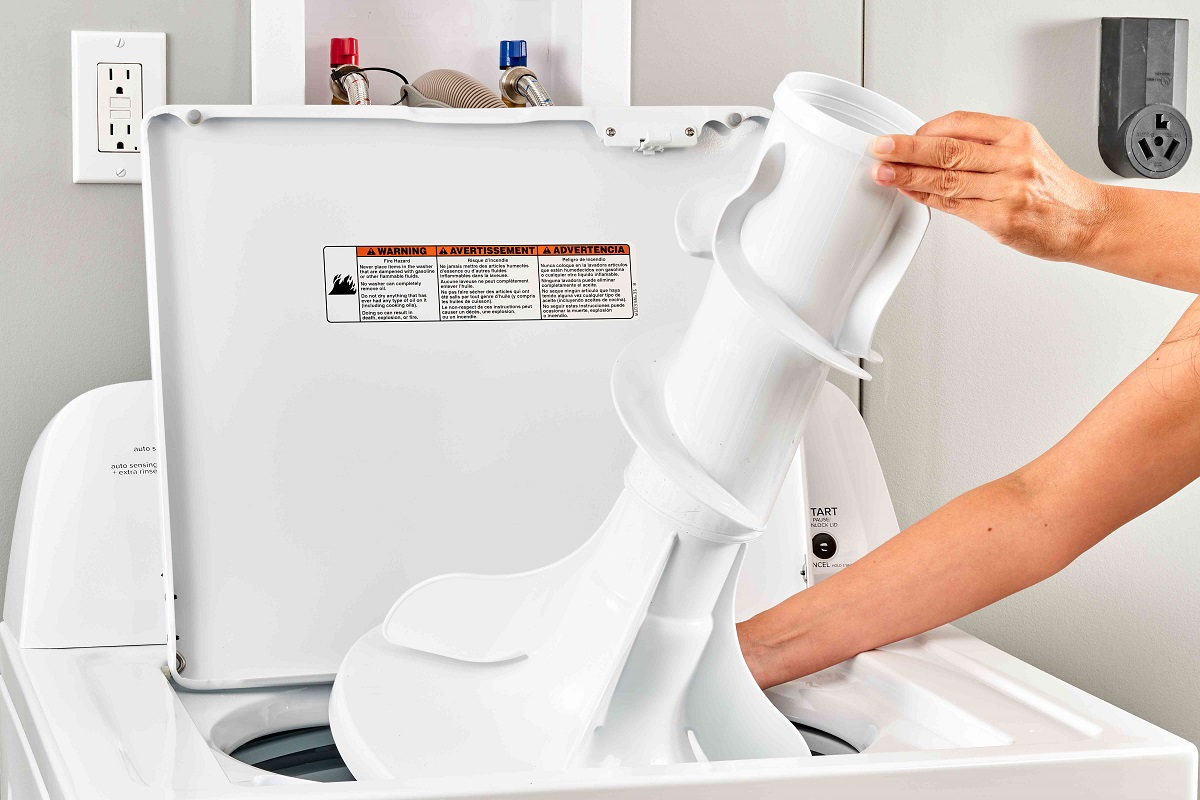
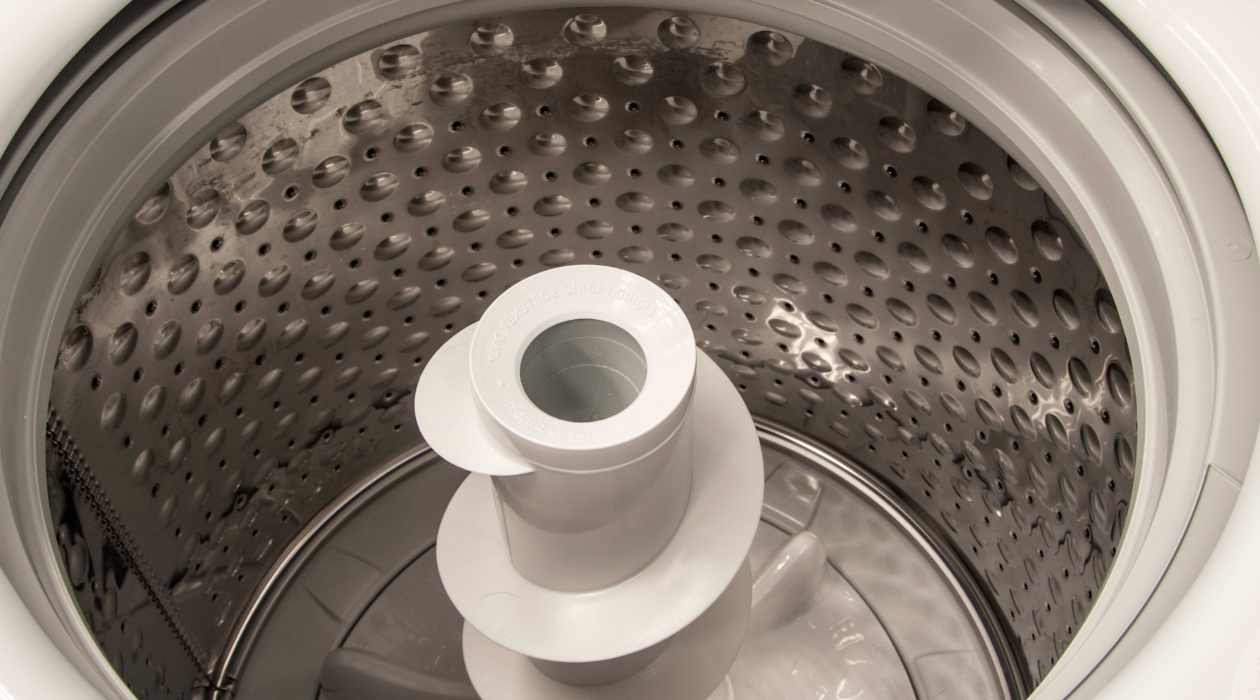
Now, let’s peek inside that washing machine drum. See that tall, plastic thing in the middle? That's our target! Most Maytag agitators are held in place by a cap at the very top. This cap is usually designed to be a bit… elusive. You might need to gently pry it up with your flathead screwdriver. Wiggle it around a bit, be patient, and voilà! You'll likely hear a satisfying little pop as it comes free.

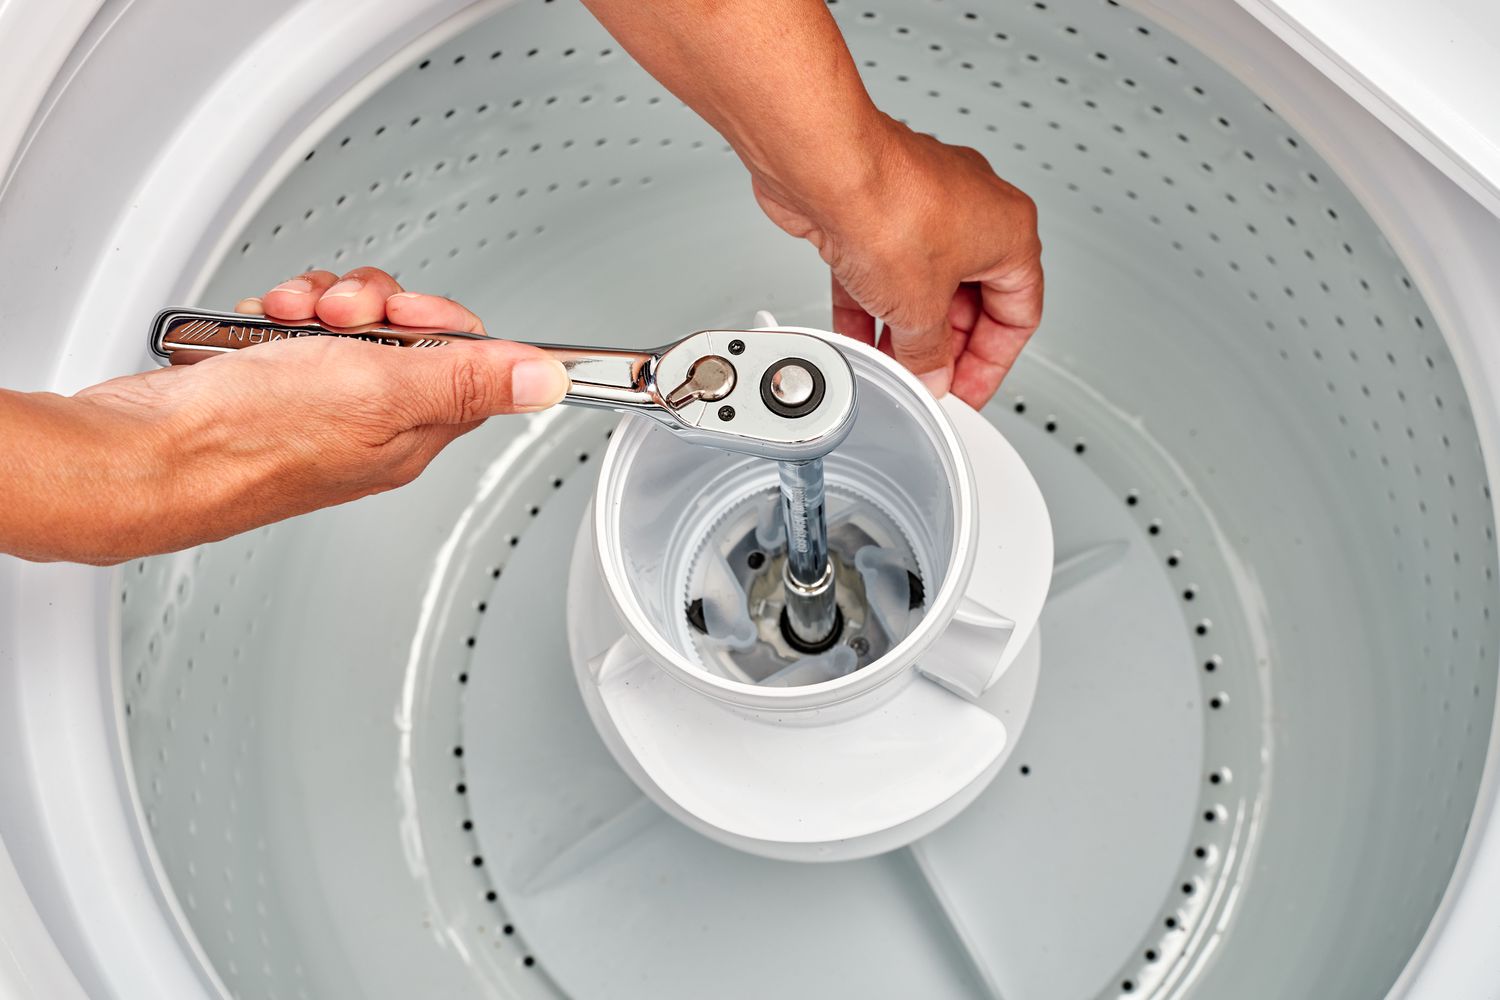
Underneath that cap, you’ll probably find a bolt. This is where your socket wrench might come in. You're looking for a bolt that's a specific size, often around 3/8 inch or 7/16 inch. Again, don't sweat it if you're not sure. A quick peek at your Maytag's manual (you know, that dusty booklet hiding in a kitchen drawer?) or a quick online search for your model number will tell you exactly what you need. Spin that bolt counter-clockwise, and keep going until it’s completely removed. Easy peasy, right?
The Great Agitator Lift-Off
Once that bolt is out, you're almost there! Now comes the part that feels like a true accomplishment: lifting the agitator. Gently grab the agitator and try to lift it straight up. Sometimes, they can be a little stuck, especially if they haven't been removed in a while. This is where your pliers might come in handy. You can try gripping the top of the agitator and wiggling it gently while you lift. Don't force it too much, though! We're aiming for a smooth extraction, not a wrestling match.

If it's still being stubborn, you might notice a couple of small clips or tabs around the base of the agitator. You might need to push these in with your screwdriver while you simultaneously lift. It's a bit of a coordination dance, but totally doable. Imagine you're giving your washing machine a gentle hug to release its central nervous system. That’s the vibe.
And then… it happens. With a final gentle tug, the agitator comes free! You've done it! Take a moment to admire your handiwork. You've successfully navigated the treacherous waters of Maytag agitator removal. Give yourself a pat on the back. You've earned it!

Now that the agitator is out, you've got a beautiful, open canvas to work with. This is your chance to really get into those nooks and crannies. Use a mild cleaning solution and a brush to scrub away any soap scum, lint, or mysterious residue that's been hiding. Rinse thoroughly, and admire the sparkling cleanliness. It’s a surprisingly zen experience, if you think about it. Who knew doing laundry could be so… therapeutic?
Reassembling is just as straightforward, but in reverse. Line up the agitator with the splines in the washing machine tub, push it down firmly, and then re-insert and tighten that bolt. Don't overtighten it, just snug it up. Then, pop that cap back on, and you’re done!

Think about the possibilities now! You can tackle those gigantic king-sized duvets that never quite fit. You can give your machine the ultimate deep clean it deserves. You've expanded your domestic prowess, and that, my friends, is incredibly empowering.
This little act of DIY isn't just about cleaning a washing machine; it's about taking control. It’s about realizing that you have the capacity to understand and even modify the tools you use every day. It’s about demystifying the mundane and finding a little joy in the process. It’s proof that with a little courage, a few basic tools, and a can-do attitude, you can achieve more than you ever thought possible.
So, the next time you're faced with a laundry challenge or just feel like expanding your horizons, remember this. The agitator is no match for your newfound skills. And if you can conquer that, what else can you learn? The world of DIY and appliance maintenance is vast and full of exciting discoveries. Dive in, explore, and never stop learning. You might just find a whole new passion you never knew you had!