How To Remove Ice Maker From Ge Refrigerator

Ever found yourself staring at your GE refrigerator, specifically that frosty little ice maker, and wondering, "Hmm, what's going on in there? And what if I wanted… well, less of that happening?" You're not alone! It's a common curiosity, like peering into a magical ice-making factory that’s suddenly decided to take a permanent vacation. Maybe you've upgraded your fridge, or perhaps that ice maker has developed a personality of its own, creating ice cubes that look more like abstract sculptures than your standard cubes. Whatever your reason, you've landed here, ready to explore the inner workings of your GE refrigerator and potentially embark on a little DIY adventure: removing the ice maker.
Think of it like this: your refrigerator is a whole ecosystem, and the ice maker is a dedicated little worker. Sometimes, even the most diligent workers need a break, or maybe you just want to reallocate their space for something more… exciting. Like, maybe a whole shelf dedicated to artisanal cheeses. Who are we to judge?
So, why is this even a thing people want to do? Well, for starters, sometimes ice makers can be a bit… fussy. They might leak, they might freeze up solid (ironic, right?), or they might just decide their mission in life is to produce a single, lonely ice cube every Tuesday. And let's be honest, wrestling with a stubborn appliance part can feel a bit like trying to untangle Christmas lights in July – a task that requires patience, a touch of humor, and maybe a good cup of coffee.
Must Read
Plus, there's a certain satisfaction, isn't there, in understanding how things work and being able to… tweak them. It's like being a kitchen scientist, but with less lab coat and more spatula. And the GE refrigerator? They're pretty solid machines, so learning to navigate their nooks and crannies is almost like earning a badge of honor.
The Grand Unveiling: What’s Hiding Behind That Ice Bucket?
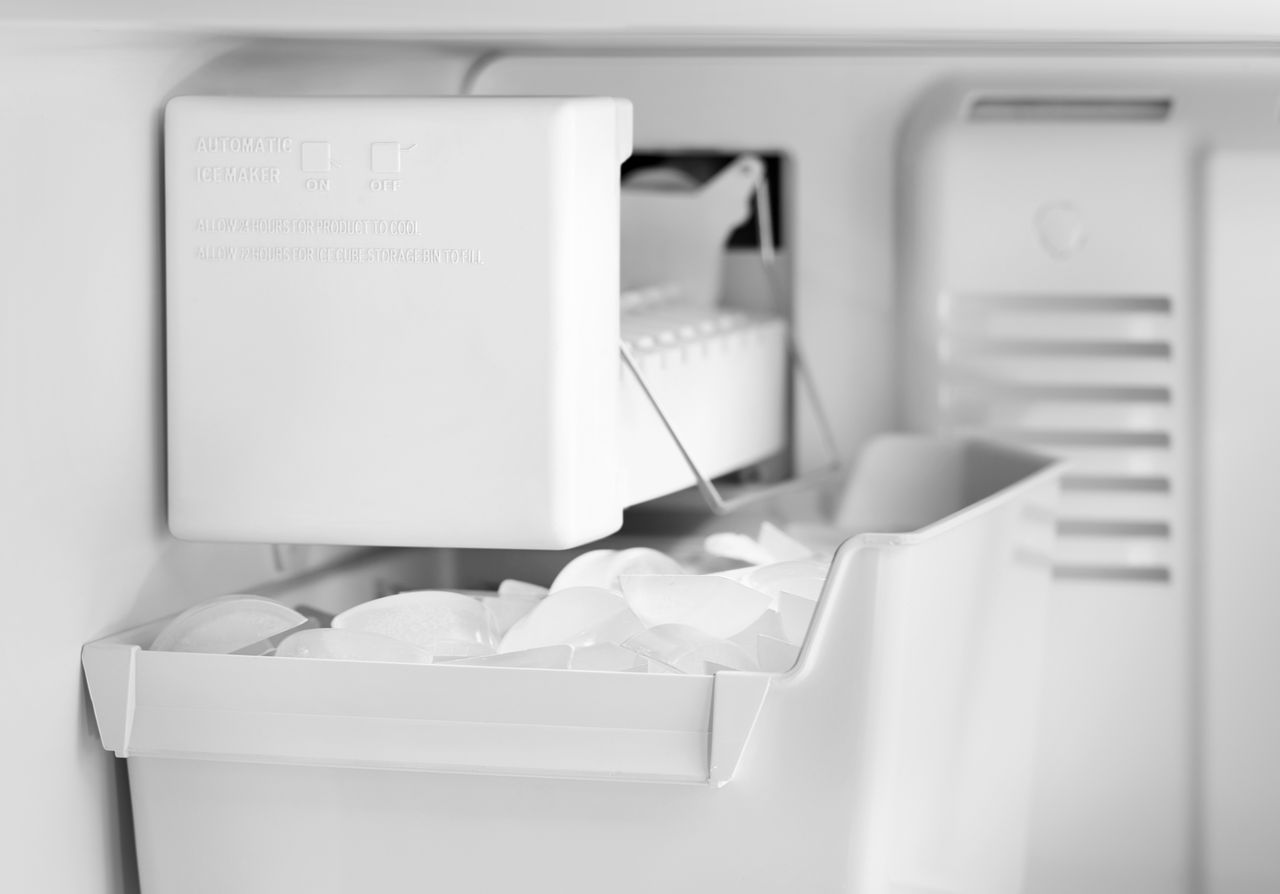
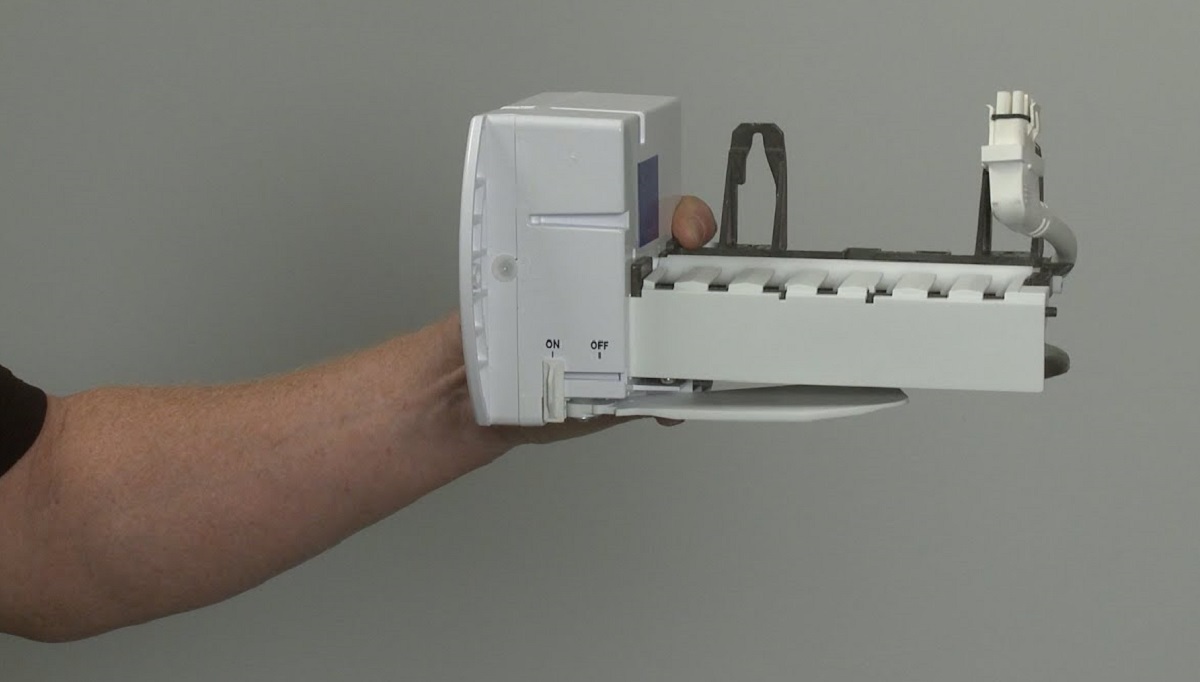
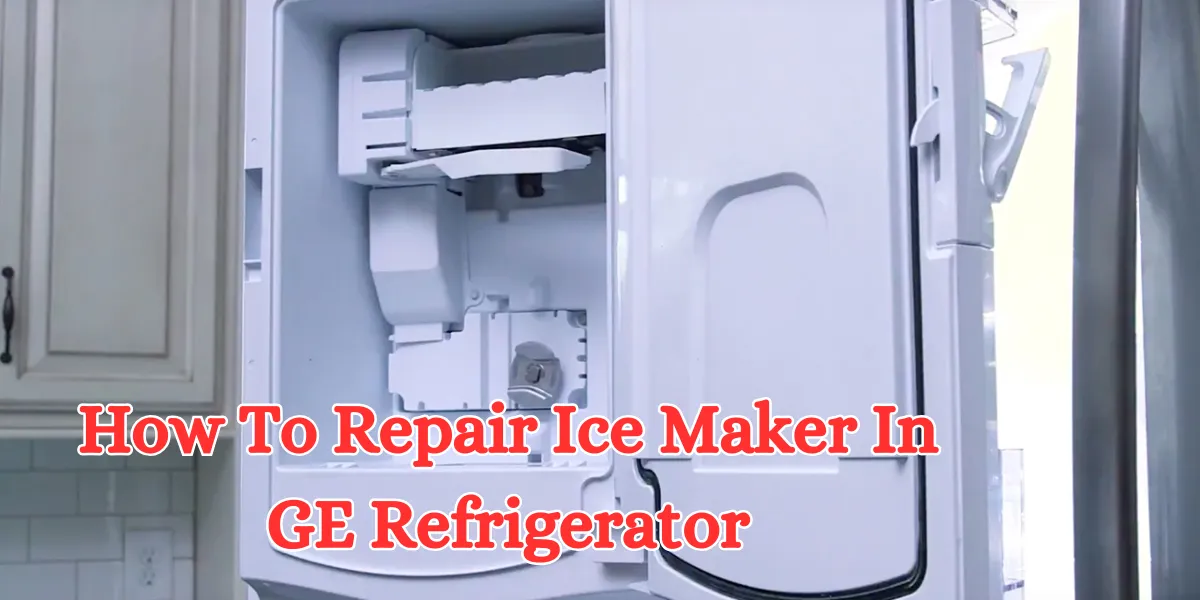
Before we dive headfirst into the chilly abyss, let’s have a little chat about what we’re dealing with. Your GE refrigerator’s ice maker isn't just a floating box of frozen water. Oh no, it’s a marvel of engineering, a tiny titan of hydration production. It usually involves a water line, a motor, a mold or tray, and a mechanism to harvest those precious cubes.
Think of it as a miniature, very dedicated plumbing and freezing system, all bundled up in a compact unit. It’s quite ingenious when you stop and think about it. It takes water, chills it to perfection, and then poof, you have ice. Magic, right? Or at least, very clever mechanics.
And the ice bucket itself? Sometimes that’s the first thing you’ll encounter. It’s often removable, like taking out a little bin of treasure. This is your first win! Gently lifting it out can give you a better view of the actual ice-making mechanism nestled behind it. Some models have a little lever, others just lift straight up. Easy peasy, right?
Getting Down to Business: The Tools of the Trade (and a Little Courage)
Now, for the main event. Removing the ice maker itself usually involves a few basic tools. You’re probably looking at a Phillips head screwdriver, maybe a flathead, and perhaps a pair of pliers. Nothing too intimidating, right? We're not performing open-heart surgery here, just gently coaxing a component out of its cozy home.
The key is to take your time. This isn't a race. Imagine you're unwrapping a delicate present – you want to be careful and mindful of each step. Rushing can lead to… well, let’s just say unnecessary drama, and nobody wants a refrigerator drama.
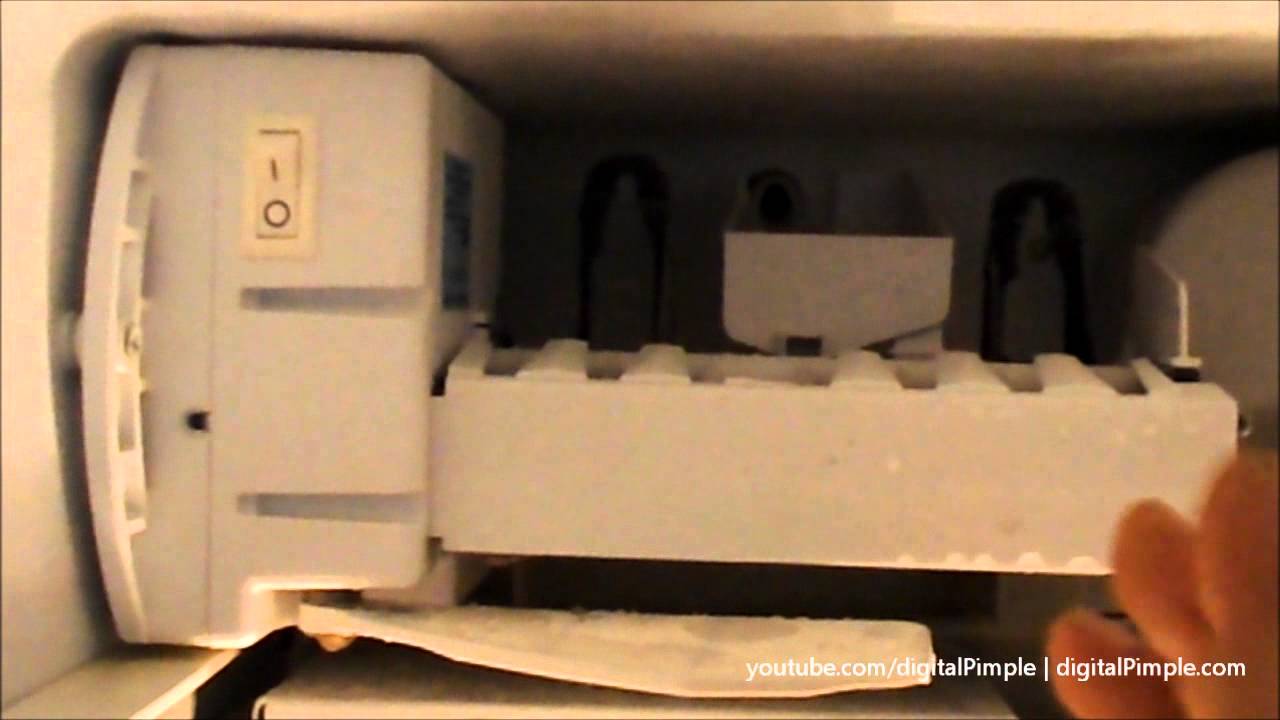
One of the first things you’ll likely encounter is a series of screws holding the ice maker unit in place. These are usually pretty straightforward. Just unscrew them, keeping them in a safe place – maybe a small bowl or a designated "appliance parts" container. We wouldn't want those little guys getting lost, like a single sock in the laundry.
Then comes the fun part: the water line and electrical connections. These are usually designed to disconnect without too much fuss. The water line might have a clip or a push-in fitting. Think of it like a puzzle piece – it only fits one way, and when you push the right button or pull the right tab, it pops right out. Easy!
The electrical connection is usually a plug. Again, gentle does it. There might be a little tab to press. It’s like unplugging a lamp, but a bit more… purposeful. No yanking! We're aiming for a clean disconnection, a polite farewell to the ice maker's power source.
Why Bother? The Perks of a (Formerly) Ice-Making-Free Fridge
So, you've successfully wrestled the ice maker free. High fives all around! Now, what do you do with this newfound space and freedom? Ah, the possibilities are endless!
Maybe you're tired of the constant battle with frozen ice chutes and want to enjoy a reliably clear freezer shelf. Or perhaps you're looking to optimize your refrigerator's energy consumption. Sometimes, a malfunctioning ice maker can actually be a drain on the system, like a little energy vampire.
And let's not forget the sheer satisfaction of having a clean, uncluttered space. It’s like decluttering your mind, but for your kitchen appliance. Imagine a pristine freezer compartment, ready to be filled with… well, whatever your heart desires. More ice cream? A dedicated zone for frozen pizzas? The world, or at least your freezer, is your oyster.
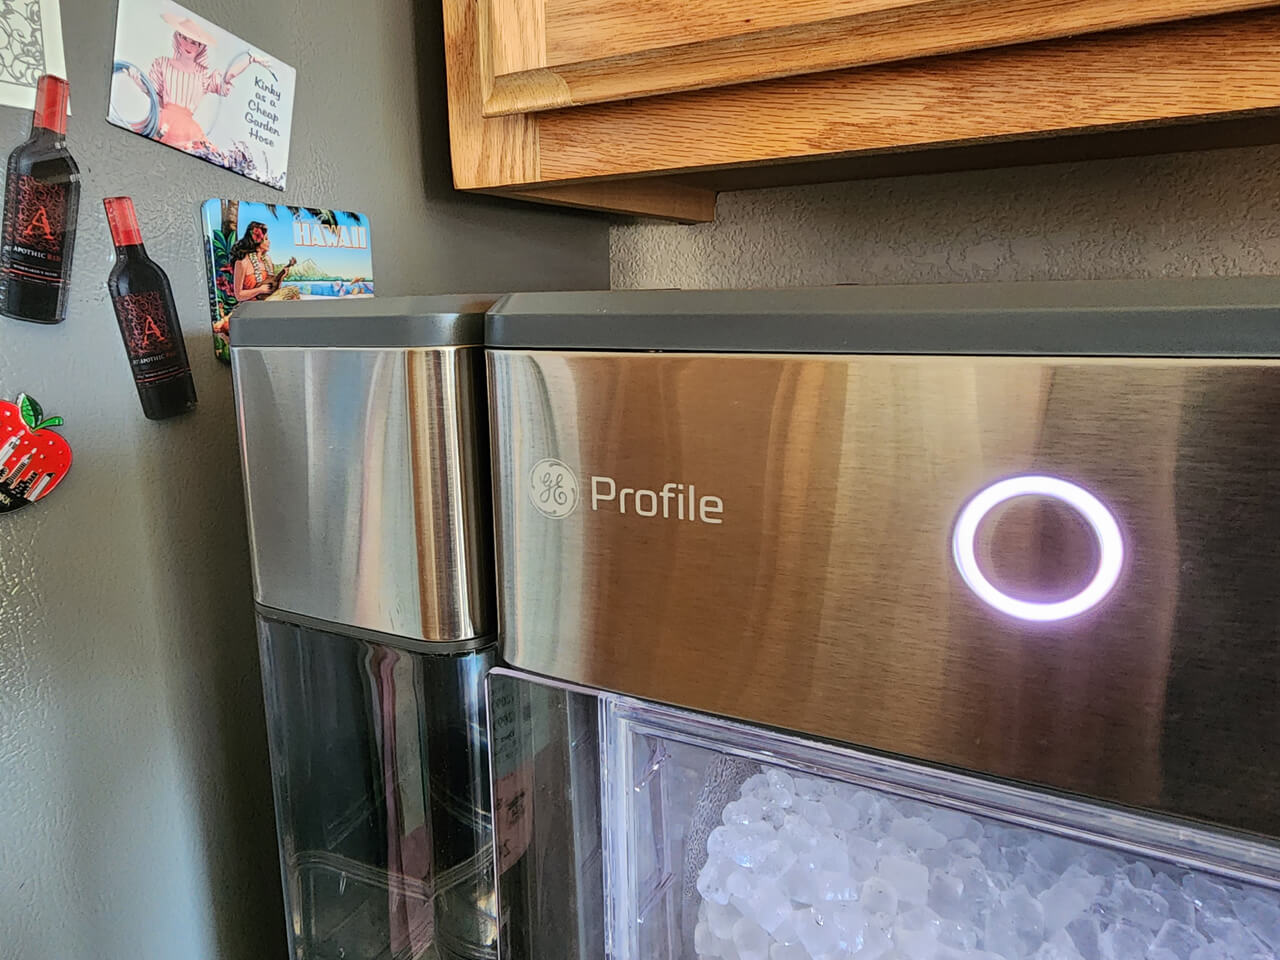
Another common reason people remove their ice maker is when they've upgraded to a refrigerator with an external ice and water dispenser. In this scenario, the internal ice maker becomes redundant. Why have two ice-making operations when one will do? It’s like having two chefs in the kitchen when you only need one to make a killer omelet.
For those who rarely use ice, or perhaps live in a climate where ice is more of a novelty than a necessity, removing the ice maker just makes practical sense. It simplifies your refrigerator's operation and frees up valuable real estate. Think of it as streamlining your kitchen operations.
A Note on Refrigerant Lines: Tread Lightly!
Now, before we wrap this up, a very important little whisper of caution. As you're navigating the interior of your GE refrigerator, you might notice some small, often insulated, copper or aluminum lines. These are your refrigerant lines. They are the lifeblood of your refrigerator’s cooling system. They carry the special fluid that keeps everything nice and frosty.

Do NOT, under any circumstances, attempt to disconnect or puncture these lines. These are not like the water lines or electrical connectors you’ve been dealing with. Messing with these can release the refrigerant, which isn’t good for the environment, and it will definitely mess with your refrigerator’s ability to keep things cool. That would be like accidentally unplugging the main power to the entire ice-making factory!
So, if you see these lines, just work around them. They're usually clearly identifiable and separate from the ice maker unit itself. Think of them as the sensitive, crucial infrastructure that you definitely want to leave undisturbed.
In most cases, the ice maker unit is a self-contained component that can be disconnected without disturbing the main cooling system. It’s designed to be serviceable, and that’s what we’re doing here – a bit of friendly, curious servicing. It’s like giving your car a tune-up; you’re maintaining its function without re-engineering the engine.
So there you have it! Removing an ice maker from your GE refrigerator is a totally achievable task for most folks. It's a chance to peek behind the curtain, understand your appliance a little better, and perhaps gain some valuable freezer space for your future frozen culinary adventures. Happy tinkering, and remember to have fun with it!