How To Remove A Doorbell That Has No Screws

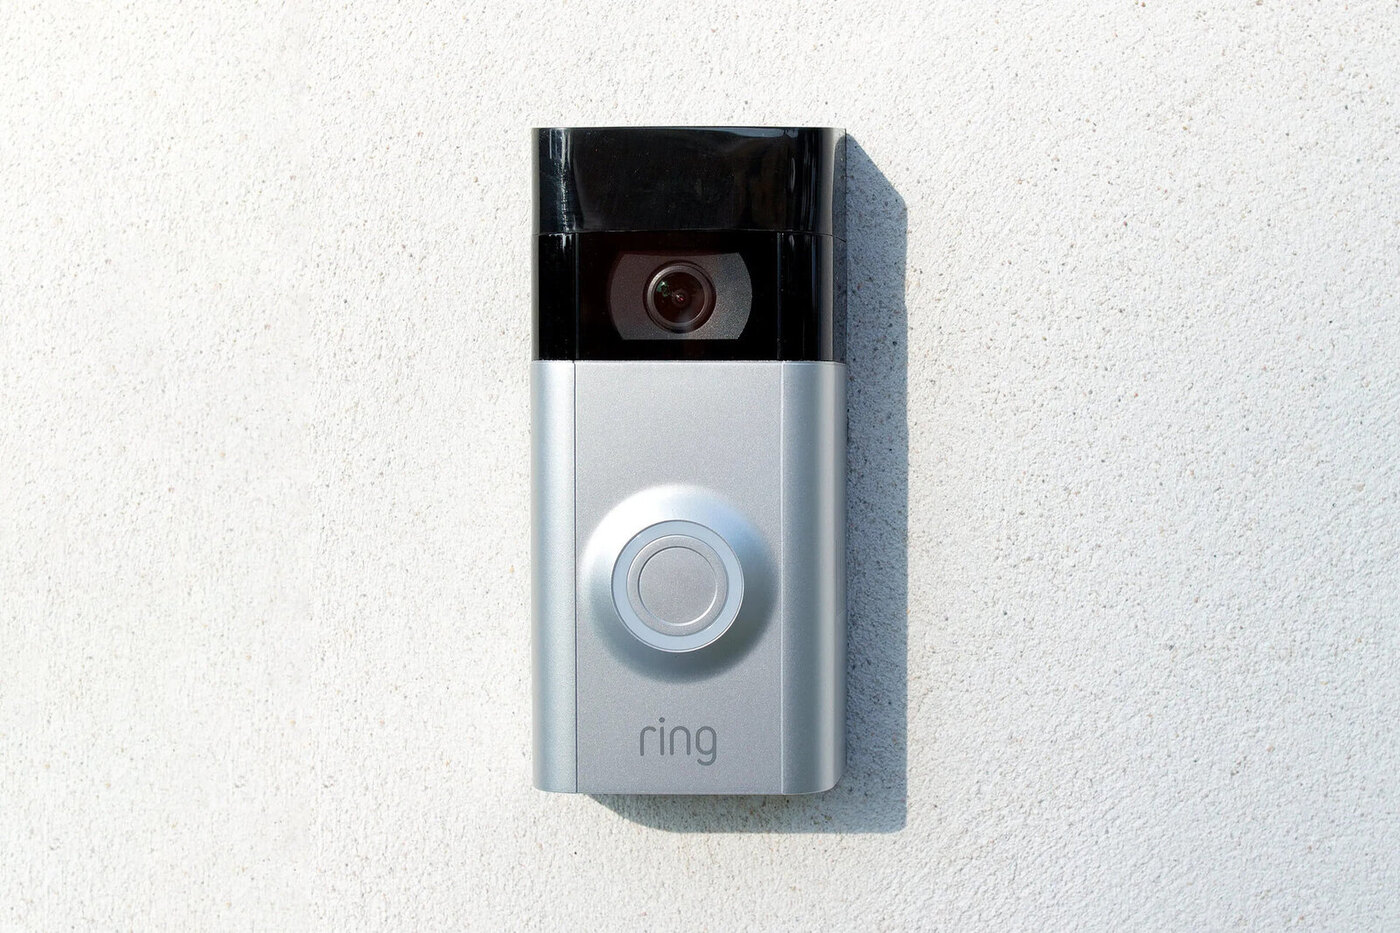
So, you’ve got this doorbell, right? And it’s being… stubborn. Like, really stubborn. You’re ready to swap it out for that fancy new smart one that tells you who’s at the door even when you’re on vacation (because, let’s be honest, who isn't?). But then you look closer. No screws. Nada. Zilch. What gives?
It's like a tiny, infuriating mystery designed by gremlins. You’ve poked, you’ve prodded, you’ve probably even whispered sweet nothings to it, and still, it clings to the wall for dear life. Don't you just love it when a simple task turns into a puzzle worthy of Sherlock Holmes? My own doorbell, bless its little button heart, once decided it was a permanent fixture. I swear, I almost called a structural engineer. Almost.
But fear not, my fellow DIY adventurer! Before you resort to extreme measures (like, I don’t know, a tiny demolition crew?), let's break down how to tackle this screw-less enigma. We're going to channel our inner MacGyver, armed with nothing but common sense and maybe a little bit of patience. And a lot of coffee, obviously. Coffee is key.
Must Read
The Case of the Invisible Fasteners
Okay, so if there aren't any screws, how is this thing staying put? It’s not magic. Or at least, not real magic. It's usually a sneaky little system designed for ease of installation and, sometimes, a slightly cleaner look. Think of it as a built-in feature, like a secret handshake between your doorbell and your house. Pretty neat, huh?
The most common culprits are usually some form of clip mechanism or adhesive backing. Sometimes it’s a combination of both. Your doorbell isn't just stuck there; it’s secured. We just need to figure out its preferred method of security. It’s like trying to coax a shy cat out from under the sofa. Gently, and with a little bit of enticing jiggling.
Let’s dive into these possibilities, shall we? Grab another sip of that brew, and let’s get to the bottom of this!
Scenario 1: The Clip Conundrum
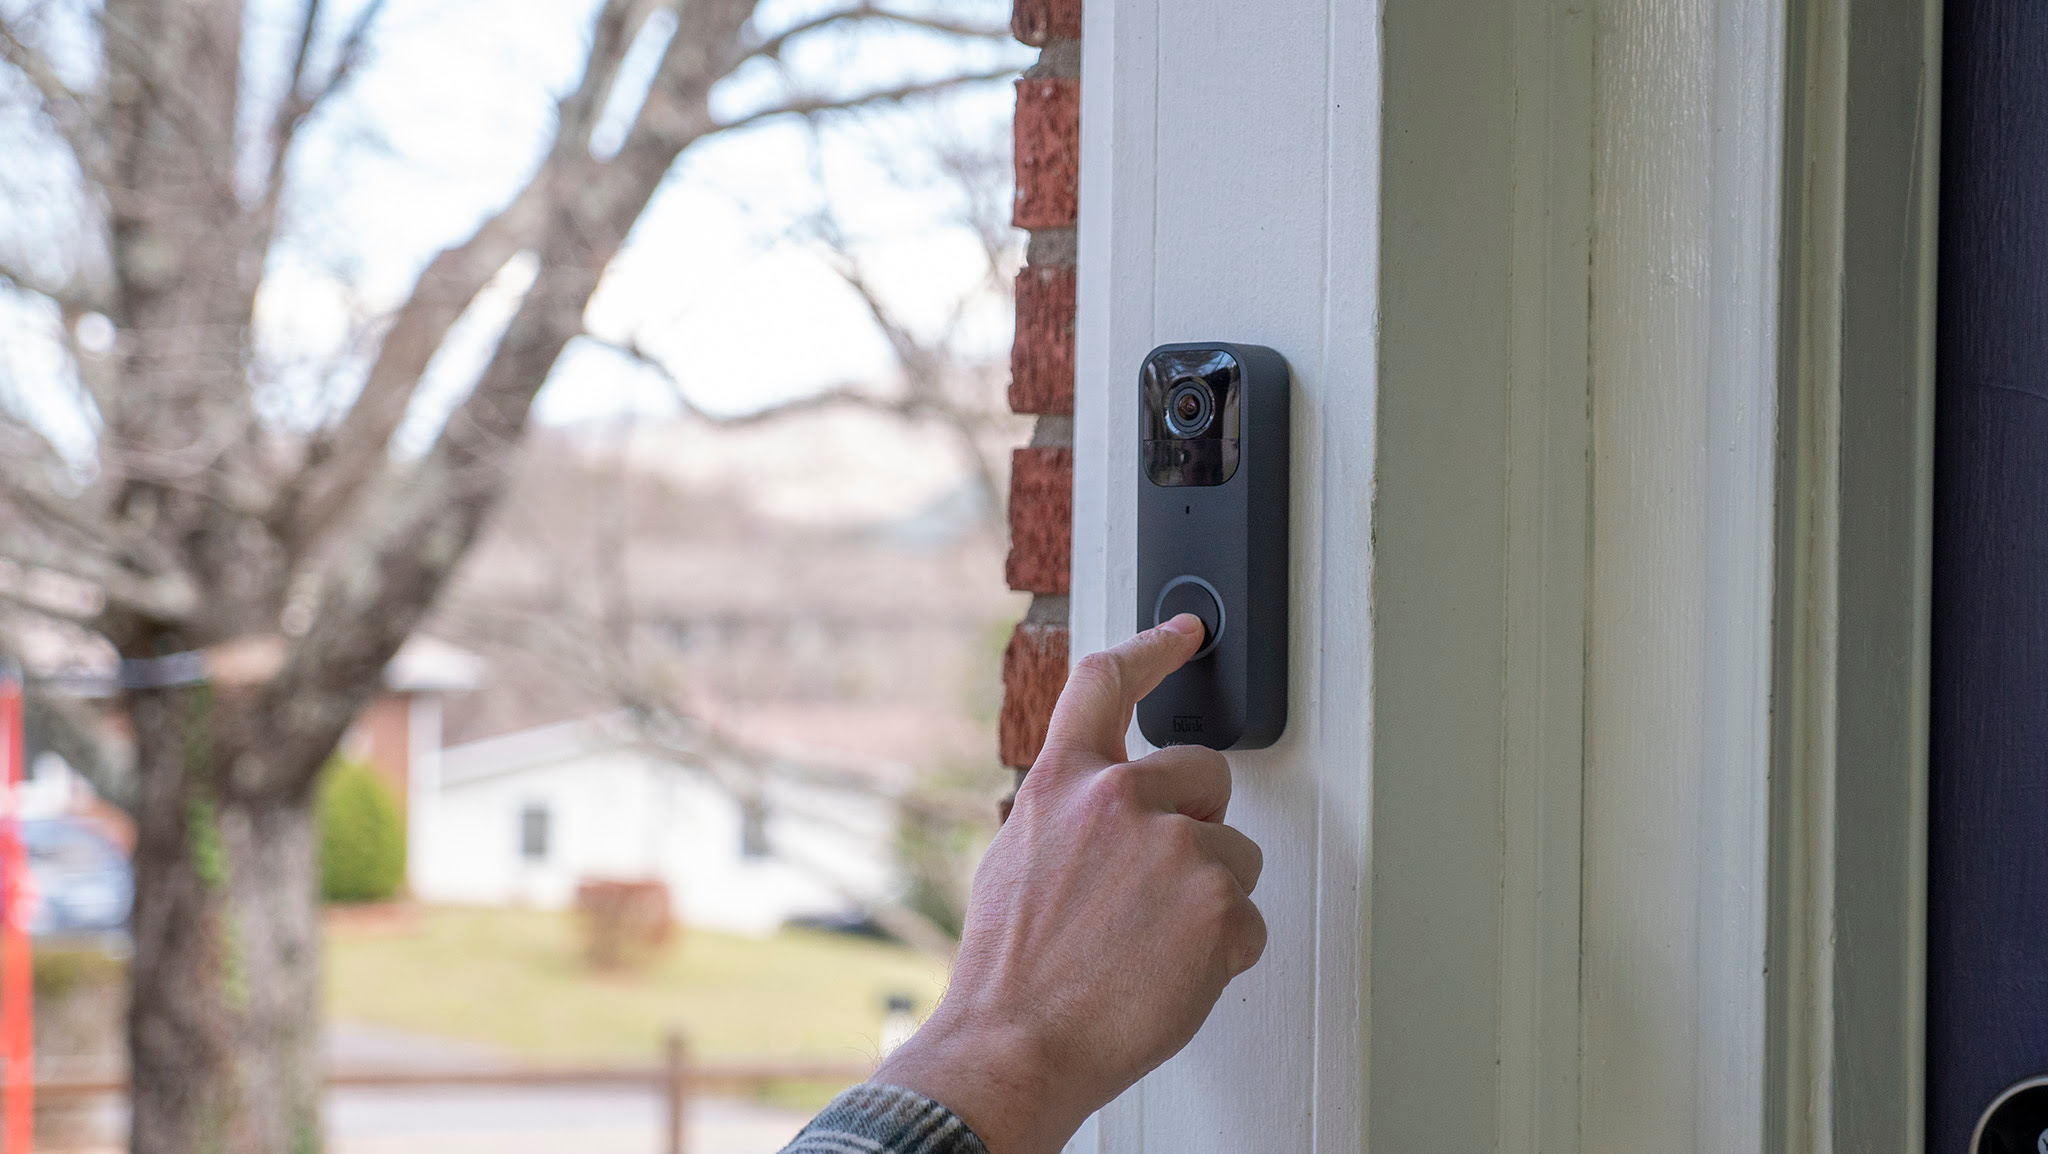
This is probably the most likely scenario if you're seeing absolutely no screw heads. Many modern doorbells, especially wireless ones, use a mounting plate that clips onto the doorbell unit itself. So, the screws might not be on the doorbell, but rather on a separate plate that’s attached to your wall.
Imagine a little bracket or base that's screwed into the wall. The doorbell then snaps or slides onto this bracket. Your mission, should you choose to accept it (and you totally should, because I’m not coming over there), is to figure out how to release the doorbell from its base. It’s like those nesting dolls, but hopefully less frustrating to open.

How to spot it: Look closely at the edges of the doorbell unit. Do you see any little gaps or seams where the front part meets the back? Sometimes, you can even see a slight overhang on the bottom or sides. These are potential entry points for a tool. Think of them as tiny little invitation slots.
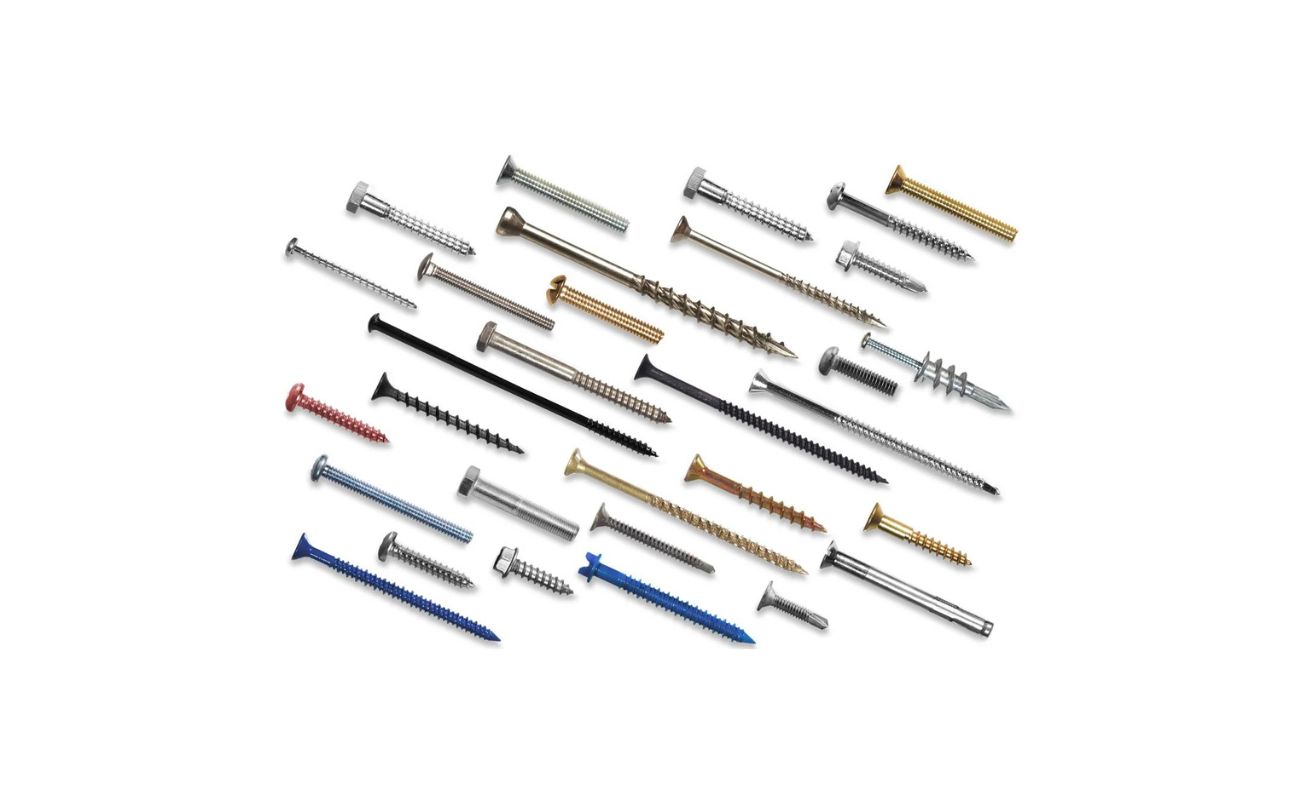
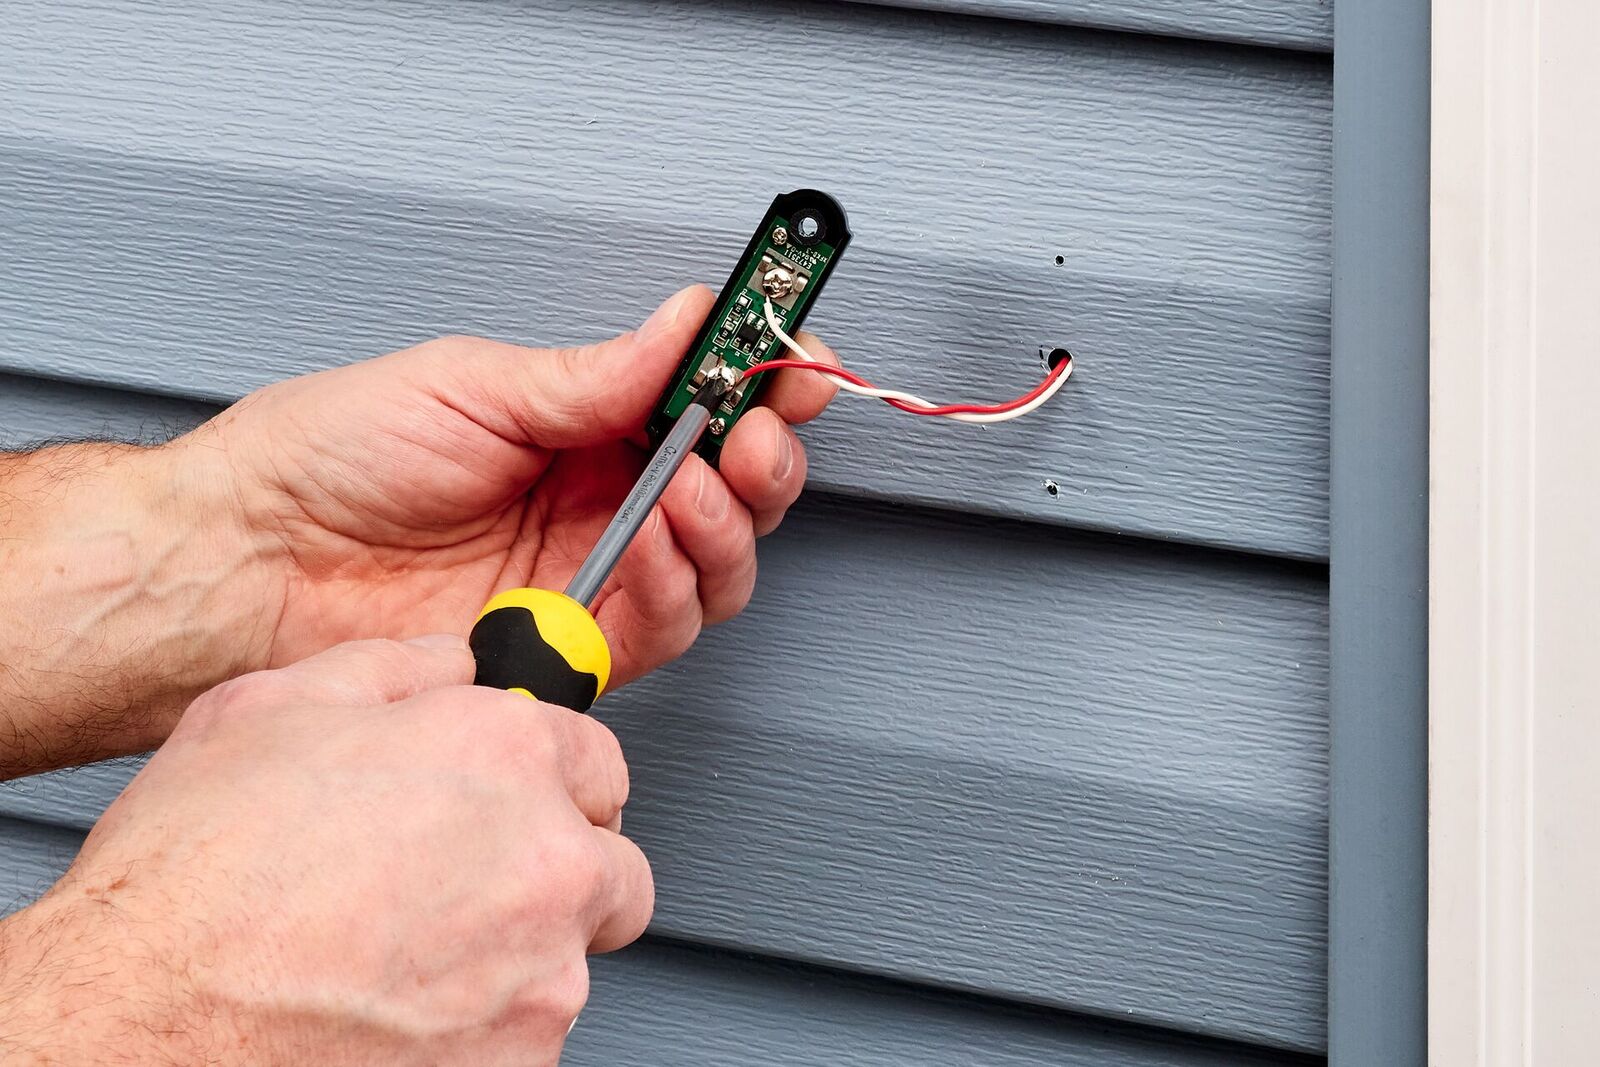
The gentle extraction: Once you’ve identified these potential release points, it’s time for some delicate persuasion. You'll likely need something thin and sturdy, but not so sharp that it'll damage your paint or the doorbell. A flathead screwdriver is often your best friend here, but you can also try a thin putty knife or even a credit card in a pinch. Just be gentle.
You want to try and gently pry or wedge your chosen tool into those seams. Wiggle it a bit. Don’t force it. If you feel resistance, try a different spot. It might be a small lever you need to push, or a corner you need to lift. Think of it as unlocking a secret compartment. So exciting!
Sometimes, the doorbell might slide off the plate rather than pop off. In this case, you’d be looking for a way to disengage it by sliding it up, down, or sideways. Again, look for those subtle clues. A little bit of movement is a good sign. A lot of resistance is a sign to back off and reassess.
And hey, if your doorbell is the kind that has a separate mounting plate, congratulations! Those screws are probably hiding on that plate, which is already attached to your wall. You'll just need to unscrew the plate from the wall once you've detached the doorbell unit itself. See? Progress!
Scenario 2: The Adhesive Alliance
Ah, the adhesive. The silent assassin of easy removal. Sometimes, manufacturers decide that screws are so last century, and opt for a strong, double-sided adhesive tape. This can be a blessing and a curse. Great for initial installation, a real pain when you want to move on.
You might not see any obvious clips with this method. The doorbell will just feel solidly attached. You'll tap it, and it won't budge. You'll pull, and your knuckles might turn white. This is where the patience really needs to kick in. And maybe some music. Something calming. Or something to get you hyped up. Whatever works.
The tell-tale signs: If you’ve ruled out clips and there are no visible screws, the adhesive is your prime suspect. You might see a little bit of tape peeking out from the edges if you’re lucky, but often it’s invisible until it’s fighting you tooth and nail.
The strategic disengagement: This is where a little bit of heat can work wonders. Like coaxing a stubborn jar lid open. You want to gently warm up the adhesive. A hair dryer on a medium setting is your best friend here. Don’t blast it on high heat, you don’t want to melt the doorbell or scorch your paint. Just a nice, steady stream of warm air applied to the edges of the doorbell for a minute or two should soften things up.
Once it’s warmed, try that same thin pry tool we talked about earlier. A plastic scraper or a dental floss (yes, dental floss!) can be surprisingly effective. Slide the floss between the doorbell and the wall, sawing gently back and forth. The warmth should have made the adhesive a bit more pliable, allowing the floss to cut through it. It’s like a tiny, determined dental hygienist working on your wall.
If you're using a scraper or screwdriver, remember: gentle is the operative word. Work your way around the edges. You’re trying to break the bond, not gouge your siding. Patience, grasshopper. You'll get there.

Sometimes, after you’ve loosened the main bulk of the adhesive, there might be a few stubborn sticky bits left. You can tackle these with a dedicated adhesive remover (test it in an inconspicuous spot first!) or some rubbing alcohol. Just make sure to clean the area thoroughly afterwards.
Scenario 3: The Integrated Enigma (Less Common, But Possible!)
Okay, this one is a bit rarer, but I’ve seen it. Some very sleek, modern doorbells might have a completely integrated design where the outer shell is designed to pop off, or perhaps slide in a specific direction, to reveal internal mounting points or the battery compartment. It’s less about separate plates and more about the doorbell unit itself being the housing.
Think of it like a high-tech gadget where everything is streamlined. It’s designed to look seamless and almost fused with your wall. This can be frustrating because there are often no obvious seams to exploit.
How to identify this beast: If you've tried the clip and adhesive methods and come up blank, and the doorbell looks like a single, solid piece, you might be dealing with this. Look for subtle markings, a tiny arrow, or a slightly different texture in a specific spot. Manufacturers sometimes add these little clues for the determined.
Unlocking the mystery: This is where you might need to consult the manual. Seriously! For these high-tech gadgets, the instructions are your lifeline. If you don't have the physical manual, a quick Google search for the doorbell's model number should bring up a digital copy. It will tell you exactly where and how to apply pressure, or what tool to use to disengage it.
If all else fails, and you're still stumped, don’t be afraid to do a bit of online sleuthing. Search for "[Your Doorbell Brand and Model] remove" on YouTube. Chances are, someone else has battled this exact same screw-less nemesis and documented their victory. Seeing someone else do it can be incredibly helpful.
Before You Go Full Hulk Mode
Before you unleash your inner frustration and start yanking with all your might, let’s do a quick mental checklist. Because sometimes, the solution is hiding in plain sight, and we’re just too busy looking for complicated problems.
- Check for a battery compartment: Some wireless doorbells have battery compartments that might be accessed by releasing a small latch or sliding a panel. This might give you leverage or reveal hidden mounting points.
- Look for a small hole: Occasionally, there's a tiny pinhole or slot. This is often where you insert a small tool (like a paperclip or a tiny screwdriver) to press a release button. It's like a secret escape hatch!
- Consider the age: Older doorbells might have different fastening methods than newer ones. If it's a vintage piece, it might be more prone to brittle plastic or old-school adhesives.
- Don't forget the obvious: Is it really screwed in? Give it a good, firm wiggle in all directions. Sometimes, the screws are just so flush you can barely see them. Or maybe they're on the underside of a lip you haven't noticed.
And a word of caution: always prioritize safety. If you’re working at height, make sure you have a stable ladder. If you’re using tools, be mindful of your fingers. And if you’re ever in doubt, it’s perfectly okay to call a handyman. There’s no shame in admitting defeat and letting a pro handle it. Think of it as outsourcing your frustration!
The Aftermath: Cleaning Up Your Act (and Your Wall)
Once you've successfully liberated your doorbell from its wall-bound prison, you might be left with a little something behind. Residue. Like the ghost of doorbells past. Don’t despair!
As mentioned before, rubbing alcohol is great for general adhesive residue. For tougher stuff, a dedicated goo remover can be a lifesaver. Just remember to follow the product instructions and, again, test in an inconspicuous area first. You don’t want to accidentally strip the paint off your entire wall.
Once the area is clean, you’ll have a nice blank canvas for your new, shiny doorbell. Or, if you’re just replacing it, you might need to fill any small holes left behind. A little bit of spackle and some touch-up paint will do the trick. It’s amazing what a little bit of DIY elbow grease can do!
So there you have it! Navigating the world of screw-less doorbells. It’s a journey, for sure, but a conquerable one. With a little patience, the right tools (or household items that can double as tools), and a dash of determination, you can tackle this mystery. Now go forth and conquer that doorbell! And if all else fails, well, you’ve always got your trusty coffee mug for moral support. Cheers!