How To Make A Mesh Cross Wreath 98

Who says holiday decorating has to be a chore? Forget those expensive store-bought decorations that everyone else has! Today, we're diving into the wonderfully fun and surprisingly easy world of crafting your very own Mesh Cross Wreath. Think of it as your personalized welcome sign, a splash of festive cheer that says "you've arrived at a place filled with creativity and good vibes!" It's a fantastic project for crafters of all skill levels, from beginners looking for a satisfying first project to seasoned DIY enthusiasts wanting to add a unique touch to their seasonal decor. Plus, the satisfaction of saying, "I made this!" is pretty darn awesome.
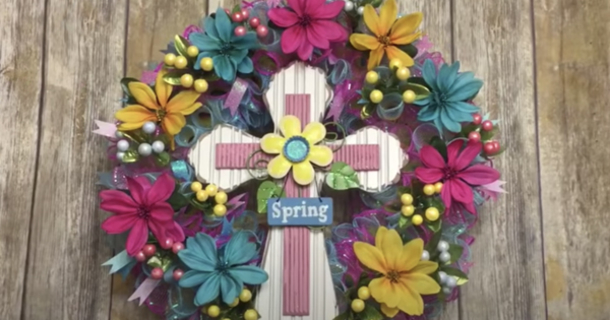
The beauty of a Mesh Cross Wreath lies in its versatility and charm. It’s not just about looking pretty (though it absolutely does!). This wreath serves as a warm and inviting statement piece. Whether it's gracing your front door to greet guests, hanging in your living room to add a festive focal point, or even as a thoughtful handmade gift, a mesh cross wreath brings a handcrafted touch that mass-produced items simply can't replicate. The vibrant colors and textures of the mesh, combined with the classic cross shape, create a look that's both contemporary and timeless. It’s a wonderful way to express your personal style and infuse your home with a little extra love and personality, especially during holidays and special occasions.
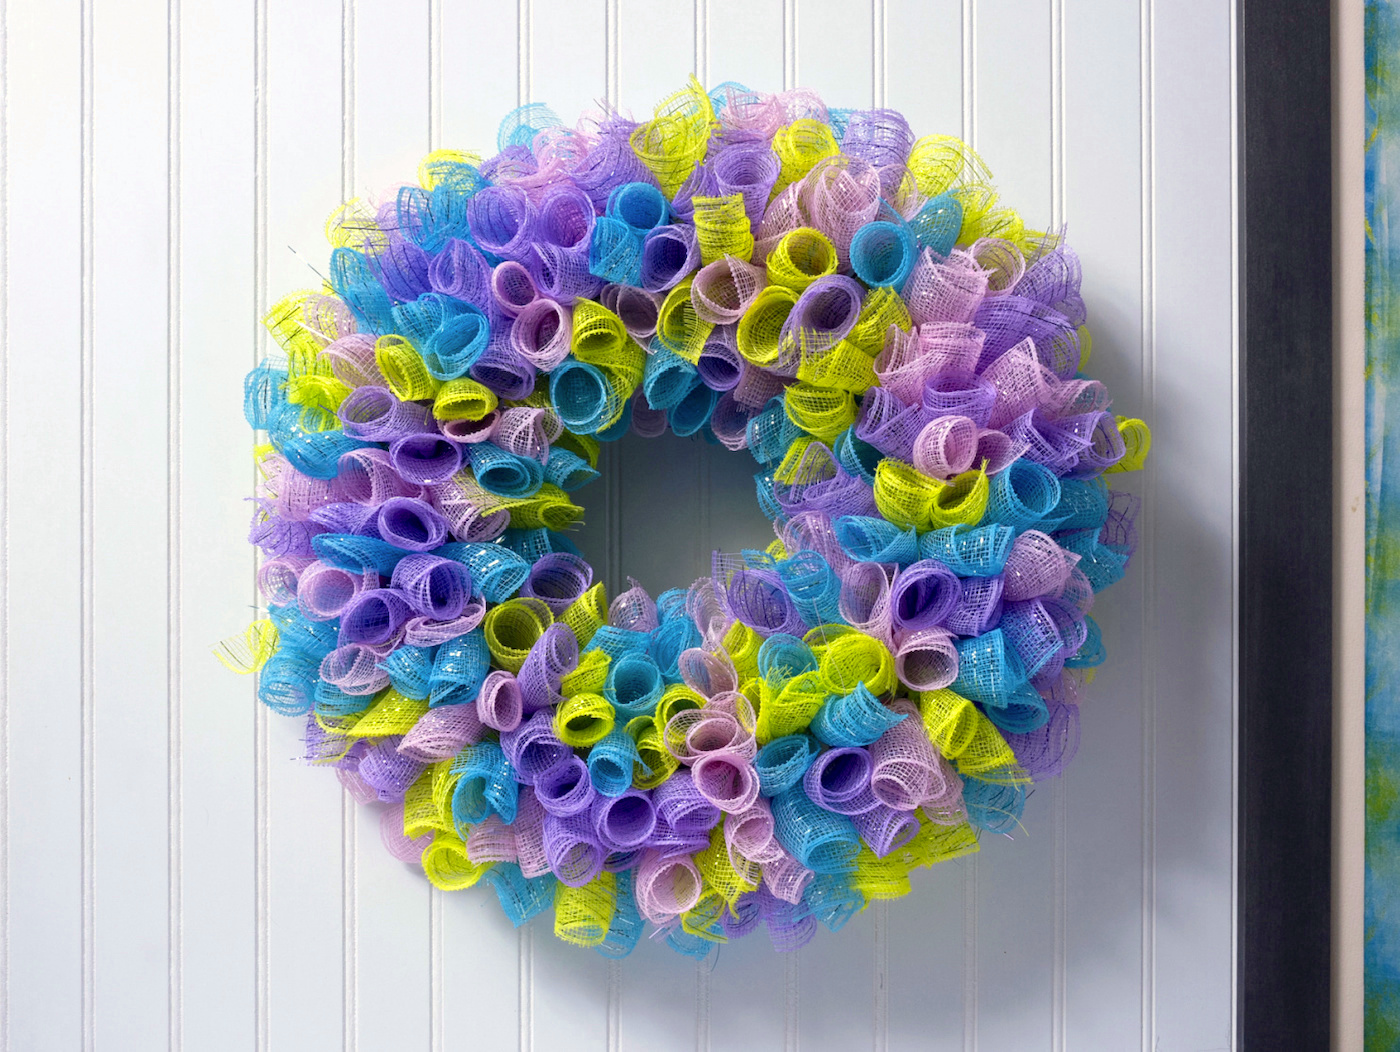
Let’s talk about what you’ll need to bring this creation to life. Gathering your supplies is part of the fun, and thankfully, most of these items are readily available at your local craft store or even online. The star of our show is, of course, the mesh itself. You'll want to grab a roll or two of deco mesh. This is a stiff, net-like material that holds its shape beautifully and comes in an astonishing array of colors and patterns. Think shimmering golds and silvers for a touch of elegance, vibrant reds and greens for Christmas, or cheerful pastels for Easter. The wider the mesh, usually 10-inch or 21-inch, the fuller and more impactful your wreath will be. Don't be afraid to mix and match colors and textures for a truly unique look!
Must Read
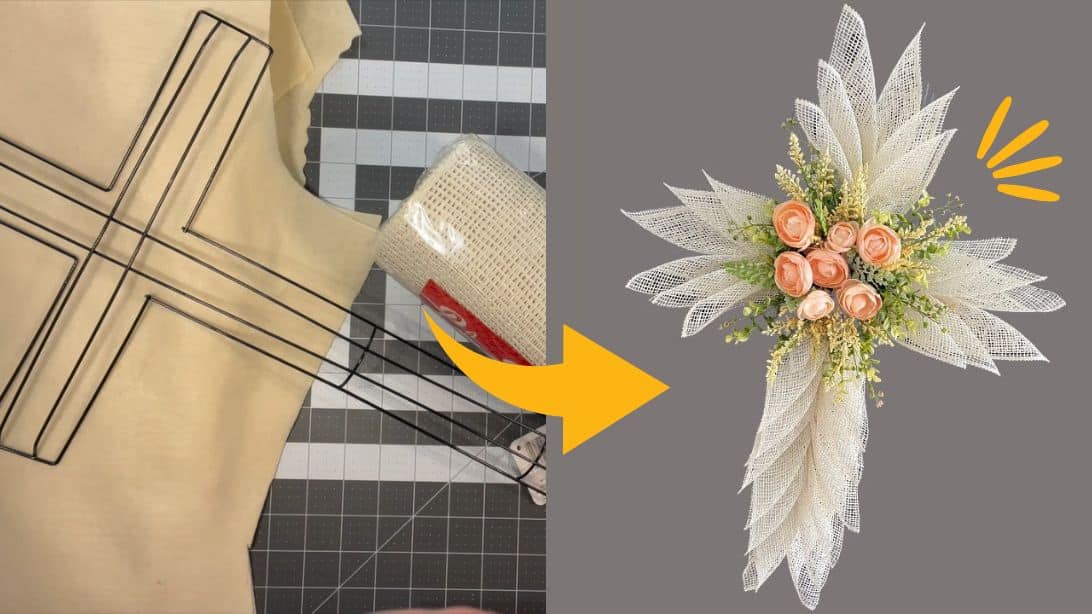
Next up, you'll need a wreath frame. For a mesh cross wreath, a wire wreath frame is ideal. You can find these in various sizes, but a 14-inch or 18-inch frame is a good starting point. Some crafters also opt for a specific cross-shaped wreath frame, which makes the shaping process even simpler. If you can’t find a cross-shaped frame, don’t worry! We’ll show you how to create the cross effect with just a standard round frame. You’ll also need some pipe cleaners or floral wire to attach your mesh to the frame. Don't forget a good pair of scissors – sharp ones make all the difference when cutting through that mesh!
For embellishments, the possibilities are truly endless. Think of adding coordinating ribbons, artificial flowers, greenery, small ornaments, or even seasonal figurines. The key is to choose items that complement your mesh and the overall theme you're going for. For instance, for a fall wreath, you might add burlap ribbons, faux pumpkins, and autumn leaves. For a patriotic theme, red, white, and blue ribbons and star accents would be perfect. This is where you get to let your inner artist shine and truly personalize your creation.

Let’s Get Crafting!
Ready to get your hands busy? Here’s a breakdown of how to assemble your magnificent Mesh Cross Wreath:
First, prepare your mesh. You’ll be cutting your deco mesh into strips. The length of these strips will determine the fullness of your wreath. A common starting point is to cut your 10-inch mesh into 10-inch to 12-inch strips, and 21-inch mesh into 20-inch to 24-inch strips. You can experiment with different lengths to achieve various looks. For a ruffled effect, you'll cut your mesh into these strips and then scrunch them up.
Next, attach your mesh to the wreath frame. If you're using a standard round frame, you'll be attaching the mesh in a way that creates the cross shape. A popular technique is the "pouf" or "ruffle" method. Take a strip of mesh, fold it in half lengthwise, and then scrunch it up in the middle. You'll then secure this scrunch to one of the wires on your wreath frame using a pipe cleaner or floral wire. Continue this process, working your way around the frame, ensuring each pouf is secured tightly. The way you orient these poufs will help define the cross shape.
To create the cross effect on a round frame, you'll focus on attaching your mesh in a way that builds outward from a central point, gradually widening to form the arms of the cross. Imagine the frame as a canvas. You'll place your poufs strategically to create the illusion of vertical and horizontal arms. Some crafters even use two standard frames tied together to form a cross shape, which can simplify the process. If you're lucky enough to find a cross-shaped wreath form, this step becomes even more straightforward, as the frame itself dictates the shape!
For a truly stunning cross shape, even on a round frame, consider using different colors for the "arms" and the "center" of the cross. For example, use a deep red for the vertical part and a contrasting color like gold or white for the horizontal arms. You can also achieve a more defined cross by using longer strips of mesh for the arms, allowing them to extend outwards more prominently. Pay attention to how you attach each pouf; a little overlap and careful placement can make a big difference in the final outcome.
Once your mesh is securely attached and you're happy with the coverage, it’s time for the fun part: decorating! Start by adding your larger embellishments, like ribbons or artificial flowers. Secure these with pipe cleaners or hot glue. Then, fill in any gaps with smaller accents. Don't be afraid to layer! For example, tie a bow made of contrasting ribbon and attach it to the top or bottom of your cross. Drape floral stems around the arms. Remember, the goal is to create a cohesive and visually appealing design.
A crucial tip here is to step back and look at your wreath from a distance periodically. This helps you see where you might need to add more mesh, adjust embellishments, or fill in any sparse areas. It also gives you a better perspective on the overall balance and symmetry of your design.
Finally, attach a sturdy hanging mechanism to the back of your wreath. A wire hanger or a strong loop made of ribbon will work perfectly. And there you have it – your very own, beautifully crafted Mesh Cross Wreath, ready to add a touch of handmade magic to your home!