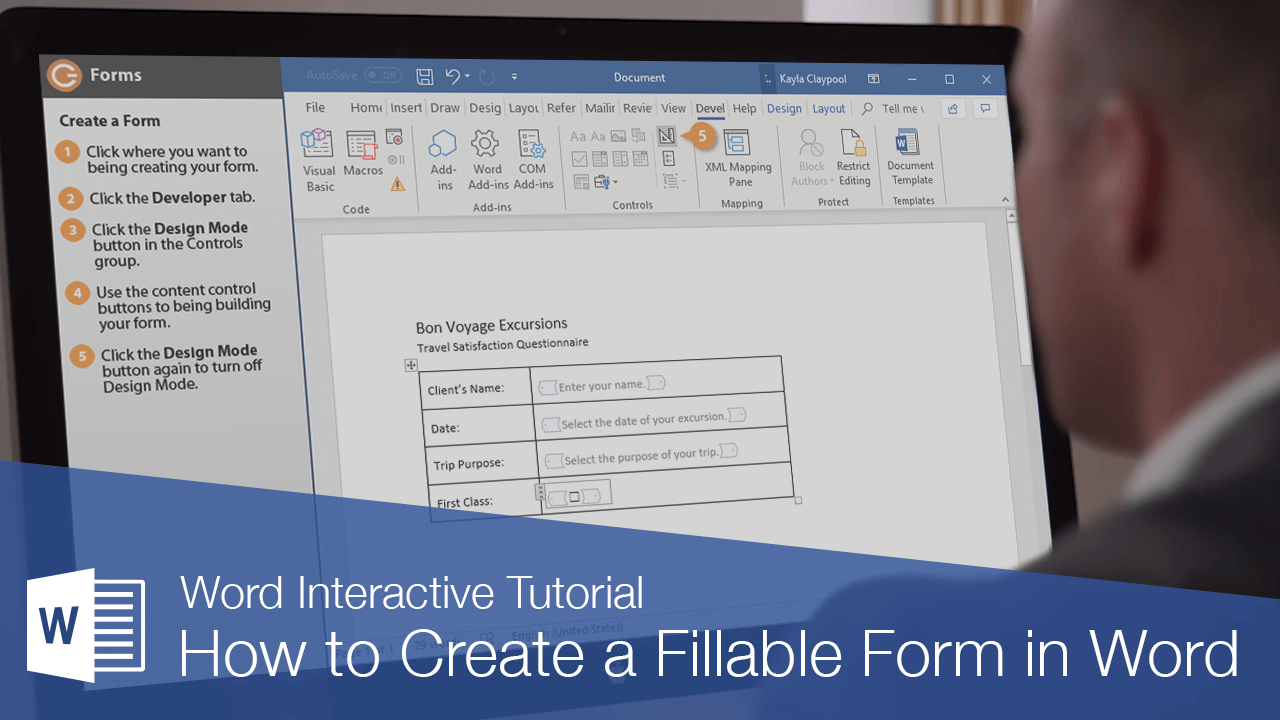
How To Make A Form Using Word
Hey there, awesome creator! So, you've got a brilliant idea buzzing around your head, and you want to capture all that juicy information from your pals, your colleagues, or maybe even your super-fan aunt. And you’re thinking, “How on earth do I get all this down without sounding like a boring questionnaire?” Well, my friend, get ready to unleash your inner form-building wizard, because we’re diving into the magical world of Microsoft Word to craft some seriously snazzy forms!
Forget those clunky, old-school paper forms that always seem to go missing or get smudged with coffee (we’ve all been there, right?). We’re talking about making digital wonders that are as fun to fill out as they are easy to create. And the best part? You probably already have the tool you need sitting right there on your computer: Microsoft Word. Yep, that trusty document creator can do way more than just letters and essays. It’s a secret superhero in disguise!
Think of it like this: you're the architect, and Word is your super-powered toolkit. We’re going to build a structure that’s not just functional, but maybe even a little bit… dare I say it… exciting to interact with. Ready to ditch the dull and embrace the divine? Let’s get started!
Must Read
Getting Your Word Form-Building Gadgets Ready
Before we start laying down the digital bricks, we need to make sure we have the right tools at our disposal. Word has a special little feature called the Developer tab. Now, this guy is like the shy friend who’s actually the life of the party once you get to know them. By default, it’s often hidden away, probably because it’s a little too powerful for casual browsing (kidding!).
So, how do we summon this elusive tab? It’s super simple. You’ll need to go into your Word options. If you’re using a newer version of Word, you’ll likely click on File, then Options. For older versions, it might be under the big Office button (that colorful circular thing!) and then clicking on Word Options. Either way, find that magical place where Word lets you tweak its settings.
Once you’re in the Options menu, look for something that says Customize Ribbon. This is where you tell Word what buttons and tabs you want to see. On the right-hand side of this screen, you’ll see a list of all the available tabs. Scroll down until you find Developer and give that little checkbox a good ol’ tick. Hit OK, and BAM! There it is, proudly sitting on your Word ribbon, ready for action. Hooray for customizable tech!
The Secret Sauce: Content Controls
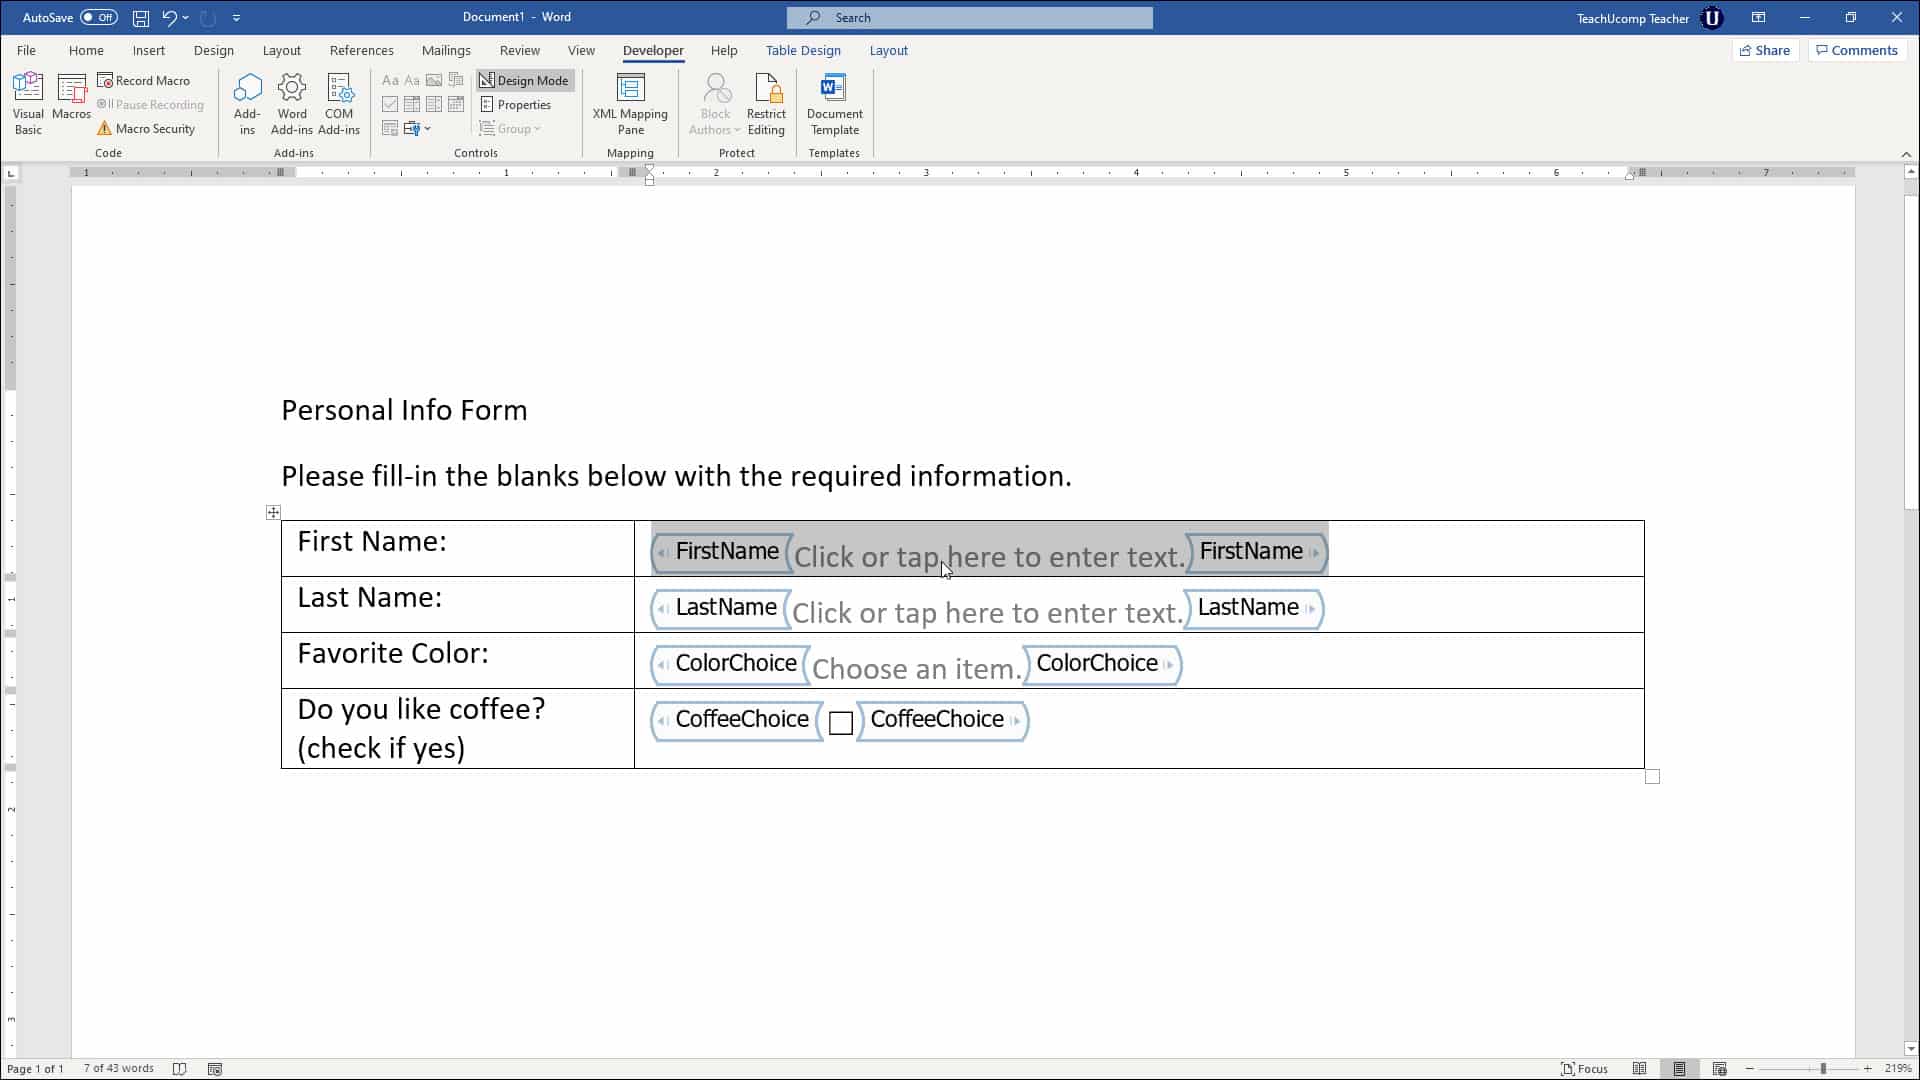
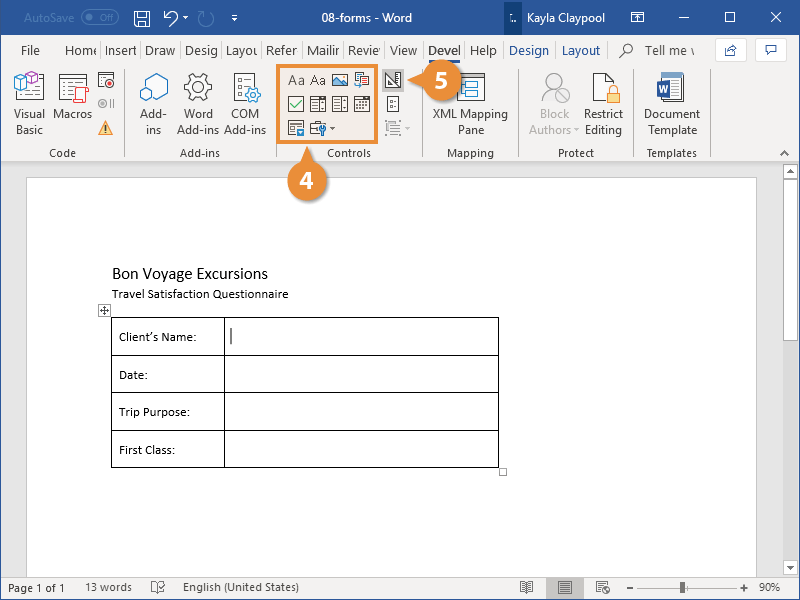
Now that the Developer tab is out and about, you'll notice a whole bunch of new buttons. Don’t get overwhelmed! The most important ones for our form-building adventure are in the Controls group. These are called Content Controls. Think of them as the LEGO bricks of your form. You’ve got checkboxes, text boxes, dropdown lists, date pickers, and all sorts of other goodies.
These are the magic ingredients that make your form interactive. Instead of just typing text, people will be clicking, selecting, and choosing. It’s like giving your form a personality!
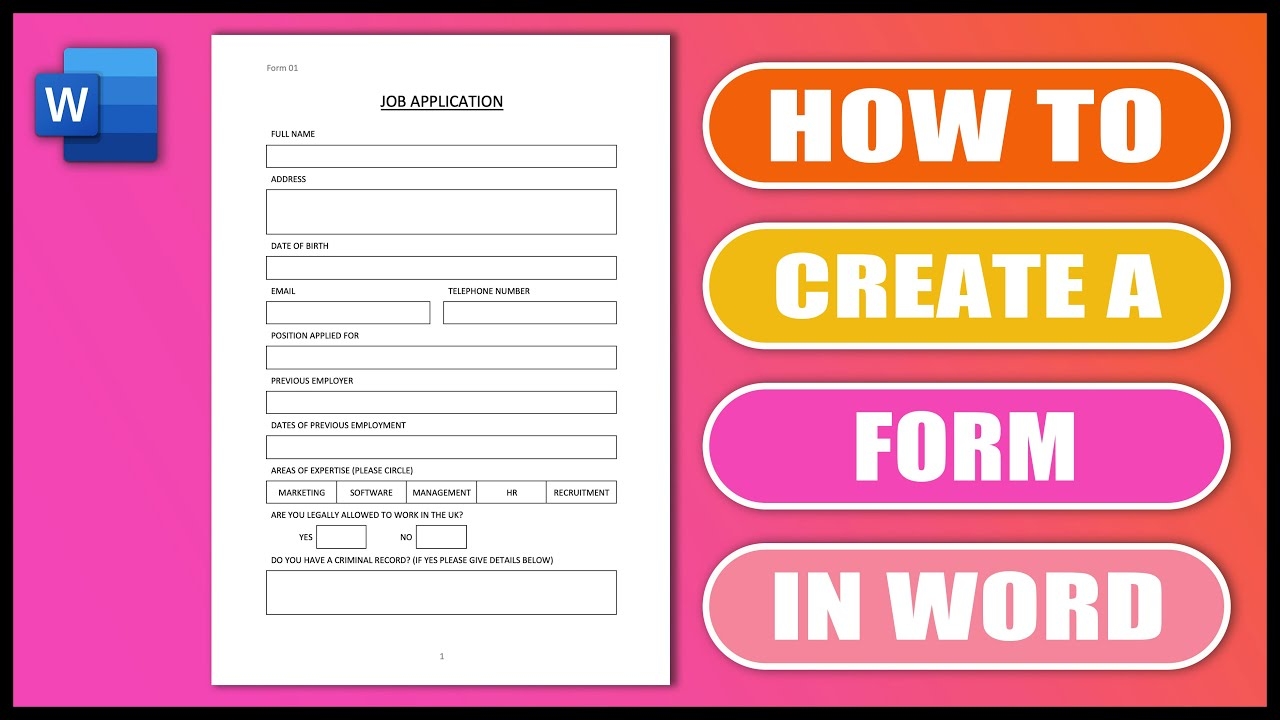
Let’s Build Something Awesome: Your First Form!
Alright, enough preamble. Let’s get our hands dirty and actually make a form. Imagine you’re organizing a super fun potluck. You need to know who’s bringing what, if anyone has dietary restrictions (because nobody wants Uncle Bob to have a surprise anchovy incident, right?), and what their RSVP status is.

Step 1: The Title and Basic Info
First things first, give your form a clear and catchy title. Something like “Spectacular Potluck Party Sign-Up!” sounds way more exciting than “Potluck Form.” Type that right at the top. You can make it bold and larger to make it stand out. Maybe even add a little sparkle effect if you’re feeling extra fancy – Word can do that too!
Below the title, you can add some introductory text. “Welcome, food enthusiasts! Please help us organize the most delicious potluck ever by filling out this quick form. Your culinary contributions are greatly appreciated!” See? Already sounds like fun.
Step 2: Adding Your First Content Control – The Name Field
Now, we need to know who is signing up. Go to the Developer tab and click on the Plain Text Content Control button. It looks like a little document icon. This will insert a box where people can type their name. To make it super clear, you can type “Your Name:” right before the content control box.
Want to make it even better? Click on the content control box you just inserted. Then, on the Developer tab, look for Properties. This is where you can customize your content control. You can give it a Title (like “Participant Name”) which is good for accessibility, and even add a placeholder text. For example, instead of the default “Click here to enter text,” you could put “Enter your full name here.” How neat is that?
Step 3: The RSVP – Dropdown Magic!
Next up, the crucial RSVP. We want to know if they’re coming, if they’re maybe-ing (the most indecisive people!), or if they’re sadly bowing out. For this, a Dropdown List Content Control is perfect. It looks like a little list icon on the Developer tab.
Click on the dropdown button. You’ll insert a box with a little arrow. Now, just like before, click on the content control and go to Properties. This time, you’ll see a section for Dropdown List Items. Click Add and type in your options: “Yes, I’m coming!”, “Maybe, I’ll try!”, and “No, sadly can’t make it.” You can arrange the order and even remove options if you change your mind. It’s like making your own personalized menu of choices!
Again, type “RSVP:” before the dropdown box. People will click the arrow and choose their destiny (or their attendance status, at least).
Step 4: Dietary Restrictions – Checkboxes Galore!
Food allergies and preferences are super important. We don’t want any unpleasant surprises. For this, Checkbox Content Controls are your best friends. You’ll find a little checkbox icon on the Developer tab.
Type “Dietary Restrictions:” and then insert a checkbox. Now, here’s the clever part: you can have multiple checkboxes for different options. So, after “Dietary Restrictions:”, insert a checkbox, and next to it type “Vegetarian”. Then, on the next line (or next to it, depending on your layout), insert another checkbox and type “Vegan”. Keep going for “Gluten-Free,” “Nut Allergy,” “Dairy-Free,” and add an “Other (please specify)” option.
For the “Other (please specify)” option, you’ll want to add a Plain Text Content Control right after it. This way, if they select “Other,” they have a place to write what their other restriction is. It’s all about covering your bases, folks!
You can also customize the checkboxes themselves in their Properties. You can change what shows up when the box is checked and unchecked, but for most cases, the defaults are perfectly fine.
Step 5: What Are You Bringing? – The Text Area
Now for the exciting part – the food! We need a place for people to tell us what delicious dish they’re contributing. A Rich Text Content Control is ideal here. It looks like a document icon with a little ‘Aa’. This gives people a bit more formatting freedom, which is nice for describing their culinary masterpiece.
Type “What delicious dish will you be bringing?” followed by the Rich Text Content Control. You can even set a placeholder text like “Describe your amazing dish here (e.g., Grandma’s famous lasagna, homemade cookies, refreshing watermelon salad).”
You might also want to add another Plain Text Content Control for “Any other notes or requests?” – this is for any random thoughts, like “Can someone bring extra napkins?” or “I’m practicing my juggling, so stand back!”
Making Your Form Even More Awesome
You’ve got the basics down! But we can sprinkle a little more magic on your form to make it even more user-friendly and professional.
Using Tables for Layout
Sometimes, just typing things out can lead to a bit of a mess, especially when you’re mixing labels and content controls. A secret weapon for neat forms is using tables. You can insert a table (Insert > Table) and then put your labels in one column and your content controls in another. This keeps everything perfectly aligned and looking super sharp.
Don't want to see the table lines? No problem! You can select the table, go to the Table Design tab, and under Borders, choose No Border. Voila! It looks like magic, but it’s just smart organization.
Restricting Editing (The “Lock It Down” Feature)
Once you’re happy with your form’s design, you might want to prevent people from accidentally changing the labels or the structure. This is where Restricting Editing comes in handy. Go to the Developer tab and click on Restrict Editing.
A pane will pop up on the right. Under “Editing restrictions,” check the box that says “Allow only this type of editing in the document.” Then, from the dropdown, choose “Filling in forms.” This is the key! It means people can only interact with the content controls (typing in text boxes, checking boxes, selecting from dropdowns) and can’t mess with anything else.
You can also set a password if you want to be extra sure nobody can turn off the restrictions without your say-so. But for a simple potluck sign-up, just enabling form filling is usually enough.
Saving Your Masterpiece
When you’re ready to share your form, save it! The crucial part here is to save it as a Word Template (.dotx). This tells Word that this document is a blueprint for new documents. When someone opens a template, Word automatically creates a new document based on it, leaving your original template untouched. It’s like making a cookie cutter – you can make lots of cookies, but the cutter stays the same!
To do this, go to File > Save As, choose a location, and in the “Save as type” dropdown, select “Word Template (*.dotx).”
Sharing Your Brilliant Creation
Now that you’ve saved it as a template, you can send it to your friends! Just attach the .dotx file to an email. When they open it, Word will prompt them to create a new document. They fill it out, save it as a regular Word document (or a PDF!), and send it back to you. Easy peasy lemon squeezy!
If you want to get fancy, you can even upload your template to SharePoint or a shared network drive, making it even easier for a whole team to access and use.
A Little Extra Sparkle: Design Tips
To make your forms truly shine:
- Keep it Clean: Don’t cram too much information on one page. Break it up into logical sections.
- Use Clear Labels: Make sure every question or field has a descriptive label. No one should have to guess what you’re asking.
- Consistency is Key: Use the same fonts and font sizes for labels and questions.
- Visual Appeal: Consider using a subtle background color or a simple header image to make your form more engaging.
- Test it Out! Before sending it to everyone, have a friend or family member fill it out. This helps you catch any kinks or confusing parts.
You’ve Got This!
See? Making a form in Word is not some arcane art reserved for IT gurus. It’s a straightforward, empowering process that puts the control firmly in your hands. You can create custom tools for your events, your projects, your surveys, or just for fun. The ability to gather information in an organized and user-friendly way is a superpower, and now you have it!
So go forth, you magnificent form-builder! Craft your surveys, design your sign-ups, and collect all the data your heart desires. You’ve got the knowledge, you’ve got the tools, and you’ve got the creativity. Now go out there and make some amazing forms that will have everyone saying, “Wow, this is actually fun to fill out!” And who knows, maybe your next potluck will be the most organized and delicious one yet, all thanks to your stellar form-making skills. Happy forming!