How To Lay Stones In A Garden

There's something undeniably grounding, both literally and figuratively, about working with stone. In our increasingly digital world, the tactile, enduring nature of rocks offers a welcome anchor. Imagine a sun-dappled afternoon, the scent of honeysuckle in the air, and you, armed with a trowel and a newfound sense of purpose, transforming a patch of earth into something truly special. Laying stones in your garden might sound a tad rustic, perhaps even a little daunting, but trust us, it's more accessible and infinitely more rewarding than you might think. It’s a journey back to basics, a chance to connect with the earth, and a way to infuse your outdoor space with a timeless beauty.
Think of it as a gentle dance between your vision and the raw materials the planet has so generously provided. We’re not talking about building a Roman aqueduct here, folks. We’re talking about creating charming pathways, defining borders, or even crafting a little feature that makes your garden feel uniquely yours. It’s about adding character, structure, and a touch of that inimitable “je ne sais quoi” that only natural materials can deliver.
The Allure of the Unfussy: Why Stones Rule the Garden
Why are stones such garden superstars? For starters, they're low maintenance. Once they're in place, they’re pretty much there for the long haul, weathering storms and seasons with stoic grace. Unlike fussy annuals or demanding shrubs, stones don't need watering, fertilizing, or intricate pruning. They are the ultimate set-it-and-forget-it garden element, perfect for those of us who appreciate a bit of beauty without the constant fuss.
Must Read
Beyond their practical appeal, stones bring an instant sense of permanence and history. They evoke images of ancient ruins, traditional Japanese gardens, or quaint English cottage gardens. Even a simple stepping stone path can feel like a portal to a more tranquil time. Plus, they offer a fantastic textural contrast to the softness of plants and the greenness of lawns. They add depth, dimension, and a sophisticated, earthy elegance that’s hard to replicate.
And let’s not forget the sustainable angle. Sourcing local stone, if possible, significantly reduces the carbon footprint associated with transporting materials. You're essentially using what's readily available, embracing the natural landscape rather than imposing something foreign upon it. It’s a nod to eco-conscious living that feels as good as it looks.
Choosing Your Stony Companions: A World of Texture and Tone
Now, before you go on a wild stone-gathering expedition (and please, don't just start digging up your neighbor’s prize-winning rock garden!), it’s time to talk about selection. The world of garden stones is vast and varied, offering a palette of colors, textures, and sizes to suit every aesthetic. Think of yourself as a discerning curator, selecting pieces that will harmonize with your existing garden and your personal style.
For pathways and stepping stones, you'll want something relatively flat and sturdy. Flagstone is a classic choice for a reason. Available in various shades of grey, buff, and even hints of blue and rust, its irregular shapes lend themselves beautifully to creating a natural, meandering path. You can find flagstone cut into more uniform pieces for a cleaner look, or opt for the more organic, hand-selected pieces for a truly bespoke feel.
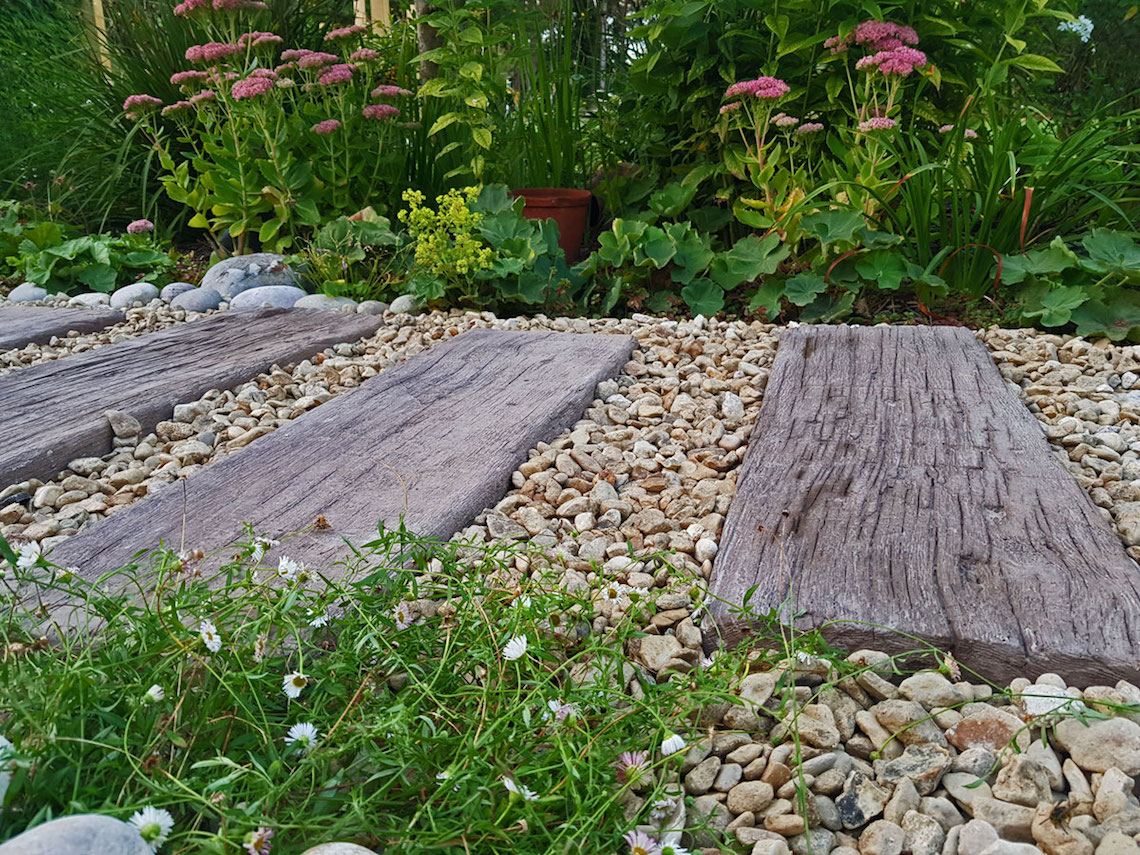
If you're aiming for a more rustic, cottage-garden vibe, consider river stones or gravel. River stones, smoothed and rounded by centuries of water flow, are delightful underfoot and can be used for decorative edging or to fill in gaps between larger pavers. Garden gravel, available in a rainbow of colors from pale whites and greys to deep reds and browns, is incredibly versatile. It’s perfect for creating permeable pathways, defining planting beds, or simply adding a textural layer to a bare patch.
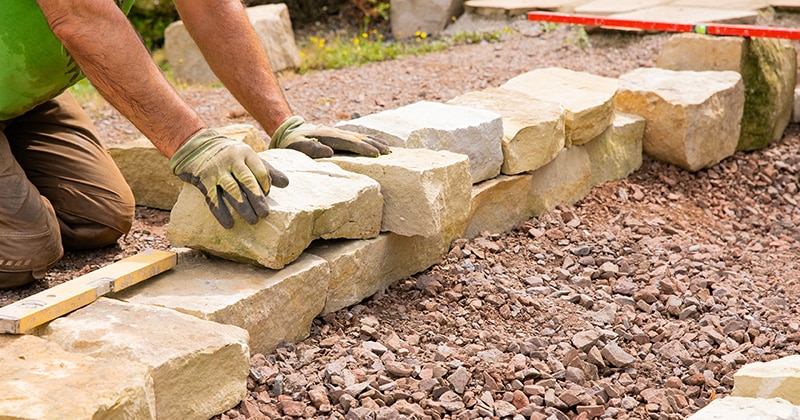
For edging, something a bit more substantial might be in order. Cobblestones, though often associated with historic streets, can bring a charming, old-world feel to garden borders. These rounded, often granite, stones are durable and can be laid in a multitude of patterns. Natural boulders, placed strategically, can act as striking focal points or natural seating. These are best for larger gardens where their scale won't overwhelm the space.
And remember, color matters! Consider the hues of your house, your existing plants, and the overall mood you want to create. Cool greys and blues can evoke a sense of calm and serenity, while warmer browns and reds can add a touch of earthy vibrancy. Don’t be afraid to mix and match different types of stone, as long as you maintain a sense of balance and cohesion. Think of it like choosing an outfit – the pieces should complement each other.
The Nitty-Gritty: Getting Your Hands (Slightly) Dirty
Okay, so you've got your vision and your chosen stones. Now for the fun part: getting them into the ground! The preparation is key to a long-lasting, beautiful result. Don't skimp on this step, no matter how eager you are to see your creation come to life.
Step 1: Planning and Layout
Before you even pick up a spade, map out your design. Use stakes and string to define your path or border. Walk it, visualize it, and make adjustments. Think about the flow of traffic, how it connects different areas of your garden, and the overall aesthetic. If you’re laying stepping stones, space them comfortably so you don’t have to take giant leaps.
Step 2: Excavation – The Foundation of Success
For pathways and patios, you’ll need to excavate the area. The depth will depend on the type of stone and whether you're adding a base layer for stability. For flagstone pathways, aim for about 4-6 inches of depth. This allows for a layer of compacted gravel for drainage and a bed of sand to level the stones. For simple edging, you might only need to dig a shallow trench, just deep enough to set your stones firmly.

Fun Fact: The Romans were masters of this! Their roads, built centuries ago using layers of stone and aggregate, are still remarkably intact in some places. They understood the importance of a solid foundation.
Step 3: The Base Layer – Stability is Key
This is where the magic of stability happens. For any area that will see foot traffic, or where you want a really secure border, you'll want to add a base layer. Crushed gravel or road base is your best friend here. Fill your excavated area with this material, compacting it thoroughly with a tamper. You want a firm, level base that will prevent your stones from shifting or sinking over time. Think of it as giving your stones a comfortable, stable mattress to lie on.
Step 4: The Bedding Layer – The Art of Leveling
Once your gravel base is compacted, you'll add a thin layer of sharp sand. This is what you'll actually set your stones into. Spread it evenly and screed it smooth with a straight board. This sand bed allows you to adjust the height and level of each stone. It's like having a little wiggle room to get everything just right.
Step 5: Laying the Stones – The Moment of Truth

Now for the moment you've been waiting for! Start laying your stones, beginning from one end. Place each stone firmly into the sand bed. Use a rubber mallet to gently tap them into place, ensuring they are level with their neighbors. Check for stability – no wobbly stones allowed! For flagstone, aim to leave small, consistent gaps between pieces. These gaps can be filled with sand, gravel, or even groundcover plants later.
Practical Tip: Lay out your stones before you start setting them. This allows you to see how the shapes fit together and to select the best pieces for each spot. Sometimes a little dry fitting goes a long way!
Step 6: Filling the Gaps – The Finishing Touches
Once all your stones are laid and leveled, it's time to fill those gaps. For pathways, sweeping dry sand into the joints will help lock the stones in place and prevent weeds. You can also use small gravel or even a hardy groundcover like creeping thyme for a softer, more integrated look. For edging, you can backfill with soil and then top with mulch, or simply let the stones create a clean, defined line.
Cultural Nod: In many traditional cultures, the placement of stones, particularly in gardens, is seen as an art form. Think of the Zen gardens of Japan, where every stone has been carefully chosen and placed to evoke a sense of balance and harmony. It’s about creating a dialogue between nature and human intention.
Beyond the Basics: Adding Flair and Functionality
Once your basic stone elements are in place, the creative possibilities are endless. Don't be afraid to think outside the box!
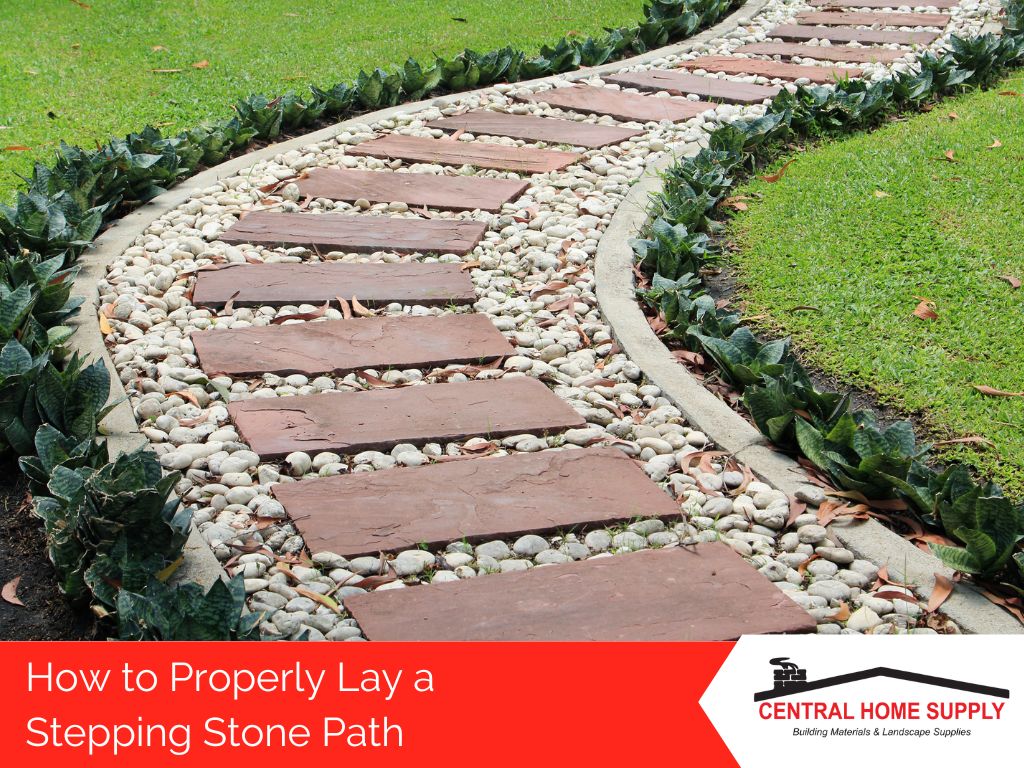
Stepping Stone Serenity: Create a winding path through a flowerbed or a lawn. Space your stepping stones so that each stride feels natural. Consider using stones of varying sizes and shapes for an organic, whimsical feel.
Edging Elegance: Define your garden beds with a neat stone border. This not only looks great but also helps to keep grass and weeds from encroaching on your precious plants. You can use smaller stones laid tightly together or larger, more substantial pieces for a bolder statement.
Feature Focal Points: A well-placed boulder can become a stunning focal point in your garden. Surround it with complementary plants, or let it stand alone as a testament to the raw beauty of nature. You can even incorporate smaller stones around it to create a miniature rock garden effect.
Dry Creek Beds: These are a fantastic way to add visual interest and manage drainage in your garden. Use various sizes of gravel and small stones to mimic a natural stream bed, complete with larger "boulders" for dramatic effect. It’s a practical solution that looks incredibly chic.
The Art of the Stack: If you have access to flatter stones, you can create charming, low walls or decorative stacked features. Just be sure to stack them securely, interlocking them for stability. Think of a rustic garden bench or a decorative pillar.
A Note on Safety: When choosing and placing stones, always consider safety. Ensure pathways are not too steep or slippery, and that any stacked elements are stable and won't topple. If you're working with heavy stones, don't hesitate to enlist a friend or use appropriate lifting aids.
A Quieter Rhythm
There’s a profound satisfaction that comes from working with your hands, from transforming raw materials into something beautiful and functional. Laying stones in your garden is more than just a landscaping project; it’s an invitation to slow down, to engage with the natural world, and to create something that will endure. It’s a reminder that even in our fast-paced lives, there’s still immense value in patience, in craftsmanship, and in the simple, grounding pleasure of connecting with the earth beneath our feet. The rhythmic tap-tap-tap of a mallet, the satisfying thud of a stone settling into place – these are the sounds of a garden being built, and perhaps, of a quieter, more grounded way of living being cultivated, one stone at a time.