How To Lay A Base For Shed

So, you're eyeing that perfect spot in the garden for a new shed, huh? That's fantastic! Building a shed is more than just a weekend project; it's about creating a little sanctuary for your tools, your hobbies, or even just a quiet escape. And the secret sauce to a long-lasting, stable shed? A solid base, of course! Don't let the word "base" intimidate you. Think of it as the foundation of fun, the bedrock of your backyard dreams.
Why bother with a proper base? Well, it's like building a house – you wouldn't dream of skipping the foundation, would you? For beginners, a well-laid base means less worry about your shed settling unevenly, warping, or becoming a wobbly eyesore. It ensures your shed stays put, even during those blustery days. For families, it means a safe and stable place for kids to store their bikes and scooters, or for parents to finally organize that garage clutter. And for the hobbyists out there – the gardeners, the woodworkers, the artists – it means a dry, level space to bring your passions to life without the worry of dampness or instability.
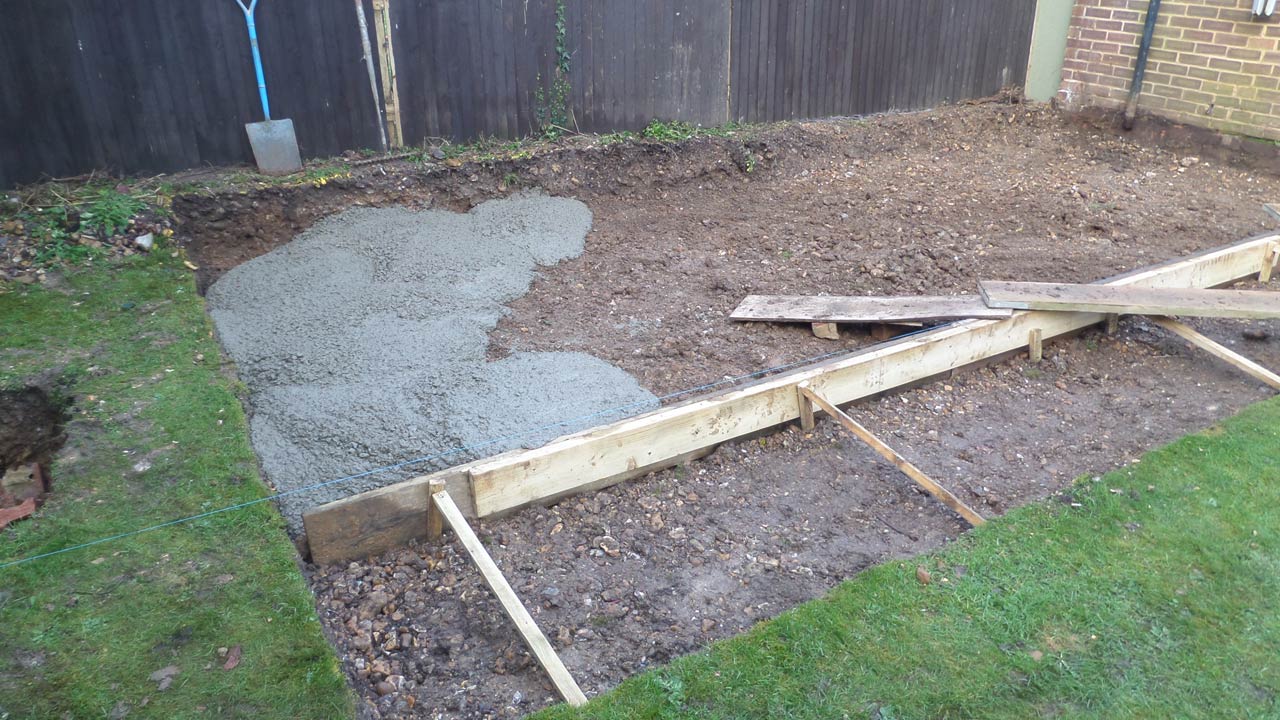
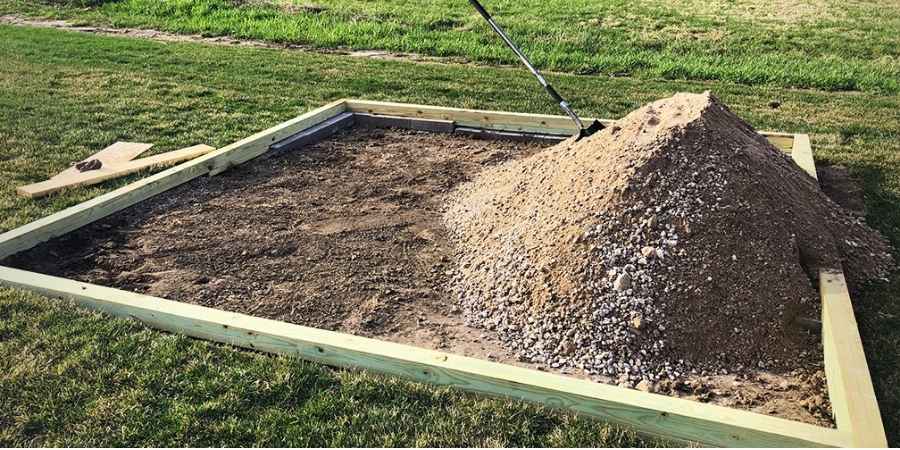
Now, the world of shed bases isn't one-size-fits-all. You've got a few delightful options! The most common and arguably easiest for DIYers is a simple gravel base. It's affordable, drains well, and you can often get away with just a bit of digging and leveling. For a bit more permanence and a really sturdy feel, a concrete slab is the gold standard. It's a bigger commitment, sure, but it provides an incredibly durable and level surface. Then there are decking bases, which can be a great option if you want a bit of elevation and airflow, especially if your garden tends to be a bit damp. Some folks even get creative with pre-cast concrete pads, which are like building blocks for your shed's foundation.
Must Read
Ready to roll up your sleeves? Getting started is simpler than you think. First, choose your spot wisely. Think about sunlight, drainage, and easy access. Next, measure and mark out the exact dimensions of your shed. Accuracy is key here! For a gravel base, you'll want to excavate a few inches deep within your marked area, then lay down a layer of landscape fabric to prevent weeds. Next comes the gravel – a good few inches of it, compacted firmly. For concrete, it's a bit more involved with formwork and mixing, but there are plenty of great online guides and videos to walk you through it step-by-step.
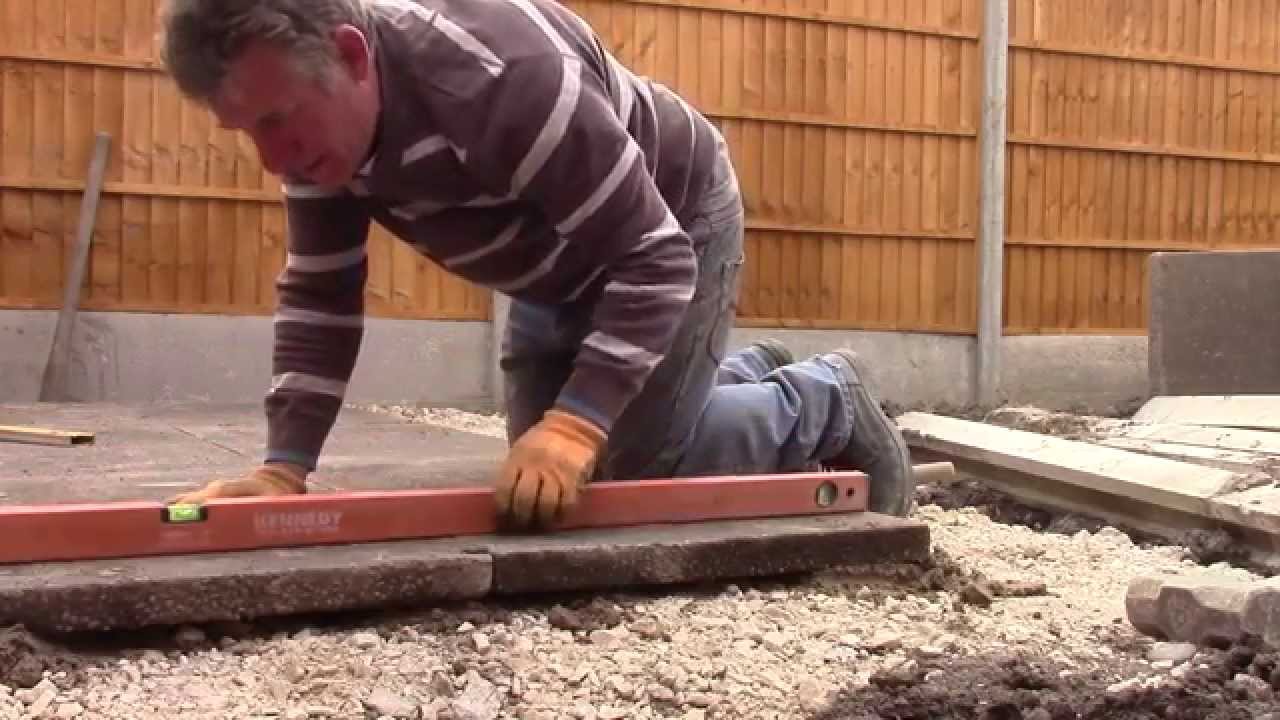
Whatever method you choose, remember to take your time and aim for levelness. A spirit level will be your best friend! Laying a good base for your shed is an investment, not just in your shed, but in your peace of mind and the longevity of your backyard addition. The satisfaction of seeing your shed stand tall and proud on its own sturdy foundation? Priceless! So go ahead, have fun with it, and enjoy the fruits of your labor for years to come.