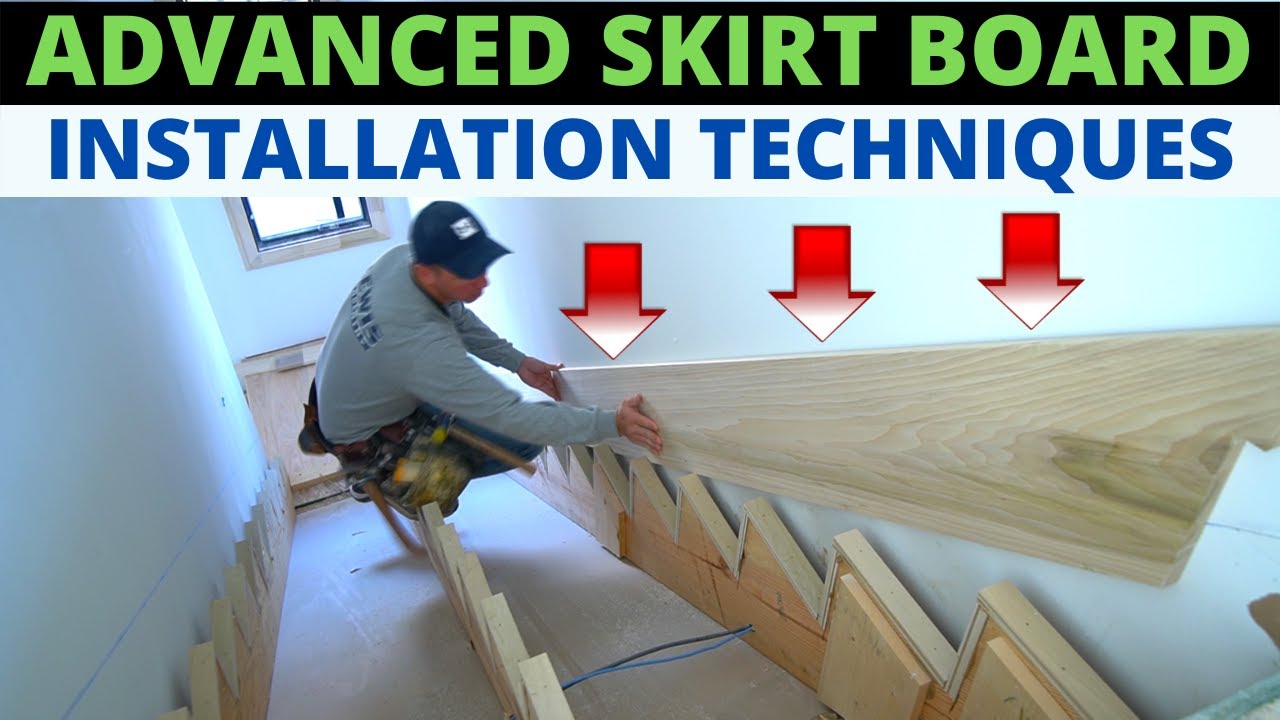
How To Install Skirt Board On Existing Stairs

So, you've been eyeing those stairs lately. You know, the ones that have been there forever, silently carrying you up and down, day in and day out? They’re a workhorse, for sure, but maybe, just maybe, they're feeling a little… bare. Like a classic jazz track that’s missing its soulful saxophone solo. We’re talking about skirt boards, my friends. Those sleek, often overlooked pieces of trim that hug the sides of your staircase, adding a touch of polish, protection, and a whole lot of oomph.
Think of skirt boards as the tailored suits of your staircase. They frame the ascent, giving it definition and a sense of completeness. Without them, stairs can feel a bit exposed, a little unfinished, like a Broadway stage before the curtain rises. But with a little effort – and trust me, it’s more satisfying tinkering than grueling renovation – you can transform your humble stairs into a statement piece. This isn't about a full-blown renovation; it's about those subtle, yet impactful, upgrades that make your home feel more you.
Now, before you picture yourself wrestling with lumber and power tools like a DIY reality show contestant, take a deep breath. Installing skirt boards on existing stairs is surprisingly approachable. It’s a project that can be tackled over a weekend, perhaps with a good playlist and some decent coffee. We're aiming for that "effortlessly chic" vibe, not a "sweat equity marathon."
Must Read
The 'Why' Behind the Boards
Before we get our hands dirty, let’s quickly touch on why you’d even bother with these architectural darlings. Firstly, and perhaps most importantly, is aesthetics. Skirt boards provide a clean, finished edge that visually anchors your staircase. They create a sense of proportion and can even make your stairs appear grander, more substantial. Imagine the difference between a bare canvas and a beautifully framed masterpiece – that’s the power of good trim.
Secondly, there's the protection factor. Stairs take a beating. Vacuum cleaners bump into them, kids (and pets!) might scuff them, and everyday wear and tear can leave their mark. Skirt boards act as a sturdy buffer, absorbing these minor impacts and preserving the integrity of your wall and the stair structure itself. It’s like a stylish bodyguard for your stairs.
And finally, they contribute to the overall cohesion of your home's design. Whether you’re going for a modern minimalist look, a cozy farmhouse vibe, or something in between, skirt boards offer a way to tie in your trim elements. They can be painted to match your walls for a seamless look, or painted a contrasting color to make a bolder statement. It’s all about playing with your home’s narrative.
Gathering Your Toolkit: The Essentials
Alright, let’s talk gear. You don't need a workshop filled with every tool imaginable. Think of it as assembling your personal DIY dream team. You’ll want:

- Measuring Tape: Precision is key here. A good, reliable tape measure is your best friend.
- Pencil: For marking those crucial cut lines.
- Miter Saw (or Hand Saw and Miter Box): This is where the magic happens. A miter saw is ideal for those clean, angled cuts, but a good old-fashioned hand saw and a miter box can absolutely get the job done with a bit more elbow grease.
- Level: To ensure your boards are perfectly straight. Nobody likes a wobbly skirt board.
- Nail Gun (or Hammer and Finishing Nails): A nail gun makes the process faster and cleaner, but a hammer and finishing nails are perfectly fine.
- Stud Finder: Essential for securing your boards to the wall studs for maximum stability.
- Caulk Gun and Paintable Caulk: For filling any gaps and achieving that seamless, professional finish.
- Paint and Primer (if painting): To match your existing trim or create a new look.
- Safety Glasses: Always, always, always protect your eyes!
- Work Gloves: For a better grip and to keep your hands clean.
And, of course, the star of the show: your skirt boards! You can find these at any reputable lumber yard or home improvement store. They come in a variety of profiles and materials, so choose something that complements your home’s style. Pine is a popular and affordable choice, while MDF offers a smooth surface for painting.
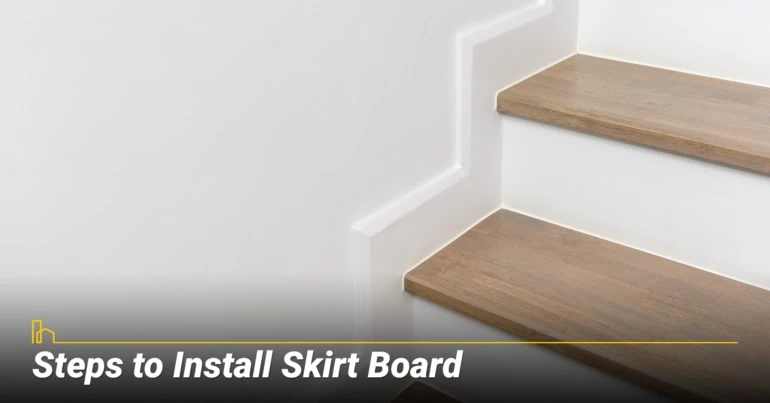
Step-by-Step Serenity: Installing Your Skirt Boards
Now for the main event! Let’s break this down into manageable, stress-free steps. Think of each step as a beat in a jazz improvisation – building towards a harmonious whole.
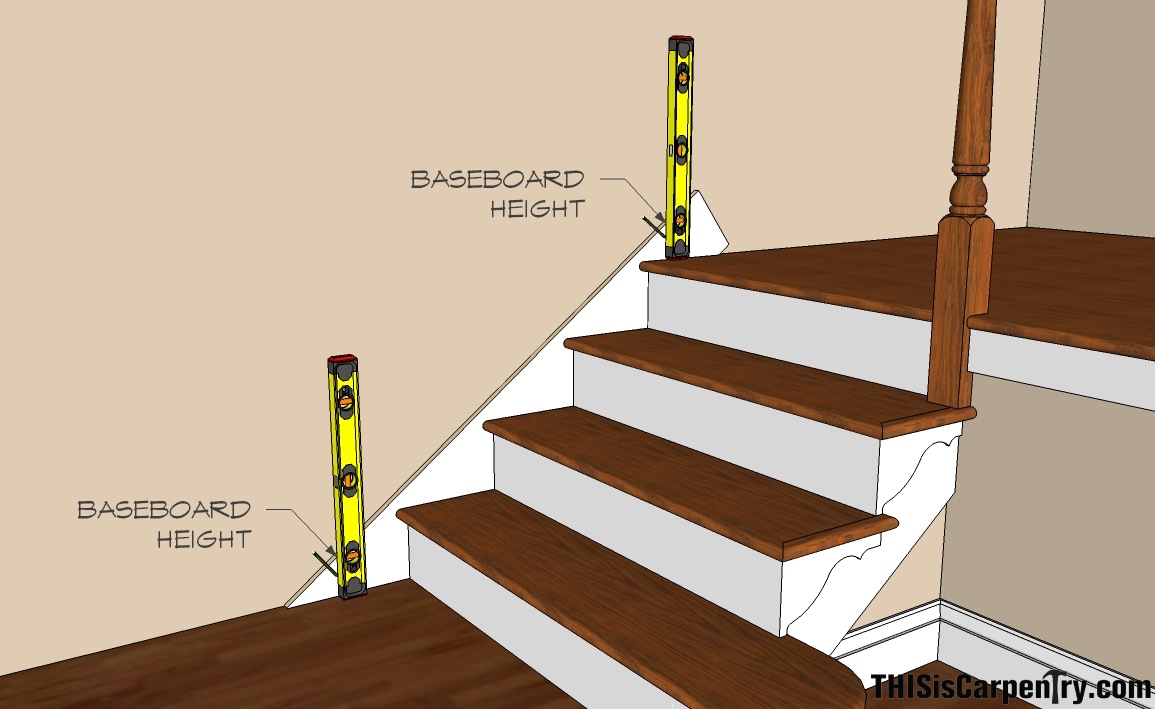
Step 1: Measure Twice, Cut Once (The Golden Rule)
This is where that measuring tape and pencil come out to play. Carefully measure the length of each side of your staircase where the skirt board will run. You’ll be measuring along the slope of the stairs, not just horizontally. Take your time. Double-check your measurements. This is the foundation of your success, so don’t rush it.
Pro Tip: For the angled cuts at the top and bottom of the stairs, it’s often easier to measure the existing angle of your staircase. You can do this by holding a piece of scrap wood or cardboard against the riser and tread and marking the angle. Then, transfer that angle to your miter saw or miter box.
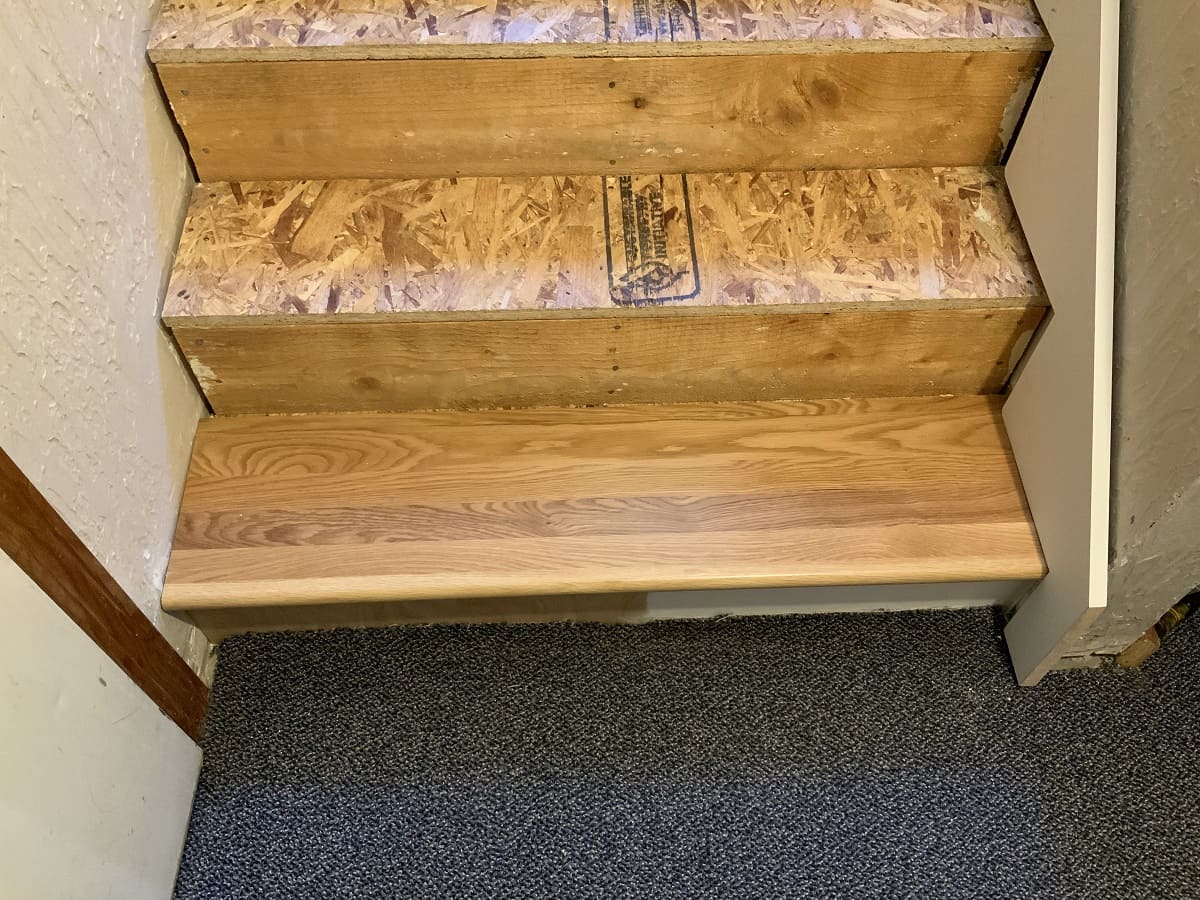
Step 2: The Art of the Cut
This is where your miter saw (or hand saw and miter box) shines. Set your saw to the appropriate angle for the ends of your skirt board. For the bottom of the stairs, you’ll likely need an angle that meets the floor or the bottom tread. At the top, you'll often need an angle to meet the landing or the top tread. Remember that golden rule: measure twice, cut once.

Take your time with each cut. A clean, precise cut will make installation much smoother. If you're using a hand saw, focus on a steady, even stroke. Don't force it.
Step 3: Finding the Studs (The Unseen Heroes)
Before you attach anything, grab your stud finder. You need to locate the wall studs behind your drywall. Skirt boards need to be secured to these studs for stability. Mark the location of each stud lightly with your pencil. This is crucial for a long-lasting installation.
Fun Fact: Standard wall studs are typically spaced 16 or 24 inches apart on center. Your stud finder will help you pinpoint these hidden structural elements.
Step 4: The Dry Fit: A Sneak Peek
Before you commit with nails, do a dry fit. Hold your cut skirt board in place against the staircase. Check the fit, the angles, and the overall look. This is your chance to make any minor adjustments before permanently attaching it. Imagine it like a dress rehearsal – you want to iron out any kinks before the big show.

Step 5: Nailing It Down (Literally!)
Once you're happy with the fit, it’s time to secure the skirt board. If you’re using a nail gun, set your depth so the nails are just below the surface of the wood. Aim for the marks you made for the studs. If you're using a hammer and finishing nails, be careful not to split the wood. Start with a few nails to hold it in place, then add more every 12-16 inches along the studs.
Cultural Note: The practice of using trim and molding to enhance architectural details dates back centuries. Think of the intricate woodwork in Victorian homes or the clean lines of mid-century modern design – trim has always been a way to express personal style and craftsmanship.
Start at one end and work your way along. Use your level to ensure the board is straight as you go. Don't be afraid to step back and admire your progress!
Step 6: The Magic of Filler and Caulk
Once all your skirt boards are installed, you’ll likely have some small nail holes and maybe a few tiny gaps where the board meets the wall or stairs. This is where the finishing touches come in.
Use a paintable caulk to fill any gaps. Run a bead of caulk along the top edge where the skirt board meets the wall, and along any other seams. Smooth it out with your finger (dipped in a little water) or a damp cloth for a clean, seamless look. For nail holes, use wood filler, let it dry, and then sand it smooth.
Pro Tip: When caulking, it’s better to apply a little too much and then wipe away the excess than to have a thin bead that doesn’t fill the gap properly.
Step 7: The Grand Finale: Paint!
If your skirt boards aren't pre-finished or you're painting them a different color than your existing trim, now's the time. Prime the boards first for better paint adhesion. Then, apply your chosen paint. You might need two coats for full coverage. Take your time, use smooth, even strokes, and enjoy the transformation!
Quick Trivia: The color of your trim can significantly impact the perceived size and feel of a room. White trim often makes a room feel larger and brighter, while darker colors can create a more intimate and cozy atmosphere.
A Reflection on the Daily Ascent
As you step back and admire your handiwork, take a moment to appreciate the journey. It wasn't a Herculean task, but a series of thoughtful steps that brought about a tangible improvement to your home. Those skirt boards, once a mere thought, are now a polished, functional part of your daily life.
Think about it: every time you walk up or down those stairs, you’ll notice the subtle elegance, the clean lines, the sense of completion. It’s a reminder that even the most utilitarian parts of our homes can be infused with style and intention. It’s in these small, deliberate acts of care and attention that our living spaces truly become our own – reflecting not just our taste, but our appreciation for the everyday moments, like a smooth ascent to the next level of your home.