How To Install A Surface Mount Electrical Box

So, you’ve got a brilliant idea. Maybe it’s a new reading lamp that will finally illuminate that cozy corner of your living room, or perhaps a smart home gadget that promises to make your life a little more futuristic. Whatever it is, it needs power, and that means you’re going to need an electrical box. Now, before you picture sparks flying and a frantic call to your favorite electrician named “Sparky”, let me tell you, installing a surface mount electrical box is more like giving your room a little hug of convenience. It’s not about conquering the electrical grid; it’s about empowering your dreams, one outlet at a time.
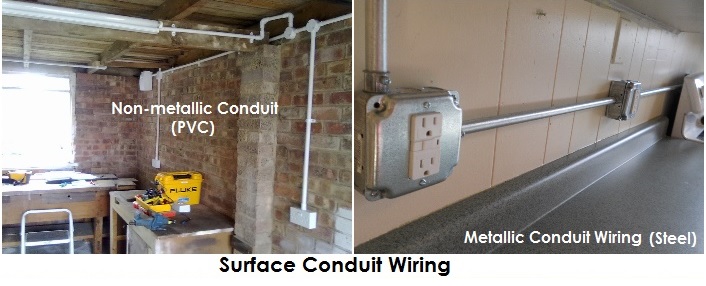
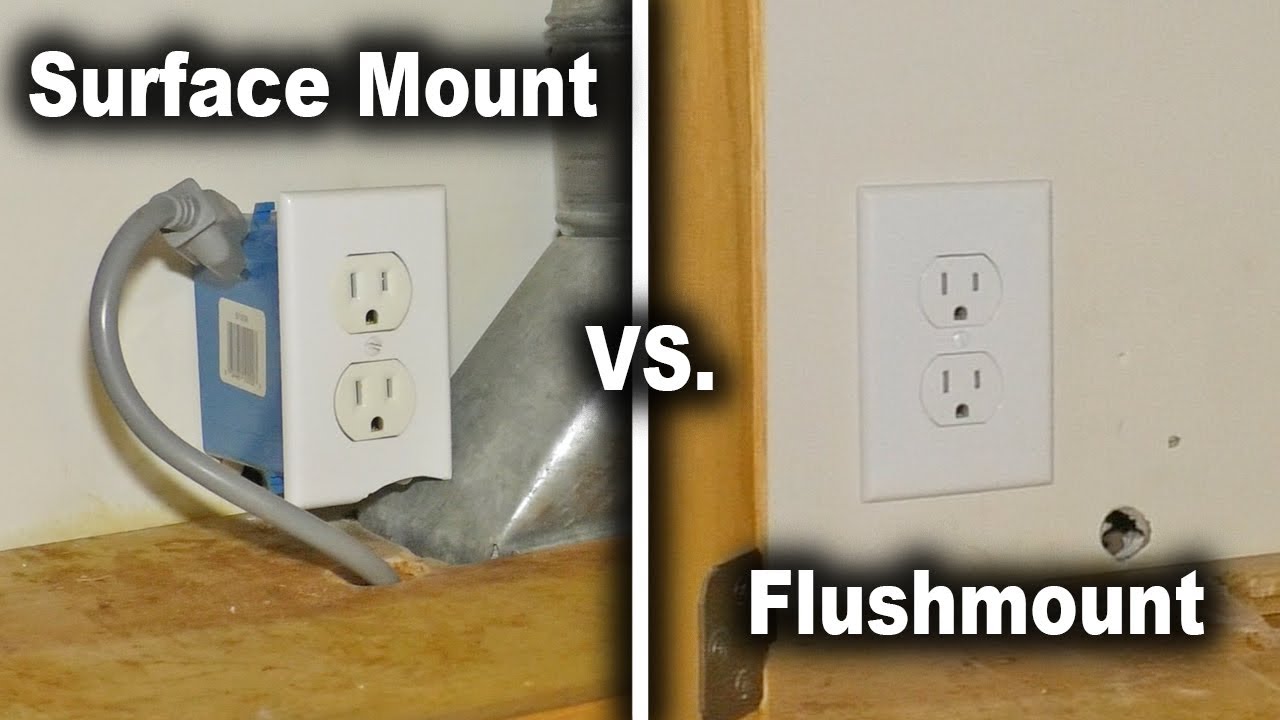
Think of the surface mount box as a tiny, sturdy guardian for your electrical connection. It’s the polite little house that keeps your wires tidy and safe, sticking right onto the wall like a brave little soldier. No need for fancy hidden passages or intricate wall surgery. This guy is the friendly neighbor who pops by, says hello, and gets the job done without a fuss. It's like deciding you want to add a little shelf for your cherished collection of quirky salt and pepper shakers, and realizing you need a place to plug in the tiny fairy lights that will make them truly shine.
The first step is a bit like planning a treasure hunt, but instead of gold doubloons, you’re looking for the perfect spot. You’ll want to find a place where your new electrical friend can make its home. Imagine you’re decorating for a party, and you want just the right place to hang that banner. This is similar, but instead of a banner, it’s a sturdy, dependable electrical connection. You’ll hold your surface mount box up against the wall, and with a pencil, you’ll mark where it’s going to live. It’s like giving it a little kiss on the wall, saying, “Welcome home!”
Must Read
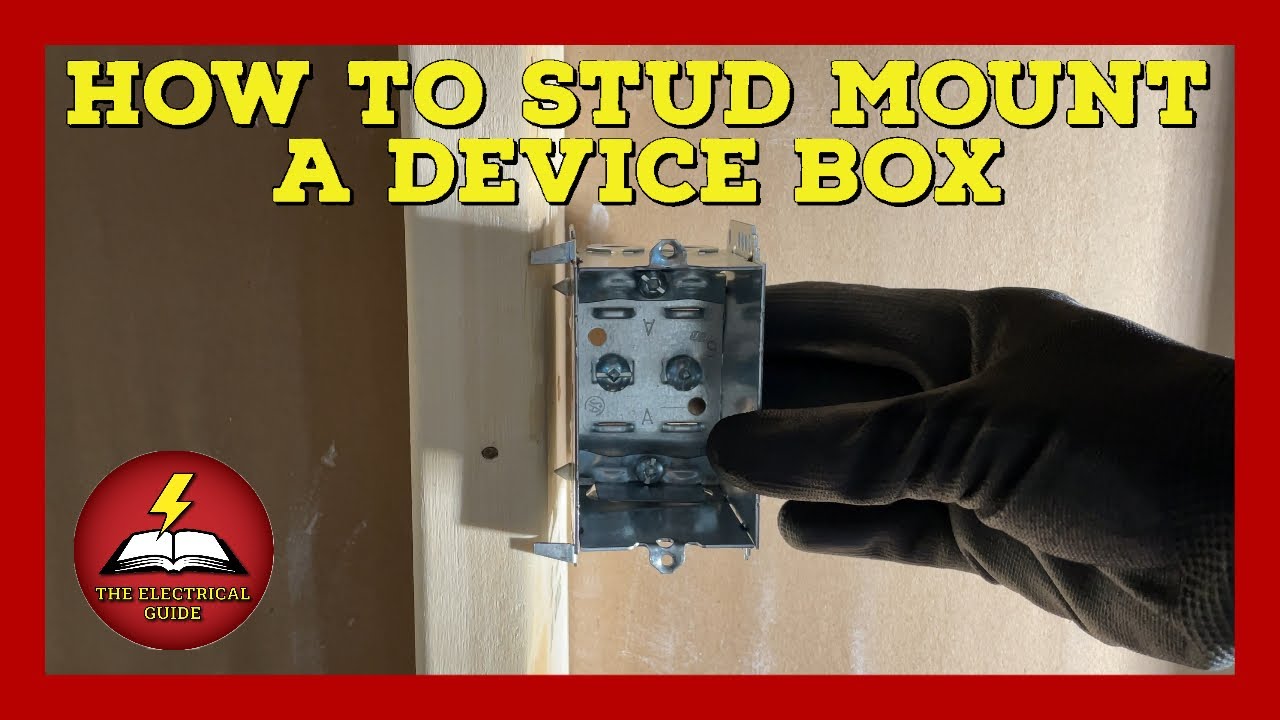
Then comes the actual attaching. This is where things get a bit more… decisive. You’ll use some screws, and with a bit of turning – not too hard, you’re not trying to win a bodybuilding competition here – you’ll secure your box to the wall. Imagine you’re screwing in a picture hook for that one painting that always brings a smile to your face. It’s that same satisfying feeling of making something permanent and useful. The screws are like little promises, holding your electrical box firmly in place, ready for whatever power needs you might throw at it. It’s a testament to how even small, seemingly simple acts can bring so much functionality and joy to your space.
It’s a surprisingly heartwarming feeling, watching this little box become a steadfast part of your home, a silent but essential partner in bringing your ideas to life.
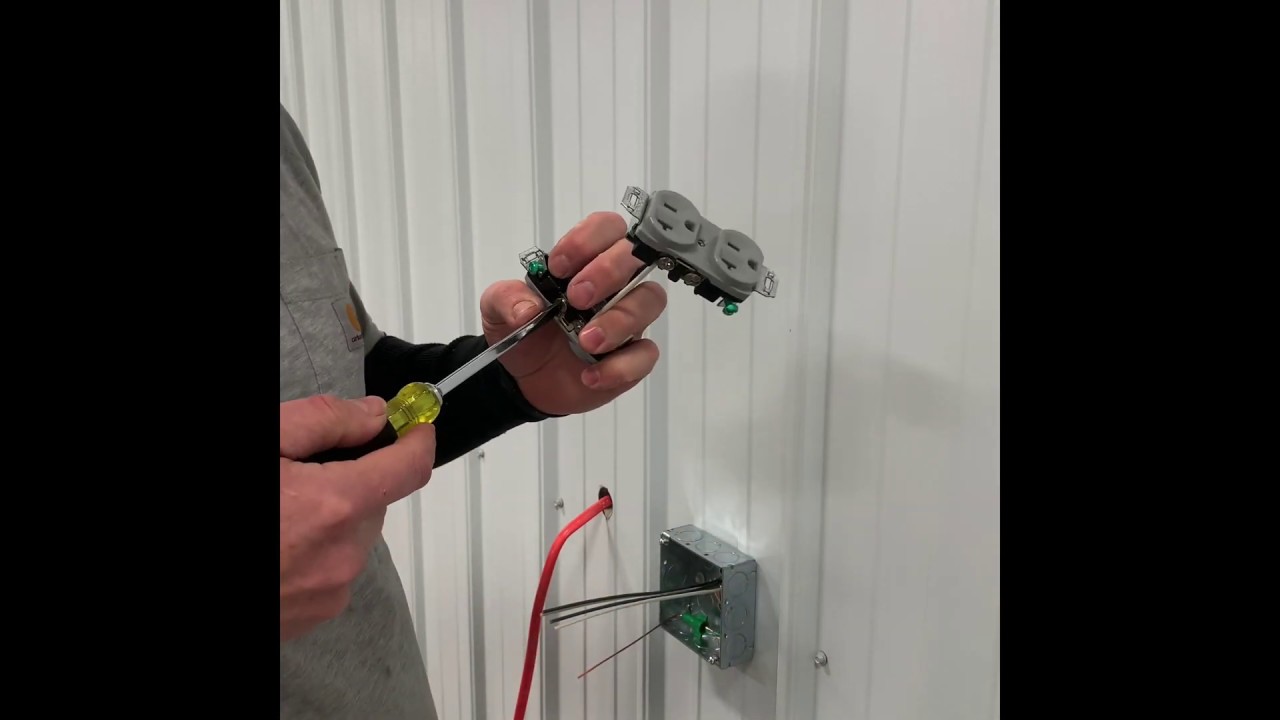
Now, the fun part begins: the wiring! This is where your surface mount box really starts to show its worth. It’s like the conductor of an orchestra, making sure all the musical notes – in this case, electricity – are flowing where they need to go. You’ll carefully guide your electrical wires into the box. Think of it as tucking in your little ones at night, making sure they are safe and sound. The box has little openings, like tiny mouths, ready to welcome the wires. You might even find some handy clamps or connectors inside, like little arms ready to hold the wires in place. It’s all about keeping things neat and tidy, preventing any rogue strands from wandering off and causing mischief.
And then, the magic happens. You’ll connect your wires to the terminals inside the box. Don't let the technical terms scare you. It's usually just a matter of matching colors, like a fun, grown-up game of connect-the-dots. Red to red, black to black, white to white – it’s a simple system designed to bring order to the often-chaotic world of electricity. You’re not a wizard performing ancient incantations; you’re simply making connections, ensuring a smooth flow of power. It's the equivalent of plugging in your favorite charger after a long day and feeling that surge of relief as your phone’s battery icon starts to climb.
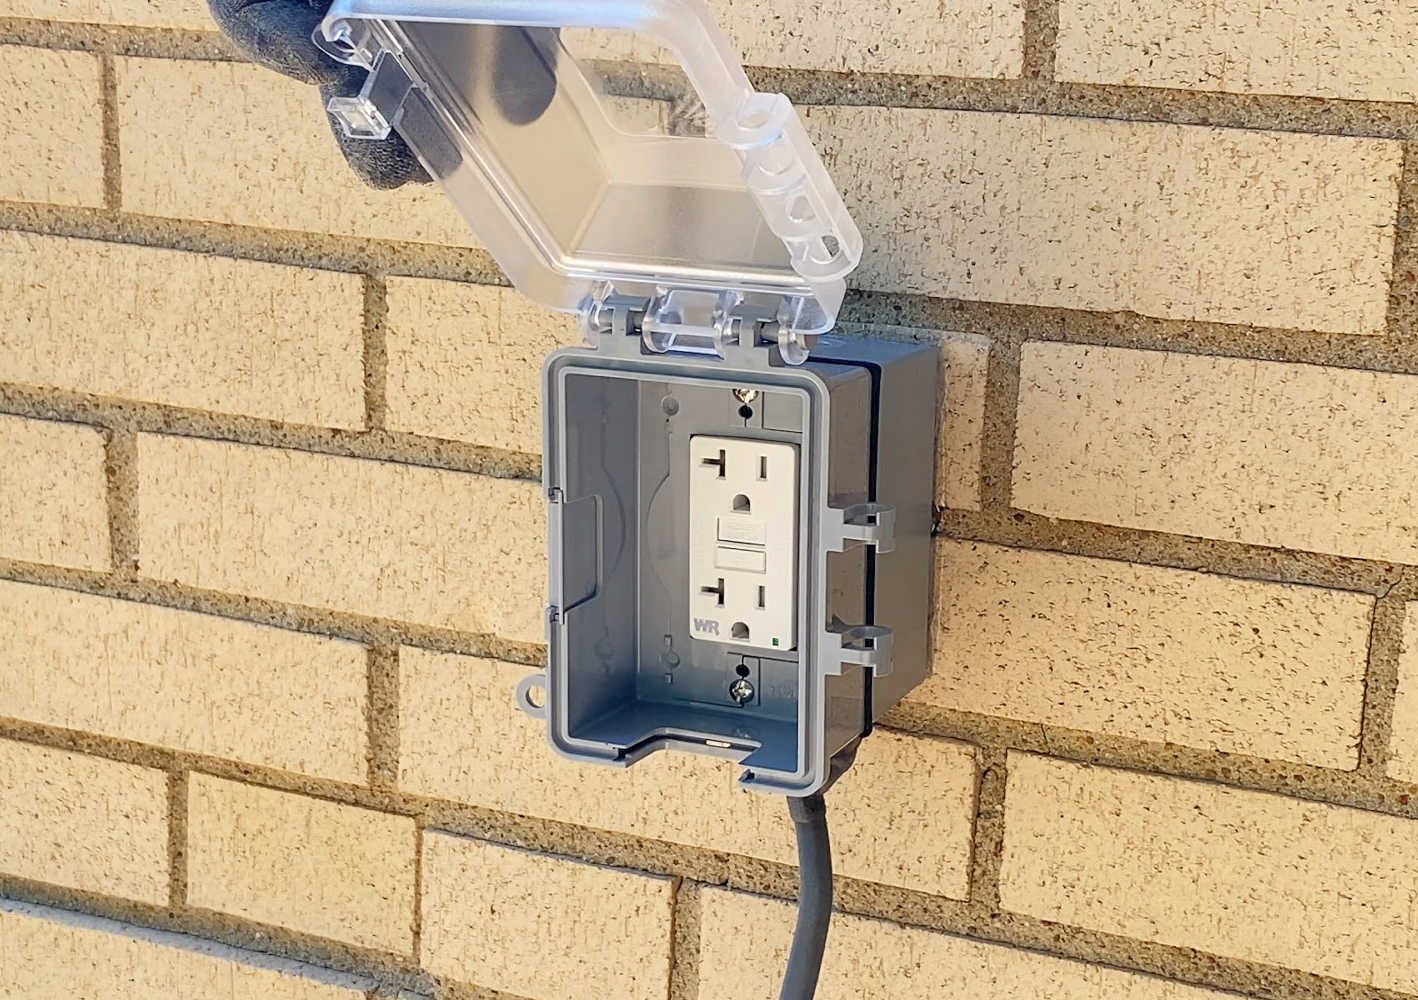
Once all the connections are snug and secure, you’ll place the cover plate on. This is the final flourish, the little bow on top. It’s like putting the lid on a cherished gift box, revealing what’s inside. This cover plate not only makes everything look neat and professional, but it also acts as an extra layer of safety, ensuring no curious fingers or accidental bumps can disturb your electrical work. And there you have it! Your surface mount electrical box is installed, ready to serve. It’s a quiet triumph, a testament to your own ingenuity and willingness to tackle something new.
Think about it: this simple box, once just a piece of plastic or metal, is now a vital link in the chain of your home’s energy. It’s supporting that smart speaker that plays your favorite morning tunes, or that desk lamp that’s been your faithful companion during late-night projects. It’s a small but mighty addition that makes your living space more functional, more comfortable, and perhaps even a little bit more magical. It’s the unsung hero of your electrical setup, the quiet contributor to your everyday conveniences, and the sturdy foundation upon which your brilliant ideas can finally shine. And the best part? You did it yourself, proving that sometimes, the most satisfying things are the ones we build with our own two hands. It’s a little piece of home improvement that brings a surprising amount of satisfaction and a touch of empowerment.