How To Hang String Lights On Concrete Wall

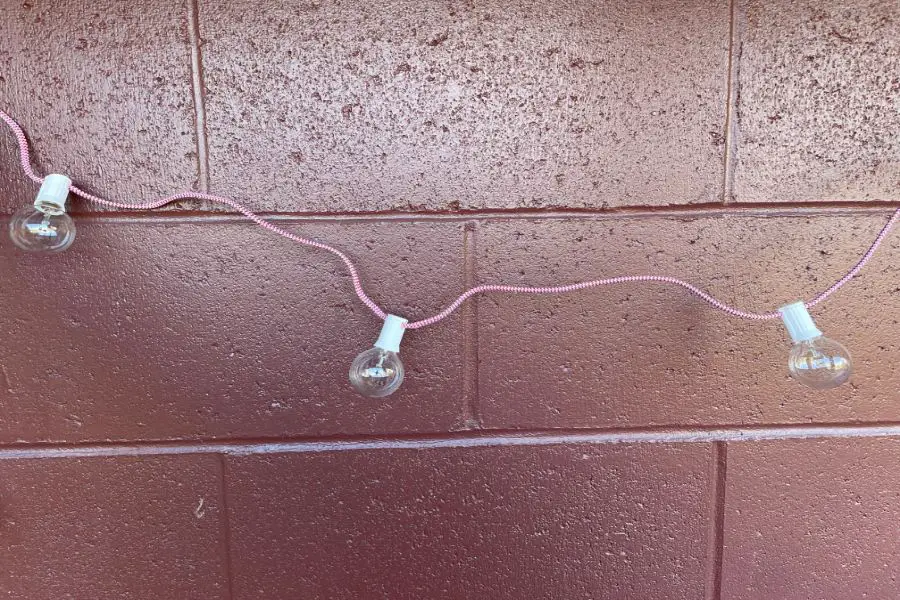
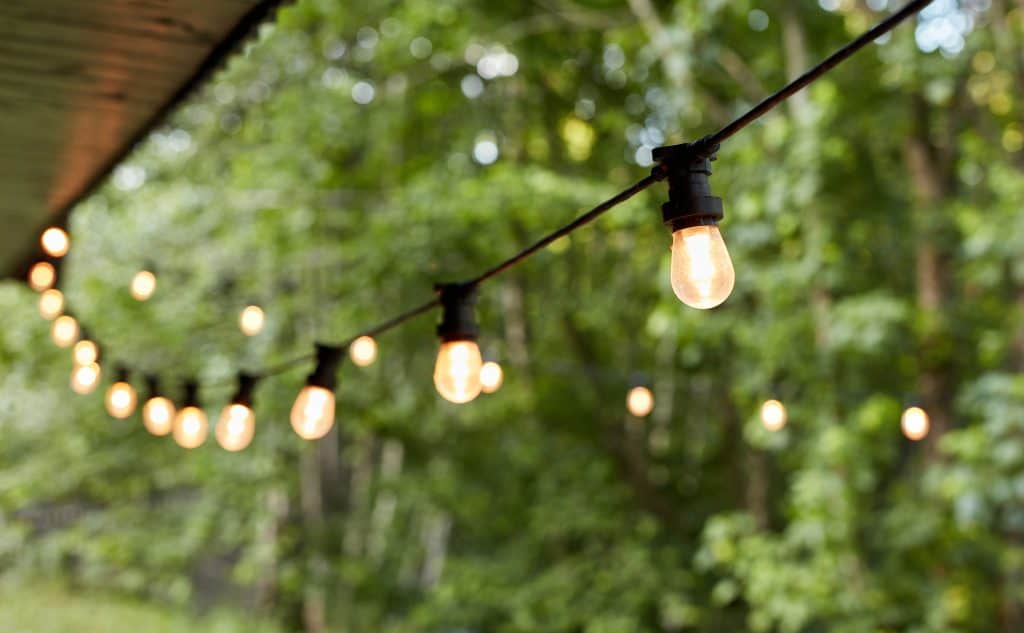
So, you’ve got this killer concrete wall, right? Maybe it’s in your patio, your garage, or even that super industrial-chic living room you’ve painstakingly created. And you’re thinking, “Man, this wall needs some sparkle.” Enter: string lights. Because who doesn't love a bit of ambient glow, am I right? But then you hit that snag. Concrete. It’s sturdy. It’s… well, concrete. And suddenly, your whimsical lighting dreams feel a little bit… impossible.
Don’t you worry your pretty little head about it! Hanging string lights on a concrete wall is totally doable. It just takes a smidge more effort than, say, thumbtacking them to drywall. But that’s what makes it a victory, isn't it? A little challenge, a little triumph. Think of it as a DIY spa day for your wall. You're pampering it with light!
First things first, let's talk about what you're not going to do. You’re not going to grab a hammer and just start whacking nails into it. Unless you’re aiming for a Jackson Pollock masterpiece of cracked concrete, which, hey, maybe that’s your aesthetic! But for most of us, we want those lights to stay put, looking all magical, not like they’ve survived a minor earthquake. So, put the hammer down, my friend. We’re going a different route.
Must Read
The key to this whole operation is finding the right way to attach things to your concrete. It’s not like wood where screws just sink in like butter. Concrete is… a bit more resistant. It’s got opinions. And those opinions usually involve needing some specialized tools or clever little tricks. But fear not, we’re going to unpack all of them. Consider this your secret handshake into the world of concrete decorating.
Gathering Your Super Secret Arsenal
Okay, so before we even think about unwinding those beautiful fairy lights, we need to assemble our dream team of supplies. This is where the magic starts, even before the lights are on. Think of it like prepping for a heist, but the only thing you’re stealing is maximum ambiance.
First up, you’ll need your string lights, obviously. And not just any old string lights. For outdoor concrete, you’ll want something that can handle a little weather. Think outdoor-rated, waterproof, the works. You don’t want your pretty lights turning into a soggy mess after the first rain shower. That would be a bummer, wouldn’t it?
Next, let’s talk about the actual hangers. This is where the concrete situation gets interesting. For a more permanent, sturdy solution, you’re going to want to look into masonry screws. These bad boys are specifically designed to bite into concrete. They’re like the tiny, determined little soldiers of the hardware world. You’ll also need a hammer drill and the corresponding masonry drill bits. Yes, a hammer drill. It’s got that extra oomph to get through concrete. If you don't have one, you might be able to borrow one from a handy neighbor. Just be sure to return it clean and with a plate of cookies. Always good karma.
Now, if you’re looking for something a little less… permanent, or you’re renting and the landlord has a strict “no drilling into my concrete fortress” policy, we’ve got options! Enter the world of adhesive hooks. And I’m not talking about those flimsy little things that fall off your bathroom mirror after a week. We need heavy-duty outdoor adhesive hooks. Look for ones specifically rated for exterior use and for holding a decent amount of weight. Brands like Command Hooks have outdoor versions that can be surprisingly strong. You'll want to read the weight limits very carefully, though. Nobody wants a light-show spectacular that ends with a crash.

You might also want some zip ties or cable clips. These are super handy for tidying up the wires and keeping everything neat. Nobody likes a tangled mess of wires, right? It looks less “enchanting garden” and more “electrocuted spider web.”
And finally, a measuring tape and a pencil. Because even though we’re going for a casual vibe, a little bit of planning goes a long way. You don’t want your lights to end up looking like a drunk giraffe tried to decorate. Precision, even in a casual setting, is your friend!
The “I’m a Serious DIYer” Approach: Masonry Screws
Alright, let’s dive into the more robust method. If you’re ready to commit and want a solution that will last, then masonry screws are your new best friends. This is where you embrace your inner contractor. Don’t be scared. It’s just… making tiny, controlled holes.
First, clean the wall. Seriously, give it a good wipe down. You don’t want dust and grime interfering with your screw’s ability to find its happy place. Plus, it just looks nicer.
Now, mark your spots. This is where your measuring tape and pencil come in. Decide how far apart you want your lights, and where you want to anchor them. Think about the pattern. Do you want them straight? Draped? Zigzagging like a happy little lightning bolt? Measure twice, drill once. That’s the mantra here.
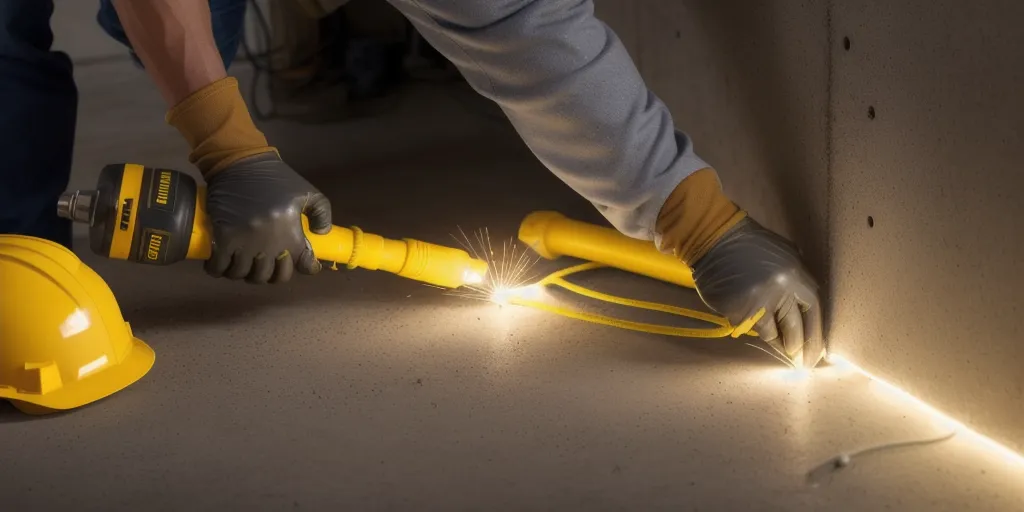
Time for the star of the show: the hammer drill. Pop in your masonry drill bit. It’s the one that looks like it means business. Now, hold the drill firmly against your marked spot. You might want to wear some safety glasses. Concrete dust is no joke, and neither are rogue drill bits. Press the trigger and let the hammer action do its thing. It’ll vibrate and grind its way into the concrete. It takes a little pressure, but don’t force it too much. Let the tool do the work.
Once you have a hole of the appropriate depth (check the length of your masonry screws), it’s time for the masonry screw. Simply screw it into the hole. You might need a screwdriver, or some hammer drills have a screw-driving function. These screws are designed to expand as you tighten them, creating a super secure anchor. It’s like a tiny concrete hug for your screw.
Repeat this for all your anchor points. Then, you can start hooking your string lights onto the screws. You might need to bend the screw heads slightly to create a hook, or if you’re using S-hooks, even better! Just loop them over the screw heads. Easy peasy, right? Well, maybe not easy peasy, but definitely doable peasy.
This method is fantastic for a more permanent installation. Think patios, pergolas, or anywhere you want those lights to stay put through wind, rain, and maybe even a rogue frisbee. It feels solid. Like, really, really solid. You'll be so proud of yourself. You’ll want to tell everyone. “Oh, these lights? Yeah, I anchored those into concrete. With screws.”
The “I Want It Now, Without the Fuss” Approach: Adhesive Hooks
Okay, so maybe drilling into concrete sounds a bit… much. Or perhaps you’re renting, or you’re just not feeling the whole power tool vibe. Totally understandable! We’ve got a more chill option for you: heavy-duty outdoor adhesive hooks.
The key here is choosing the right hooks. Seriously, don't skimp. Go for the ones that explicitly say "outdoor," "waterproof," and have a decent weight rating. Read those reviews! People will tell you if they’re secretly plotting an escape. You want hooks that are designed to withstand the elements and hold your lights without staging a dramatic midnight descent.

Prep the surface. This is crucial for adhesives. Clean that concrete wall meticulously. Use a degreaser if you have one, or at least a good scrub with soap and water. Make sure it’s completely dry. Any dust, oil, or moisture will be the arch-nemesis of your adhesive. It’s like trying to stick a sticker on a greasy pizza box. It’s not going to end well.
Follow the instructions on the adhesive hook packaging to the letter. This is not the time to wing it. They usually involve pressing the hook firmly onto the surface for a specific amount of time. Some even recommend waiting a certain period (like 24 hours) before hanging anything on them. This allows the adhesive to reach its full gripping power. Patience, grasshopper. The payoff will be worth it.
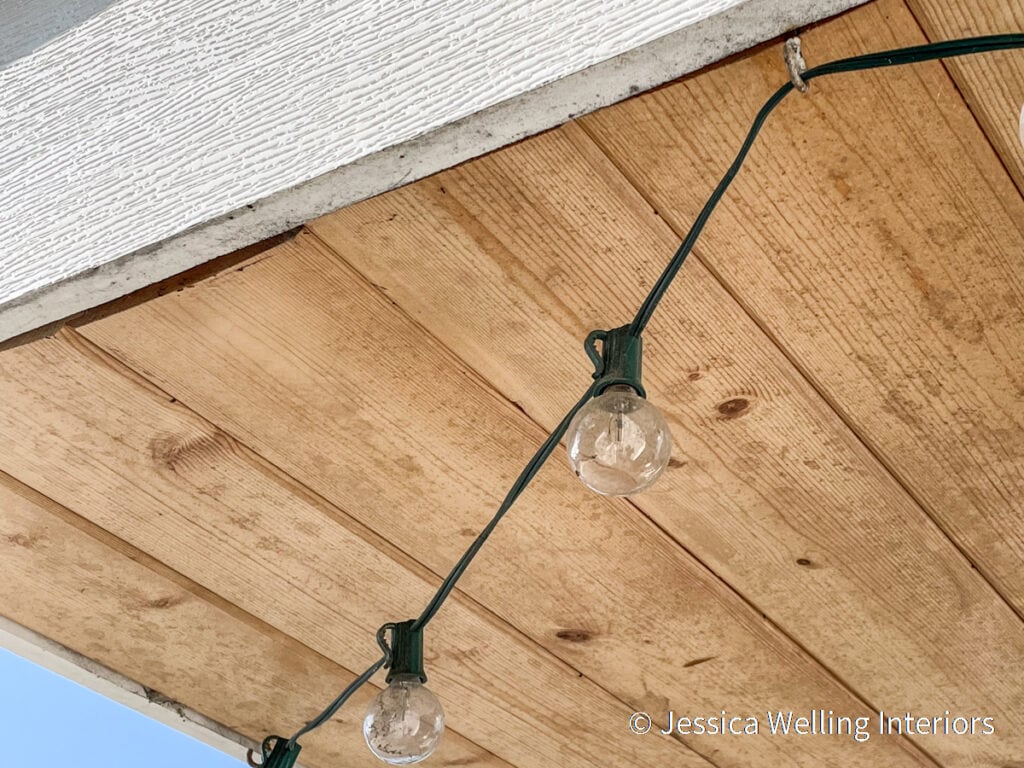
Once your hooks are firmly attached and have had their spa time, you can start hanging your lights. These hooks often have a loop or a clip where you can easily attach your string lights. They’re perfect for draping lights, creating a canopy, or just adding little pops of light here and there. You can even use them to guide the wires along the wall.
The beauty of adhesive hooks is their flexibility. You can rearrange them if you change your mind about the lighting design. And when it's time to take them down, they usually remove cleanly, leaving your concrete wall blessedly un-holed. It’s a win-win for temporary decorators and renters alike!
The Little Details That Make a Big Difference
No matter which method you choose, there are a few little things that can elevate your string light game from "just hung lights" to "wow, who did this?!"
Cable management is your best friend. Those loose wires can really detract from the magical ambiance. Use zip ties or cable clips to secure the wires to the wall, running them along the baseboards or discreetly behind other elements. You want the lights to be the star, not the tangled electrical spaghetti.
Consider the spacing. Too close together and it can feel overwhelming. Too far apart and you might have dark patches. Measure and plan your spacing. A little bit of symmetry can go a long way in making it look intentional and stylish. Or, if you’re going for a more bohemian vibe, a delightful, intentional mess is also a valid aesthetic!
Think about power. Where are your outlets? Can you hide the extension cords? Sometimes a strategically placed outdoor power strip can be a lifesaver. You don't want unsightly cords detracting from your beautiful light display. Maybe you can run them along the edge of a planter or under an outdoor rug.
Mix and match! Who says you have to stick to one type of light? Combine fairy lights with larger globe lights for a layered look. Or use different lengths of lights to create visual interest. The concrete wall is your canvas, and the lights are your paint. Go wild!
A Word to the Wise (and Slightly Overzealous)
A quick note on safety. Always, always, always make sure your lights are rated for outdoor use if they’re going outside. Water and electricity are not a good mix, even in a casual setting. Double-check that any electrical connections are secure and protected from the elements.
And while we're on the topic of safety, when you’re drilling, wear those safety glasses. Concrete dust can be nasty. And be mindful of any electrical wires or plumbing that might be hidden within your walls. If you’re unsure, it’s always better to err on the side of caution. Maybe consult a professional. Or at least stand really, really far away from it.
Finally, have fun! Decorating should be enjoyable. If you’re stressed about the process, take a break. Grab another coffee. Listen to some upbeat music. This is about creating a space that makes you happy. And a well-lit concrete wall? That’s definitely a happy-making situation. You’ve got this!