How To Get Rid Of Gel Nails

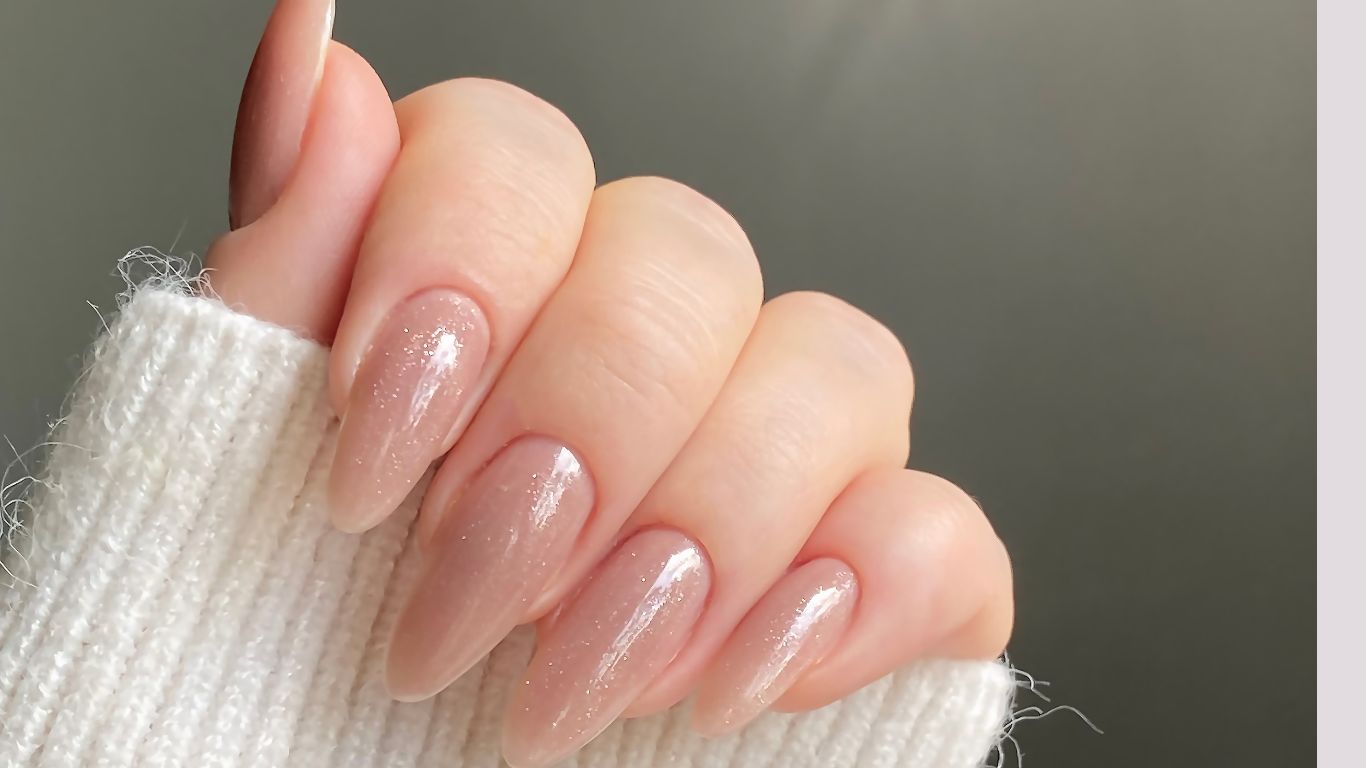
Ah, gel nails. Those glossy, chip-resistant wonders that make us feel like we've got our life together, even if the rest of it is a delightful whirlwind of chaos. They’re the ultimate low-maintenance manicure, capable of lasting weeks without a single smudge. It’s like having tiny superheroes guarding your fingertips against the daily grind. But, as with all good things, there comes a time for them to… well, go.
Whether you’re craving a fresh color palette, your nails are starting to feel a bit… outgrown, or you’re just ready for a little change of pace, saying goodbye to your beloved gel polish needs a gentle touch. Ripping them off in a fit of impatience? We’ve all been there, and trust me, it’s a recipe for unhappy, weakened nails. Think of it as a graceful exit, not a dramatic departure. We want our nails to be ready for their next fabulous adventure, not crying for mercy.
So, let’s dive into the art of gel nail removal, a process that’s surprisingly simple and, dare I say, a little bit spa-like. Get ready to reclaim your natural nail beauty, one gentle soak at a time.
Must Read
The Gentle Goodbye: Your Gel Nail Removal Toolkit
Before we embark on this nail-releasing journey, let’s gather our supplies. Think of this as assembling your personal, at-home nail spa kit. You don’t need a professional salon’s arsenal, just a few key players:
- Acetone: This is your trusty sidekick. Look for 100% pure acetone for the most effective removal. It’s the workhorse that breaks down the gel polish.
- Cotton Balls or Pads: These are essential for applying the acetone and letting it work its magic.
- Aluminum Foil: This is where the magic happens. It helps to keep the acetone-soaked cotton in place and the heat trapped, speeding up the process. Think of it as a cozy blanket for your fingertips.
- Orange Wood Sticks or Cuticle Pushers: Once the gel is softened, you’ll need a gentle tool to lift and scrape away the loosened polish. A plastic cuticle pusher is also a great, less abrasive option.
- Nail File: A fine-grit file is your friend for gently buffing away any lingering traces of gel or smoothing out the nail surface afterwards.
- Nail Buffer: For that post-removal shine and to get your nails feeling smooth and healthy again.
- Cuticle Oil: This is the ultimate treat for your nails and cuticles after the removal process. It replenishes moisture and keeps everything looking and feeling nourished.
- Hand Cream: Because happy hands are well-moisturized hands!
Pro tip: While you can buy acetone at most drugstores, you might find it in the nail polish remover aisle. Just be sure to grab the pure stuff for optimal results. And don't forget to work in a well-ventilated area – acetone has a rather… potent aroma.
Step-by-Step Serenity: The Soak-Off Method
This is the gold standard for gel nail removal, focusing on preservation and gentleness. It’s the method most professionals use, and you can totally nail it at home!
Prep Your Nails: A Little Off the Top
First things first, we need to break the seal on that top coat. This allows the acetone to penetrate the gel polish effectively. Grab your fine-grit nail file and gently file away the shiny top layer of your gel nails. You’re not trying to remove the color itself, just that glossy barrier. Think of it as making tiny, discreet keyholes for the acetone to sneak in.

Be gentle! You don’t want to file down to your natural nail. Just a few swipes are enough to dull the shine. If you’re feeling fancy, you can use a coarser grit file for this step, but then switch to a finer grit for the rest of the process to avoid unnecessary damage.
The Acetone Embrace: Wrap It Up
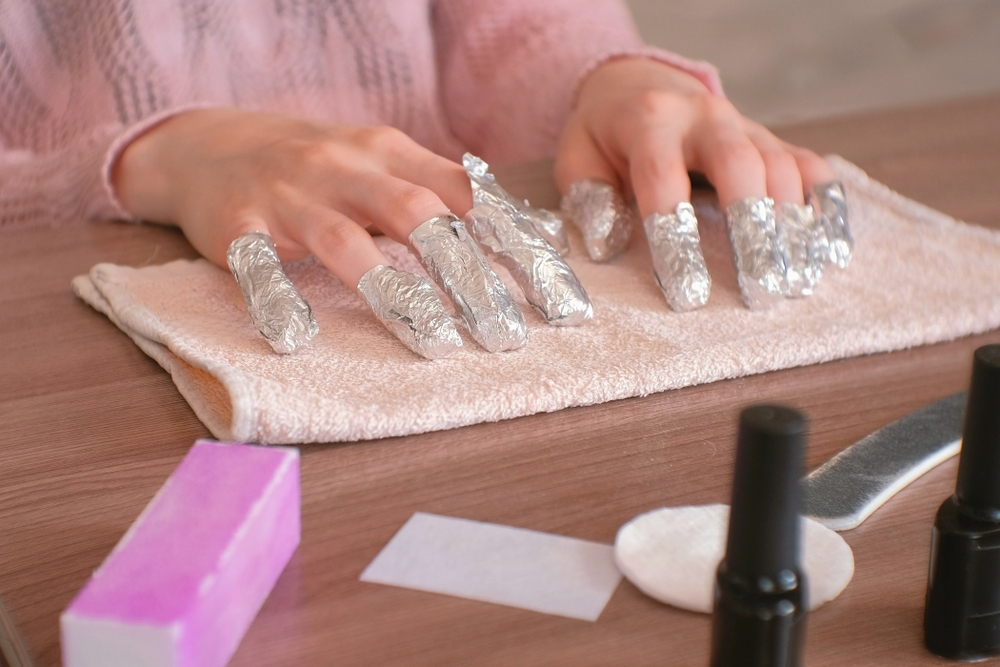
Now for the star of the show: acetone! Tear off pieces of aluminum foil, roughly big enough to wrap around your fingertip. Soak a cotton ball or a piece of a cotton pad in acetone. You want it to be saturated, but not dripping everywhere. Place the acetone-soaked cotton directly onto your gel-polished nail.
Then, carefully wrap the aluminum foil around the cotton and your fingertip. Make sure it’s snug, like a little foil burrito for your finger. This traps the heat from your hand, which helps the acetone to work faster and prevents it from evaporating too quickly. It's a bit like a miniature sauna for your nails!
Repeat this process for all ten fingers. You’ll want to let them soak for a good 10-15 minutes. Some people like to do one hand at a time to keep their fingers mobile, while others prefer the full ten-finger soak. It's really up to your personal preference and patience level.
The Gentle Unveiling: Lifting the Layers
After the soaking time, it’s time for the reveal. Carefully unwrap one finger at a time. You should see that the gel polish has softened and is starting to lift away from your nail. It might look a little bubbly or peeling.
Now, take your orange wood stick or cuticle pusher and gently start to push away the softened gel. Work from the cuticle upwards towards the tip of your nail. The gel should slide off relatively easily. If you encounter any resistance, don’t force it! Re-wrap the finger with fresh acetone-soaked cotton for a few more minutes.
This is where patience truly pays off. Forcing the gel off can strip away layers of your natural nail, leaving them thin and prone to breakage. Remember, we're aiming for a smooth transition, not a brutal excavation.
Finishing Touches: Buff and Nourish
Once all the visible gel polish is removed, your nails might still have a bit of a dull or uneven finish. This is where your fine-grit nail file comes in handy again. Gently buff away any remaining bits of gel or imperfections. Focus on smoothing the surface and restoring a more natural shape.
After filing, use your nail buffer to give your nails a gentle polish. This will help to bring back some of that natural shine and make them feel smoother. It’s like a mini-facelift for your nails!
And now, the most crucial step for happy, healthy nails: cuticle oil! Apply a generous amount of cuticle oil to each nail and massage it in. This rehydrates your cuticles and the nail bed, which can get a bit dried out during the acetone soak. Follow up with your favorite hand cream for that ultimate, pampered feeling.
The ‘Oops, I’m in a Hurry’ Alternative: Careful Filing
Let’s be real. Sometimes life happens, and you don’t have 15 minutes (or even 5) to dedicate to a full soak. If you’re in a pinch, and you’re feeling confident in your filing skills, you can opt for a careful filing method. However, this method carries a higher risk of damaging your natural nails if not done with extreme care.
Using a medium-grit nail file, you’ll very gently file away the gel polish, layer by layer. Work in one direction and be super mindful of how much you’re filing. Your goal is to get down to the colored layer and then stop. You do not want to file all the way to your natural nail. If you accidentally hit your natural nail, stop immediately!
This method is best for those who are already experienced with nail filing and can gauge pressure and depth effectively. If you have any doubts, stick to the soak-off method. It’s the safer, more forgiving option.
What NOT To Do: The Gel Nail Removal Don'ts
Just as important as knowing what to do is knowing what to avoid. These are the cardinal sins of gel nail removal:
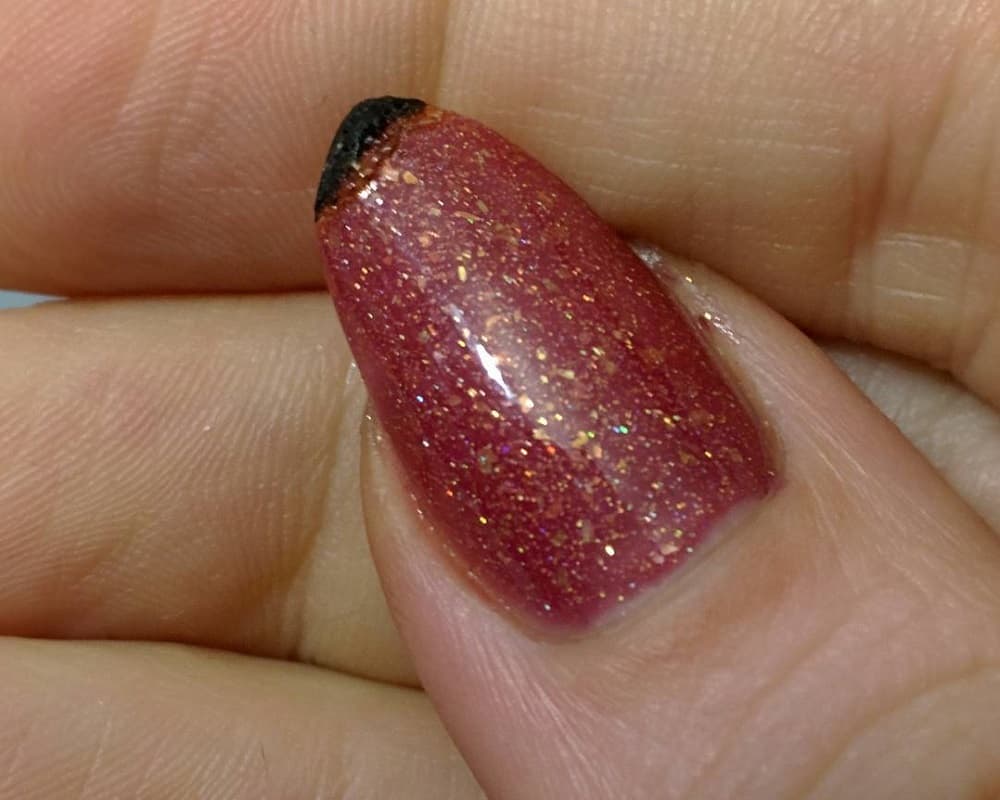
- DO NOT Rip or Peel Gel Polish Off: I cannot stress this enough. This is the fastest way to strip away layers of your natural nail, leaving them weak, thin, and prone to peeling and splitting. It’s like trying to peel wallpaper off a freshly painted wall – messy and damaging.
- DO NOT Use Harsh Metal Tools: While metal cuticle pushers exist, a gentler option like an orange wood stick or a plastic cuticle pusher is much safer for removing softened gel. Metal tools can easily scratch and damage your natural nail.
- DO NOT Over-File: Whether you’re filing off the top coat or the entire gel, be mindful of how much you’re filing. Filing too aggressively can thin your natural nails significantly.
- DO NOT Skip the Hydration: Acetone is a dehydrator. Skipping cuticle oil and hand cream after removal is like going for a long hike and not drinking any water – your skin and nails will thank you for the moisture!
A Little Fun Fact Break!
Did you know that the first UV gel polish was invented in 1986 by Jeff Pink, the founder of Orly? He was looking for a way to create a more durable and glossy nail finish that would last longer than traditional polish. And voilà! The gel nail revolution began. It’s amazing how a little scientific innovation can change our beauty routines, isn’t it?
Think about it: from ancient Egyptians using colored ochre to adorn their nails to modern-day gel manicures, our fascination with beautifying our nails is a pretty constant thread throughout history. It's a small, personal way we express ourselves and feel put-together. Like a well-chosen accessory, a great manicure can instantly lift your mood!
Reflections on Rejuvenation
There’s a certain satisfaction that comes from gently removing your gel nails and revealing your bare, natural nails. It’s a moment of pause, a chance to assess, and an opportunity to show your hands a little extra love. It reminds me of clearing out my closet at the end of a season – making space for the new, while appreciating what’s still functional and beautiful.
Life is a constant cycle of growth, change, and renewal. Our nails, in their own small way, mirror this. They grow, they get painted, they get adorned, and then they need a period of rest and rejuvenation. Embracing this cycle, even in the simple act of removing nail polish, can be a grounding and mindful practice. So, the next time your gel nails have served their time, approach their removal with a sense of calm and care. Your nails, and your overall sense of well-being, will thank you for it.