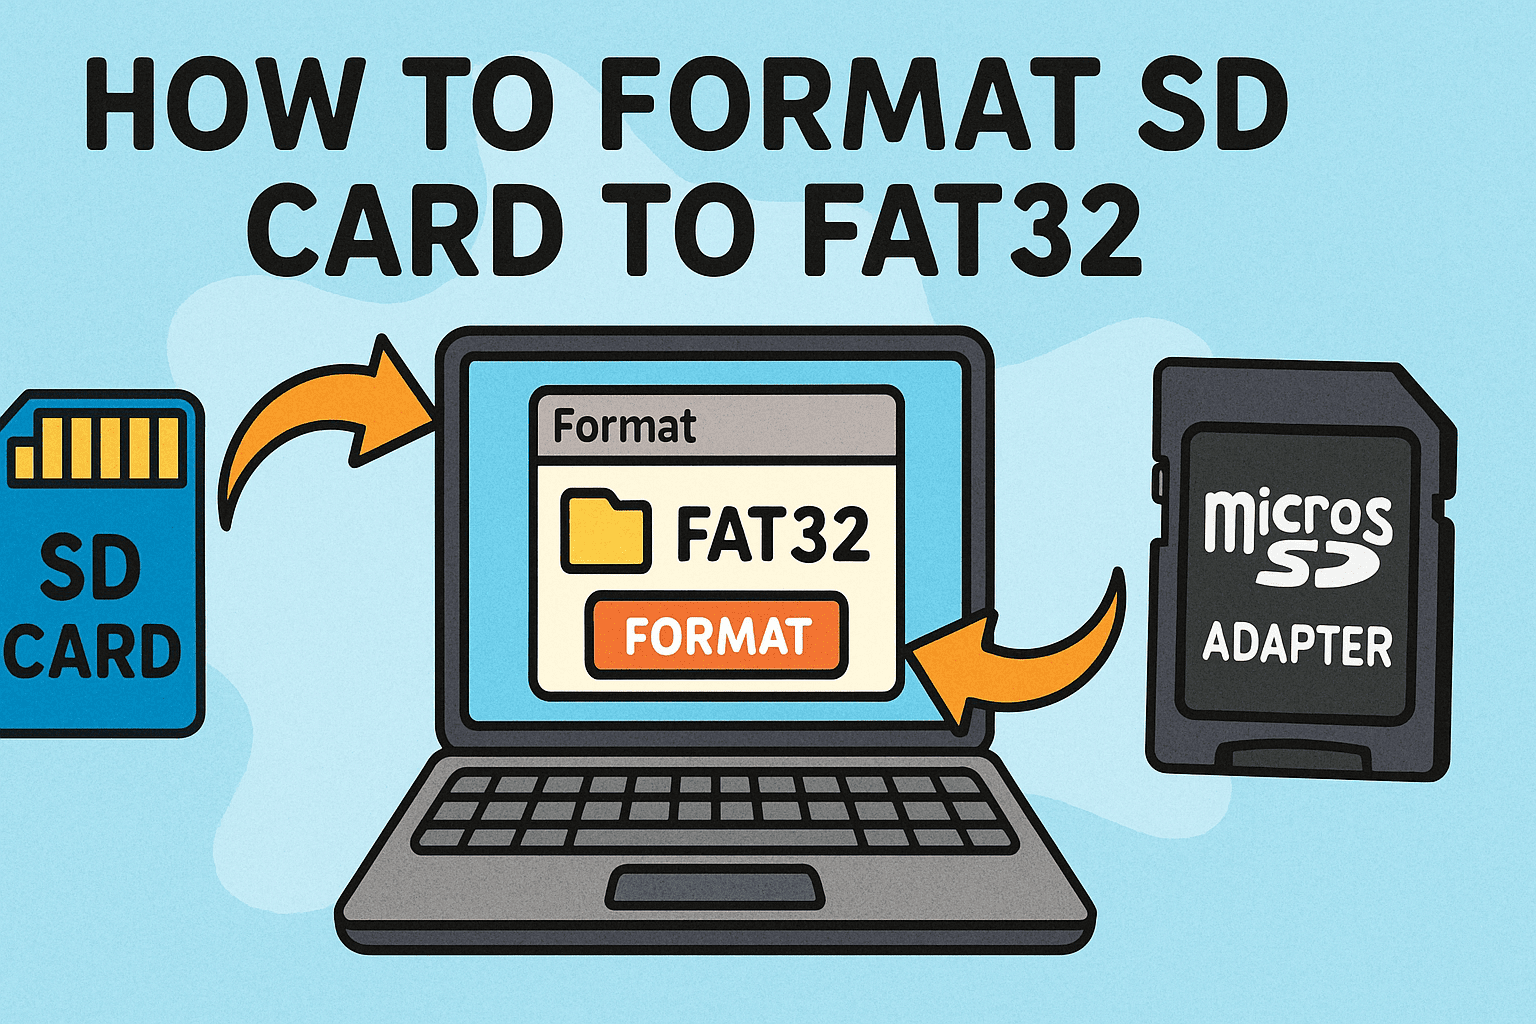
How To Format Sd Card To Fat32
Hey there, tech adventurers! So, you've got yourself a shiny new SD card, or maybe an old one that's acting a bit quirky. You're probably itching to use it for your camera, your gaming console, or maybe even to boot up some cool retro tech. But hold on a second! Before you start stuffing it with gigabytes of awesome stuff, there's a little secret weapon you might need: FAT32.
Now, I know what you're thinking. "FAT32? Sounds like something from a sci-fi movie where computers talk in binary!" But don't worry, it's actually a super common and super friendly file system that makes your SD card compatible with a whole galaxy of devices. Think of it like universal translator for your digital bits and bytes. And today, we're going to learn how to get your SD card speaking fluent FAT32. It's easier than parallel parking on a Friday night, I promise!
Why FAT32, you ask? Well, it's like the reliable old friend who's always there for you. Most older devices, and even a surprising number of newer ones, are happiest with FAT32. This includes things like older digital cameras, MP3 players, some car stereos, and even those nifty little Raspberry Pi computers. Newer cards often come pre-formatted with exFAT or NTFS, which are great for bigger files and modern operating systems, but they can cause a bit of a communication breakdown with older gadgets. So, if your device is giving you the side-eye when you insert your card, FAT32 might just be the magic word.
Must Read
And here's a little heads-up, like a friendly whisper in your ear: when you format an SD card, you're essentially hitting the reset button. All the existing data on it? Poof! Gone. Like that embarrassing photo from your teenage years you really wish had never existed. So, before we dive in, make sure you've backed up anything important from your SD card. Seriously, don't be that person who calls me later saying, "My vacation photos! They're gone forever!" We don't want that kind of drama.
Alright, Let's Get This Formatting Party Started!
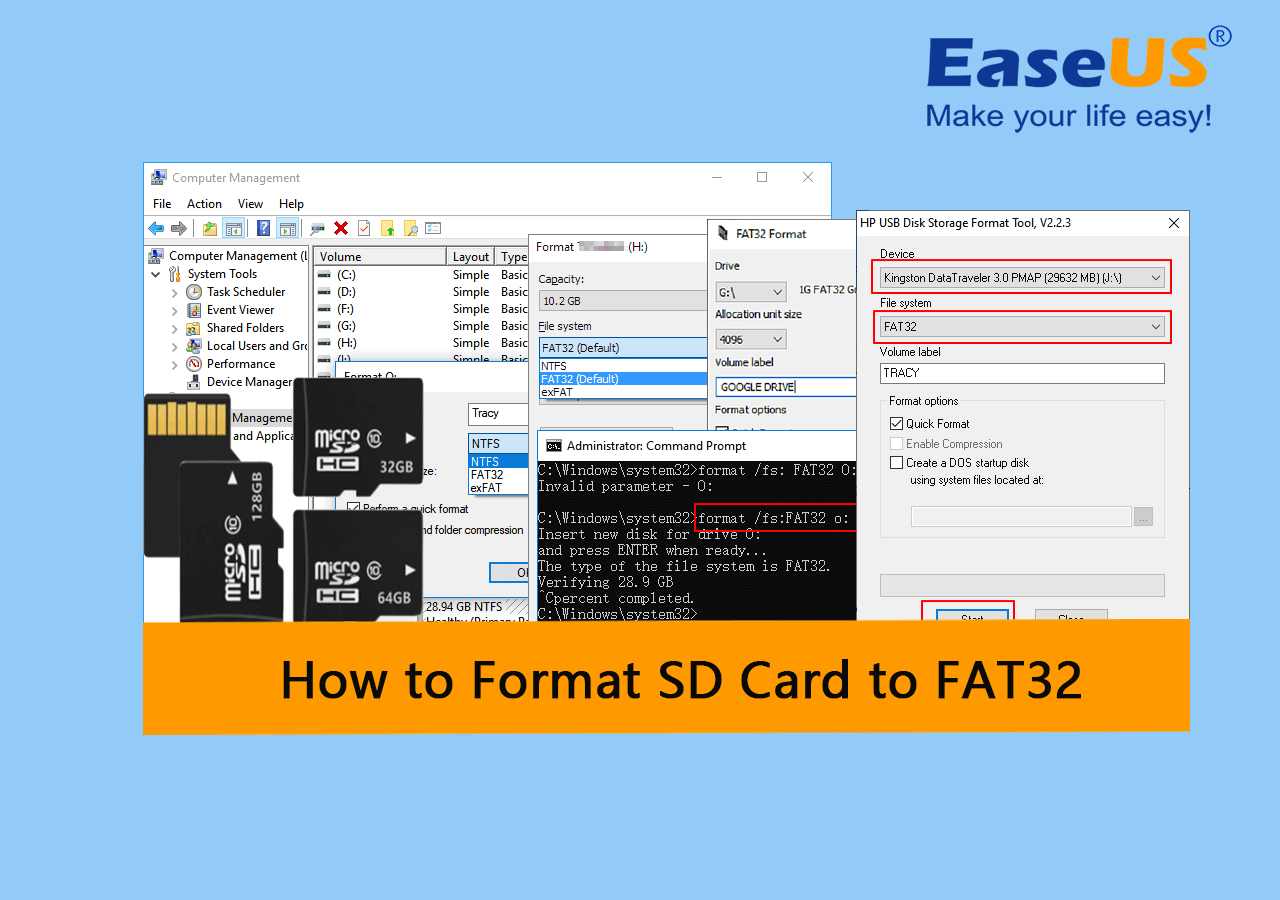
We've got a couple of main ways to get your SD card formatted to FAT32, depending on what operating system your trusty computer is running. We'll cover the most common ones: Windows and macOS. Think of these as your two main launchpads for SD card transformation!
Formatting with Windows: The Built-in Wizardry
Windows is pretty good at handling this kind of thing directly, with its built-in tools. It's like having a friendly little helper right there on your desktop. So, grab your SD card and let's get started!
Step 1: Plug 'Er In!
First things first, you need to connect your SD card to your computer. Most laptops have a built-in SD card reader. If yours doesn't, no sweat! You can grab a cheap USB SD card reader. They're super handy and cost less than a fancy coffee. Plug your SD card into the reader, and then plug the reader into your computer's USB port. You should hear that familiar little "ding!" as your computer recognizes it.
Step 2: Find Your Drive
Now, you need to find your SD card in File Explorer. Open File Explorer (you can hit the Windows key + E, or just click that little folder icon on your taskbar). Look for your SD card under "This PC" or "Computer." It will likely have a drive letter assigned to it, like "E:" or "F:". It might even have a little icon that looks like a camera or a generic drive. Make sure you know which drive letter is your SD card. This is super important! You don't want to accidentally format your main computer drive, or your cat's hilarious video collection. Trust me on this one.
Step 3: Right-Click and Conquer!
Once you've identified your SD card drive, right-click on it. A context menu will pop up. Look for the option that says "Format..." and give it a click. This is where the magic starts to happen!
Step 4: The Formatting Options Galore!
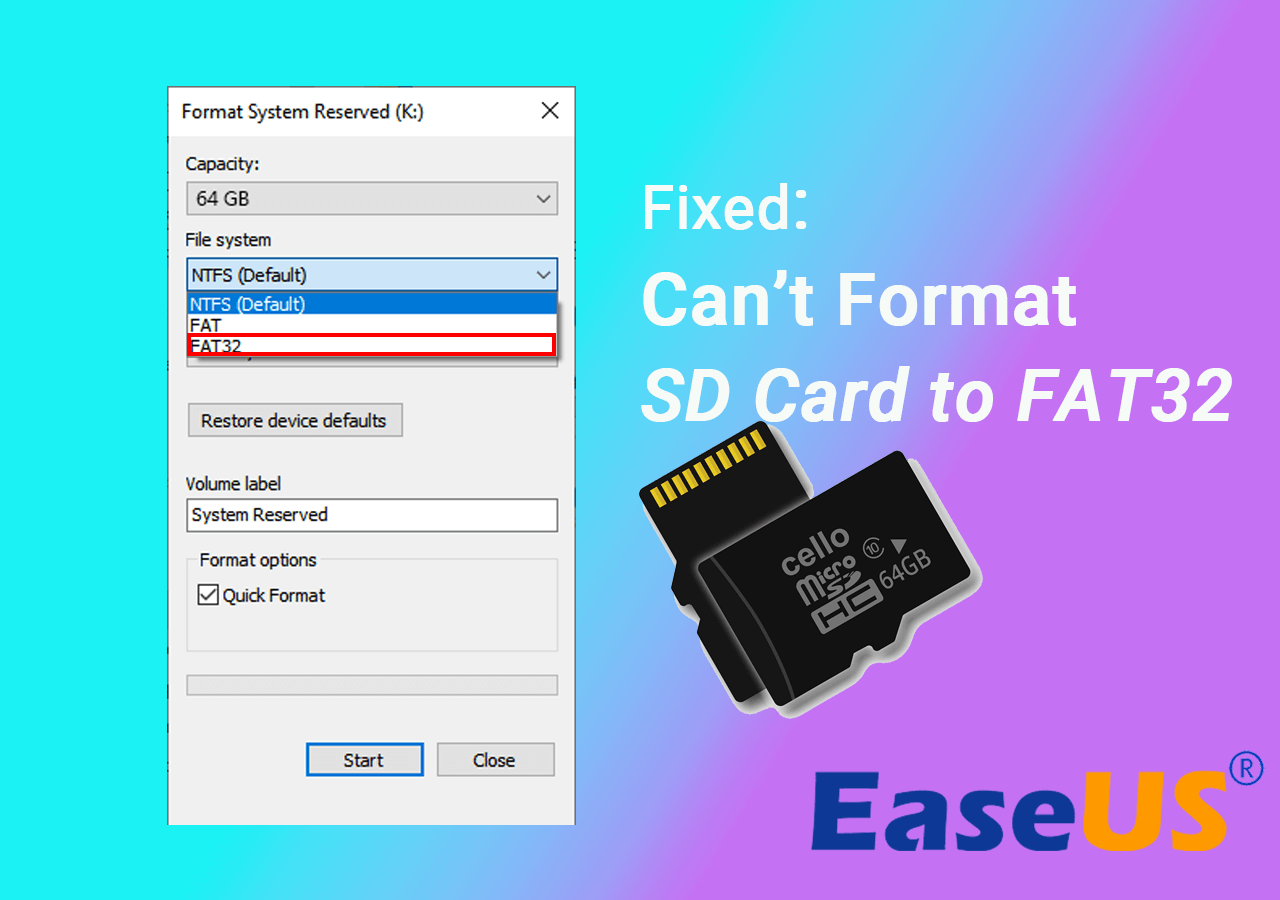
A new window will pop up with a bunch of options. Don't let them scare you! We're only interested in a few key ones:
- File system: This is the big one! Click on the dropdown menu and select FAT32. If you don't see FAT32 as an option, especially for larger cards (over 32GB), we'll cover a workaround in a bit. But for most cards, it should be there.
- Allocation unit size: For most general purposes, leaving this at the Default allocation size is perfectly fine. It's like letting the system choose the best way to organize your files, and it usually does a pretty good job.
- Volume label: This is just the name you want to give your SD card. You can call it "My SD Card," "Awesome Photos," or even "Project Phoenix." Get creative!
- Format options: You'll usually see a checkbox for "Quick Format." For most situations, Quick Format is your friend. It's, well, quick! It just deletes the file table and makes the space available. A full format takes much longer and is more thorough, but for simply changing the file system, quick is usually the way to go.
Step 5: Start the Process!
Once you've selected FAT32 and everything else looks good, click the "Start" button. Windows will give you a stern warning: "Formatting will erase ALL data on this disk. To format the disk, click OK. To quit, click CANCEL." Remember that warning? Take a deep breath, click OK, and let Windows work its magic. It usually only takes a minute or two.
Step 6: Success!
When it's done, you'll get a little message saying "Format Complete." Congratulations! Your SD card is now a FAT32-formatted wonder. Click "OK" and then "Close" on the formatting window. You can now go back to File Explorer, right-click your SD card, and select "Properties." You should see "File system: FAT32" staring back at you. High fives all around!
What if FAT32 Isn't an Option in Windows? (The 32GB Conundrum)
Ah, the dreaded 32GB limit! This is where Windows' built-in formatter gets a little… particular. If your SD card is larger than 32GB (like 64GB, 128GB, or even bigger), Windows might only offer you exFAT or NTFS as file system options. This is because FAT32 has a technical limitation of supporting partitions up to 2TB, but Windows' built-in tool is designed to only format drives up to 32GB as FAT32. It's a bit of a quirk, like a coffee maker that only brews half a cup at a time. But don't fret! We have a superhero tool for this:
Using a Third-Party Tool: The Power of MiniTool Partition Wizard (or similar!)
There are a bunch of free and easy-to-use third-party tools out there that can format drives of any size to FAT32. One of the most popular and reliable ones is MiniTool Partition Wizard Free. It’s like having a super-powered formatting Swiss Army knife.
Step 1: Download and Install
Search for "MiniTool Partition Wizard Free" online and download it from a reputable source. Install it on your computer. It's a straightforward installation process, just follow the prompts.
Step 2: Launch the Program
Once installed, launch MiniTool Partition Wizard. You'll see a graphical representation of your computer's storage devices. Find your SD card in the list. Again, double-check that you've selected the correct drive. This is not the time to play Russian roulette with your data!
Step 3: Right-Click and Format
Right-click on your SD card in the MiniTool interface. Select the Format option from the context menu.
Step 4: Choose FAT32!
A smaller window will pop up. In the "File System" dropdown, you'll see all the options, including FAT32, regardless of your card's size. Select FAT32. You can also set a "Partition Label" (your card's name) here.
Step 5: Apply Changes
Click "OK" in the format window. Now, this is important: in the main MiniTool interface, you'll see a list of pending operations at the bottom left. Click the Apply button. It might look like it's not doing anything yet, but this is where it queues up the command.
Step 6: Confirm and Wait
MiniTool will ask you to confirm that you want to proceed with the operations. Click "Yes" or "Proceed." The formatting process will begin. It might take a bit longer than the built-in Windows formatter, especially for larger cards, but it's still generally quite efficient. Just let it do its thing.
Step 7: Done and Dusted!

Once MiniTool says the operation is complete, you can close the program and check your SD card in File Explorer. It should now be formatted as FAT32, ready for whatever adventure you throw at it!
Formatting with macOS: The Disk Utility Dandy
If you're a Mac user, you're in luck! macOS has a fantastic built-in tool called Disk Utility that makes formatting a breeze. It’s like having a personal assistant for your storage devices.
Step 1: Connect Your SD Card
Just like with Windows, plug your SD card into your Mac. If your Mac doesn't have a built-in SD card reader, you'll need a USB SD card reader. Once plugged in, you should see the SD card appear on your desktop or in the Finder sidebar.
Step 2: Launch Disk Utility
Open Spotlight search by pressing Command + Spacebar, then type "Disk Utility" and press Enter. Alternatively, you can find it in Applications > Utilities > Disk Utility.
Step 3: Select Your SD Card
In the Disk Utility window, you'll see a list of drives on the left-hand sidebar. On the very top, you'll see your Mac's internal drive. Below that, you should see your SD card. It's crucial to select the correct device. Look for its name and capacity to be sure. You might see the card itself and then indented below it, the existing volume on the card. You want to select the parent device, not just the volume. Sometimes, you might need to click the "View" button in the top-left corner and select "Show All Devices" to see this. This is important because it allows you to format the entire card.
Step 4: Erase Away!
With your SD card selected, click the Erase button at the top of the Disk Utility window. This is the macOS equivalent of the "Format" button.
Step 5: Choose Your Formatting Options
A dialog box will pop up with a few choices:
- Name: This is the name you want to give your SD card. Get creative!
- Format: This is where we choose our destination! Click on the dropdown menu and select MS-DOS (FAT). This is macOS's way of saying FAT32. If you see another FAT option, like FAT16, make sure you're picking the one that explicitly says MS-DOS (FAT) for FAT32.
- Scheme: For FAT32 formatting, you generally want to select Master Boot Record (MBR). This is the most compatible partitioning scheme for FAT32.
Step 6: Erase and Conquer!
Once you've selected MS-DOS (FAT) and Master Boot Record, click the Erase button. Disk Utility will ask for confirmation. Click "Erase" again to proceed. It will take a moment, and you'll see a progress bar.
Step 7: All Done!
When it's finished, you'll see a confirmation message. Click "Done." You can now close Disk Utility. Your SD card is now formatted as FAT32 and ready for action!
A Little macOS Caveat: The 32GB Friendliness
Just like Windows, Disk Utility on macOS can sometimes be a bit finicky with formatting drives larger than 32GB directly to FAT32 (MS-DOS FAT). If you have a 64GB or larger card and it's not giving you the MS-DOS (FAT) option, don't despair! You can use the same third-party tool approach mentioned for Windows (like MiniTool Partition Wizard, which also has a Mac version, or other similar disk management utilities available for macOS) to get it done. These tools often bypass some of the built-in OS limitations.
A Few Extra Tips for Happy Formatting
Formatting an SD card is usually pretty straightforward, but here are a few extra nuggets of wisdom to make your experience even smoother:
- Check Your Device's Requirements: While FAT32 is widely compatible, it’s always a good idea to quickly check your device’s manual or the manufacturer's website. They might have specific recommendations or even a preferred file system.
- Don't Interrupt the Process: Once you've started the format, let it finish. Unplugging the SD card or shutting down your computer mid-format can lead to corrupted data or a bricked card. Patience, young grasshopper!
- Consider exFAT for Larger Files: If you plan on storing very large individual files (like 4GB or bigger, common with HD video recordings), FAT32 has a limitation. It can't handle files larger than 4GB. In such cases, exFAT is a better choice, as it supports much larger files. Most modern devices and operating systems support exFAT.
- SD Card Speed Matters: For things like high-resolution photography or 4K video, the speed of your SD card is crucial. Formatting won't change the card's inherent speed, but ensuring you have a compatible card for your device is key.
- When in Doubt, Format It! If your SD card is acting strangely, giving you errors, or you're not sure what format it's in, a quick reformat to FAT32 (or exFAT, depending on your needs) is often the easiest way to resolve issues.
So there you have it, my friends! You've navigated the (not-so-treacherous) waters of SD card formatting. Whether you're a Windows wizard or a macOS maestro, you now possess the power to make your SD card compatible with a world of devices. From capturing those breathtaking sunset photos to storing your favorite tunes for a road trip, your freshly formatted SD card is ready to be your loyal digital companion.
Remember, technology doesn't have to be intimidating. With a little guidance and a dash of humor, you can conquer any tech challenge. Now go forth and fill that SD card with awesome memories and incredible adventures! Your digital journey awaits, and it's going to be a fantastic one. Happy formatting!