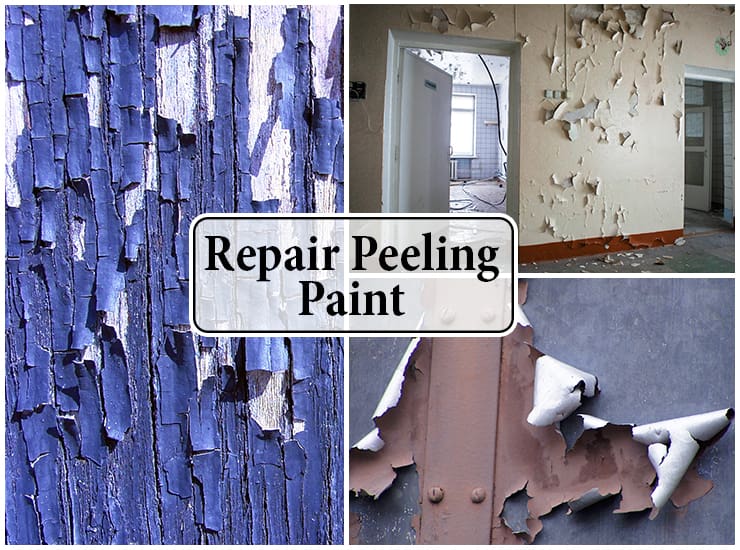
How To Fix Peeled Paint On Wall

Hey there, DIY adventurers and anyone who’s ever looked at a wall and thought, "Hmm, that little patch of paint looks like it's had a rough day!" We’ve all been there, right? That innocent little chip or peel can feel like a tiny rebellion against your otherwise perfectly decorated abode. But guess what? Fixing peeled paint isn't some arcane wizardry; it’s totally within your reach, and dare I say, it can actually be a fun little project! Think of it as a mini-makeover for your walls, a chance to add a touch of your personal magic to your space.
So, ditch the despair! That flaky bit of paint isn’t a life sentence. It’s an invitation. An invitation to roll up your sleeves, grab some supplies, and prove to yourself that you’re a decorating ninja. And let’s be honest, who doesn’t love the satisfaction of saying, "Yep, I fixed that myself!" It’s a confidence booster, a money saver, and a surprisingly Zen way to spend an afternoon. Who knew a little paint patch could lead to so much joy?
The Great Peel Escape: Why Does This Even Happen?
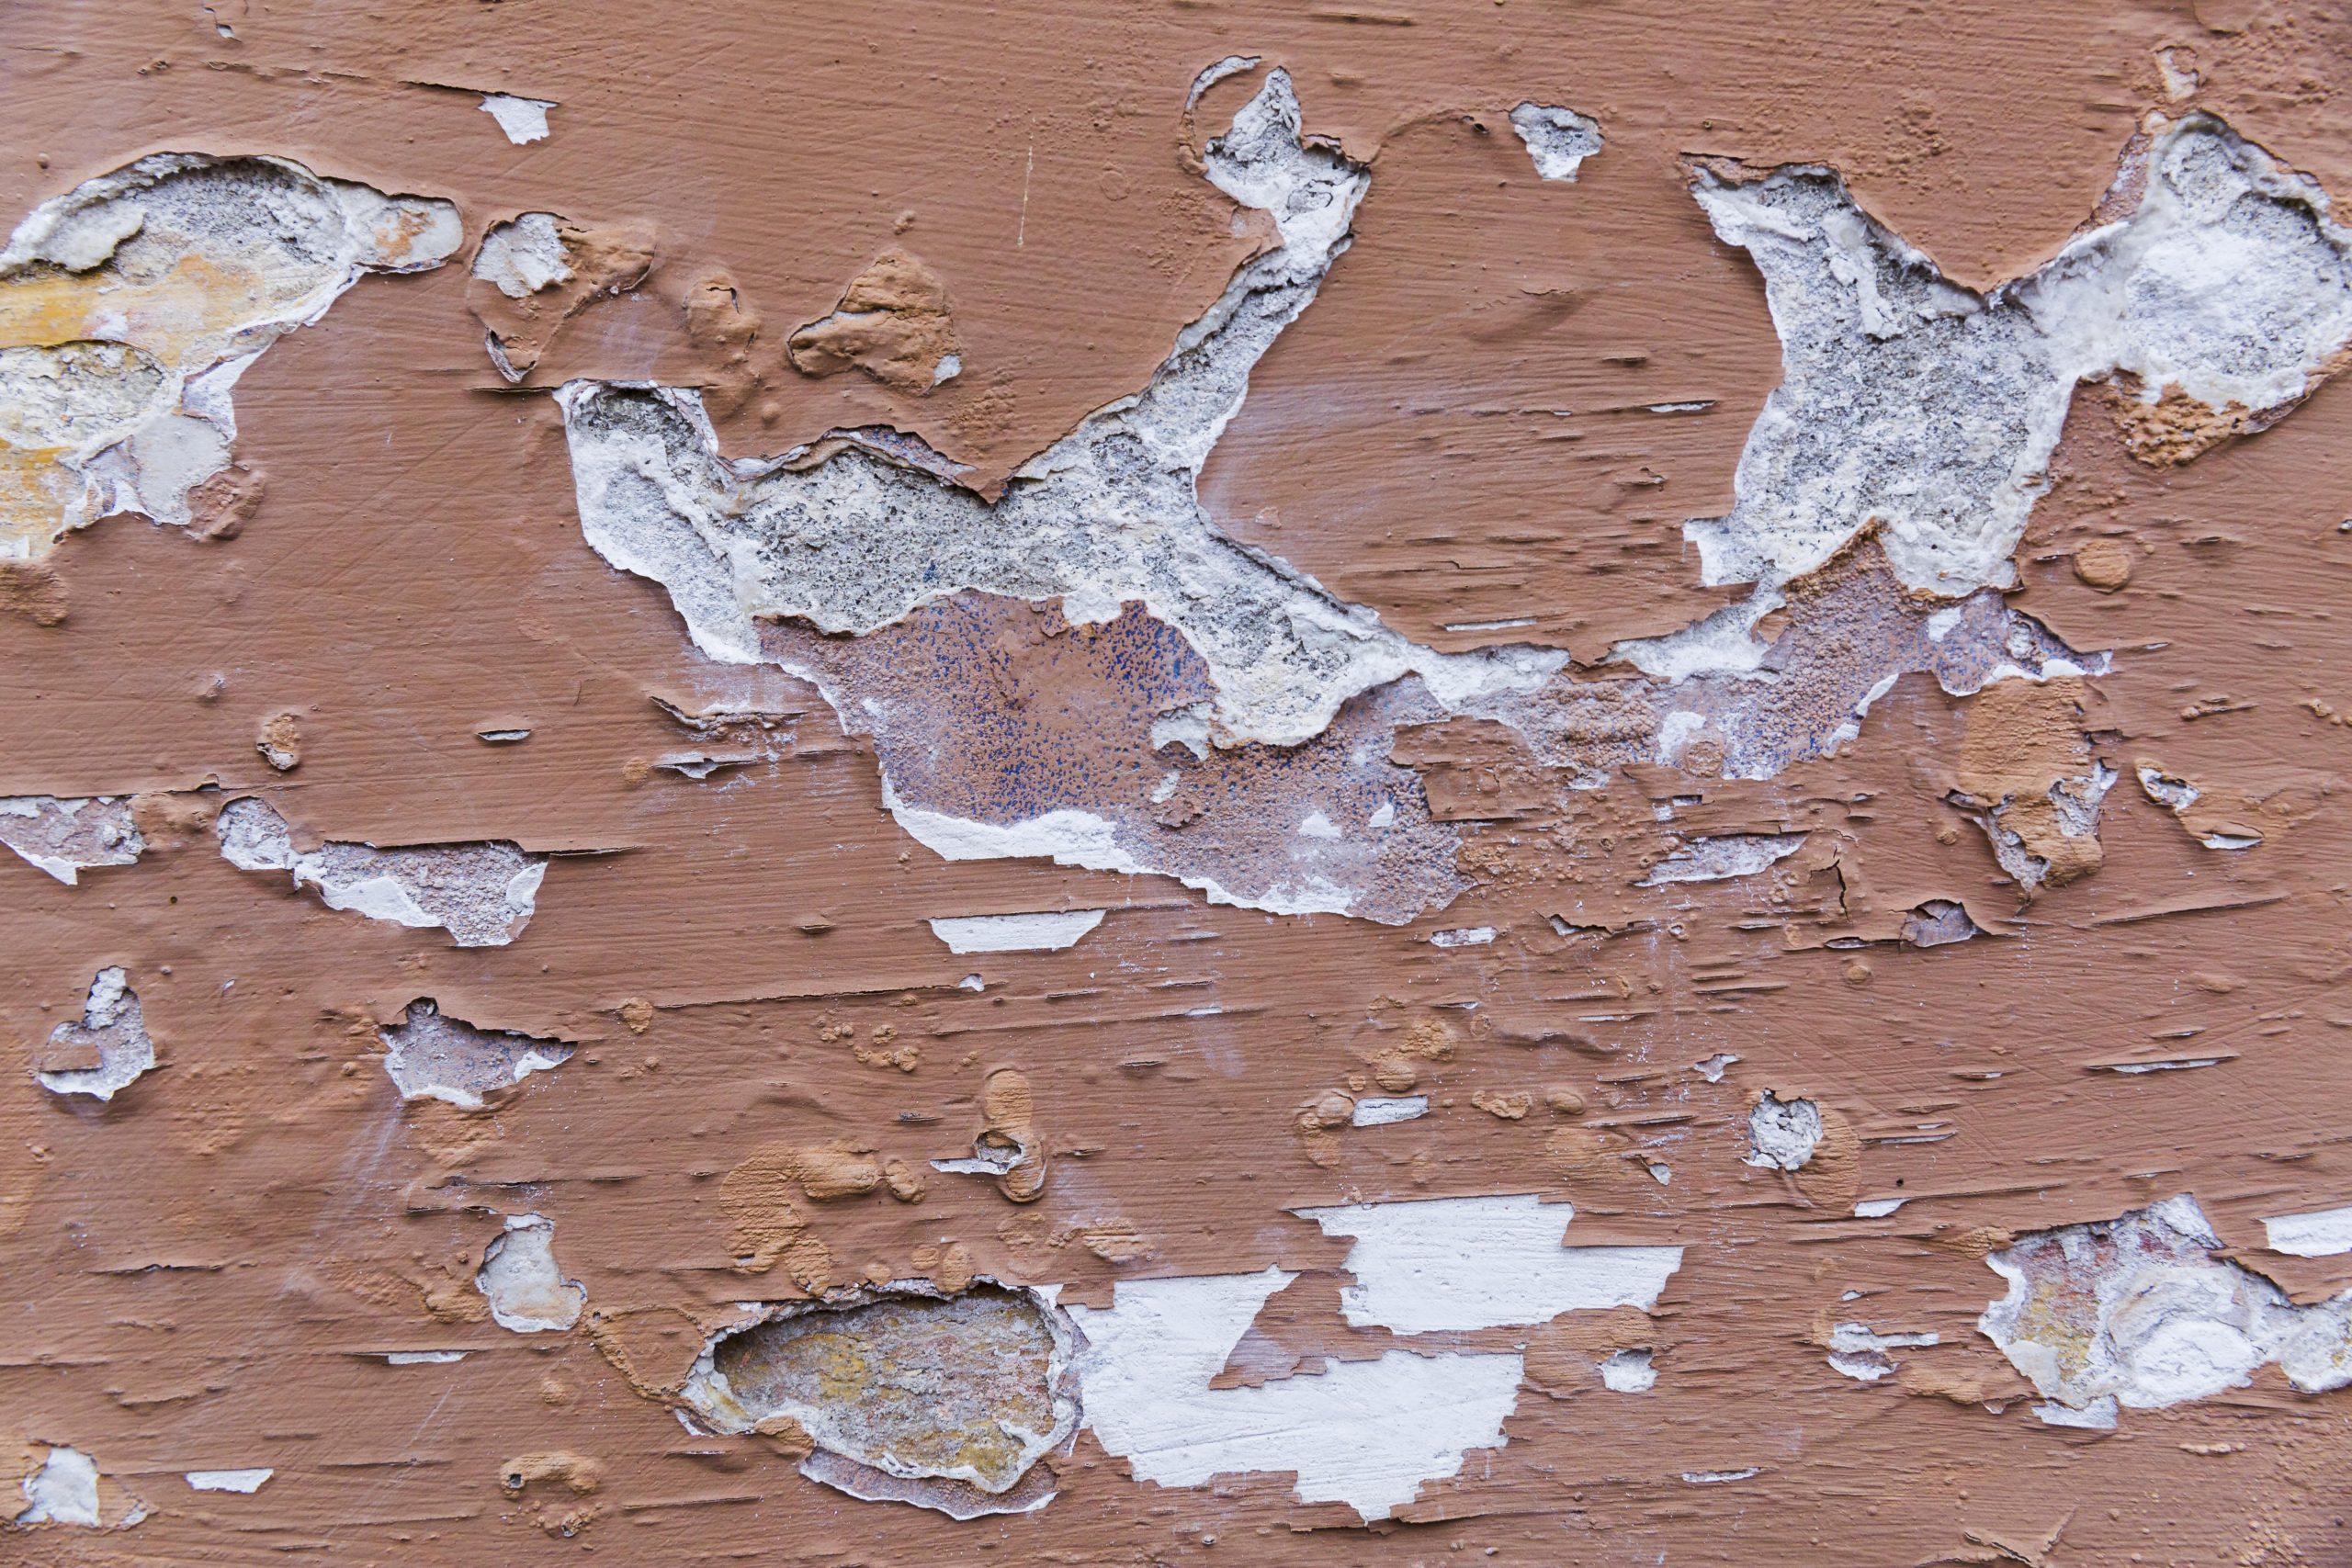
Before we dive into the heroic act of paint repair, let’s have a quick chat about why our walls decide to shed their colorful coats. It’s usually nothing too dramatic, thankfully! Often, it’s just a case of minor moisture. Did you steam up the bathroom something fierce after a particularly luxurious shower? Or maybe that plant near the wall has been a little too enthusiastic with its watering schedule? Little bits of humidity can sneak behind the paint and loosen its grip.
Must Read
Another culprit? Poor surface preparation. Sometimes, the wall just wasn't primed properly before the paint went on. Think of it like trying to stick a sticker onto a greasy surface – it just won't hold! And of course, there’s the classic wear and tear. Bumps from furniture, the enthusiastic tail wags of a happy dog, or even just the passage of time can leave their mark. Don't beat yourself up about it; these are all perfectly normal occurrences in a lived-in home.
Operation: Smooth Sailing (and Walls!) – What You'll Need
Alright, time to assemble your crack team of repair essentials! Don't worry, it's not a long list, and you probably have half of this stuff lurking in your garage or a forgotten junk drawer. First up, you'll need a trusty putty knife or a scraper. This is your magic wand for gently coaxing away any loose paint. Think of it as a gentle but firm conversation with the peeling bits.
Next, for the nitty-gritty smoothing, grab some fine-grit sandpaper. We’re not trying to re-landscape the Grand Canyon here, just to create a smooth transition. A medium-grit might be handy too, if the peeling is a bit more stubborn, but always finish with fine-grit for that silky finish. And of course, you’ll need some spackling compound or wall filler. This is the stuff that fills in the gaps and makes your wall look like it never had a wardrobe malfunction.
To make your patched area blend in seamlessly, you'll want some primer. This is like the foundation for your makeup – it ensures everything looks smooth and even. And finally, the star of the show: your matching wall paint! If you’re lucky, you might have some leftover from the original job. If not, don’t panic! You can always take a small chip of the old paint to a hardware store and they can work their magic to match it for you. How cool is that?
Step 1: The Great Paint Flake Roundup
This is where the fun begins! Grab your putty knife and gently start to scrape away any paint that’s loose or flaking. Be patient, my friend. The goal here is to remove only the paint that’s ready to go. You don’t want to dig into the good paint underneath. Think of yourself as a gentle archeologist uncovering a wall’s hidden past.
Work your way around the peeling area, lifting and scraping until you reach solid, well-adhered paint. It’s incredibly satisfying to see those flaky bits come away, isn’t it? You’re literally clearing the path for a beautiful, smooth surface. Take a deep breath and enjoy the process. It’s like a mini decluttering of your walls!
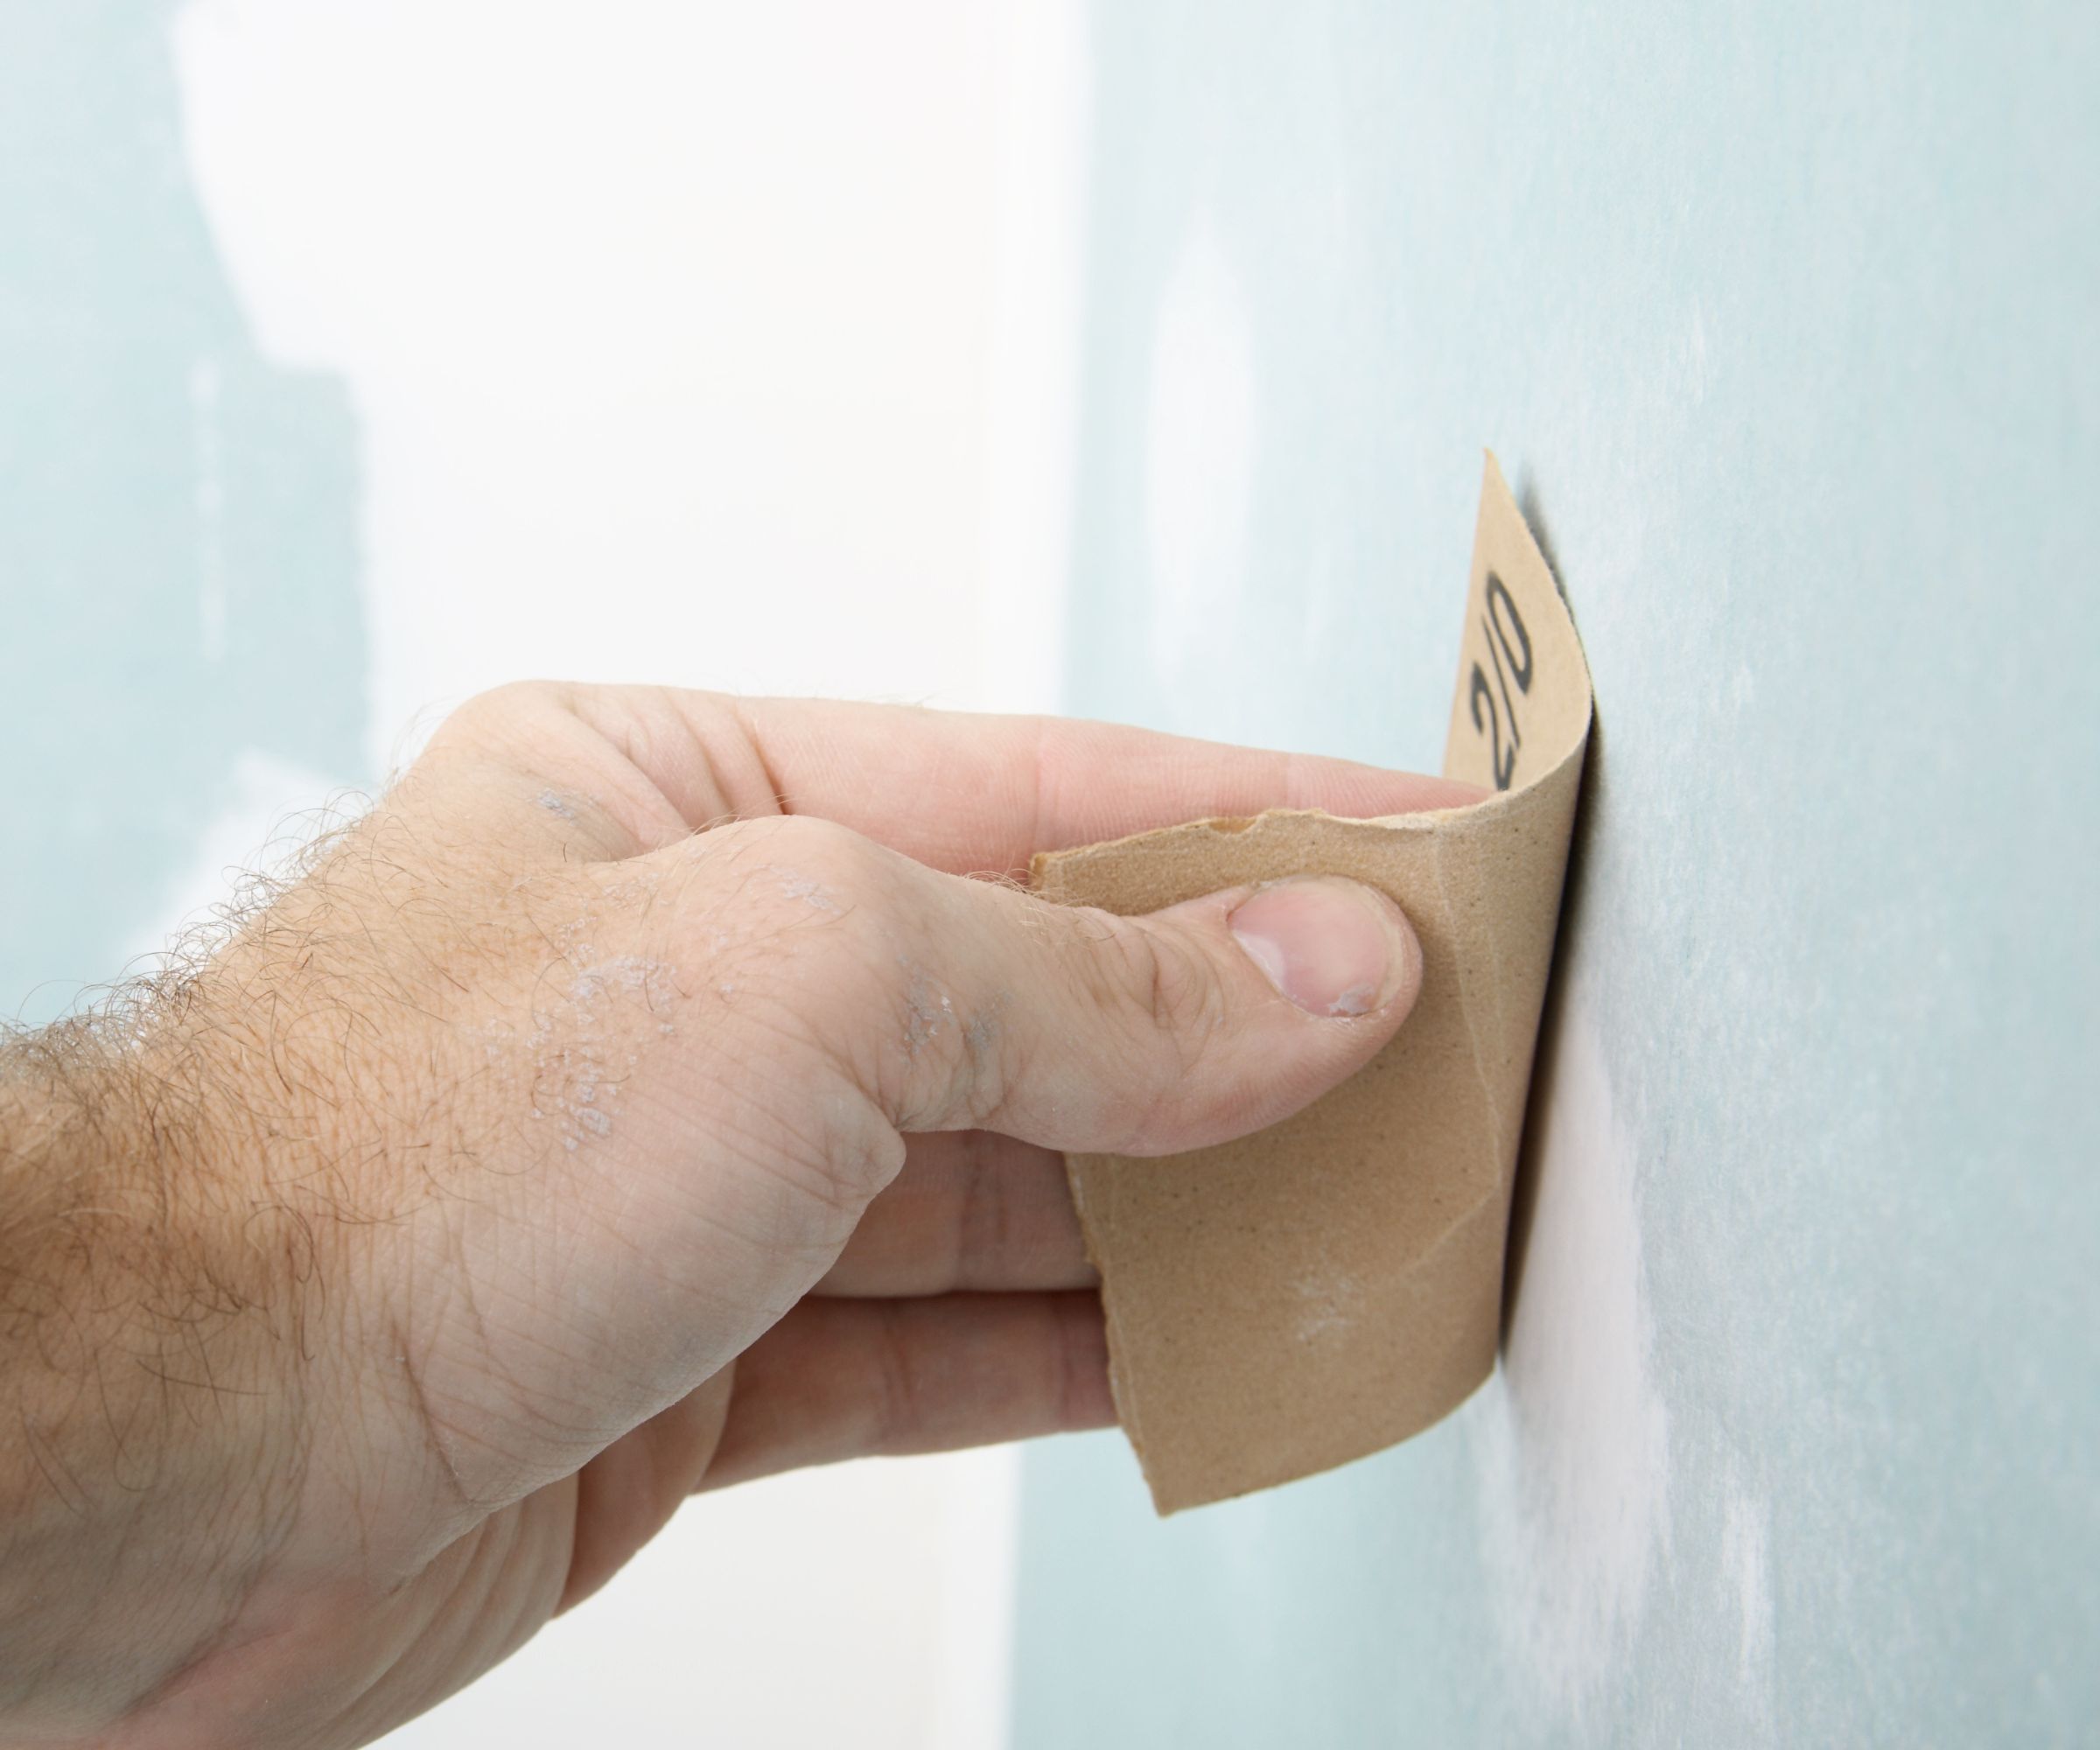
Step 2: Sanding for Smoothness
Now that you’ve banished the loose paint, it's time to make everything smooth. Grab your fine-grit sandpaper and gently sand the edges of the scraped area. You want to feather the edges so they blend seamlessly into the surrounding paint. This is crucial for making your repair invisible!

If you have any rough spots or deeper nicks, you might use a slightly coarser grit for a moment, but always, always finish with the fine-grit sandpaper. You're aiming for a surface that feels as smooth as a baby's bottom. Run your hand over it – if you can feel any bumps or ridges, give it another gentle sand. The smoother you make it now, the better it will look later. This is where patience really pays off!
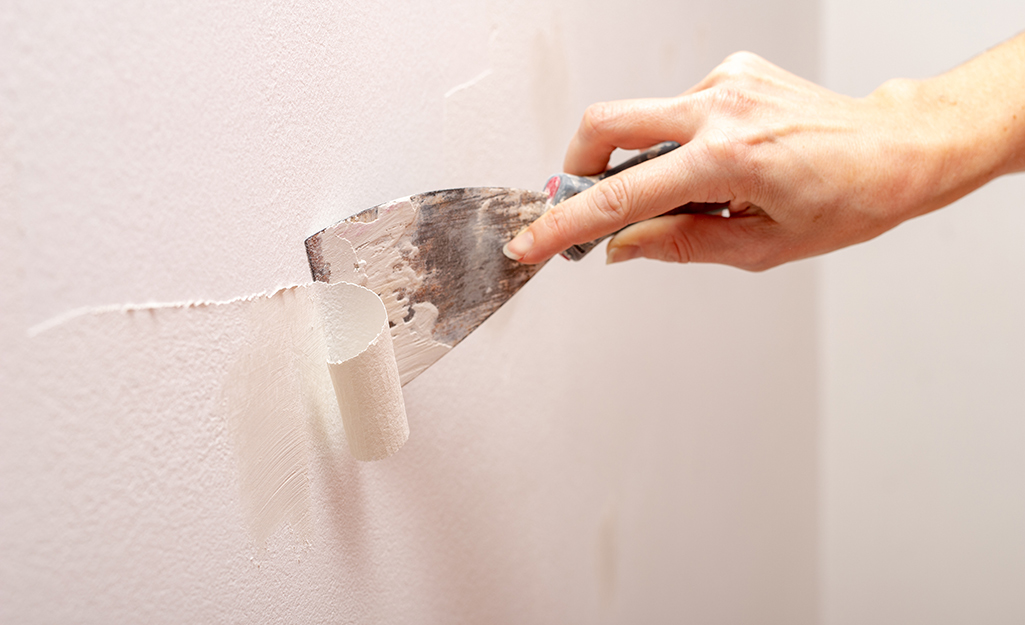
Step 3: The Filling Frenzy
Time for the spackling compound! Take a small amount of your wall filler or spackling compound onto your putty knife. Gently apply it to the scraped and sanded area, filling in any holes or divots. You want to apply just enough to fill the gap, and then smooth it out so it’s flush with the wall. Don't overdo it – you can always add more if needed.
Think of this as giving your wall a little facial. You're filling in those imperfections and creating a smooth canvas. Let the spackling compound dry completely. This is usually a quick process, but check the instructions on your product just to be sure. Resist the urge to rush this step – a fully dried patch makes for a much better finish.
Step 4: The Final Smoothing Touch
Once the spackling compound is bone dry, it’s time for another round of sanding! Grab your fine-grit sandpaper again and very gently sand down the dried filler. You want it to be perfectly smooth and level with the surrounding wall. Again, run your hand over it to check for any unevenness.
Wipe away any dust with a clean, damp cloth. You want a clean surface for your primer. This is the moment where your patch starts to disappear, becoming one with the wall. It’s like magic, but with much less glitter and a lot more practical application!
Step 5: The Prime Time
Now, for the primer! Apply a thin, even coat of primer over the repaired area. This isn’t just about covering up the spackling; it’s about creating a consistent base for your paint. Primer helps your topcoat adhere better and ensures the color is true. It’s like putting on a good pair of socks before your favorite shoes – essential for comfort and a good look!
Let the primer dry completely. You might need two coats depending on the depth of the repair and the type of primer. Again, check those product instructions! A well-primed patch is the secret weapon for a flawless finish.
Step 6: The Grand Finale – Paint Perfection!
The moment you’ve been waiting for! Grab your matching wall paint and a good quality brush or roller. Apply a thin, even coat of paint over the primed area. Start in the center of the repair and work your way outwards, feathering the edges into the surrounding paint. The goal is to make the patched area completely disappear.
You might need a second coat of paint to achieve full coverage and a perfect match. Apply it evenly, just like the first coat. And there you have it! Step back and admire your handiwork. That peeled paint? It’s a distant memory. You’ve transformed a little imperfection into a testament to your skills!
Embrace the DIY Spark!
See? Not so scary, right? In fact, it’s kind of empowering! Every little repair you tackle, every surface you smooth and paint, builds your confidence and your connection to your home. It’s not just about fixing a wall; it’s about taking ownership, adding your own touch, and creating a space that truly feels like yours.
This is just the tip of the iceberg, my friend. The world of DIY is vast and rewarding. From fixing a wobbly chair to hanging a new shelf, there's so much you can learn and accomplish. So, the next time you spot a little imperfection, don't sigh. Smile! It's your cue to get creative, to learn something new, and to add another beautiful accomplishment to your life story. Go forth and create, you amazing DIYer!