How To Fix A Flush On A Toilet

Ever had one of those moments? You know the one. You press the flush lever, hear a bit of a gurgle, maybe a sigh from the porcelain, and… crickets. Your toilet, your trusty porcelain throne, has decided to take a day off. It’s a situation we’ve all probably encountered, and it can feel a little… intimidating, right? Like, "Oh no, now I have to call someone and spend money, and wait around all day for a stranger to poke around my bathroom."
But what if I told you that fixing a most toilet flushes is actually way less daunting than you might think? In fact, it’s kind of like being a friendly detective, sniffing out clues and piecing together a simple puzzle. And the best part? You can totally do it yourself, saving you a few bucks and giving you a little surge of DIY pride. Pretty cool, huh?
So, let’s dive into the mysterious world of the toilet flush. It’s a surprisingly clever contraption, all working together to send your… business… on its merry way. Think of it like a miniature, highly efficient water park. You pull the lever, and a whole sequence of events unfolds, all powered by gravity and a bit of clever engineering.
Must Read
The Usual Suspects: What’s Actually Going Wrong?
Before we start wielding tools (don't worry, they're not scary!), let's figure out why your flush might be giving you the cold shoulder. Most of the time, the culprit isn't some complex plumbing catastrophe. It's usually one of a few common, easily fixable issues happening inside the tank.
First up, let's talk about the fill valve. This is the little guy that refills the tank after each flush. If it’s not doing its job, your tank won't get enough water, and thus, no powerful flush. Imagine trying to launch a rocket with only half a tank of fuel – it’s just not going to reach orbit, right?
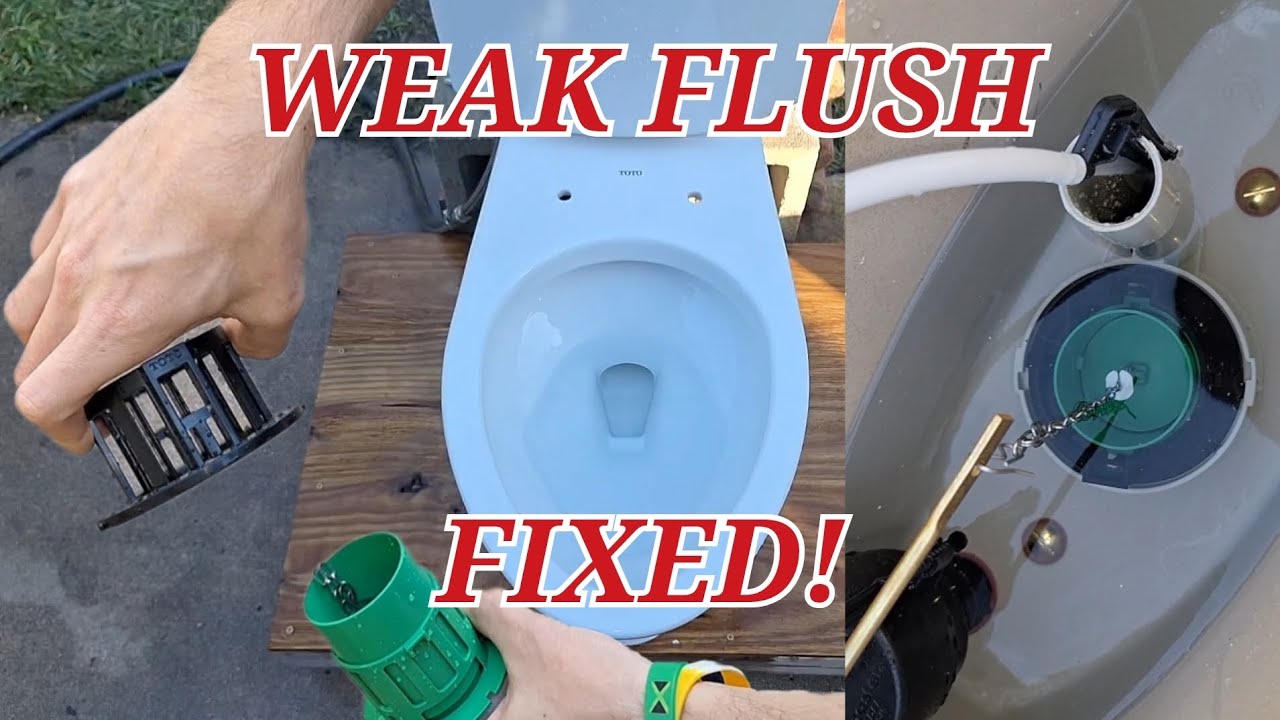
Then there's the flush valve. This is the big rubber stopper at the bottom of the tank that, when lifted, lets all that stored water rush into the bowl. If this guy is worn out, cracked, or just not seating properly, water can leak out of the tank constantly, meaning there’s never enough pressure for a good flush. It’s like having a leaky bucket trying to fill a swimming pool.

And let's not forget the flapper. This is a smaller, often chain-connected rubber piece that seals the flush valve. Sometimes, the chain gets too long, too short, or the flapper itself is brittle and old. This can prevent the flush valve from opening completely, leading to a weak or nonexistent flush. Think of it as the tiny gatekeeper who's either asleep on the job or has the wrong size key.
Unveiling the Mystery: Simple Fixes to Try
Okay, armed with a little knowledge, let's get our hands a little wet (it's just water, promise!) and see what we can do. The most important thing is to turn off the water supply to the toilet. You’ll usually find a small valve on the wall behind or next to the toilet. Just turn it clockwise until it stops.
The Chain Gang: Adjusting the Flapper Chain
This is probably the easiest fix, and it works more often than you might think. Open up the toilet tank lid (carefully, they can be heavy!). You’ll see the flapper, which is usually a rubber piece that covers a hole at the bottom of the tank. There’s often a chain connecting the flush lever arm to the flapper.

Here’s the scoop: If the chain is too loose, it won't lift the flapper enough. If it's too tight, the flapper might not seal properly, causing a constant leak. You’re looking for a little bit of slack, about half an inch, so that when you lift the lever, the flapper opens fully but doesn't get stuck halfway.
Most of the time, there's a little clip or hook on the chain that you can move to adjust the length. Play around with it. Flush a few times (with the water back on briefly to test!) and see if you get a better result. It’s like tuning a guitar – a small adjustment can make a big difference in the sound (or in this case, the flush!).
The Worn-Out Warrior: Replacing the Flapper
If adjusting the chain doesn't do the trick, or if your flapper looks cracked, warped, or just plain sad, it's probably time for a new one. They're super cheap, usually just a few bucks at any hardware or home improvement store. And replacing it is a breeze!
First, make sure the water is off and you've flushed to empty the tank as much as possible. Then, unhook the old flapper from the chain and pull it off the little pegs or arms it sits on. Grab your new flapper, hook it onto the chain, and pop it onto the pegs. Easy peasy!

Now, turn the water back on and let the tank fill. Give it a flush. You should notice a much more satisfying "whoosh" sound. It’s like giving your toilet a new pair of running shoes – suddenly it’s got the energy to go the distance!
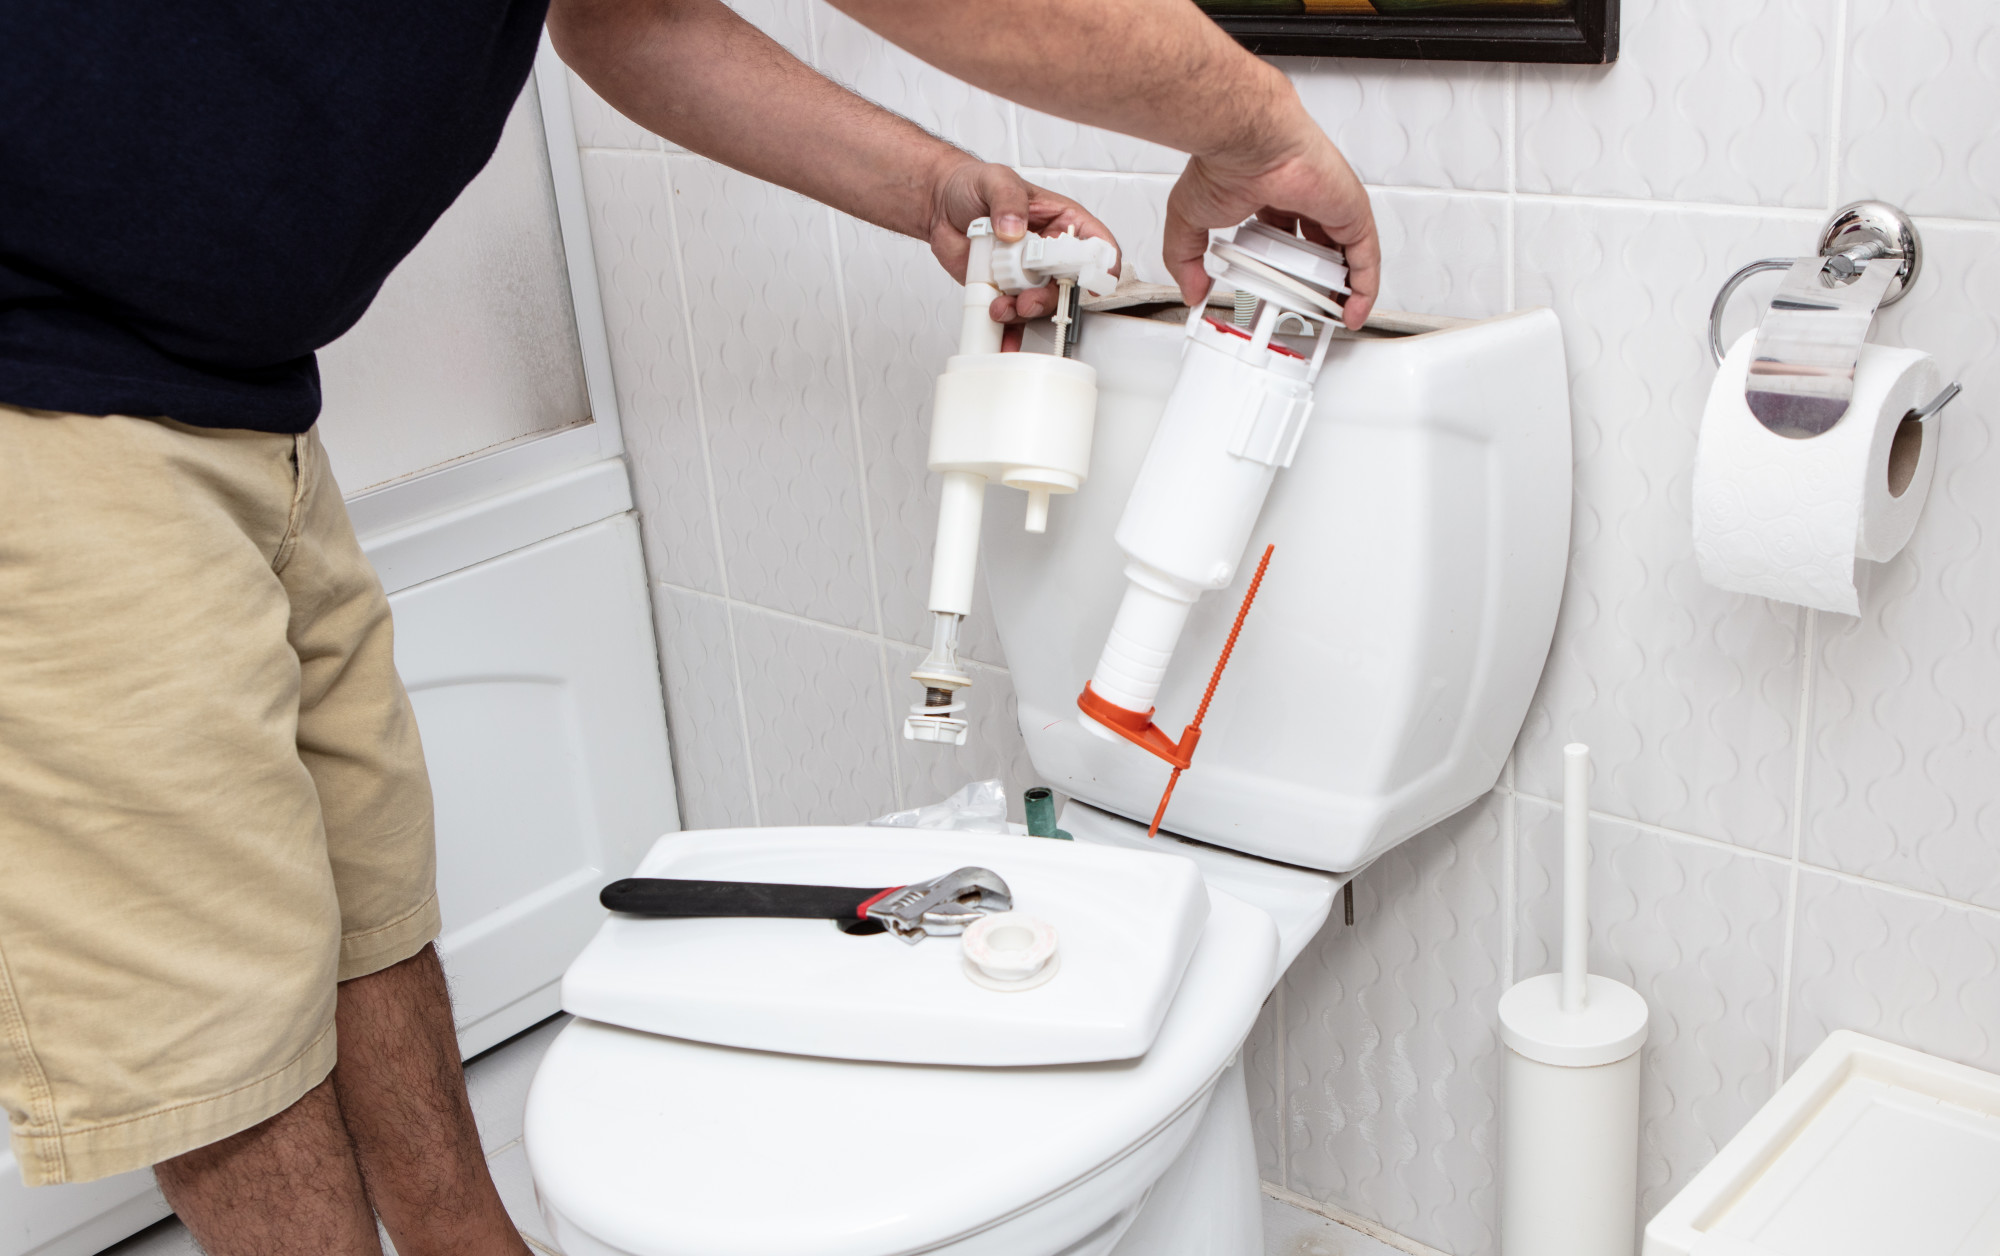
The Silent Leaker: The Fill Valve Fiasco
This is another common culprit. If your tank isn't filling up completely, or if it keeps running long after you've flushed, the fill valve might be the issue. These are a bit more involved than the flapper, but still totally doable.
Inside the tank, you’ll see a vertical tube with a float attached. This is the fill valve. When the water level gets to a certain point, the float tells the valve to shut off. If the float is set too low, the tank won't fill enough. If the valve itself is damaged, it might not shut off at all, leading to a constantly running toilet.
:max_bytes(150000):strip_icc()/repairing-leaky-toilet-tank-flush-valve-1824907-05-c477c2a758d346b9bff4fa9146573d0d.jpg)
Many fill valves have an adjustment screw or a way to reposition the float to raise or lower the water level. You can also often replace the entire fill valve assembly with a new one. These kits are also readily available and come with pretty straightforward instructions. It’s a bit like swapping out an old battery for a new one – suddenly everything has power again!
The key here is to look for instructions specific to your type of fill valve, as they can vary a bit. But generally, it involves disconnecting a few water lines and unscrewing the old valve. Don't be afraid to take a picture of how it’s connected before you start dismantling!
When to Call in the Cavalry
Now, while most toilet flush problems are simple DIY fixes, there are times when it's a good idea to call in a professional. If you've tried all of the above and your toilet is still acting up, or if you hear strange noises like hissing or banging that aren't normal, it might be time to consult a plumber. They have the experience and specialized tools to diagnose and fix more complex issues, like problems with the toilet's internal workings or the pipes themselves.
But honestly, for the most part, your toilet is a remarkably resilient piece of engineering. A little bit of curiosity and a willingness to get your hands dirty can go a long way. So next time your flush is less than stellar, don’t despair! Embrace your inner plumbing detective, and you might just surprise yourself with how much you can fix. It’s a small victory, but in the grand scheme of home maintenance, it’s a pretty satisfying one. Happy fixing!