How To Dry Air Dry Clay Fast
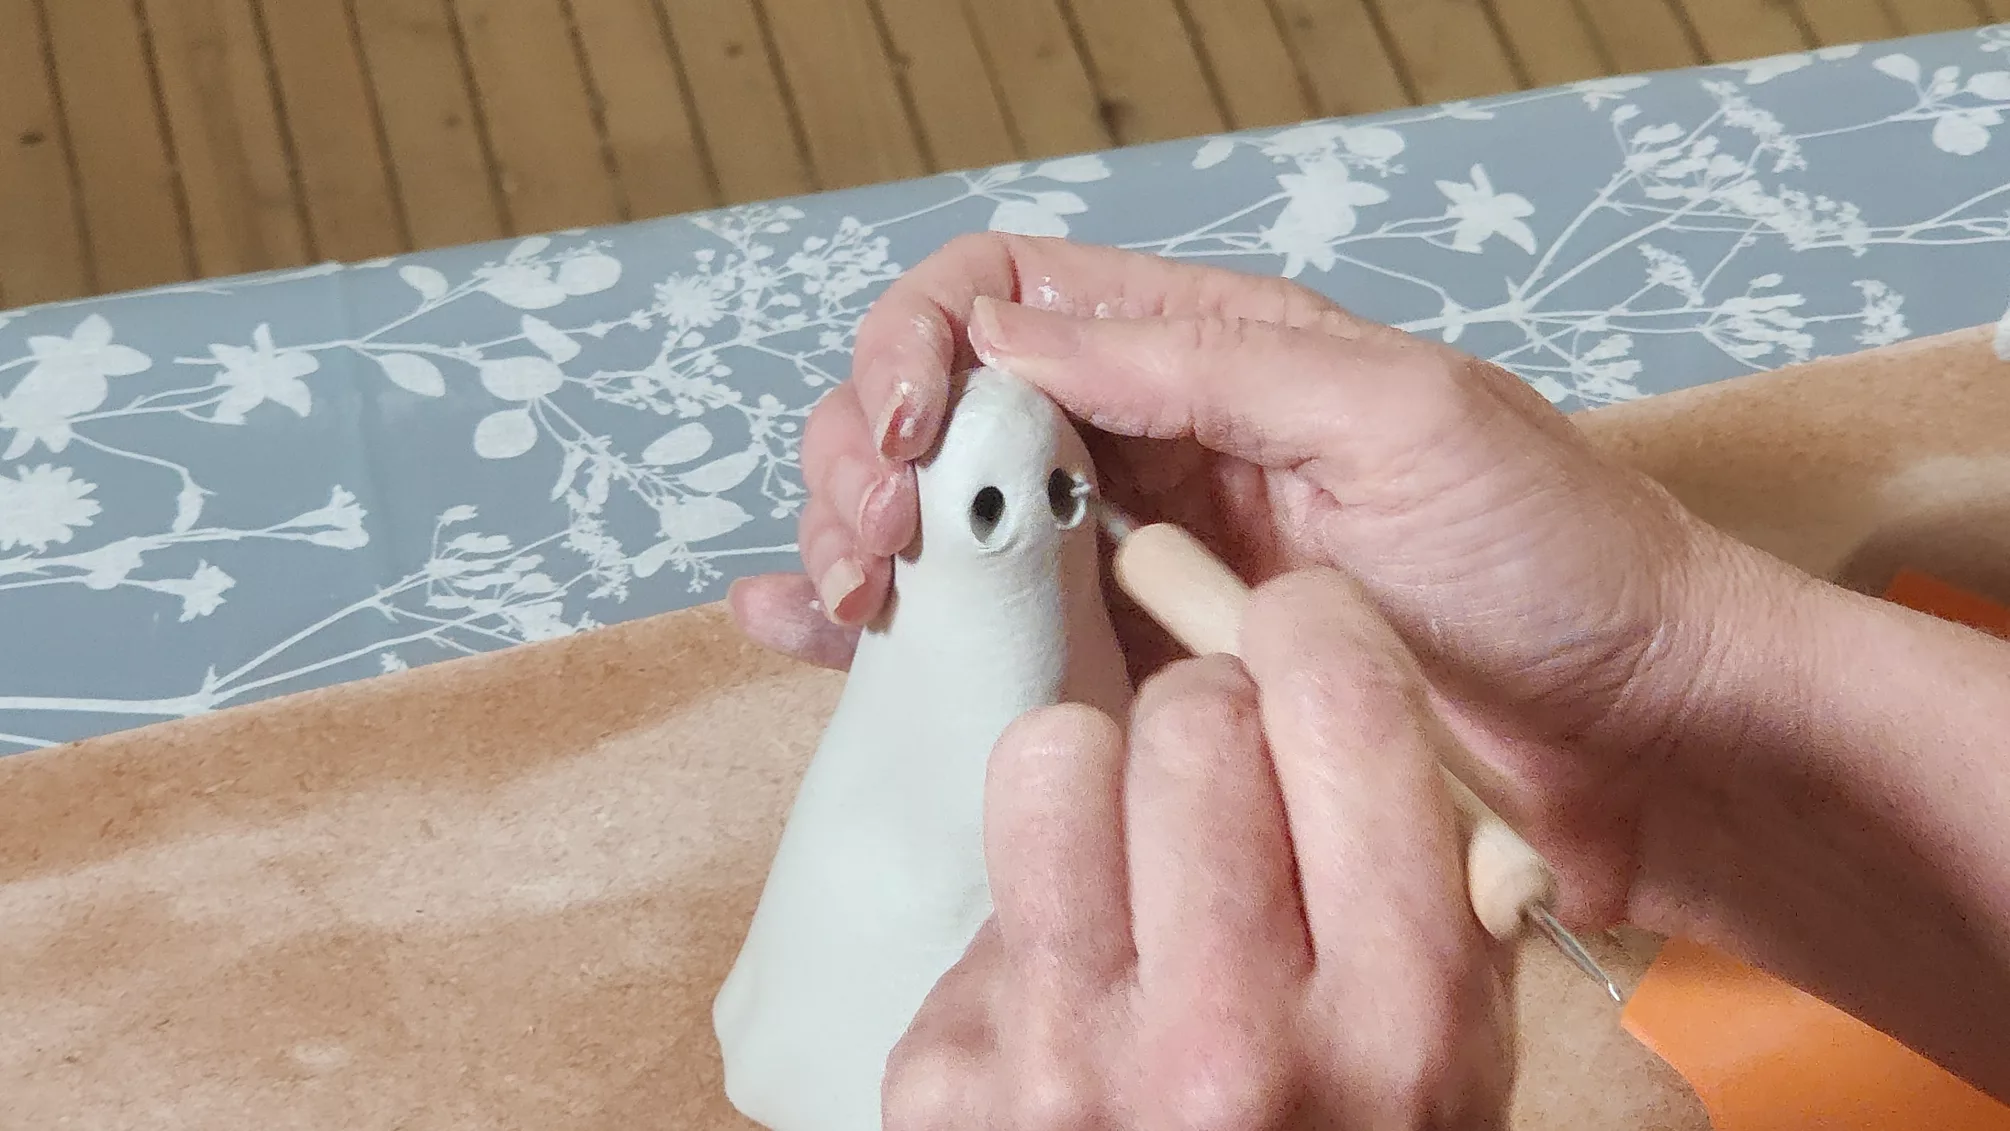
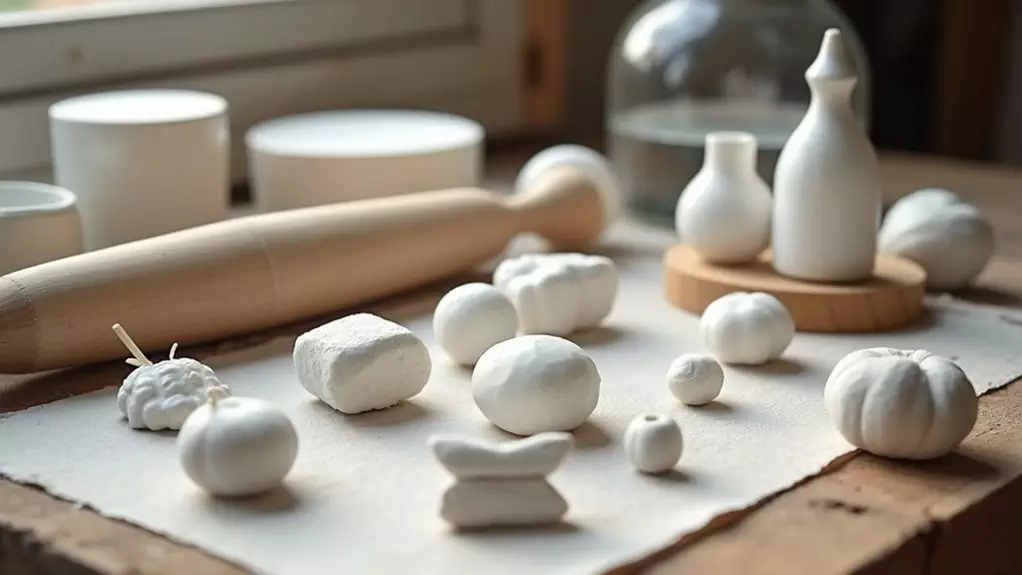
Okay, so picture this: it’s a rainy Tuesday evening. You’ve just spent hours hunched over your kitchen table, a half-finished clay creature staring back at you with its slightly lopsided, now-drying eyes. You’re buzzing with creative energy, already picturing it painted, varnished, and perched proudly on your bookshelf. But then, a wave of existential dread washes over you. It’s still… wet. Like, really wet.
This isn’t just any Tuesday evening, mind you. This is the Tuesday evening before your best friend’s birthday, and that little clay blob is meant to be the centerpiece of their gift. Suddenly, the gentle ticking of the clock becomes a deafening countdown. You’ve got maybe 24 hours, tops, and air-dry clay, bless its quirky heart, is not known for its speed dating skills. It’s more of a slow-burn romance kind of material. Which, under normal circumstances, is lovely. But right now? It’s torture.
So, if you’ve ever found yourself in a similar predicament, muttering darkly at a damp sculpture and questioning all your life choices, then welcome! You’ve landed in the right place. Today, we’re talking about the age-old, sometimes desperate, quest for faster air-dry clay drying. Because let’s be honest, waiting is for people with less urgent creative needs and a better understanding of time management than I evidently possess.
Must Read
We’ve all been there, right? That moment when you realize your masterpiece, which you’d envisioned as a triumphant showstopper, is still stubbornly… soft. And the deadline is looming like a particularly grumpy thundercloud. It’s like, you’ve poured your soul into this thing, and now it’s just… damp. So, what do you do when your air-dry clay is taking its sweet time, and you’re on a tight schedule?
The Great Air-Dry Clay Drying Race: Strategies to Speed Things Up
Now, before we dive headfirst into the world of accelerated drying, a little disclaimer. Air-dry clay, by its very nature, dries by evaporation. This means water molecules are escaping into the air. You can’t force water out of clay without, well, something drastic happening (we’re not baking it, folks, that’s a different beast entirely). But you can create conditions that encourage that evaporation to happen more quickly. Think of it as giving the water molecules a gentle, but firm, nudge.
So, while we can’t magically transmute wet clay into a solid piece in minutes, we can definitely shave off some significant drying time. And that, my friends, is what we’re here to talk about. Get ready to become a clay-drying ninja.
1. Location, Location, Location: The Power of a Good Spot
This is probably the simplest, yet most effective, trick up your sleeve. Where you place your drying clay makes a HUGE difference. Forget the dark, damp corner of your basement. That’s the clay equivalent of a spa retreat, and we’re not aiming for relaxation here. We’re aiming for expediency.
Think about what helps things dry in general. Sunlight? Yes. Warmth? Absolutely. Good airflow? You betcha. So, find a spot that ticks all these boxes. A sunny windowsill is your best friend. Even on a cloudy day, the ambient warmth can help.
If sunshine isn’t an option, a spot near a gentle heat source is also beneficial. Think away from direct heat, of course – you don’t want your creation to crack from sudden, intense temperature changes. But a room that’s generally warmer than others, like a living room or even a well-ventilated kitchen, can be a good alternative. Just avoid bathrooms or laundry rooms where humidity tends to linger. Nobody wants a soggy sculpture, ever.
And airflow! This is crucial. If your clay is sitting in stagnant air, the moisture will just hang around it. So, if you can, position your piece where there’s a gentle breeze. A fan on a low setting, pointing near (not directly at, unless it’s a very fine mist) your sculpture, can work wonders. It helps to whisk away the humid air surrounding the clay, allowing drier air to take its place. It’s like giving your clay a mini spa day, but instead of cucumber slices, it’s getting a refreshing breeze.

My personal favorite is a slightly elevated spot on a radiator (not touching, obviously!) during a mild winter day. It’s like a cozy, warm hug that also happens to be drying. Just make sure it's stable and won't be knocked over. We’re aiming for efficient drying, not a clay-related disaster. Trust me, you learn these things the hard way.
2. The Thinness Factor: Size Matters (When It Comes to Drying Speed)
This is less of a quick fix and more of a proactive strategy, but it’s worth mentioning for future projects. The thicker your clay piece, the longer it will take to dry. It's simple physics, really. More water needs to evaporate from a larger volume. So, if you’re in a rush, aim for thinner applications of clay.
If you’re making a solid, chunky object, you're inherently signing up for a longer wait. If you can, consider hollowing out the inside of larger pieces before they completely firm up. This reduces the amount of clay (and therefore water) that needs to dry. Think of it like an apple pie crust – the thinner it is, the quicker it bakes. Same principle, different medium!
For details, you can always add them on later as your base dries. Patience, grasshopper! (Or, in our case, a little bit less patience if we’re clever about it). If you’ve already sculpted something substantial, this isn’t going to help you now, but keep it in mind for your next creative endeavor.
If you're making something that has a lot of bulk, like a solid sphere or a thick wall, that water has to travel quite a distance to get out. It’s like trying to drain a bathtub with a tiny straw versus a big pipe. The thinner the clay, the shorter the journey for the water. So, for future projects, if speed is of the essence, consider building your creations in layers or keeping them relatively flat. It’s a game-changer!
3. The Foil Trick: Trapping Heat (Strategically!)
Okay, this one is a little bit… counterintuitive at first glance, but bear with me. We’re not talking about wrapping your clay in foil and shoving it in the oven (again, different hobby!). We’re talking about using aluminum foil to trap heat in a controlled way.
If your clay piece has a broad, flat base, you can place it on a piece of aluminum foil. The foil, being a good conductor of heat, will absorb warmth from the surface it’s on (like that sunny windowsill or near a gentle heat source) and transfer it to the bottom of your clay. This helps the bottom to dry at a similar rate to the top, preventing that frustrating situation where the top is bone dry and the bottom is still mushy.
Important caveat here: This is best for pieces with a flat bottom. If your sculpture is round or has intricate feet, this might not be the most effective method. You don’t want to create pockets where moisture can get trapped. We’re aiming to encourage evaporation, not stifle it.
Think of it like putting a nice warm blanket on the bottom of your sculpture. It’s like a little cozy bed that’s also working on drying it out. It’s a subtle effect, but it can definitely help to even out the drying process. It’s the little things that count, right? Especially when you’re on the clock.
4. The Fan Club: Increasing Airflow (Gently!)
We touched on this earlier, but it deserves its own spotlight. A fan is your secret weapon in the fight against dampness. Remember how we talked about stagnant air being the enemy? A fan directly combats that.
The key here is gentle. You don’t want a hurricane blasting your delicate creation. A low setting is perfect. You want to create a constant, gentle circulation of air around the piece. This helps to carry away the moisture that’s evaporating from the clay.
Position the fan so it’s not blowing directly on the clay, especially if it's a thin or delicate piece. You don’t want to risk cracking from uneven drying or direct air pressure. A slight indirect breeze is ideal. It’s like a refreshing cool down after a workout, but for your clay.
If you have multiple pieces, you can arrange them in a way that allows air to circulate between them. Don’t stack them or have them jammed up against each other. Give them their own personal drying space, with good air traffic control.
I have a tiny desk fan that I swear by. It’s quiet, it’s efficient, and it doesn’t take up much space. It’s become an indispensable part of my post-sculpting ritual, especially when deadlines are tight. It’s the unsung hero of my hurried crafting life.
5. The "Hair Dryer" Hack (Use with Extreme Caution!)
Okay, this is where we enter the slightly more advanced, potentially risky territory. Using a hairdryer can speed up drying, but it requires a lot of care and attention. If you’re not careful, you can end up with cracks, warping, or even the clay falling apart. So, proceed with caution, and always keep a close eye on your piece.
The idea is to use the hairdryer on a cool or low heat setting, held at a good distance from the clay. Move the hairdryer constantly, never focusing the heat on one spot for too long. You’re essentially mimicking a gentle breeze, but with more concentrated drying power.
This is crucial: Avoid hot air. Hot air will dry the surface of the clay too quickly, causing it to shrink and crack before the interior has a chance to dry. Think of it like a sunburn for your sculpture – bad news bears.
This method is best for smaller touch-ups or for getting the very surface of a piece dry so you can handle it. It’s not ideal for drying a large, thick piece all at once. If you’re going to try this, do it in short bursts, and let the clay rest in between. Listen to your clay! If it starts to look stressed (cracking, warping), back off immediately.
I’ve used this in a pinch for small details that I wanted to paint that day. It’s a bit nerve-wracking, I won’t lie. You’re hovering over it like a worried parent. But when it works, it’s incredibly satisfying. Just remember, the goal is to gently encourage evaporation, not to blast the poor thing into oblivion.
6. The "Baking Paper" Buffer: Preventing Sticking and Encouraging Airflow
This is a super simple but effective trick for ensuring even drying and preventing your piece from sticking to surfaces. If your clay is sitting on a solid surface, the bottom can sometimes take longer to dry because air can’t circulate around it as effectively. And nobody wants their beautiful creation permanently fused to their work surface!
Placing your air-dry clay on a piece of baking paper (parchment paper) can help. Baking paper allows a bit of airflow underneath the piece, and it also provides a slightly non-stick surface. This means your clay is less likely to adhere to your table, and the bottom has a better chance of drying evenly.
You can even elevate your piece slightly by placing it on a few small balls of crumpled baking paper, or even on a small wire rack if you have one. This creates a little more space for air to circulate. It’s like giving your clay a little pedestal to dry on. Fancy!
This is especially useful if you’re drying a piece that has a very flat bottom. It prevents that dreaded “sweating” effect where moisture can get trapped and make the bottom gooey for ages. Small details, big impact, right?
7. The Humidity Hack: Making Your Own Dry Environment
This one is for those situations where the ambient humidity is just too high. Think of a very humid day, or a steamy bathroom. In these cases, even with airflow, the air is so saturated with moisture that evaporation will be slow. So, you might need to create a drier environment for your clay.
This can be as simple as placing your clay piece inside a cardboard box with a few packets of silica gel (the little packets you find in new shoes or electronics). The silica gel will absorb moisture from the air inside the box, creating a drier micro-environment for your clay.
You can also place your piece on a tray with a layer of uncooked rice or a desiccant. The rice will absorb some of the moisture. Just make sure your clay isn't directly touching the rice. You don’t want your masterpiece to pick up a starchy aroma!
This method is best for smaller pieces or for when you need to dry something overnight. It’s like giving your clay a personal dehumidifier. Again, a little bit of cleverness goes a long way when you’re trying to beat the clock.
Remember, air-dry clay is forgiving, but it’s not invincible. These methods are designed to assist the natural drying process, not to replace it entirely. Always monitor your piece, and adjust your approach as needed. Happy (and speedy) drying!
So, the next time you find yourself in a clay-related time crunch, don’t despair! You have a whole arsenal of tricks to get your creations dry and ready for their grand debut. Remember the sunny spots, the gentle fans, and the power of a little strategic intervention. Your friend, or your bookshelf, will thank you for it. Now go forth and create… and dry!