How To Do Track Changes On Word
Hey there! So, you're staring at a document, maybe a report, maybe a story, maybe even a love letter that your crush swears they’ll edit for you. And you’re thinking, "How on earth do I see all those little tweaks without losing my mind?" Well, grab your metaphorical coffee mug, because we’re about to dive into the magical world of Track Changes in Microsoft Word. It’s not as scary as it sounds, promise!
Seriously, this feature is a total game-changer. Imagine your friend going through your essay, crossing things out with a red pen, and scrawling notes in the margins. Track Changes is like the super-powered, digital version of that. No more trying to decipher scribbles, no more accidental deletions that you can’t find again. It’s like having a built-in editor who’s a bit of a show-off, highlighting every single change they make.
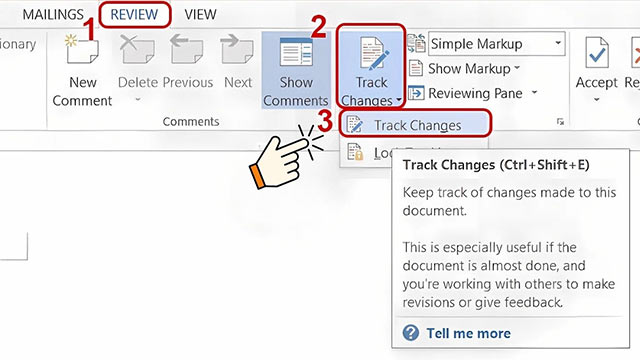
So, how do we unleash this beast? It's actually ridiculously simple. Think of it like finding a hidden button that makes everything easier. You’re going to want to head over to the very top of your Word screen. You know, where all those tabs are: File, Home, Insert, etc. We’re going to be hanging out in the Review tab. Yep, that’s the one.
Must Read
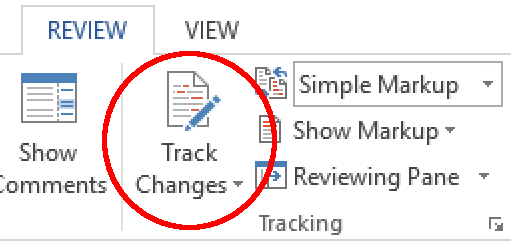
Click on Review. See all those buttons staring back at you? Don’t panic. We’re looking for a little button that usually says, and this is key, Track Changes. It often has a little icon that looks like a pen making a wavy line, or maybe a document with lines on it. It’s usually in the top left-ish area of the Review tab. Go ahead, give it a click. It's like flipping a switch!
Once you click it, you’ll notice it probably lights up or changes color. That means it’s ON! Like a lightbulb going off above your head. Now, anything you type, anything you delete, Word will dutifully keep a record of. It’s like having a super-observant little helper who never forgets a thing.
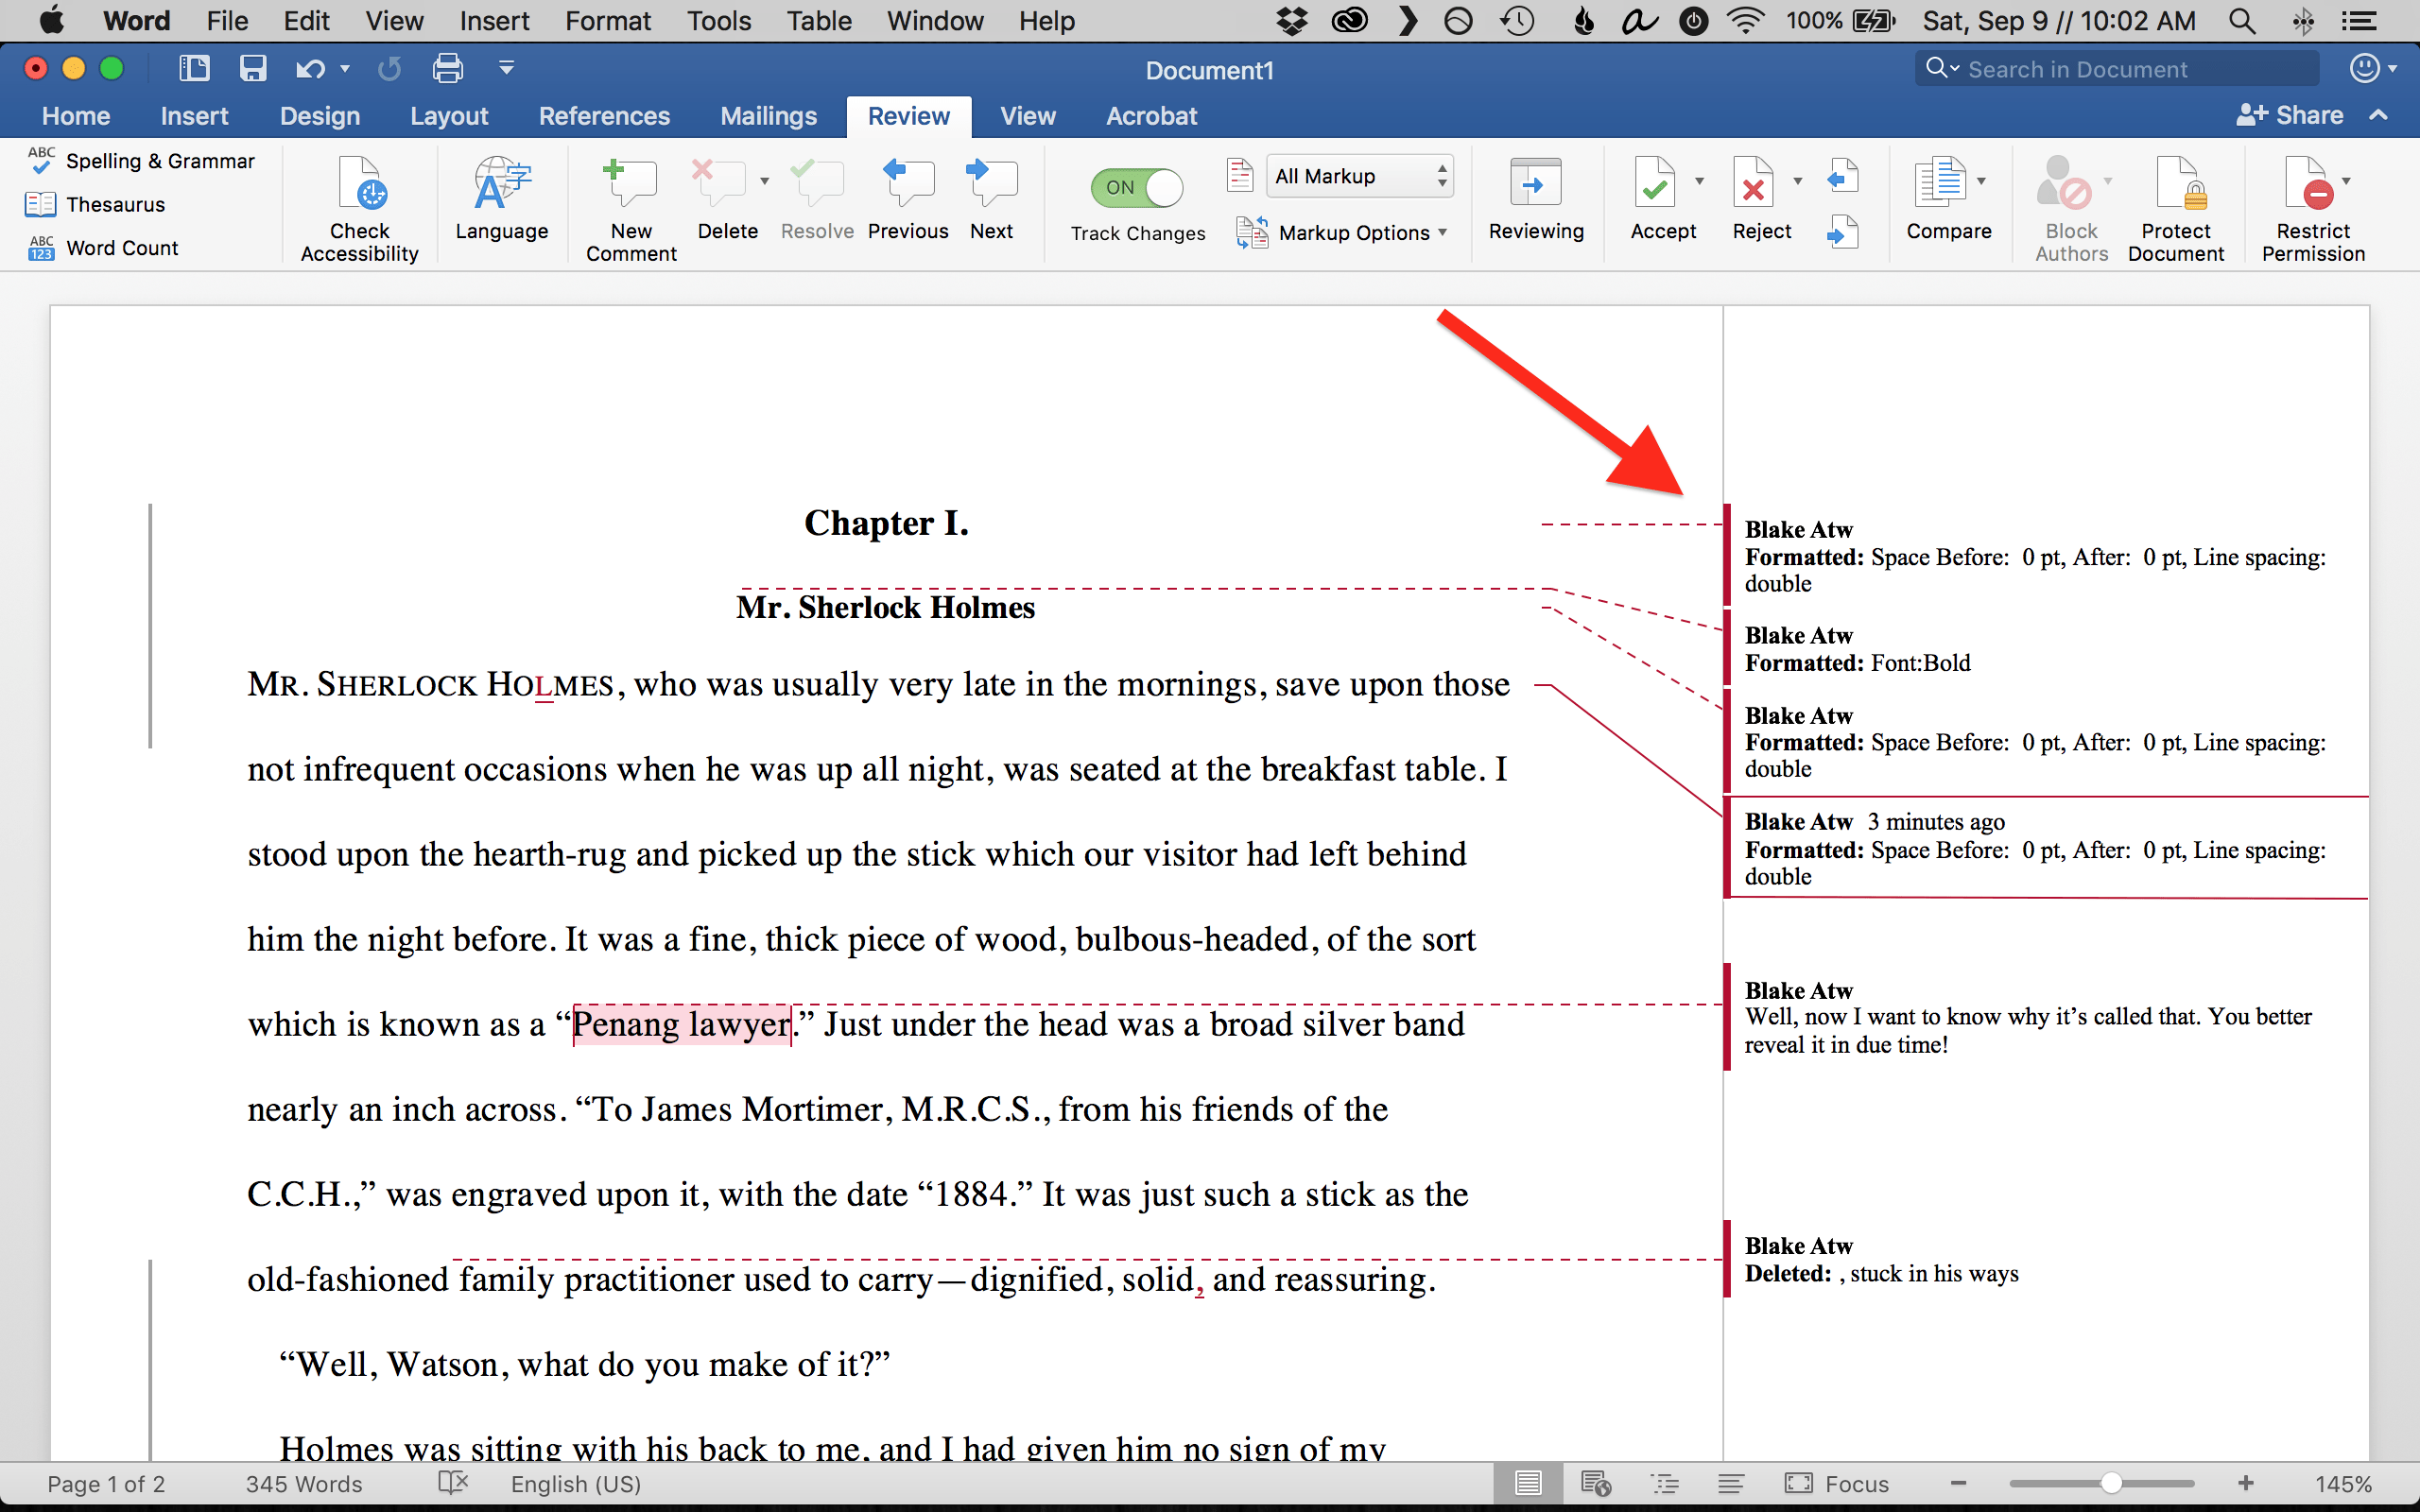
So, what does this actually look like when you’re typing away? Well, if you delete a word, it doesn’t just vanish into thin air. Oh no. It gets a strikethrough, usually in a bright, noticeable color. And if you add new text? It appears in a different color, often underlined. It’s like a colorful battlefield of edits right there on your screen!
Imagine you’re writing a sentence, and you decide that word just isn’t working. You hit backspace. Poof! Gone, but not really. Word elegantly draws a line through it, letting you know, "Hey, this word used to be here, but we’ve moved on!" Then, you type in a new word. And guess what? It pops up, underlined, in its own special color. It’s a visual symphony of revision, people!
Now, this is where the real magic happens. When someone else opens your document after you’ve had Track Changes on, they’ll see all those edits. It’s like they’re looking at your work through a special pair of glasses that reveals all the secret changes. They can then go through each change, one by one. This is the crucial part!
They have the power to do one of two things: either Accept the change (which means they’re happy with it, and it becomes a permanent part of the document) or Reject it (which means they’re saying, "Nah, I’m not feeling this edit, let’s stick with the original"). It’s like a little vote on every single alteration.
To do this, your friend (or you, if you're editing your own work after a break) will go back to that trusty Review tab. See the Changes group? That’s where the action is. You'll see buttons like Accept and Reject. And guess what? There are little dropdown arrows next to them!
The dropdown arrow next to Accept usually gives you options like "Accept This Change" (for the current one you’re looking at), "Accept All Changes" (if you’re feeling super confident and want to approve everything in one go – dangerous, but sometimes necessary!), or "Accept All Changes Shown" (which can be useful if you’ve filtered your view somehow, but let’s not get ahead of ourselves).
Similarly, the Reject button has its own little set of choices. "Reject This Change" is your go-to for saying "nope." "Reject All Changes" is for when you want to undo all the edits. And again, "Reject All Changes Shown" is there if you need it.
But here's the really cool part: you can navigate through the changes! See those little arrows next to the Accept and Reject buttons? They're usually labeled Next and Previous. Click the Next arrow, and Word will jump you straight to the very next edit it finds. It's like a guided tour of your document's evolution!
You can just breeze through, accepting or rejecting as you go. It’s so much faster than manually scanning the whole thing. Imagine a world where you don't have to squint at tiny red marks and try to decipher your own terrible handwriting. This is that world!
Now, sometimes, you might be working with someone who is… let’s just say… enthusiastic with their edits. Every comma, every space, they feel the need to tweak. It can be overwhelming, right? Like, "Dude, chill! It’s just a comma!"
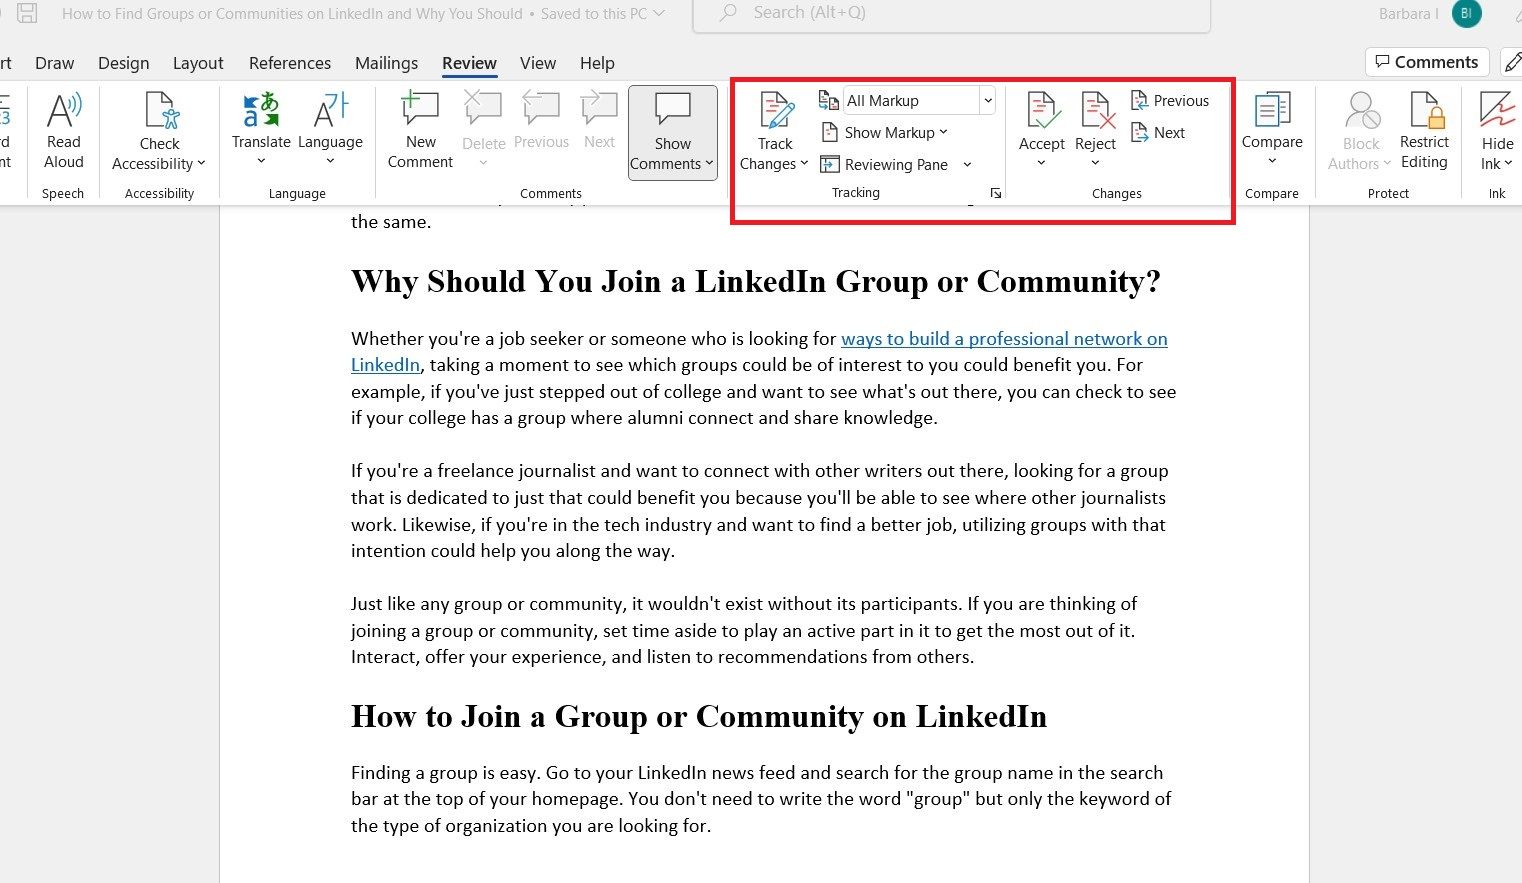
This is where the different display options for Track Changes come in handy. Still in the Review tab, you’ll see a section called Tracking. And right there, you’ll likely see a dropdown that says something like All Markup. This is the default, showing you everything. Every insertion, every deletion, every formatting change (which can be its own adventure!).
But you can change that! Click the dropdown. You might see options like:
- No Markup: This is like hitting a magic "hide all edits" button. It shows you what the document will look like after all the accepted changes have been made. Super clean, but you lose the history.
- Simple Markup: This is a good middle ground. It shows a little red line in the margin where a change has occurred, but it doesn’t clutter your actual text with strikethroughs and underlines. Click on the red line, and the change pops up in a little balloon. It’s like a polite suggestion of an edit.
- All Markup: The full monty. Shows you everything. Great for detailed review, less so if you just want a clean read.
- Original: This shows you the document before any changes were made. Useful for going back to square one, but not for seeing the progress.
Experiment with these! For a quick read-through, Simple Markup is often your best friend. It lets you see that something changed without being bombarded by visual noise. Then, when it’s time for serious decision-making, you can switch back to All Markup.

What about comments? Ah, yes, the digital equivalent of sticky notes! Track Changes works hand-in-hand with comments. If your editor doesn't just want to change a word but also wants to explain why or ask a question, they can add a comment. You’ll see these pop up in little balloons in the margin, often with their name on it.
To add a comment yourself, you can select a piece of text (or just place your cursor where you want it), go to the Review tab, and click New Comment. Boom! A little balloon appears. This is perfect for suggesting alternatives, asking clarifying questions, or just saying, "Wow, this section is brilliant!" (Or, you know, the opposite).
And the best part? You can reply to comments! It’s like a mini-conversation happening right within your document. You can resolve comments too, which essentially hides them from view but keeps a record. It’s like saying, "Yep, we talked about this, and it’s sorted."
Now, what if you’re the one receiving a document with a ton of tracked changes? It can feel like wading through a digital swamp sometimes. Don't despair! The Reviewing Pane is your secret weapon. Still in the Review tab, look for Reviewing Pane. There are usually two options: Reviewing Pane Vertical and Reviewing Pane Horizontal. I usually prefer vertical, as it pops up on the side of your screen.
This pane lists every single change and comment in chronological order. You can click on an item in the Reviewing Pane, and it will automatically jump you to that exact spot in your document. It's like having a table of contents for all the edits. This is incredibly useful for getting a big-picture overview of all the revisions made.
So, let’s recap the super-secret handshake for Track Changes:
The Track Changes Checklist
- Turn it ON: Go to the Review tab, click Track Changes. Easy peasy.
- See the changes: Inserted text is usually underlined, deleted text has a strikethrough. Colors! So many colors!
- Navigate: Use the Next and Previous buttons in the Changes group to jump between edits.
- Decide: Click Accept or Reject for each change. Or, if you're feeling brave, use the "Accept All" or "Reject All" options (use with caution!).
- Control your view: Play with the All Markup, Simple Markup, and No Markup options to customize what you see.
- Comment it up: Use New Comment to add notes and questions. Reply to comments to have discussions.
- The Big Picture: Open the Reviewing Pane for an organized list of all changes and comments.
And when you’re all done, when you’ve accepted or rejected every single change, and you want to send a clean version of the document to someone, what do you do? You have to turn Track Changes OFF first. Just go back to the Review tab and click the Track Changes button again. It will un-highlight. Then, if there are still any visible tracked changes that you haven't accepted or rejected, you'll need to do that. The safest bet is to go through them all.
Once Track Changes is off, and you've accepted or rejected everything, your document will look like a normal, edited piece of work. No more colorful battlegrounds! But here’s a little tip: before you send it off, it’s always a good idea to do a quick final scan. Sometimes, very rarely, a stray markup might linger.
Also, if you’re receiving a document and someone sends it to you with Track Changes on, and they haven’t bothered to accept or reject anything, don’t be afraid to tell them. You can politely say, "Hey, I received your document, but it looks like Track Changes is still on. Would you mind accepting/rejecting the changes before sending it over?" Most people are happy to do this, as it makes your life (and theirs) so much easier.
So there you have it! Track Changes. It’s not just for editors and academics. It’s for anyone collaborating on a document, anyone who wants to see how their writing evolves, or anyone who just likes having a super-detailed history of their work. It might seem a little overwhelming at first, with all the colors and options, but once you get the hang of it, you’ll wonder how you ever lived without it. Now go forth and track those changes like a pro!