How To Defrost Whirlpool Ice Maker Water Line
Ah, the trusty Whirlpool ice maker. A silent hero of countless summer soirees and early morning coffee rituals. But then, the unthinkable happens. The ice bin remains stubbornly empty, a stark, cubeless void where refreshing delights should be. You suspect the culprit: a frozen water line. Don't panic, it's not the end of your frosty dreams. Think of it as a minor detour on the road to chilled perfection. We've all been there, staring blankly at a silent appliance, wondering what ancient tech wizardry to summon. But fear not, dear reader, because a frozen ice maker line is less of a crisis and more of a gentle nudge to embrace a little DIY spirit. So, grab a cup of something warm (ironic, we know) and let's talk about thawing out your Whirlpool's lifeblood.
First off, let's set the scene. It’s a Saturday morning, maybe you’re planning a barbecue, or perhaps just craving that perfectly chilled glass of iced tea. You flip the switch, expecting the satisfying hum of ice production, only to be met with… silence. The ice bin is a barren wasteland. This, my friends, is your cue to become a culinary detective. The most common villain? A frozen water line. It’s like your fridge decided to go on a mini-vacation to Antarctica without telling you. But unlike a lost luggage situation, this is usually fixable with a little patience and a few household items. Consider this your introductory course in appliance troubleshooting, minus the intimidating jargon and the need for a degree in engineering. We're going for a chill vibe here, pun intended.
The Sneaky Culprits: Why Does This Happen?
Before we dive into the thawing process, it's helpful to understand why your Whirlpool ice maker's water line decided to freeze up. It's not usually a personal attack on your beverage preferences. More often than not, it's a combination of environmental factors and appliance quirks.
Must Read
One of the main offenders is a temperature setting that's a bit too chilly. If your freezer is set to a bone-chilling temperature, say, below 0°F (-18°C), it can sometimes create a microclimate where the water line, particularly the part closest to the back of the freezer, can freeze. It’s like leaving a perfectly good water bottle out in a blizzard – eventually, it’s going to solidify.
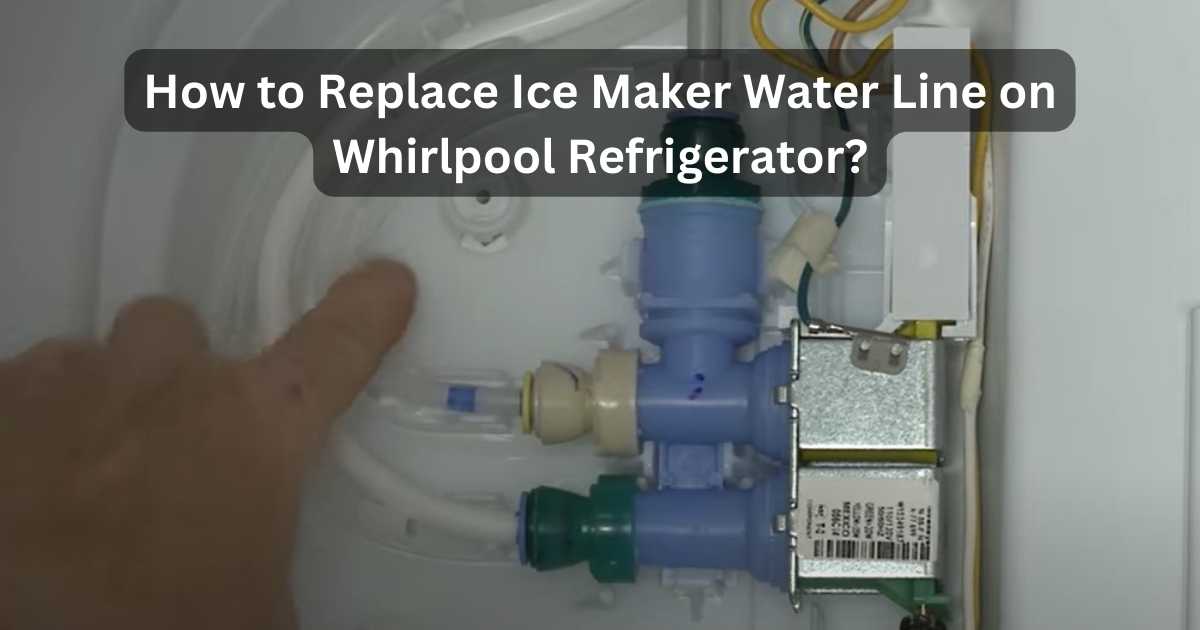
Another common cause is an improperly installed water line. If the line isn't running directly into the freezer compartment or if it's snaking its way through an exceptionally cold section, it's more susceptible to freezing. Think of it as a river encountering an unexpected ice dam. Sometimes, it’s as simple as the line being pushed too far back into the freezer compartment, making it an easy target for the frosty air.
And let's not forget the occasional clog or kink. If there's a slight blockage in the water line, the water flow might be reduced, making it easier for any remaining water to freeze. It’s the domino effect of the appliance world. A tiny issue can snowball (pun intended, again!) into a larger problem.
Finally, infrequent use can play a role. If you don't use your ice maker regularly, the water in the line can sit stagnant and eventually freeze, especially if the freezer temperature is on the lower side. It’s like leaving a car parked for too long – things can seize up. So, while we appreciate your laid-back lifestyle, sometimes a little bit of consistent activity can keep things running smoothly.
Operation: Thaw – Your Step-by-Step Guide
Alright, enough with the detective work. It's time for action. Don't reach for the industrial-grade hairdryer just yet! We're going for gentle, persistent warmth. Think of it like coaxing a reluctant houseguest to leave – you don’t want to be aggressive, just consistently persuasive.
Step 1: The Power Down (A Moment of Silence for the Ice)
First and foremost, unplug your Whirlpool refrigerator. Safety first, always! You don't want any unexpected electrical surprises while you're fiddling with water lines. This also gives the freezer a brief respite, allowing it to warm up slightly, which is exactly what we need.
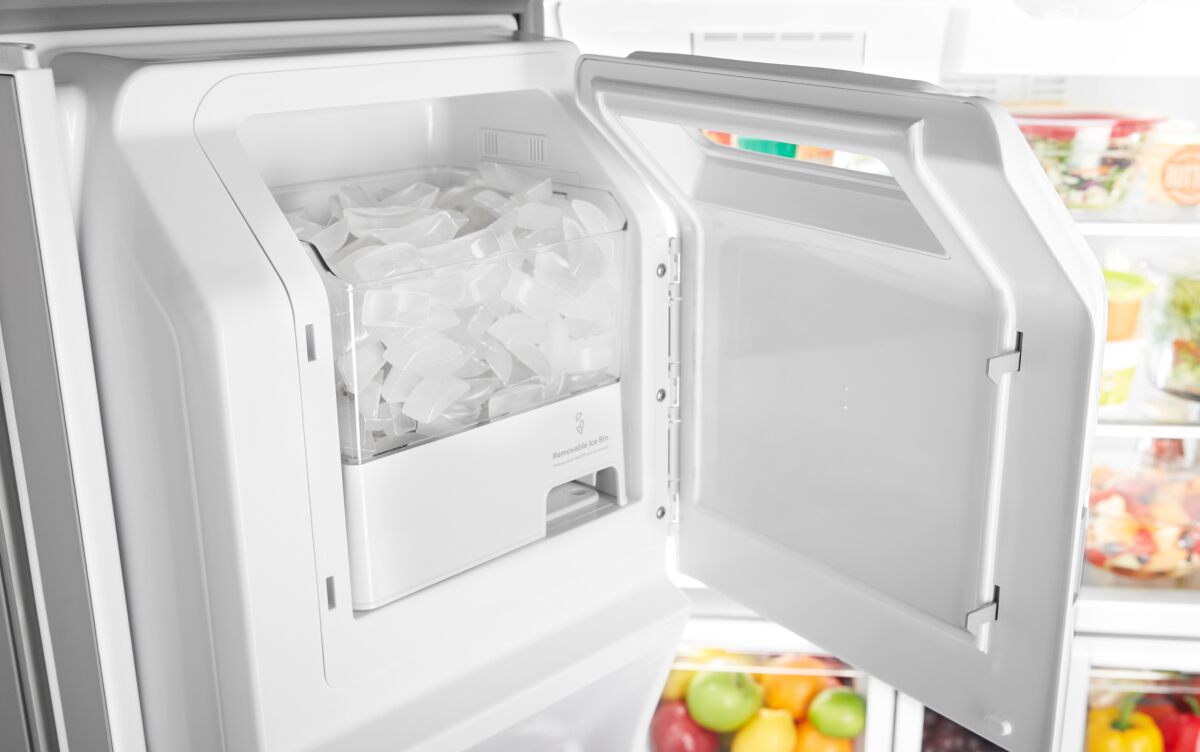
While it's unplugged, you might as well remove the ice bin. Give it a good shake. If there are loose cubes, they might give you a clue about how frozen things are. Plus, it’s easier to work when you have clear access. Think of it as clearing the stage for our thawing performance.
Step 2: The Gentle Warmth Approach
Now, let's talk about applying warmth. The key here is gentle. We're not trying to cook anything; we're just trying to melt ice.
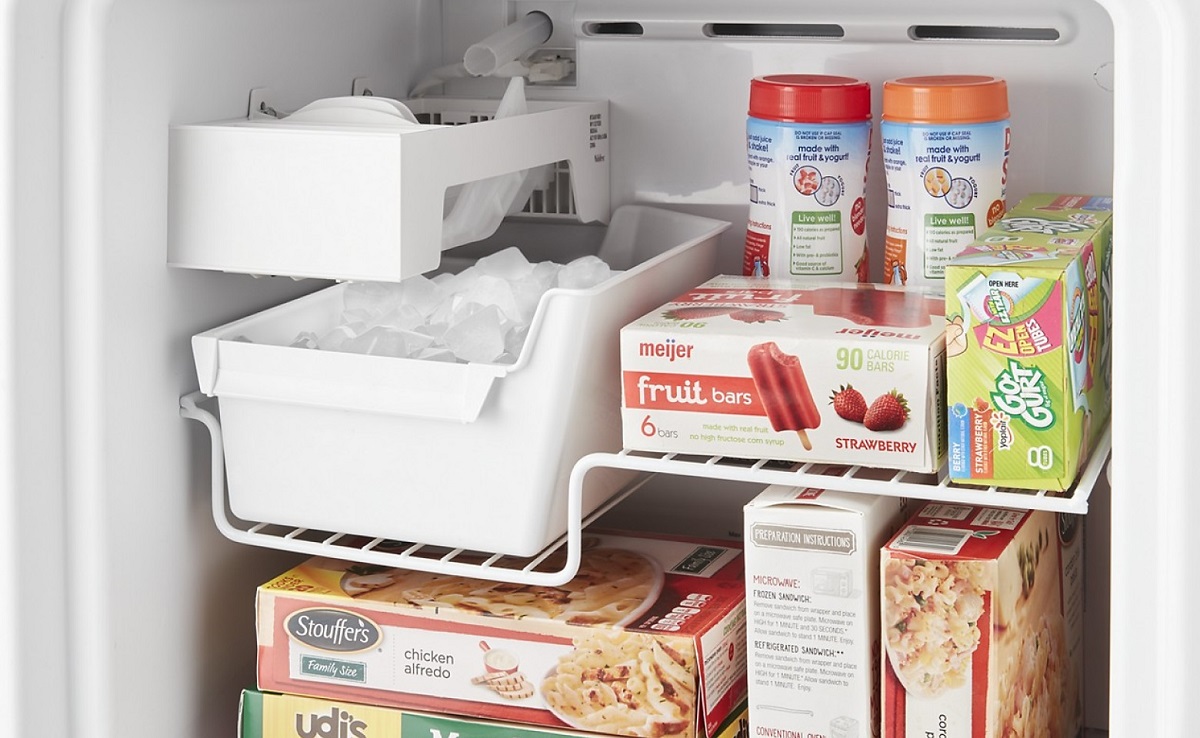
Your best friend in this mission is a bowl of warm water and a soft cloth. Dip the cloth in the warm (not boiling!) water, wring it out, and gently wipe down the exterior of the water line. You can usually find the water line behind the ice bin, often a thin plastic or copper tube. Repeat this process, dipping and wiping, as needed. Be patient. This can take some time, especially if the line is thoroughly frozen.
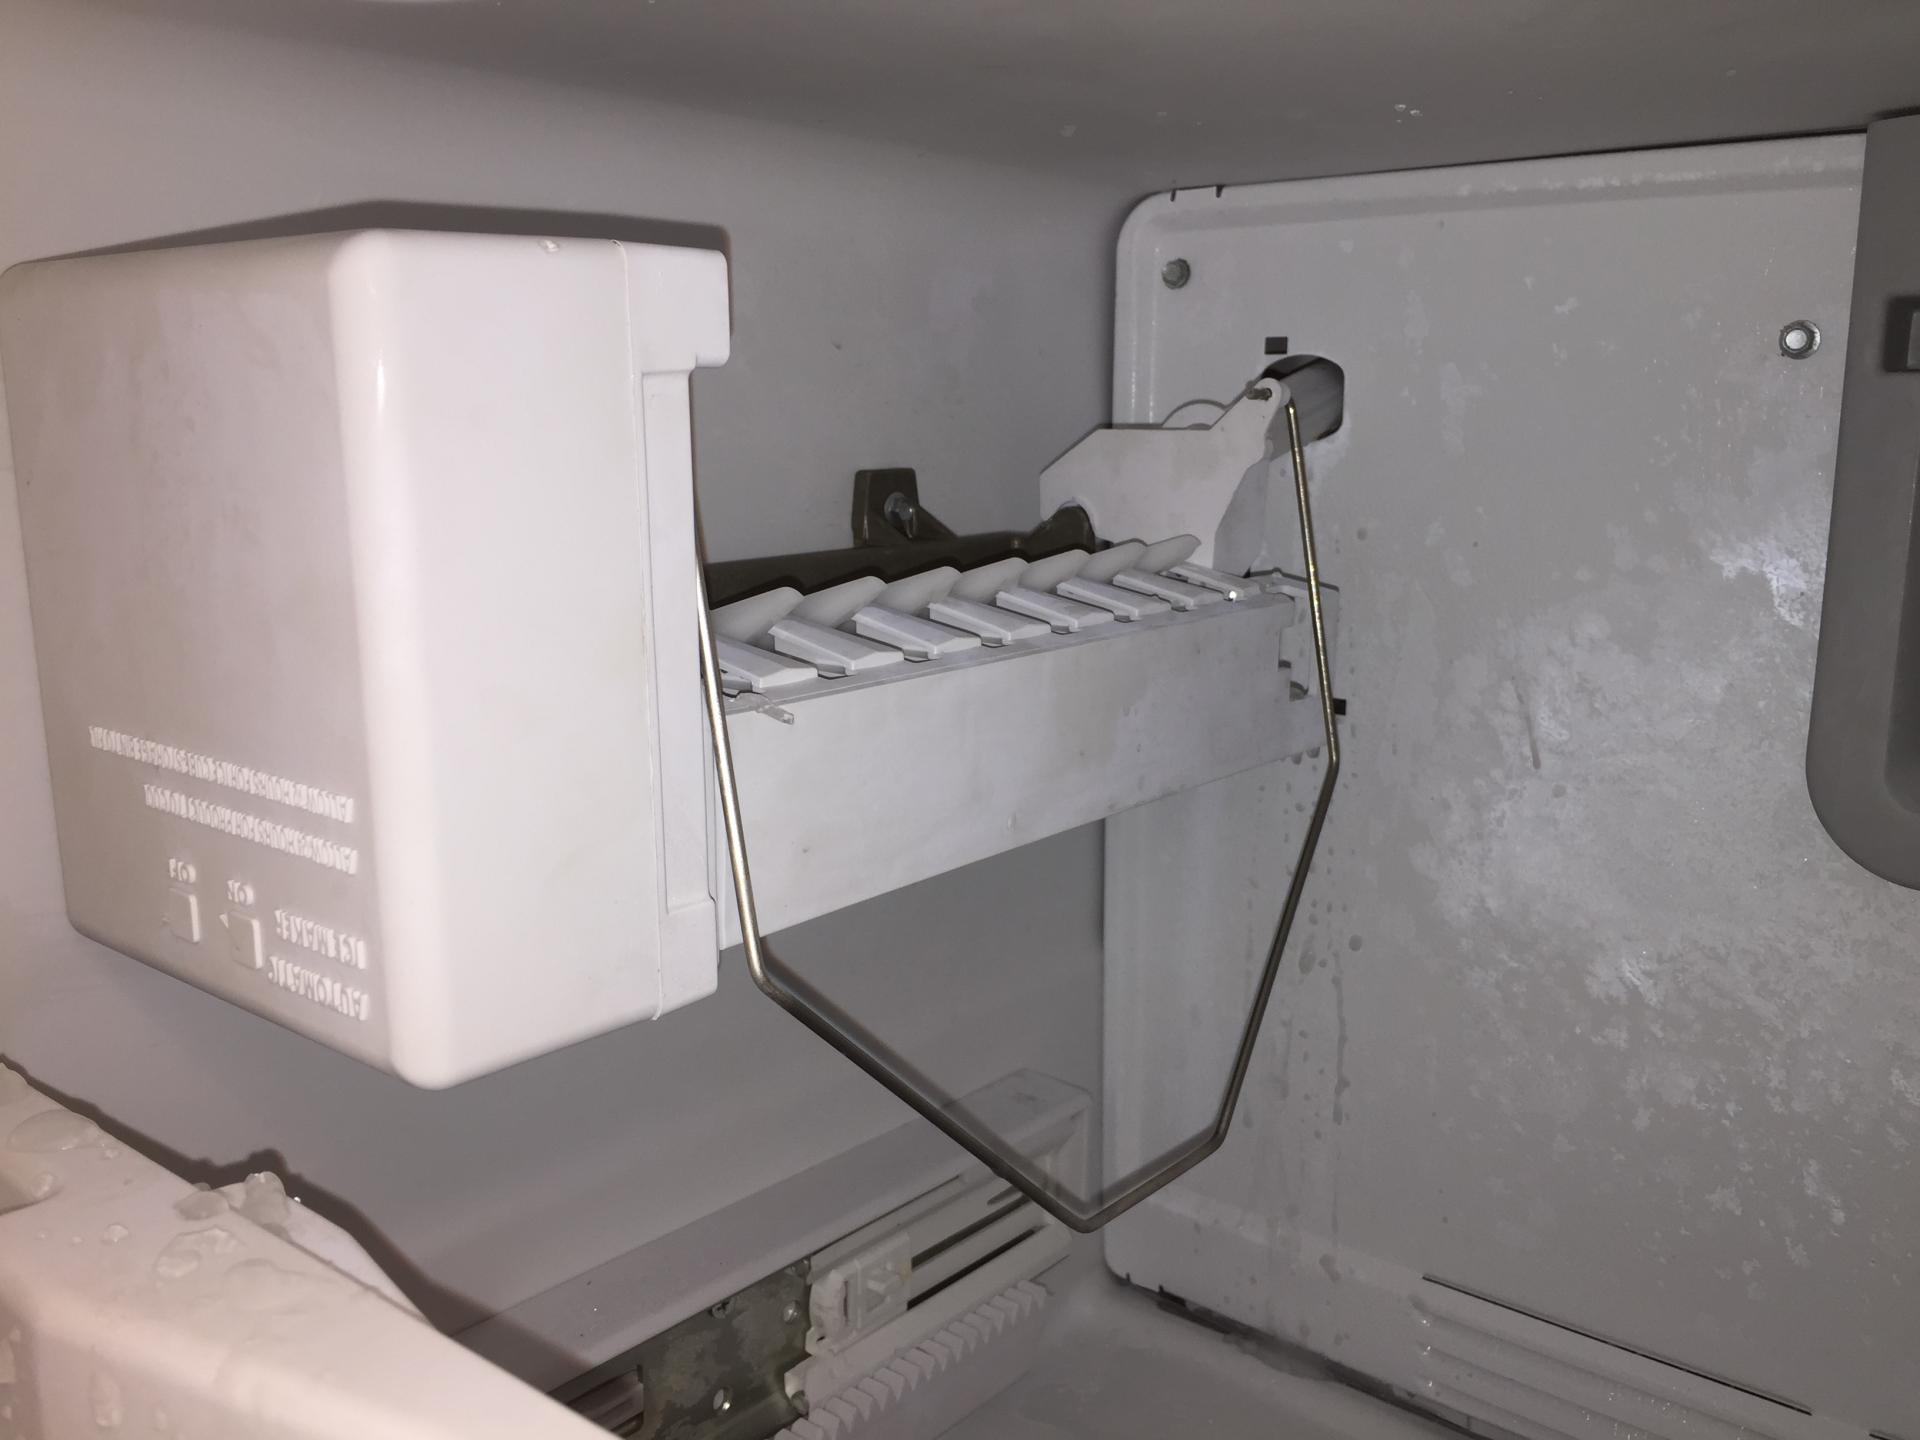
Another effective method, if you can access the area behind the ice bin, is to use a hair dryer on a low heat setting. Keep it moving constantly and don't hold it too close to the plastic components, as you don't want to melt or warp anything. Think of it as a gentle massage for the frozen line. Just a steady, soothing warmth. This is where you channel your inner spa therapist, but for your fridge.
If you’re feeling particularly resourceful, some people swear by placing a warm (again, not hot!) compress made from a towel soaked in warm water over the suspected frozen area. The consistent, gentle heat can work wonders. It’s like a mini-sauna for your ice maker's plumbing.
Step 3: The Patience Game (And Maybe a Little Snack)
This is where your zen kicks in. Defrosting a frozen water line isn't an instant gratification kind of fix. It requires patience. You might need to repeat the warm water cloth or hair dryer method several times.
While you're waiting, you can use this time productively. Perhaps tidy up your freezer, or even better, make yourself a nice cup of coffee or tea to enjoy while you supervise the thawing process. It’s a great moment for reflection, a pause in the everyday hustle. Think of it as a mini-meditation, focused on the slow, inevitable victory of warmth over ice. You could even put on some chill instrumental music – lo-fi beats, anyone?
Step 4: The "Is It Working?" Test
Once you feel a significant amount of thawing has occurred, it's time for the moment of truth. Reconnect the power to your Whirlpool refrigerator.
Listen closely. You might hear the faint trickle of water as it starts to flow through the line again. This is a good sign! Allow the freezer to return to its normal operating temperature. This can take a few hours.
Then, and this is the most exciting part, turn on your ice maker. Give it some time. It won't start churning out cubes instantly. It needs to re-establish its rhythm. You might want to run a few cycles to flush out any residual air or impurities. Think of it as a warm-up for the ice maker.

When Gentle Isn't Enough: Advanced (But Still Easy) Tactics
Sometimes, despite your best efforts, the ice maker line remains stubbornly frozen. Before you call in the professionals, there are a couple more things you can try, still keeping it within the realm of easy-going DIY.
The "Slightly Warmer" Approach (Use with Caution!)
If the gentle methods aren't yielding results, you can cautiously try a slightly warmer water temperature. Still, avoid boiling water. The goal is just a bit more heat to speed up the melting process. You can also try leaving the freezer door open for a longer period while the appliance is unplugged, allowing the ambient room temperature to work its magic. This is a bit more drastic, so keep an eye on your other frozen items.
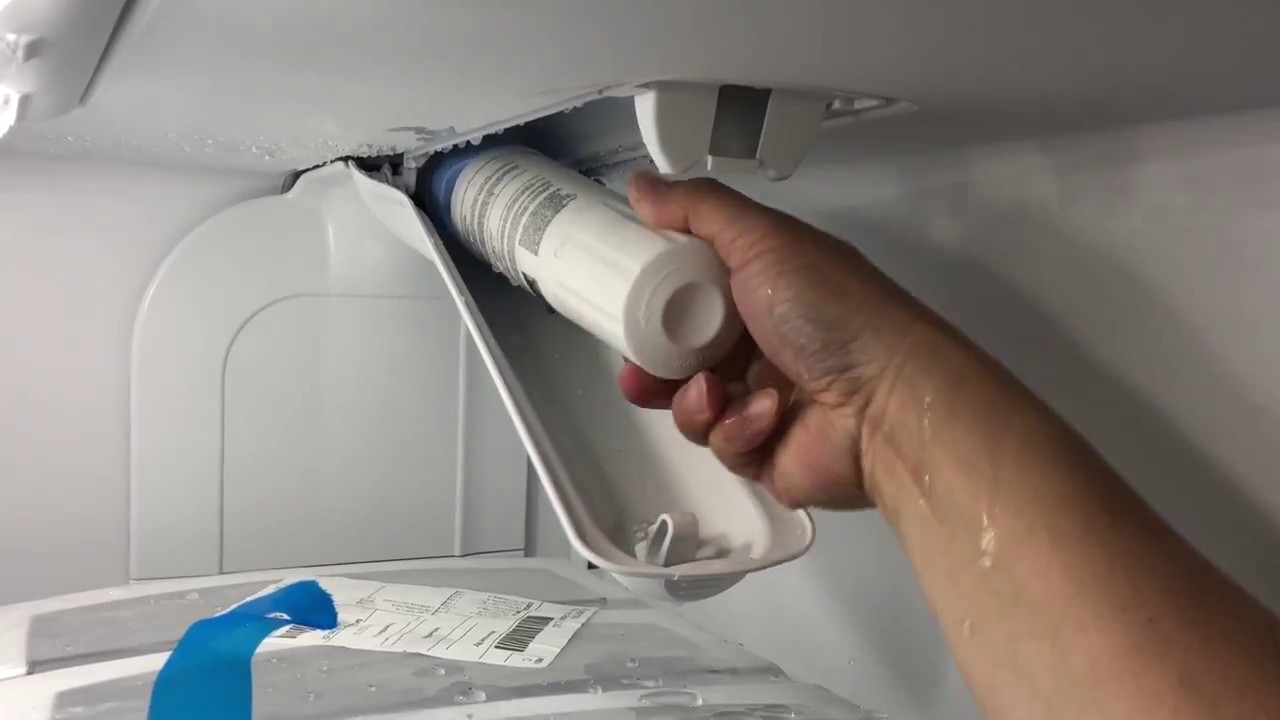
Checking the Water Filter
Sometimes, a clogged water filter can contribute to reduced water flow, making freezing more likely. If your Whirlpool ice maker has a water filter, consider replacing it if it's due. A clean filter ensures optimal water flow, which is crucial for preventing ice blockages.
The Mighty Whisk (for Ice Bin Drainage)
If you suspect the ice maker itself is having trouble draining water properly, a small, flexible tool like a whisk can sometimes help dislodge minor obstructions in the drain hole located at the bottom of the ice bin. Be very gentle here, you don't want to damage anything.
Proactive Measures: Keeping the Chill Flowing
The best defense against a frozen water line is good offense. A few proactive steps can save you from future frosty frustrations.

Regular Ice Maker Use: As mentioned, running your ice maker consistently is key. If you're going away for an extended period, consider turning it off and draining the water line to prevent freezing.
Optimal Freezer Temperature: Aim for a freezer temperature between 0°F and 5°F (-18°C to -15°C). This is cold enough to keep your food frozen but usually not so cold that it causes water lines to freeze over.
Proper Installation: If you've recently had your refrigerator installed or moved, ensure the water line is routed correctly and not pushed too far back into a freezing zone.
Water Filter Maintenance: Regularly replace your water filter to ensure good water flow.
A Little Reflection: The Unexpected Joys of a Working Ice Maker
There’s something profoundly satisfying about the simple hum of a functioning ice maker. It’s not a dramatic event, but it’s a small, consistent contributor to our daily comfort. When it falters, it’s a gentle reminder that even our most reliable appliances need a little attention.
The process of thawing a frozen water line, while perhaps initially frustrating, can also be a surprisingly grounding experience. It’s a moment to slow down, engage with a tangible problem, and find a simple, effective solution using everyday items. It’s a mini-victory, a small act of self-sufficiency that leaves you with a quiet sense of accomplishment and, more importantly, a bin full of refreshing ice cubes. It reminds us that often, the solutions to our minor inconveniences are closer than we think, just waiting for a little patience and a warm cloth.