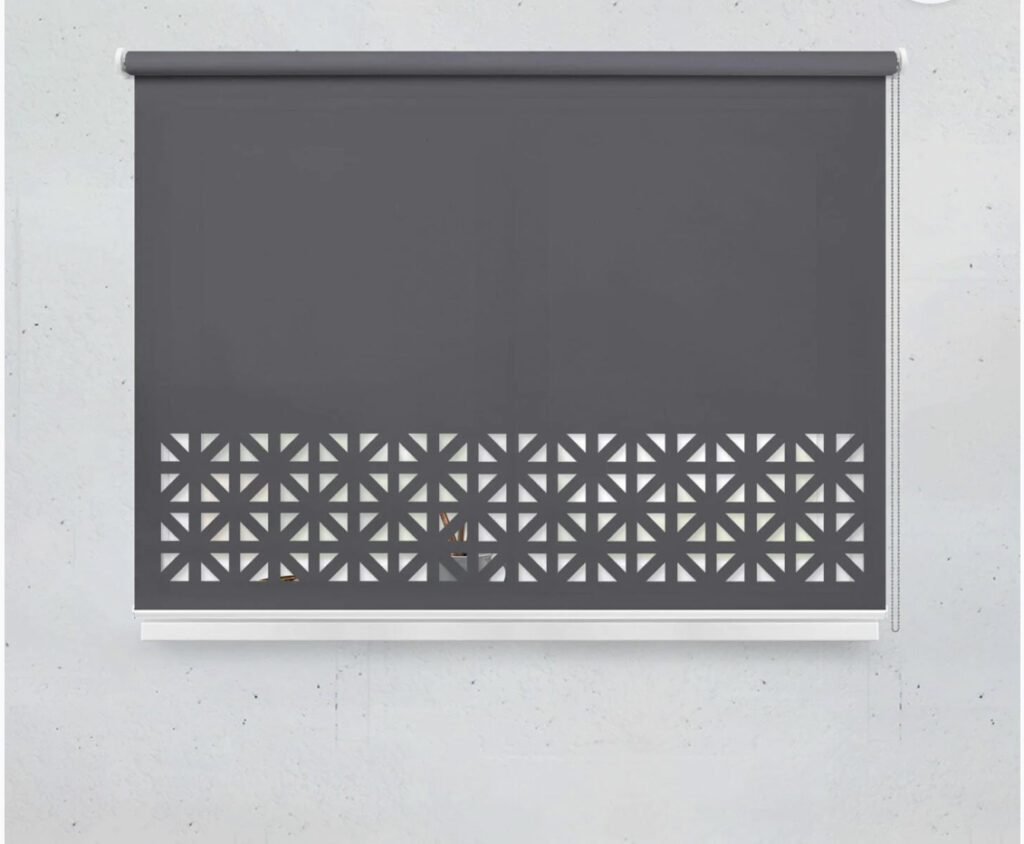
How To Cut Roller Blinds That Are Too Wide

Oh, the joy of a new set of roller blinds! They promise to tame unruly sunlight and add a touch of chic to your humble abode. But sometimes, bless their cotton socks, they arrive looking like they were built for a giant’s mansion, not your perfectly proportioned window. Fear not, fellow homeowner, for we are about to embark on a grand adventure to tame these fabric behemoths!
Picture this: you unbox your beautiful new blinds, all rolled up like a secret treasure. You hold them up, envisioning the sleek, stylish transformation. Then, reality strikes like a rogue dust bunny – they’re wider than your outstretched arms! It’s like getting a fantastic cake but realizing it’s a whole foot too big for your dining table. A delightful problem, but a problem nonetheless!
This isn't a job for superheroes, though a cape might add a certain flair. It’s a task for the everyday warrior of DIY, armed with a few trusty tools and a can-do attitude. Think of yourself as a window wizard, about to perform a little bit of domestic magic. We’re going to shrink these blinds down to their perfect, window-hugging size!
Must Read
The Great Blind Taming Expedition: Gathering Your Gear
Before we dive headfirst into the fabric fray, let's assemble our trusty sidekicks. These are the unsung heroes that will help us achieve blinds-dom perfection. No need for a blacksmith’s forge or a dragon’s breath here, just some simple bits and bobs you might already have lurking in your toolbox or craft drawer.
First up, and arguably the most crucial, is your trusty measuring tape. This is your wand, your oracle, your ultimate guide to the land of "just right." Without it, you're essentially trying to herd cats in a blizzard – chaotic and unproductive!
Next, we need a cutting implement. Now, some might suggest a samurai sword, but I find a good, sharp pair of scissors works wonders. Think of them as your fabric-nibbling ninjas. Alternatively, a craft knife or a utility knife can also be your best friend. Just remember, whatever you choose, sharp is the name of the game. A dull blade will only lead to frayed nerves and even more frayed fabric, and nobody wants that!

We’ll also need something to keep our precious fabric still and straight while we work our magic. A sturdy ruler or a long, straight edge will do the trick. This is your steady hand, your guiding light, ensuring your cuts are as straight as a Roman road. Finally, and this is where the real precision comes in, a good old-fashioned pencil or chalk for marking. This is your silent whisper to the fabric, telling it where to begin its transformation.
Operation: Slim Down! The Art of the Cut
Alright, adventurers, the stage is set! It's time to take these oversized wonders and sculpt them into the perfectly sized beauties they were always meant to be. This is where the fun really begins, where you transform from a bewildered recipient of overly large blinds to a master of their domain.
First things first, lay your roller blind flat on a clean, hard surface. Think of it as a majestic fabric canvas waiting for your artistic touch. A dining table, a clean floor, or even a large workbench will work perfectly. Just ensure it's free from crumbs, stray Lego bricks, or anything else that might interrupt our flow. We want a smooth, uninterrupted journey to blind bliss!
Now, grab that trusty measuring tape. You’ve measured your window, right? Of course, you have! You're a pro at this by now. Measure the width of your window opening and subtract a tiny bit for a perfect, snug fit – maybe a centimetre or two on each side. This is the measurement we need to transfer to our blind. No more guesswork, just pure, unadulterated accuracy!

This is where your pencil or chalk comes into play. Carefully mark the desired width on the fabric. Start at one edge of the blind and measure across to your chosen mark. Repeat this on the other side. Now, here's the secret sauce: use your ruler or straight edge to connect these two marks with a nice, bold line. This line is your destiny, your cut line. It’s the boundary between "too big" and "perfectly poised for greatness!"
Now, for the moment of truth! Grab your chosen cutting tool – those sharp scissors or your trusty craft knife. Take a deep breath. You’ve got this! Place your ruler or straight edge firmly along your marked line. This is your guide, your unwavering companion. Slowly and steadily, guide your cutting tool along the edge of the ruler. Imagine you’re a surgeon, performing a precise and delicate operation.
Don’t rush this part! Take your time, and let the sharpness of your tool do the work. If you’re using a craft knife, you might need to go over the line a couple of times to get a clean cut. Think of it as a gentle caress, not a violent attack. The goal is a clean, straight edge that looks like it was always meant to be that way. No jaggedy bits allowed on our watch!
Once you've made your cut, carefully remove the excess fabric. Admire your handiwork! You’ve just performed a minor miracle. You’ve taken something a little too large and sculpted it into something perfectly proportioned. It’s like giving a magnificent cake a quick trim to make it fit your fancy cake stand. Voila!

The Bottom Hem: A Little Bit of Elegance
Now, while we’re on a roll (pun intended!), let’s not forget about the bottom of the blind. Sometimes, when you cut the width, you might also find the blind is a tad too long. Don’t worry, this is a less common, but still totally manageable, situation. And guess what? The process is remarkably similar to our width-trimming escapades!
You’ll need to measure the length of your window and decide how much "hem" you want to leave at the bottom. Typically, you’ll want it to just skim the windowsill or the floor, depending on your preference. Again, your trusty measuring tape is your best friend here.
Once you’ve decided on the perfect length, you’ll need to carefully mark this on the bottom edge of the blind. Think of it as giving your blind a stylish haircut. You might need to roll out the blind fully to get an accurate measurement. Remember, consistency is key!
Using your ruler or straight edge and your pencil or chalk, mark your desired hemline. Then, just like before, grab your sharp scissors or craft knife and carefully make the cut. You’re essentially shortening the blind to its ideal length. It’s like tailoring your blinds to fit your home like a bespoke suit. How fabulous is that?

The Final Flourish: Reassembly and Admiring Your Handiwork
Once you've conquered the cutting, it’s time for the grand finale: reassembly! This usually involves reattaching the fabric to the roller mechanism. Don't let this part intimidate you; it's usually quite straightforward.
Most roller blinds have a way to secure the fabric to the roller tube. This might be a sticky strip, a clip system, or a small channel. Consult the original instructions that came with your blinds if you're unsure. It’s like putting the final pieces of a delightful puzzle together.
Carefully attach the cut fabric to the roller, ensuring it’s centred and straight. Give it a gentle tug to make sure it's secure. Then, stand back and behold your handiwork! You have successfully tamed the wild, oversized roller blind and transformed it into a masterpiece of perfectly fitted window dressing. Give yourself a pat on the back, you DIY legend!
You’ve not only saved yourself the hassle of returning or replacing the blinds but also gained a valuable new skill. Think of all the future blinds that will now bow to your superior cutting prowess! This is your moment of triumph. Go forth and conquer any oversized fabric that dares to cross your path!