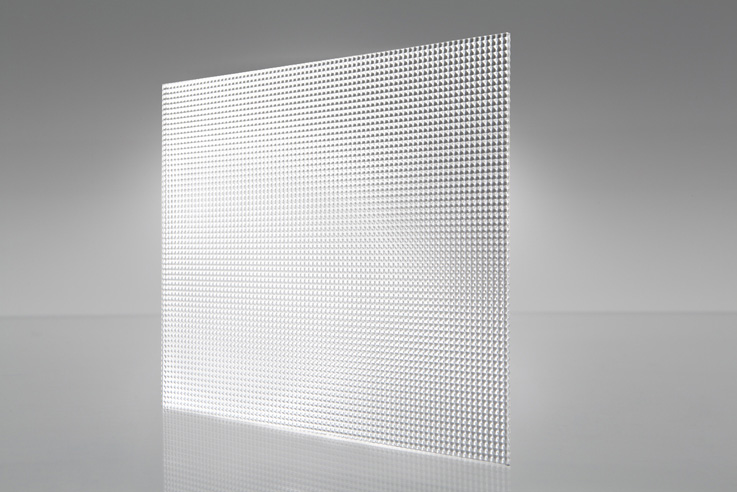
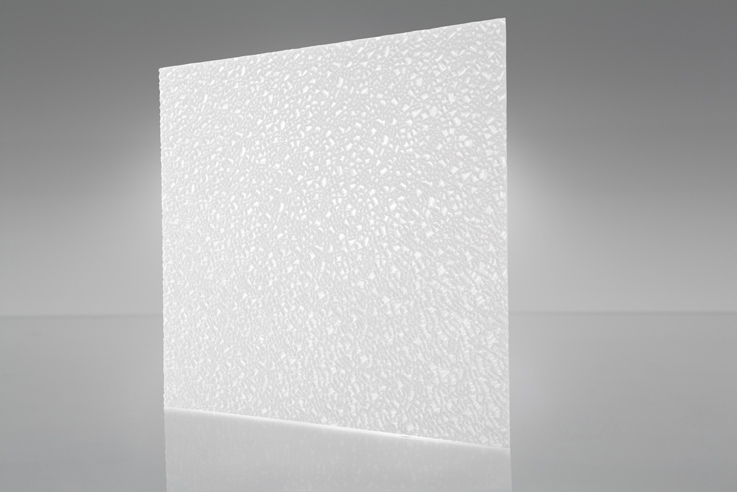
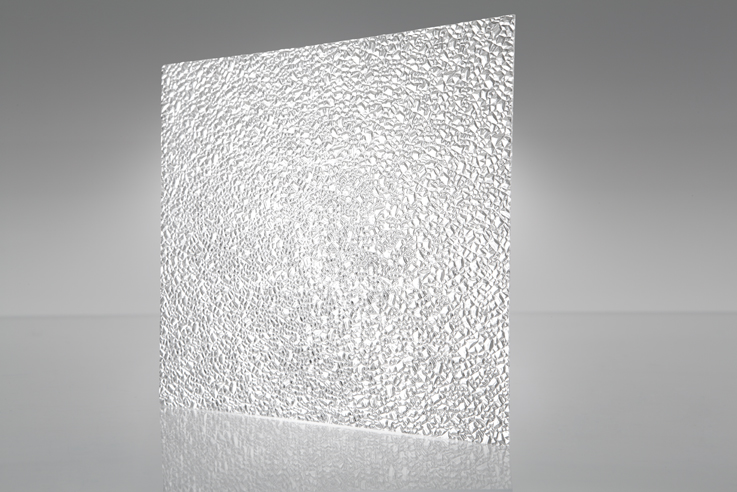
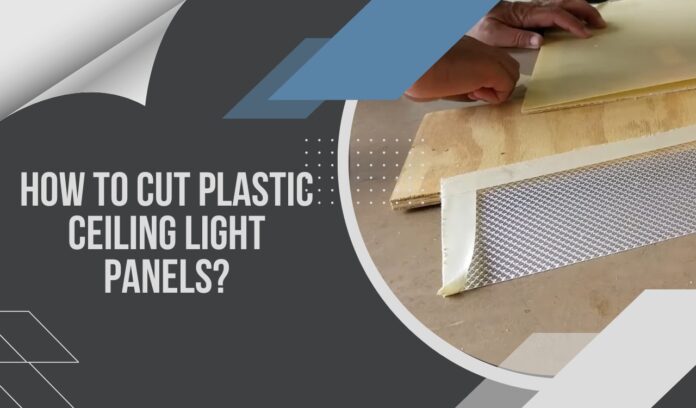
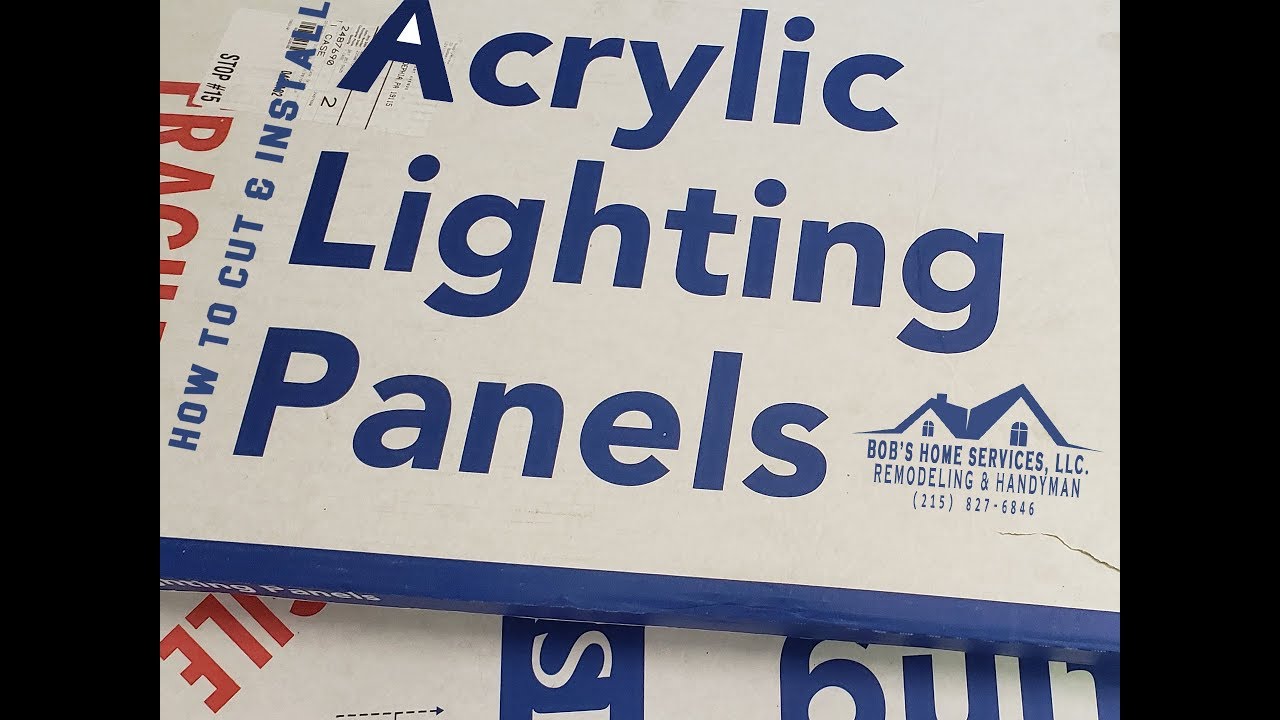
How To Cut Plaskolite Acrylic Lighting Panels

Alright, gather 'round, DIY enthusiasts and accidental home renovators! We're about to dive into a topic that might sound as exciting as watching paint dry, but trust me, it's got its own quirky charm. We're talking about cutting those shiny, sometimes a little slippery, Plaskolite acrylic lighting panels. Yes, the same ones that make your office ceiling look like a cloudy day or give your kitchen a slightly ethereal glow.
Now, I know what you're thinking. "Cutting plastic? Isn't that, like, the easiest thing ever?" And to that, I say... sometimes. But then there are those moments. Those moments when your carefully measured line decides to go on a scenic detour, or the plastic decides to stage a protest by cracking instead of cutting. Happens to the best of us, right?
Let's be honest, the manual for these things probably has more words than a Tolstoy novel and is about as thrilling. So, let's skip the jargon and get down to the nitty-gritty. Cutting these Plaskolite panels is less about brute force and more about a delicate dance. A delicate dance with sharp things. Yay!
Must Read
My personal, and dare I say, slightly unpopular opinion? Forget those fancy, super-duper industrial cutting tools you see in the slick videos. They're intimidating, and let's face it, most of us don't have a workshop that rivals NASA. We've got a toolbox that's seen better days, a few stray screws, and maybe a tape measure that's a bit… enthusiastic with its markings.
So, what's our weapon of choice for taming these translucent titans? Drumroll, please… a good ol' fashioned utility knife. Yes, that humble blade, often found lurking in the bottom of a drawer. It's your new best friend. Think of it as your trusty steed, ready to conquer the acrylic wilderness.
Now, before you go all ninja and start slashing, there are a few things to keep in mind. Safety first, people! We want neat edges, not an ER visit. So, grab some sturdy gloves. You know, the ones that make your hands look like they’re ready to wrestle a bear. Protection is key.
Next, find a nice, flat surface. Your dining room table might be tempting, but unless you want a permanent reminder of your DIY adventure etched into its polished surface, I'd opt for something less… valuable. A workbench, some old cardboard, or even the floor (with a protective sheet, of course) will do. The goal here is stability. We don't want the panel doing the cha-cha while we're trying to make a straight cut.

And the marking? Ah, the marking. This is where precision meets optimism. A fine-tip marker is your friend. Draw your line, but don't just look at it. Trace it with your finger, whisper sweet nothings to it, make sure it's where you want it. Because once that blade hits, there's no turning back. It’s a one-way ticket to Cutville.
Here’s the secret sauce, the little trick that separates the pros from the… well, from us. You don't just go making one deep, heroic cut. Oh no. That’s how you get those jagged, heart-breaking cracks. Instead, you make a series of gentle, repeated passes. Think of it like tickling the acrylic into submission. You’re not trying to overpower it; you’re coaxing it.
Run that utility knife along your line. Don't press too hard. Just enough to score the surface. Do it again. And again. And again. Each pass should deepen the score just a little bit. You'll see a groove forming, a little path for your panel to follow.
.jpg?sfvrsn=e24ebaab_2)
As you get deeper, you'll feel the resistance change. It's like the acrylic is starting to sigh, realizing it's time. And then, at a certain point, with a final, confident (but still gentle!) pass, it should snap. A clean, satisfying snap. Chef's kiss.
If it doesn't snap clean, don't panic. Maybe you missed a spot. Just go back over the scored line with your trusty knife. Sometimes, a little encouragement is all it needs.

And that, my friends, is the magic of the multi-pass cut. It’s not glamorous, but it gets the job done without turning your beautiful Plaskolite panel into a shattered mosaic of your broken dreams.
Once you’ve made your cut, you might notice a slightly rough edge. Don't fret. A little bit of fine-grit sandpaper will smooth that right out. Just a gentle rub-down, and voila! You’ve got yourself a perfectly cut panel. You’ll be looking at your handiwork with a smug sense of accomplishment, wondering why everyone makes cutting acrylic sound so complicated.
So there you have it. Cutting Plaskolite acrylic lighting panels. It’s not rocket science. It’s not even advanced calculus. It's just a utility knife, a steady hand, and a little bit of patience. And the satisfaction of knowing you didn't have to call in the cavalry (or buy an expensive, specialized tool you'll use once). Now go forth and cut with confidence! Or at least, with less fear of a catastrophic acrylic meltdown.