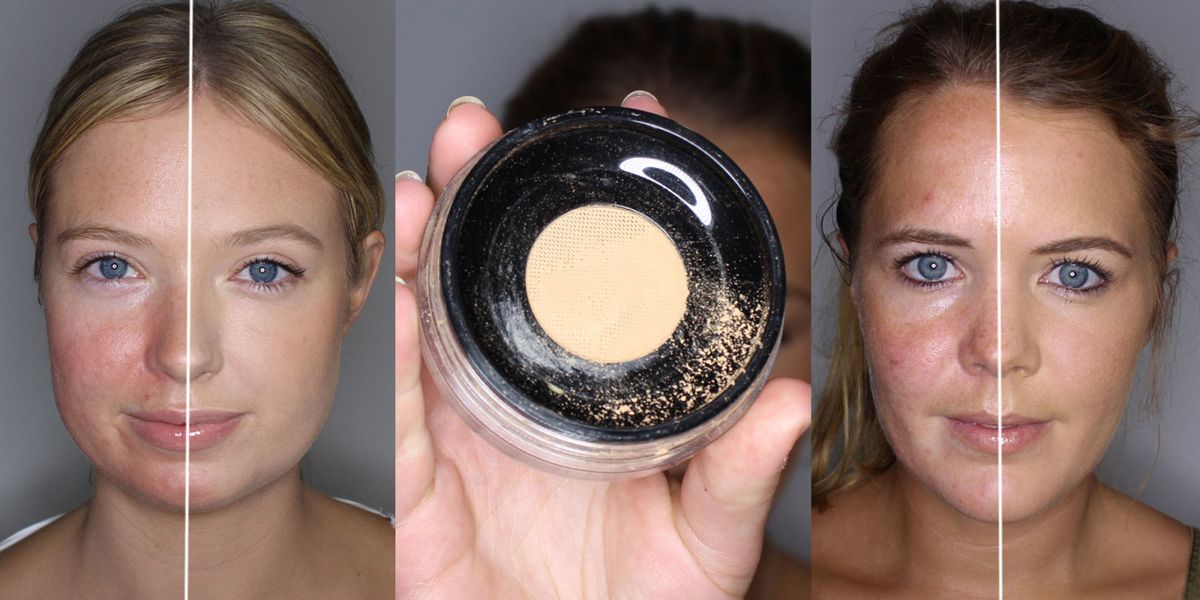
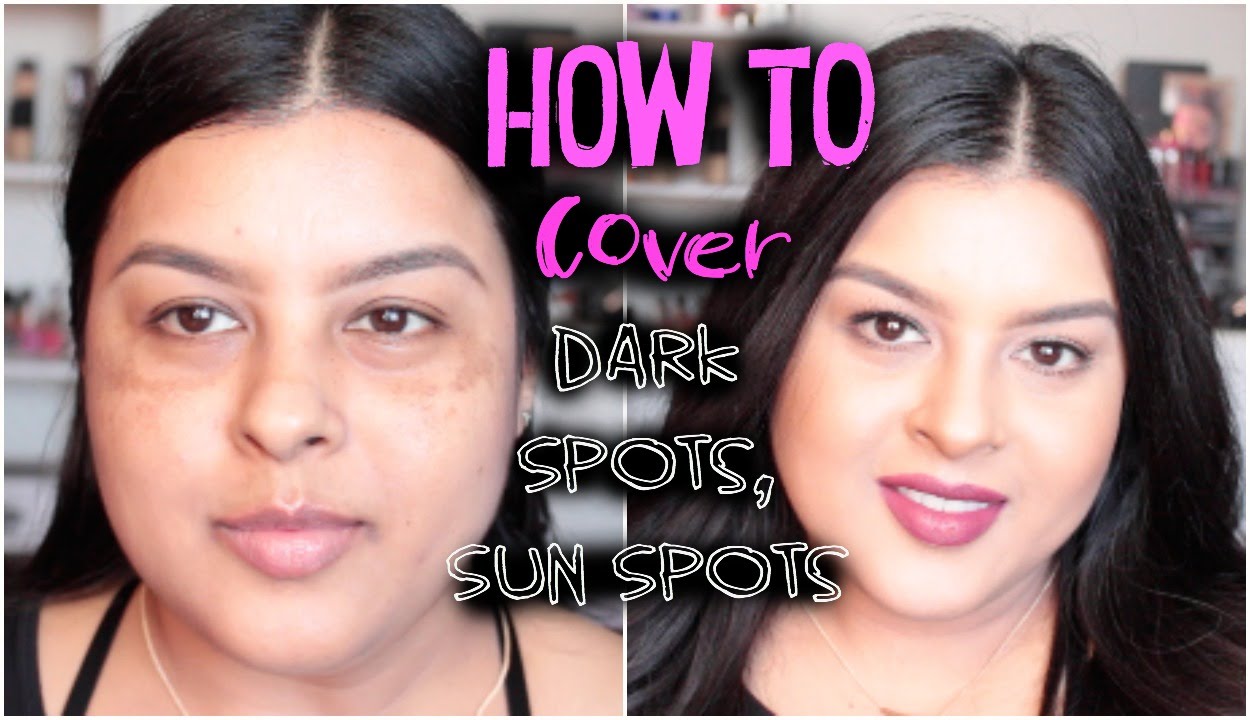
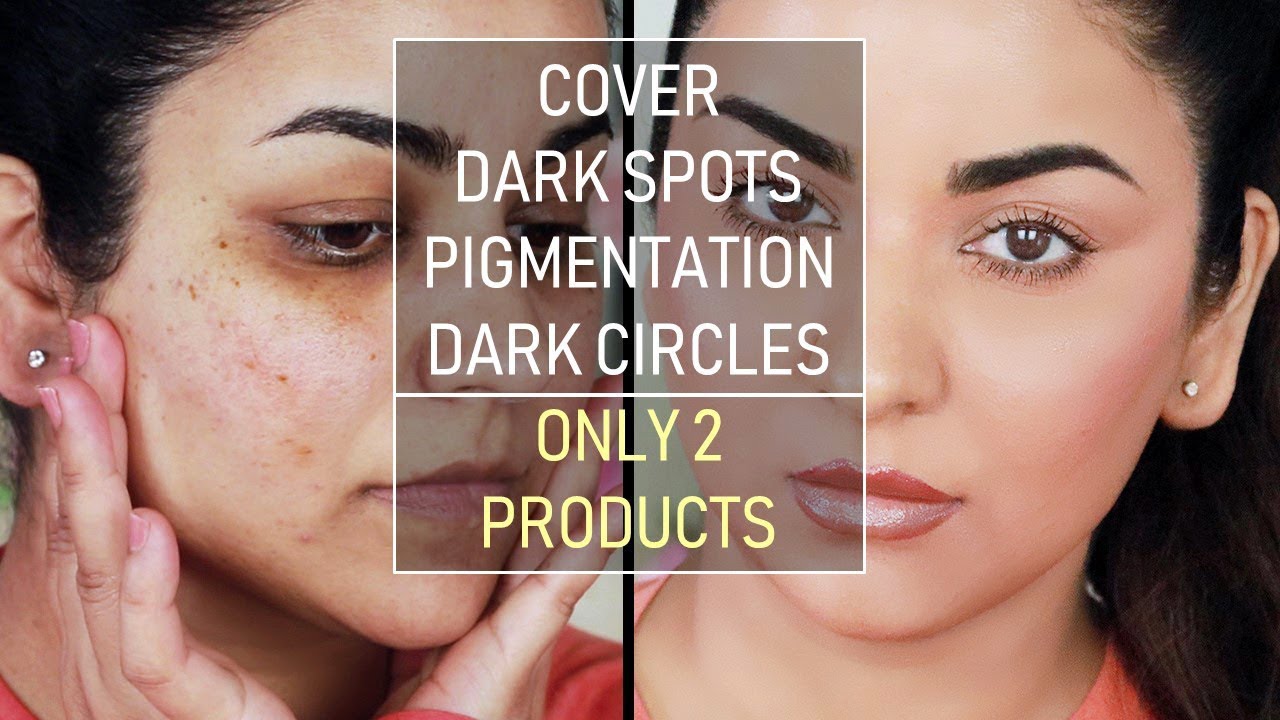
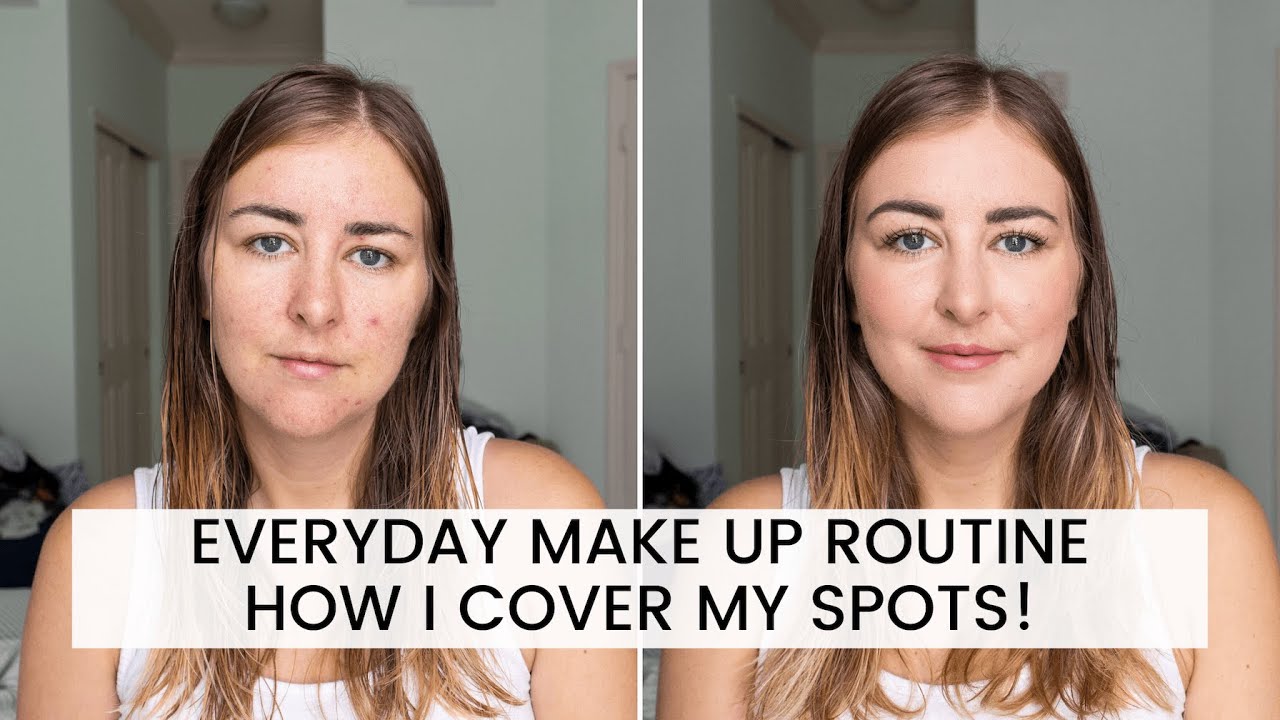
How To Cover A Spot With Makeup
Hey there, gorgeous! So, you’ve got a little surprise guest on your face, huh? Don’t even sweat it! We’ve all been there. That one little zit that decides to make a grand appearance right before a big event, or just on a Tuesday when you’re feeling particularly fabulous. It’s like the universe is playing a tiny, annoying prank. But guess what? We’ve got the magic wand – or rather, the makeup arsenal – to make that unwelcome visitor disappear, at least until it decides to pack its bags and leave. Think of this as your secret mission to flawless skin, no interrogation required!
Let’s be real, nobody’s skin is perfect 100% of the time. And that’s totally okay! We're human beings, not airbrushed magazine covers. So, if you're feeling a little self-conscious about a red bump, a stubborn blemish, or even just a little patch of redness, you've landed in the right place. We're going to go through this step-by-step, making it super easy and, dare I say, even a little fun. Because honestly, if we can’t have a little fun with our makeup, what’s the point, right? So, grab your favorite brushes and let’s get this spot-concealing party started!
The Stealthy Approach: Preparation is Key!
Before we even think about dabbing on any magical potions, we need to set the stage. Think of it like preparing a canvas for a masterpiece. You wouldn’t just slap paint on a dirty wall, would you? So, first things first, and this is a biggie: cleanse your skin. Gently, of course. You don’t want to be scrubbing away like you’re trying to win a wrestling match. A mild cleanser will do the trick, removing any dirt, oil, or last night’s makeup that might be lurking around. We want a fresh, clean slate. No greasy distractions allowed!
Must Read
Once your skin is squeaky clean, it’s time for the next step: moisturize. Even if you have oily skin, a lightweight, oil-free moisturizer is your friend. Why? Because dry, flaky skin is the enemy of smooth concealer application. When you try to put concealer on dry patches, it can cling to them and make the spot look even more noticeable. So, a little hydration goes a long way in creating a smooth surface for our camouflage mission. Think of it as making the skin extra receptive, like a welcoming committee for your concealer.
Now, this next part is a bit of a secret weapon, and if you don’t have it, don’t worry! But if you do, it’s a game-changer: a primer. Specifically, a primer that targets redness if your spot is, well, red. These primers often have a subtle green tint that neutralizes redness. A tiny dab, gently patted into the area, can work wonders. It’s like laying down a neutral foundation so the concealer can do its best work without fighting against the natural color of the blemish. It’s a subtle but mighty step!
Choosing Your Weapon: The Right Concealer
Okay, so we’ve prepped the battlefield. Now it’s time to pick our trusty sidekick: the concealer. This is where things can get a little overwhelming, I know. There are so many options out there! But don’t panic. We’re going to break it down.

First, let’s talk about coverage. For a stubborn spot, you’re going to want a full-coverage concealer. These are designed to hide everything, and that’s exactly what we need. They can be a little thicker, but that’s what gives them their power. Think of it as a superhero cape for your skin!
Next, the all-important shade match. This is crucial. You want a concealer that is as close as possible to your natural skin tone. If it’s too light, it’ll look like a little white flag waving on your face. Too dark, and it'll just draw more attention to the spot. The best way to test is to swipe a little on your jawline or the back of your hand. It should blend in seamlessly. If you’re unsure, it’s often better to go slightly lighter than slightly darker, but seamless is the goal. It’s all about blending into the background, like a ninja!
Now, what kind of concealer? You’ve got options! Liquid concealers are great for a natural finish and are often buildable. Cream concealers, usually in a pot or a stick, tend to be more opaque and offer fantastic coverage. If you have dry skin around the spot, a cream might be a bit more forgiving. If you have oily skin, a matte liquid might be your best bet. Experiment and see what feels right for your skin type and the texture of the spot. It's not a one-size-fits-all situation, so feel empowered to explore!
The Art of Application: Technique Matters!
Alright, we’ve got our tools. Now for the magic touch! When it comes to covering a spot, less is often more, especially at first. You don't want to slather on a ton of product and end up with a cakey mess. We’re aiming for a natural, undetectable finish.
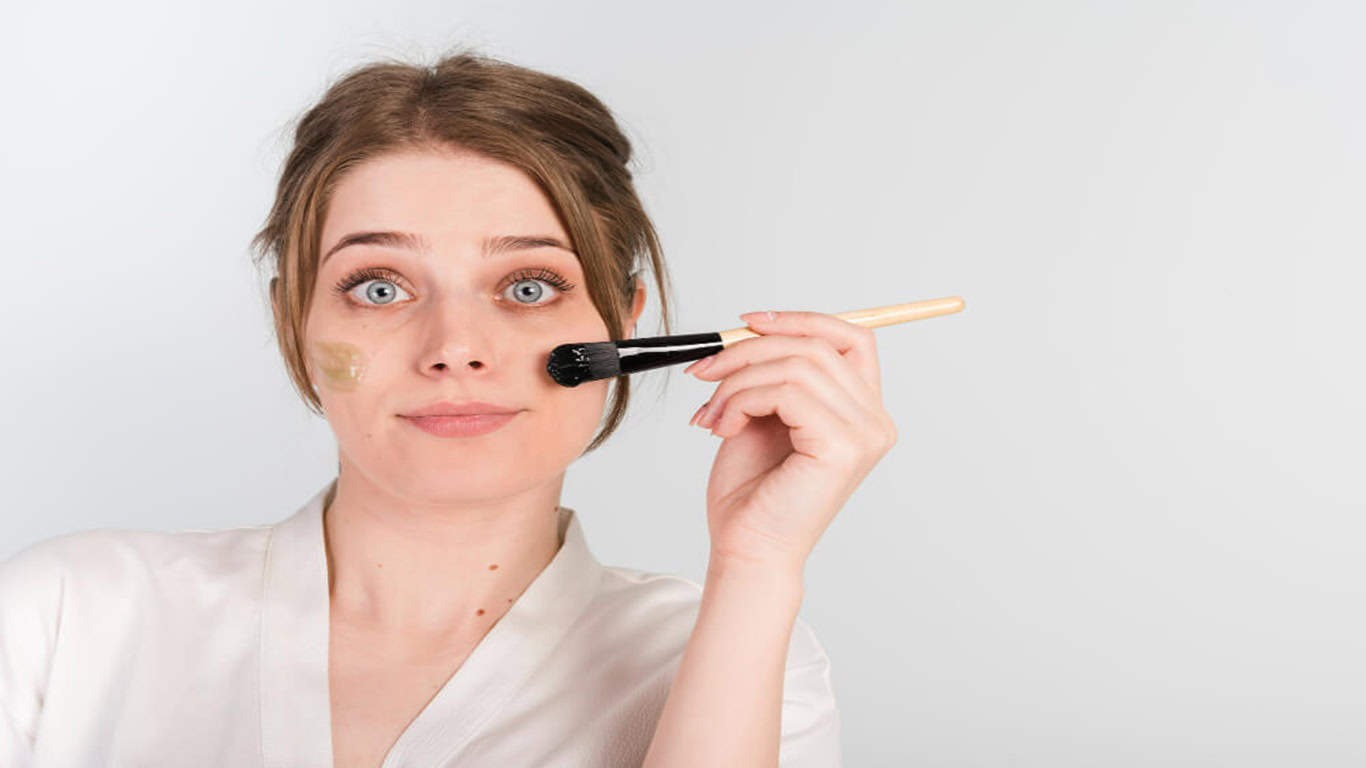
So, how do we do it? Grab your concealer and a small, precise brush or even your ring finger (it has the gentlest touch). Dip the brush or tap your finger into the concealer. Start by applying a tiny amount directly onto the center of the spot. Don’t start blending from the edges inwards; that can just spread the redness. Focus on covering the blemish itself first.
Now, for the blending! This is where the art comes in. Use a gentle dabbing or patting motion. Think of it as tapping the concealer into your skin, not swiping it around. You want to seamlessly blend the edges of the concealer into your surrounding skin. Take your time with this. You can build up coverage gradually if needed. If one light layer isn’t quite enough, add another tiny bit and pat again. It’s like adding a second coat of paint – but way more delicate!

If the spot is particularly red and you skipped the green primer, don’t fret! You can use a peach or orange-toned color corrector before your concealer. A tiny bit dabbed only on the red area will neutralize the pink/red tones. Then, layer your concealer over the top. It’s like a secret color-correcting handshake happening under your makeup. Seriously, it’s a pro move!
Now, here’s a tip for those pesky textured spots or bumps: try to avoid applying too much concealer directly on top of the raised part. Instead, focus on blending it into the skin around the bump. Sometimes, trying to perfectly match the texture of a raised spot with concealer can draw more attention to it. Embrace a slightly dewy finish in that area if possible. The goal is to make it less noticeable, not necessarily to make it completely flat and indistinguishable from the rest of your skin. Perfection isn't the goal; looking and feeling your best is!
Setting It in Place: The Finishing Touch
We’ve done the hard work, but we want our little secret to stay hidden, right? So, the final, crucial step is to set your concealer. This prevents it from creasing, sliding off, or transferring onto your clothes. Nobody wants a makeup smudge that says, "I was trying to hide something!"
The best way to do this for a spot is with a light dusting of translucent setting powder. Use a small, fluffy brush or even a small powder puff. Pick up a tiny amount of powder and gently tap off any excess. Then, very lightly press or dust the powder over the concealed area. You don’t need to go overboard; just a whisper of powder is enough to lock it in. You want to set the makeup, not create a powdery halo!
If your skin is on the drier side, you might want to use a setting spray instead of powder, or a combination of both. A setting spray can melt the powder into the skin, giving it a more natural, less matte finish. Just hold the can at arm's length and spritz a light mist over your face. It’s like a refreshing dew for your makeup!
And there you have it! Your spot should now be a mere distant memory, blending seamlessly into your beautiful skin. Take a moment, admire your handiwork. You’ve navigated the world of concealer like a seasoned pro. You’ve conquered the blemish, and you’re ready to face the day (or night!) with confidence.
Remember, these are just tips and tricks to help you feel your best. Makeup is a tool, a fun way to enhance your natural beauty and to boost your confidence when you need it. But the most important thing is that you are wonderful and radiant just as you are, spots and all. Every single person you admire has had days where they've had to employ similar tactics, so you're in good company. So go out there and shine, knowing that you’ve got this! You’ve got your amazing self, and that’s the most beautiful thing of all. Now go forth and conquer, you magnificent creature!