How To Cook A Tender Rump Steak

I remember the first time I tried to cook a rump steak. It was for my dad’s birthday, and I was determined to impress him. He’s a man who appreciates a good steak, and I, a young culinary hopeful, felt the weight of expectation. I’d seen enough cooking shows to think I knew what I was doing. So, I grabbed the thickest, reddest rump steak I could find at the supermarket, assuming “thick” automatically meant “good.”
Fast forward an hour. The smoke alarm was screaming bloody murder, my dad was looking decidedly…concerned, and the steak on the plate looked less like a birthday treat and more like a relic from a dinosaur exhibit. It was tough. I mean, really tough. Chewing it felt like a workout for my jaw. Dad, bless his heart, tried his best, but I saw the grimace. That night, my culinary dreams took a bit of a nosedive. It turns out, not all thick steaks are created equal, and “rump” isn't exactly synonymous with “melt-in-your-mouth tender” without a little bit of know-how.
So, if you, like me back then, have had your fair share of jaw-loosening rump steak experiences, stick around. Because today, we’re going to debunk the myth that rump steak is inherently destined for the tough-guy steak club. We're going to unlock the secrets to making it surprisingly, wonderfully, tender. It’s not rocket science, but it does require a little bit of love and attention.
Must Read
The Rump Steak: A Misunderstood Hero?
Let’s be honest, when you think of the most tender cuts of beef, rump probably isn't the first one that springs to mind. You're likely picturing a fillet, a ribeye, maybe even a sirloin. And you’re not entirely wrong. Rump steak comes from a well-worked muscle at the back of the cow. Muscles that work hard tend to be…well, tougher. That’s just nature’s way, folks.
But here’s the thing: “tougher” doesn’t have to mean “inedible.” It just means it needs a little help. And when done right, a good rump steak can be incredibly satisfying, offering a fantastic beefy flavour that some of the more delicate cuts can sometimes lack. Think of it as the underdog of the steak world. We just need to give it a fair chance.
So, why does rump get such a bad rap? Often, it's down to poor cooking techniques. People might treat it the same way they'd treat a prime cut, and that’s where the disaster strikes. But fear not! With a few simple tricks, you can transform that humble rump into something truly delicious.
The Essential Prep: More Than Just Unwrapping
This is where a lot of the magic happens, and honestly, it’s the part most people skip. Don't skip it. Seriously. Your jaw will thank you.
Bringing it to Room Temperature: The Great Escape from the Fridge
Pulling a steak straight from the fridge and flinging it into a screaming hot pan is a recipe for uneven cooking. The outside will be cooked, maybe even burnt, while the inside remains stubbornly cold and, you guessed it, tough. We want a beautiful, even cook, right?
So, the first golden rule: take your rump steak out of the fridge at least 30 minutes, ideally an hour, before you plan to cook it. This allows the steak to come up to room temperature. Think of it as giving the steak a chance to relax. A relaxed steak cooks more evenly, meaning you get that perfect rosy pink center all the way through, without the grey, overcooked edges.
Why is this so important? Well, when a cold steak hits a hot pan, the temperature difference is huge. The outside sears quickly, but the heat struggles to penetrate to the center. By letting it warm up, the heat can travel more gently and evenly through the entire piece of meat. It’s like easing into a warm bath instead of diving into an ice bucket. Much nicer, right?
Now, a quick safety note: don't leave it out for too long, especially in a warm kitchen. An hour is generally the sweet spot. You don't want it to start cooking before it hits the pan!

The Mighty Pat Down: Embrace the Dryness
Next up: the dreaded moisture. Water is the enemy of a good sear. If your steak is wet, it will steam instead of sizzle. And nobody wants a steamed steak, especially when we're aiming for that glorious crust.
So, grab some kitchen paper and pat that steak completely dry. Get into all the nooks and crannies. I mean, really dry. Like you're trying to prove it’s a desert island. The drier the surface, the better the Maillard reaction will be. What's the Maillard reaction, you ask? Fancy science talk for that delicious browning and caramelization that gives steak its amazing flavour and that irresistible crust. You want that crust, trust me.
Imagine your steak is trying to get a tan. If it's already covered in a layer of water, it's just going to get soggy. We want it to develop that deep, rich colour. So, be brutal with the paper towels. Don't be shy. This is a crucial step for achieving that perfect sear.
Seasoning: Less is Often More (But Not Always!)
Now, for the flavour! The classic rump steak seasoning is simple: salt and pepper. And honestly, for a good piece of beef, that’s often all you need. But there's a right way to do it.
The Salt Situation: When and How Much?
When should you salt? This is a hotly debated topic in the culinary world. Some people swear by salting hours in advance (dry brining), others right before cooking. For rump steak, I’ve found that salting generously about 15-30 minutes before cooking works wonders.
Why this timeframe? Salting too early (hours and hours) can start to break down the meat’s proteins, which can be good for incredibly thick cuts or tougher preparations, but for a standard rump steak, we don’t want to go too far down that road. Salting right before you cook means the salt hasn’t had time to draw out too much moisture from the inside. That sweet spot of 15-30 minutes allows the salt to start working on the surface, flavouring the meat and helping to create that crust we talked about, without making the steak watery.
And what kind of salt? Coarse sea salt or kosher salt is your best bet. They have a good flavour and texture. Don’t use table salt; it's too fine and can make the steak taste too salty too quickly. Sprinkle it on liberally! You want to see a good coating. Don’t be afraid of salt; it’s a flavour enhancer!
Pepper Power: The Finishing Touch
For pepper, I prefer freshly cracked black pepper. The pre-ground stuff just doesn't have the same punch. Add your pepper just before it hits the pan, or even better, after cooking. If you put it on too early, it can sometimes burn and turn bitter. So, a good grinding of fresh pepper over both sides is your final seasoning step before cooking.
Some people like to add other spices, like garlic powder or onion powder. And that’s fine! Experiment! But for the purist in me, salt and pepper are the foundation. Build from there if you wish, but don’t neglect the basics.

The Cooking Game: Heat, Fat, and Time
This is where the real action happens. It's all about controlling the heat and giving that steak what it needs to transform.
The Pan Choice: Heavy is Good
You want a pan that can hold heat and distribute it evenly. A heavy-bottomed cast-iron skillet is your absolute best friend here. If you don’t have cast iron, a good quality stainless steel pan will also work. Avoid flimsy non-stick pans; they just won't get hot enough to give you that beautiful sear.
Why cast iron? It’s a heat-retaining champion. Once it’s hot, it stays hot. This is crucial for getting a good, consistent sear on your steak. It’s an investment, sure, but for anyone who loves cooking, especially steak, it’s an absolute game-changer. Plus, they last forever!
The Fat Factor: Choose Wisely
You need fat to cook the steak in, and to help with that sear. But what kind? You want a fat with a high smoke point. This means it can get really hot without smoking and burning. Good options include:
- Grapeseed oil
- Canola oil
- Sunflower oil
- Beef tallow (if you’re feeling traditional and want extra flavour)
Olive oil, especially extra virgin olive oil, has a lower smoke point and isn’t ideal for searing at high temperatures. So, stick to the high-heat options.
The Heat is On: Getting it Right
This is critical. You need your pan to be screaming hot. Like, seriously hot. Add your oil, and let it heat up until it shimmers. You might even see a little wisp of smoke. That's your cue. If the pan isn't hot enough, you'll end up steaming the steak again, and we’ve already established we don’t want that.
So, crank up the heat! Don’t be shy. You should hear a satisfying sizzle the moment the steak hits the pan. If you don’t, your pan isn’t hot enough. And if you’re worried about smoke, just make sure you have good ventilation – open a window, turn on the extractor fan. It’s a small price to pay for a perfectly cooked steak.
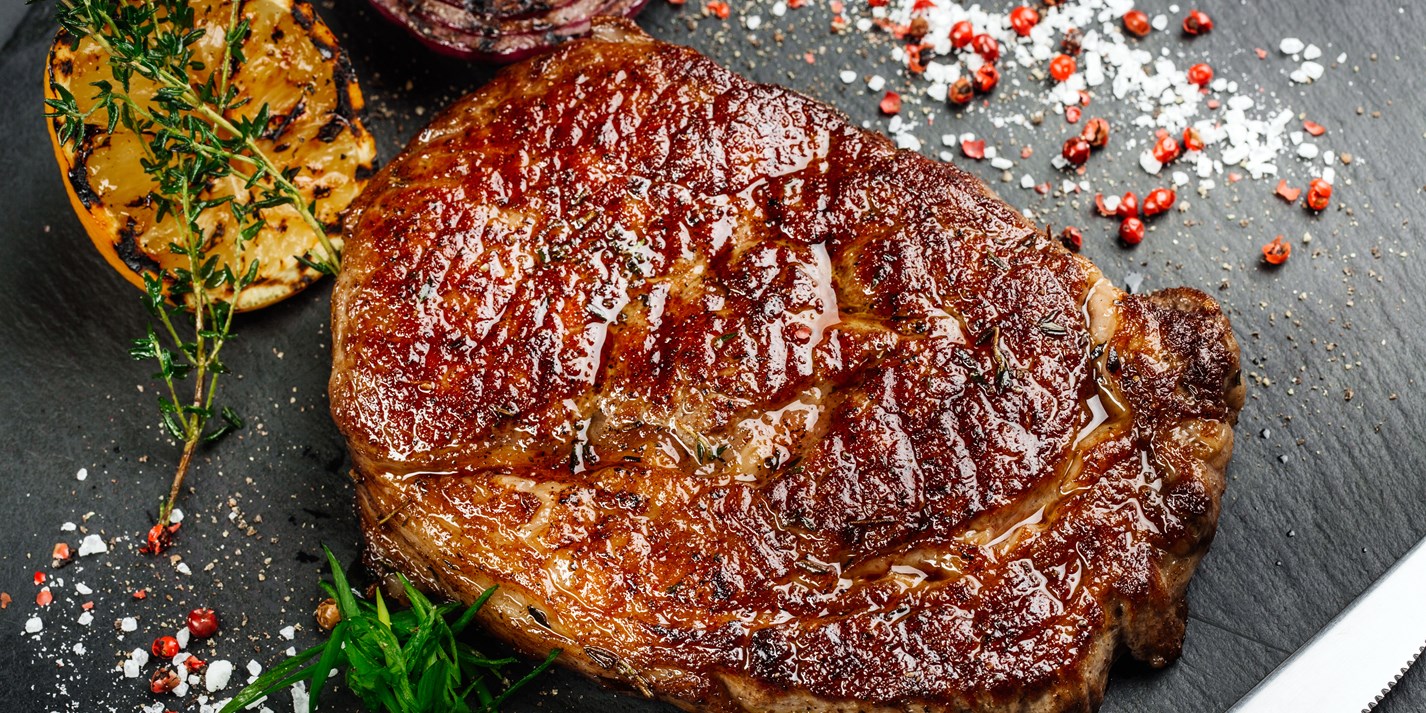
The Sear: The Golden Rule
Once the pan is hot and oiled, carefully place your seasoned, patted-dry rump steak into the pan. And then? Don’t touch it. Resist the urge to poke, prod, or flip it every five seconds. Let it sear undisturbed for 2-4 minutes, depending on the thickness of your steak and how hot your pan is. You want to develop a deep, rich brown crust. This is where the flavour is built.
After that initial sear, give it a flip. Sear the other side for another 2-4 minutes. For thicker steaks, you might need to sear the edges too. You can use tongs to hold the steak on its side and sear each edge for about 30 seconds to a minute.
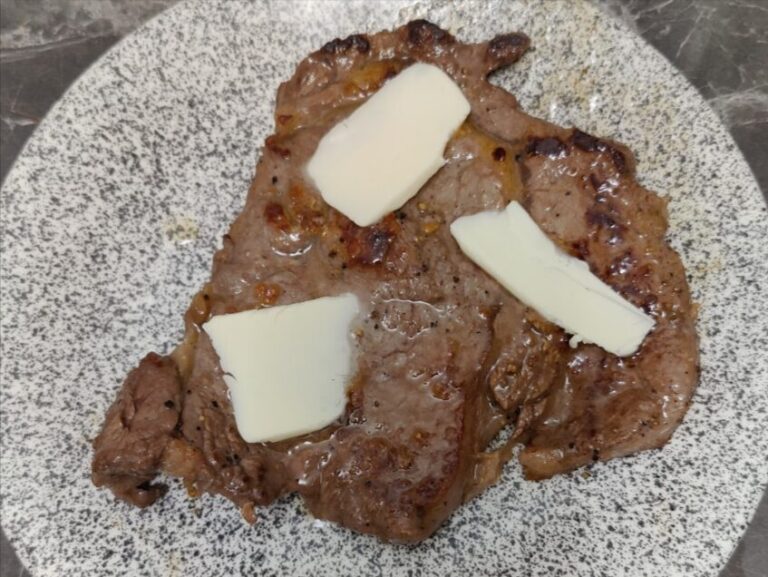
Pro tip: Once you’ve got a good sear on both sides, you can add a knob of butter, a crushed clove of garlic, and a sprig of rosemary or thyme to the pan. Tilt the pan and use a spoon to baste the steak with the melting butter and aromatics. This adds incredible flavour and moisture.
The Internal Cook: Doneness Matters
Now comes the part that requires a little judgment. Rump steak is best cooked to medium-rare to medium. Anything more, and you risk turning it into shoe leather. How do you achieve your desired doneness?
The best way is to use a meat thermometer. It takes the guesswork out of it. For:
- Rare: 52°C (125°F)
- Medium-rare: 57°C (135°F) – This is usually my sweet spot for rump!
- Medium: 63°C (145°F)
Remember that the temperature will rise a few degrees as the steak rests, so take it off the heat just before it reaches your target temperature.
If you don’t have a thermometer, the ‘finger test’ is a rough guide, but it takes practice. Press the fleshy part of your palm below your thumb. Then, press the steak. Raw steak feels like your palm when your hand is relaxed. Rare feels like your palm when you touch your thumb to your index finger. Medium-rare is thumb to middle finger. Medium is thumb to ring finger. You get the idea. It’s not foolproof, but it’s a starting point.
Don't overcook it! Seriously, this is the biggest crime against rump steak. A tough steak is often an overcooked steak.
The Rest: The Silent Hero
This is perhaps the most underrated and most important step in cooking any steak, especially a cut like rump. When you cook a steak, the muscle fibres contract, squeezing out the juices. If you slice into it immediately, all those lovely juices will run out onto your plate, leaving you with a dry, less flavourful steak.
So, once your steak has reached its desired internal temperature, remove it from the pan and let it rest on a warm plate or cutting board for at least 5-10 minutes. Yes, it’s torture. You’ll be staring at it, smelling it, and wanting to dive in. But you must resist.

During this resting period, the muscle fibres relax, and the juices redistribute themselves evenly throughout the steak. This results in a much more tender, succulent, and flavourful piece of meat. Think of it as letting the steak have a well-deserved spa day after its fiery ordeal.
You can cover it loosely with foil if you're worried about it cooling down too much, but don't wrap it tightly, or it will steam. Just a gentle tent. It’s the pause that makes the masterpiece.
Slicing Strategy: Against the Grain is Key
You've done it. You've cooked a beautiful rump steak, you’ve let it rest, and now it's time to enjoy. But how you slice it can make a surprising difference to its perceived tenderness.
Look closely at your steak. You'll see that the muscle fibres run in a particular direction. This is the ‘grain’. To make your steak as tender as possible, you need to slice against the grain. Imagine you're cutting perpendicular to the direction the fibres are running.
Why does this matter? When you slice against the grain, you shorten those muscle fibres, making them much easier to chew. If you slice with the grain, you’re leaving those long, tough fibres intact, and your steak will feel chewier, even if you cooked it perfectly.
So, take your sharpest knife and slice thinly, cutting across those visible lines of the grain. It’s like a final act of kindness to your steak and your teeth. This simple step can elevate a good steak to a great one.
Bringing it All Together: Your Rump Steak Redemption
So there you have it. From fridge to pan to plate, the journey of a tender rump steak. It’s not about fancy ingredients or complicated techniques. It’s about understanding the meat, respecting the process, and giving it the care it deserves. That day I ruined my dad's birthday steak? It was a harsh lesson, but it taught me the value of these small but mighty steps.
Remember:
- Temper your steak.
- Pat it dry.
- Season it well and give it time.
- Use a hot pan and the right fat.
- Sear it properly.
- Don't overcook it!
- Let it rest.
- Slice against the grain.
If you follow these steps, I promise you, your rump steak experience will be a world away from my disastrous first attempt. You'll be serving up juicy, flavourful, and surprisingly tender steaks that will make you and anyone you're cooking for very happy. So, go forth and conquer the rump steak! You've got this.