How To Clean A Deep Fat Fryer
Okay, confession time. I'm going to say something a little controversial. Deep fat fryers are fun. Like, really fun. That perfect crispiness? That golden hue? It's a culinary magic show happening right in your kitchen.
But then comes the aftermath. The oil. Oh, the oil. It’s like a greasy, shimmering lake of regret. Cleaning that beast can feel like an Olympic sport you never signed up for. And let’s be honest, who has time for that? Most of us just shove it in the back of the cupboard, hoping it will magically clean itself.
Spoiler alert: it doesn't. But fear not, fellow fry enthusiasts! We’re about to embark on a journey. A journey to tame the greasy dragon. And I promise, it won't be that painful. Maybe a little. But mostly just… enlightening.
Must Read
The Great Oil Exodus
First things first, the oil. This is the main event. It’s probably looking a little… lived-in. Maybe it’s seen a few too many batches of fries. Or perhaps some rogue onion rings made a surprise appearance. Whatever its history, it needs to go.
Now, you could pour it down the drain. But please, for the love of all that is holy and plumbing-related, don't. Your pipes will hate you. Your plumber will hate you. Everyone will hate you.
Instead, we're going to treat this oil with a bit of respect. Think of it as a weary traveler heading for a well-deserved retirement. We need to collect it. This is where those old food-safe containers you’ve been hoarding come in handy. Think empty ice cream tubs or large yogurt pots.
Carefully, and I mean carefully, pour the cooled oil into your chosen containers. Make sure the fryer is completely cool. Seriously, you don't want any accidental lava baths. Let it sit for a bit to let any bits settle. It’s like giving the oil a final chance to sort itself out.

The Bits and Bobs
Once the oil is safely bottled, it’s time to tackle the gunk left behind. This is where the fun really begins. Okay, maybe not fun, but definitely satisfying. You’ll see all sorts of crispy remnants clinging to the bottom and sides. These are the ghosts of meals past.
The first step is to get rid of the big stuff. Think of yourself as an archaeologist, excavating the remains of your delicious meals. Use a spatula or a non-abrasive scraper. Get in there and gently dislodge anything that looks like it might crumble off easily.
Don’t be shy. Some of those bits are probably harder than diamond by now. Just gently coax them out. They’re probably proud of their resilience, but it’s time for them to meet their end. Into the bin they go!
The Warm Embrace of Water
Now, for the actual cleaning. This is where things get a little wet. And soapy. Prepare yourself for a sudsy adventure. Fill your sink with warm water. Not too hot, not too cold. Just that perfect, cozy temperature that makes you want to hum a happy tune.

Add a good squirt of your favorite dish soap. You know, the one that smells like a tropical vacation or a freshly picked lemon. We’re going to make this feel less like a chore and more like a spa treatment for your fryer.
Now, carefully remove the basket from your deep fat fryer. If it’s detachable, that’s a win! Give it a good soak in the soapy water. Let it relax. It’s been through a lot, too.
Scrub-a-Dub-Dub
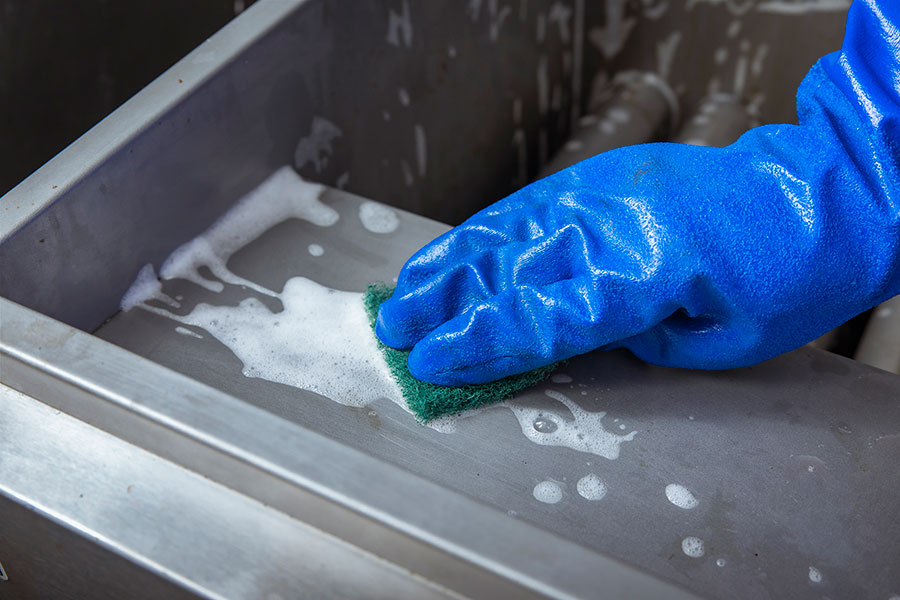
This is where the muscle comes in. Grab a non-abrasive sponge or a soft brush. We don’t want to scratch up that shiny interior. Gently scrub the inside of the fryer. Focus on the areas where the oil residue is the most stubborn.
You might need to add a little more soap. Or maybe a bit more elbow grease. It’s all part of the process. Think of it as a therapeutic scrubbing session. Imagine you’re releasing all your stress into those greasy spots.
Don’t forget the lid and any other removable parts. They deserve some love too! Give them a good scrub until they sparkle. Or at least until they’re no longer a tribute to the grease gods.

Rinse and Repeat (Sort Of)
Once you’ve scrubbed to your heart’s content, it’s time to rinse. Drain the soapy water. Then, fill your sink with fresh, warm water. Rinse the basket thoroughly. Make sure all the soap is gone.
Now, for the inside of the fryer itself. You can use a damp cloth to wipe away the soap. Or, if your fryer is small enough, you might be able to carefully tip it and rinse the inside. Be mindful of any electrical components. We don’t want any short-circuit surprises.
Wipe it down until it’s squeaky clean. No more greasy residue. No more soapy film. Just pure, unadulterated clean. It's a beautiful sight, isn't it?
The Drying Dilemma
Drying is crucial. You don’t want any lingering moisture. That can lead to rust or just make things feel… unappealing. Grab a clean, dry towel. A microfiber one is excellent for this.

Pat everything dry. Thoroughly. Get into all the nooks and crannies. Make sure the basket is completely dry. The inside of the fryer needs to be bone dry too. This is your chance to admire your handiwork.
Let everything air dry for a bit, just to be sure. Open air is the best. Place the parts near an open window or in a well-ventilated area. Patience is key here. We've come this far, let's not rush the final steps.
Reassembly and Pride
Once everything is perfectly dry, it’s time to put it all back together. Slide the basket back into place. Reattach any other parts. It should feel smooth. Satisfying, even.
Take a moment. Look at your clean deep fat fryer. You did it! You conquered the grease beast! You’ve achieved a level of kitchen cleanliness most people only dream of. Give yourself a pat on the back. You deserve it.
Now, what are we going to fry next? Because let's be honest, a clean fryer is a tempting fryer. Maybe some crispy chicken? Or perhaps some perfectly golden onion rings? The possibilities are endless, and now, the cleaning won't hold you back. You are now officially a Deep Fryer Cleaning Champion.

