How To Change The Blades On A Zero Turn Mower
So, there I was, staring down a lawn that was starting to look less like a manicured paradise and more like a small, unkempt jungle. The grass was long, unruly, and frankly, a little embarrassing. My trusty zero-turn mower, usually a beast of efficiency, was making this sad, pathetic thwack-thwack-thwack sound. It wasn't cutting; it was more like it was mushing the grass. Yeah, the blades. Definitely the blades.
If you've ever experienced that soul-crushing sound, you know the feeling. It’s like your trusty steed has suddenly declared mutiny, refusing to do the one thing it was designed for. And for a while there, I was convinced I’d have to call in the cavalry, or at least a very expensive mechanic. But then, a little voice in my head, probably the one that’s seen me struggle with IKEA furniture, whispered, "Hey, remember that time you changed the oil yourself? This can't be that much harder, right?" Famous last words, some might say. But thankfully, in this case, not so much!
Changing the blades on a zero-turn mower might sound like something only a seasoned mechanic in greasy overalls could tackle. But trust me, it's more DIY-friendly than you think. It's one of those tasks that, once you know how, feels incredibly satisfying. Like finally figuring out how to fold a fitted sheet – a small victory, but a victory nonetheless!
Must Read
Why bother changing your blades, you ask? Well, besides the obvious sound of a mower that’s lost its cutting edge, dull blades can actually damage your grass. Instead of a clean cut, they rip and tear, leaving your lawn susceptible to disease and looking decidedly sad. Think of it like trying to cut paper with a butter knife. It’s messy, ineffective, and leaves jagged edges. Sharp blades, on the other hand, slice through grass like a hot knife through butter. Your lawn will thank you, and it’ll look a whole lot healthier and greener. Plus, a well-cutting mower is a happy mower, and a happy mower makes for a happy lawn-owner. It’s a win-win-win!
Let's Get This Blade Party Started!
Alright, enough chit-chat. You’ve got a jungle to tame and a mower that needs a little TLC. So, let’s dive into the nitty-gritty of blade changing. Before we start wielding any wrenches, though, let’s cover some essential safety precautions. And I’m not just saying this to be a nag; your fingers (and your mower!) will thank you for it.
Safety First, Always! (Seriously, Don't Skip This Part)
This is non-negotiable, folks. Before you even think about touching a wrench, you need to make sure your mower is in a safe state.
1. Disconnect the Spark Plug: This is the most important step. Seriously. If you skip this, you’re basically asking for trouble. Think of it as putting a safety lock on your mower's engine. Find the spark plug wire (it's usually a black rubber boot connected to a small metal cylinder on the engine) and gently but firmly pull it off. You want to hear a satisfying pop or feel a slight resistance. If you're not sure where it is, a quick peek at your mower's manual is your best friend. Don't have one? A quick Google search for "[Your Mower Model] spark plug location" will probably do the trick.
2. Engage the Parking Brake: Make sure your parking brake is firmly engaged. This prevents the mower from rolling while you're working underneath it.

3. Lower the Deck: Lower the mower deck to its lowest setting. This gives you a bit more clearance to work with.
4. Chock the Wheels (Optional, but Recommended): If you're working on any kind of incline, even a slight one, it's a good idea to chock the wheels with something sturdy like blocks of wood. Better safe than sorry, right?
5. Wear Gloves: Those blades are sharp. And I mean, really sharp. Even if they're dull, they can still give you a nasty cut. Invest in a decent pair of work gloves. They’ll protect your hands from cuts, nicks, and general grubbiness.
6. Wear Eye Protection: Bits of rust, dirt, or even small metal fragments can fly off. Safety glasses are a must. Don't be the person who gets something in their eye and has to explain it to the doctor!
Gather Your Arsenal: Tools You'll Need
You don't need a whole mechanic's shop for this. Just a few basic tools will get you by:
- New Mower Blades: Make sure you get the exact blades for your mower model. A quick trip to your local mower shop or an online search with your mower's make and model will sort this out. Don't try to wing it with blades that look like they'll fit. They probably won't, and that could be a recipe for disaster.
- Wrench or Socket Set: You'll need a wrench or socket that fits the bolt holding the blade in place. This is usually a pretty standard size, but it's good to have a set on hand just in case. Your mower manual will tell you the exact size if you want to be super prepared.
- Torque Wrench (Recommended): This is where things get a little more "pro." A torque wrench ensures you tighten the blade bolt to the manufacturer's specifications. Overtightening can damage the spindle, and undertightening can lead to the blade coming loose. If you're serious about proper maintenance, it's a worthwhile investment. If not, just be very mindful of how tight you're going.
- Sturdy Block of Wood: This is your secret weapon for keeping the blade from spinning while you loosen or tighten the bolt.
- Wire Brush: For cleaning up any rust or debris on the blade mounting area.
- Penetrating Oil (Optional): If those bolts are really stubborn, a little penetrating oil can work wonders.
Operation Blade Swap: Step-by-Step
Okay, safety checks are done, tools are gathered. Now for the main event!
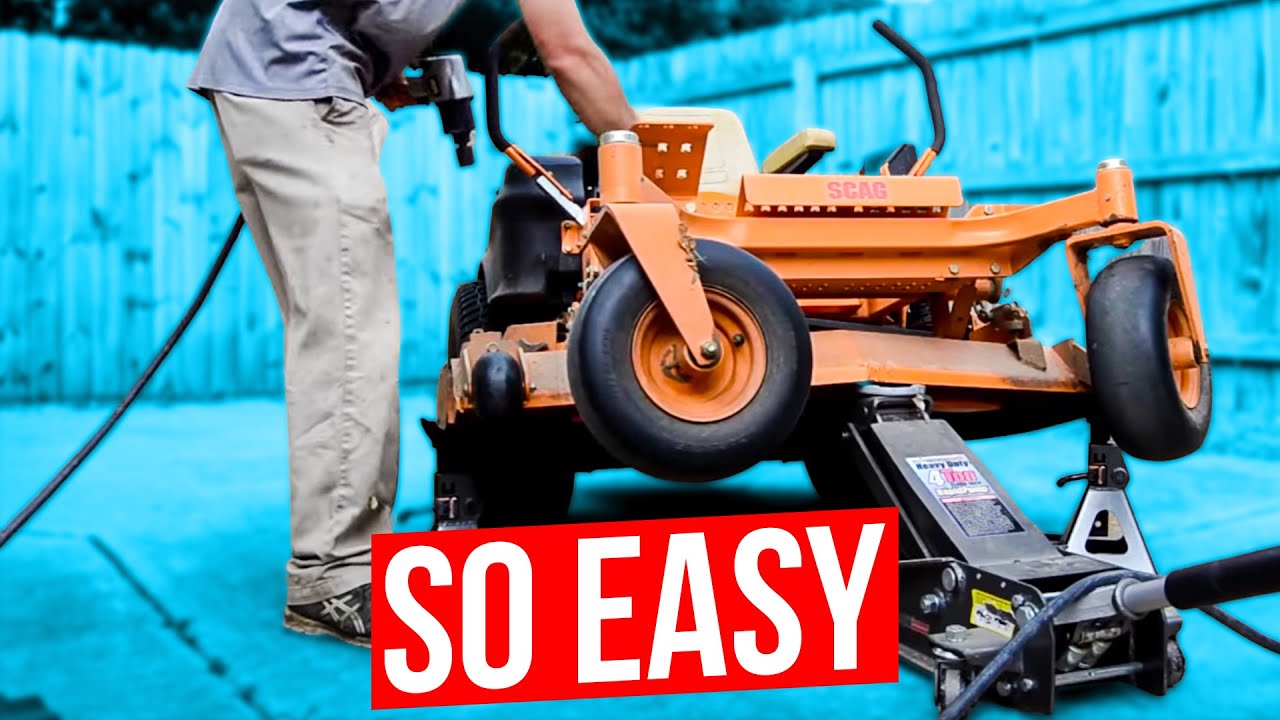
1. Access the Underside of the Mower Deck: This is where it gets a little… undignified. You'll need to get under your mower. If you have a lift, fantastic! If not, well, let's just say gravity and a bit of strategic positioning are your friends. Some people like to tilt their mower on its side. Important Note: If you tilt your mower, always tilt it on the side of the carburetor and air filter to prevent fuel and oil from leaking into those sensitive areas. Check your mower's manual for the correct side!
2. Locate the Blade Bolt: Each blade is held on by a single, hefty bolt. You’ll find it right in the center of the blade. Give it a good look.
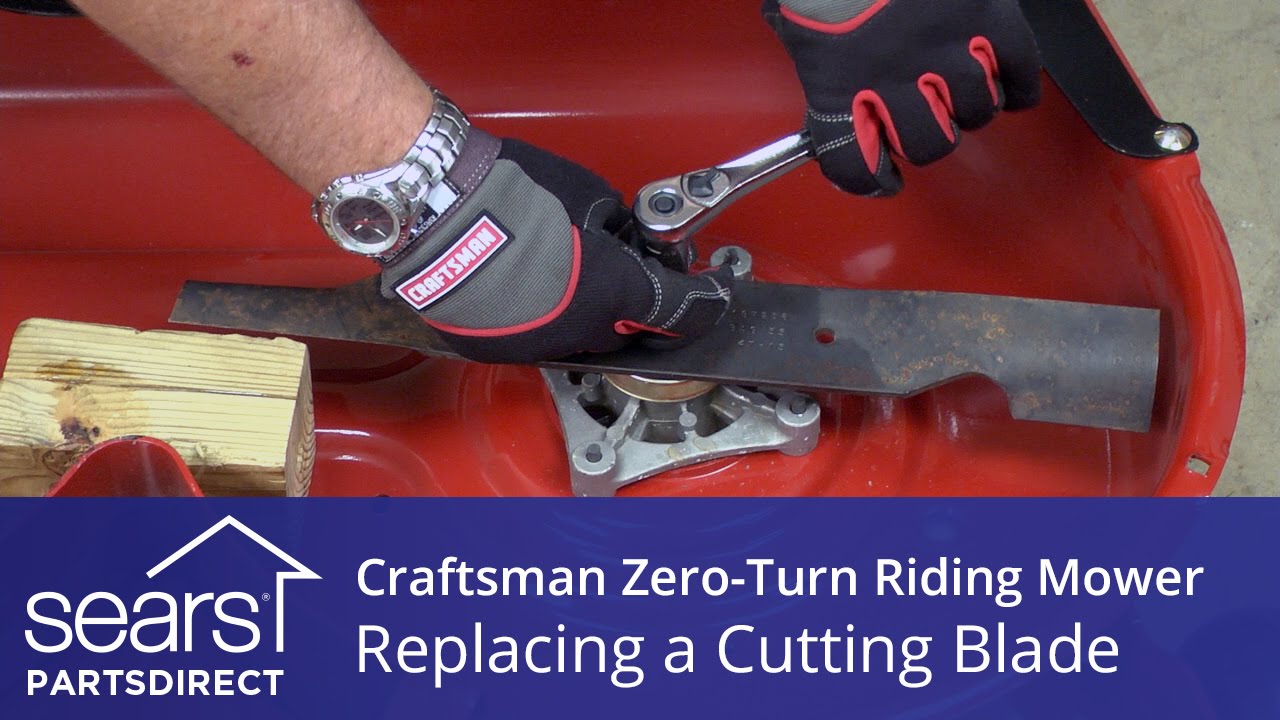
3. Stabilize the Blade: Here's where that block of wood comes in. Wedge the block of wood firmly between the blade and the mower deck to prevent it from spinning when you apply force to the bolt. You want it wedged in there good and tight. This is crucial; otherwise, you’ll be fighting a losing battle.
4. Loosen the Blade Bolt: Now, grab your wrench or socket. Turn the bolt counter-clockwise to loosen it. It might be a little stiff, especially if it hasn't been removed in a while. Apply steady pressure. If it’s really stuck, a little gentle tapping with the wrench handle might help, or that penetrating oil could be your knight in shining armor. Remember, we're aiming for "firmly loosened," not "stripped bolt."
5. Remove the Old Blade: Once the bolt is loose enough, unscrew it completely. Be careful as you remove the blade; it’s sharp! Let it fall into your gloved hand. You might also notice a washer or two under the bolt – keep track of those! They’re important.
6. Inspect the Spindle and Bolt: While the old blade is off, take a moment to look at the spindle (the part the blade attaches to) and the bolt. Give the spindle area a quick wipe-down with a rag or a wire brush to remove any accumulated gunk. Make sure there’s no obvious damage. If things look a bit rough, this might be a good time to consult your manual or a professional.

7. Prepare the New Blade: Make sure your new blade is the correct one. It will usually have markings indicating the "grass side" or "deck side." Double-check this! You don't want to install it upside down. Also, give it a quick wipe-down to remove any packing grease.
8. Install the New Blade: Carefully position the new blade onto the spindle. Make sure it’s oriented correctly – the curved part of the blade (the cutting edge) should face away from the mower deck. Reinstall any washers you removed.
9. Reinstall the Blade Bolt: Screw the blade bolt back in by hand as far as it will go. This helps prevent cross-threading. Then, use your wrench to snug it up.
10. Torque the Blade Bolt (If Using a Torque Wrench): This is where the torque wrench comes in. Consult your mower's manual for the recommended torque specification for the blade bolts. Tighten the bolt to that spec. If you don't have a torque wrench, tighten it firmly, but don't go berserk. You want it tight, but not so tight that you feel like you’re going to strip it. Imagine you're tightening a lug nut on your car – firm and secure.
11. Repeat for Other Blades: If your mower has multiple blades, repeat the process for each one. They’re usually arranged in a pattern, so take note of how they were oriented before you started.
The Grand Finale: Putting It All Back Together
Now that your new, shiny blades are securely in place, it's time to reverse the safety procedures:

1. Remove the Block of Wood: Don’t forget this!
2. Reconnect the Spark Plug Wire: Give it a good push until it snaps into place.
3. Lower the Mower Deck (if you raised it):
4. Remove Wheel Chocks (if used):
And that's it! You've just transformed your mower from a sad, grass-mushing machine into a cutting-edge (pun intended!) lawn-taming beast. Now, go fire it up and enjoy that satisfying whizzzzzz of perfectly cut grass. It’s a sound that, after this little adventure, will be music to your ears.
The first time you do this, it might feel a little daunting. You might even second-guess yourself. But honestly, it's a surprisingly straightforward process. It’s one of those maintenance tasks that can save you money and keep your equipment in top shape. Plus, there's a certain pride that comes with knowing you tackled it yourself. So next time you hear that dreaded thwack-thwack-thwack, don't despair. Grab your tools, put on your gloves, and get ready to give your zero-turn mower the sharp edge it deserves!