How To Change A Washer On A Tap
Ever found yourself staring at a dripping tap, a tiny, persistent drip that’s both annoying and a sneaky thief of your water bill? Well, guess what? Fixing that little menace is actually quite a satisfying little project that’s easier than you might think! It's like a tiny act of home heroics, and the best part is, it’s a skill that’s incredibly useful to have in your back pocket.
For the absolute beginner, learning to change a tap washer is like unlocking your first cheat code for home maintenance. It’s a small win that builds confidence and shows you that tackling those little household annoyances isn't some mystical art reserved for plumbers. For families, it’s a fantastic opportunity to get kids involved. Imagine the pride they’ll feel helping to silence that drip! It teaches them valuable practical skills and a sense of responsibility around the house. And for the budding DIY enthusiast or hobbyist, it's a stepping stone to more complex repairs. Once you’ve mastered the washer, who knows what you’ll tackle next? It’s a gateway to becoming more self-sufficient and saving money on service calls.
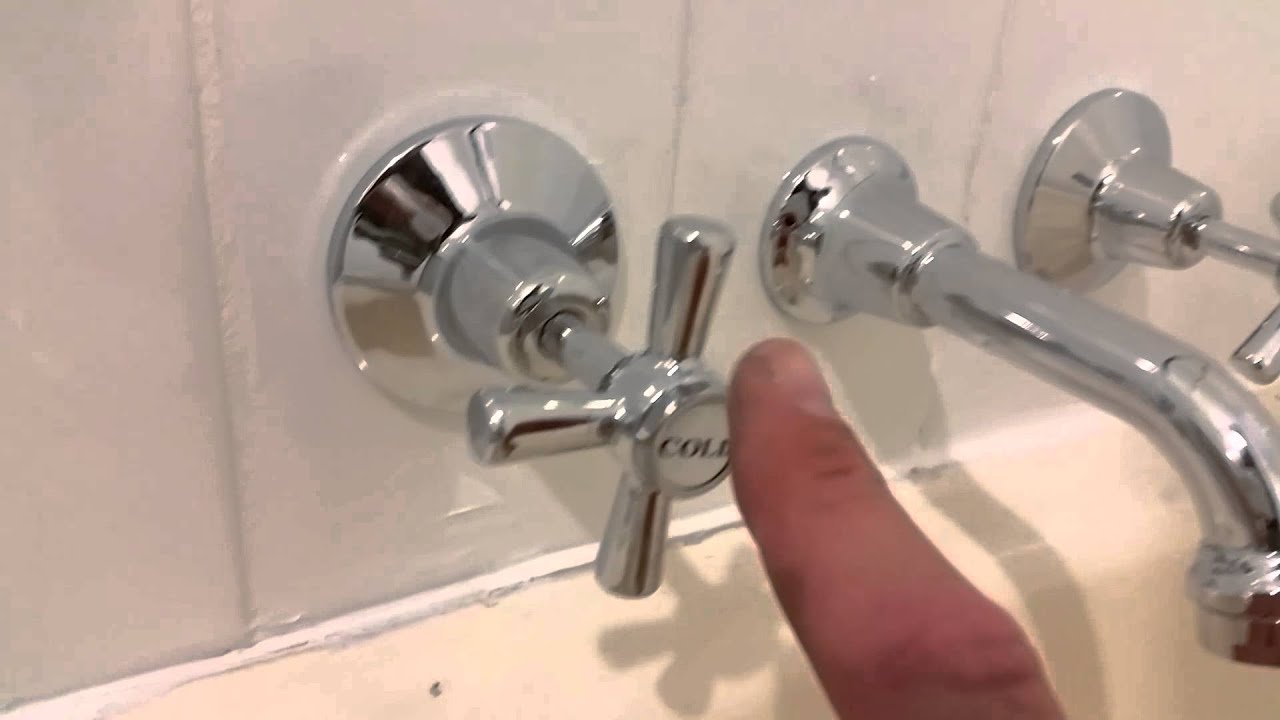
Now, the humble tap washer might seem like a one-trick pony, but there are a few variations to be aware of. Most common are the rubber washers, which are the everyday heroes of sink and bath taps. Then you have ceramic disc cartridges, found in more modern taps. These are a bit different to replace, but the principle of stopping a leak is the same. For our purposes today, we're focusing on the classic, trusty rubber washer, the kind that’s been keeping our taps drip-free for generations.
Must Read
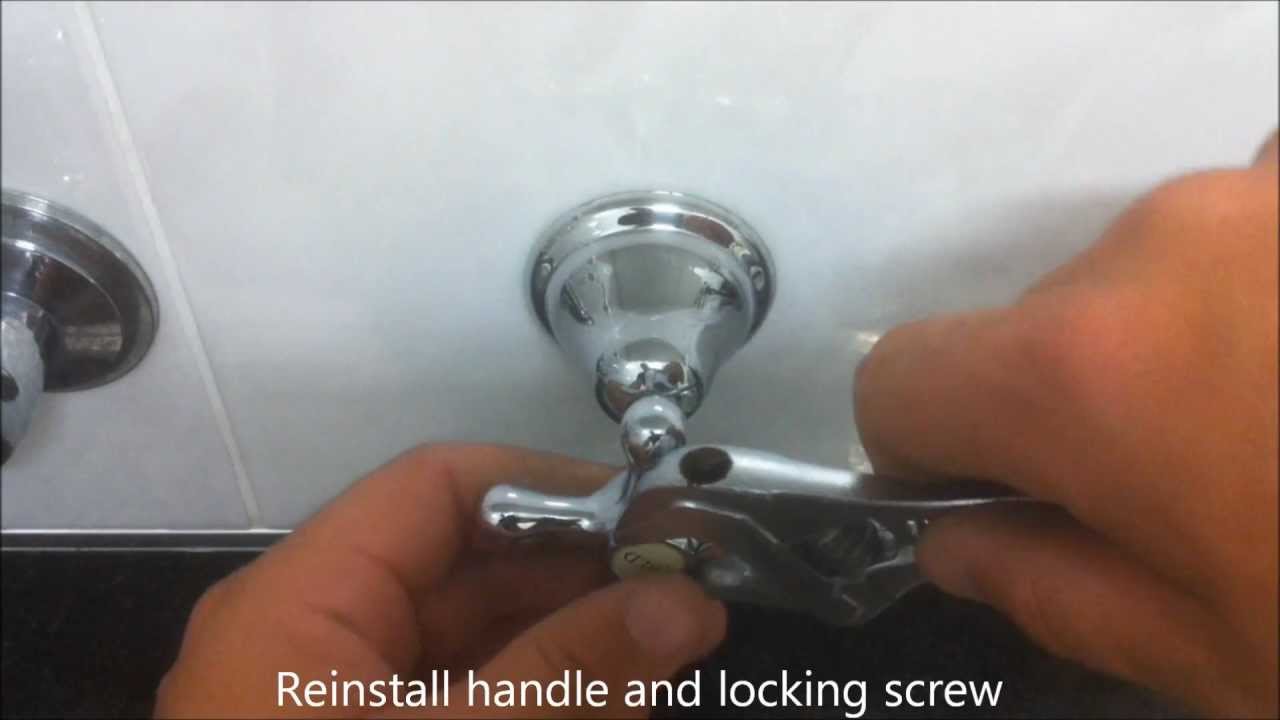
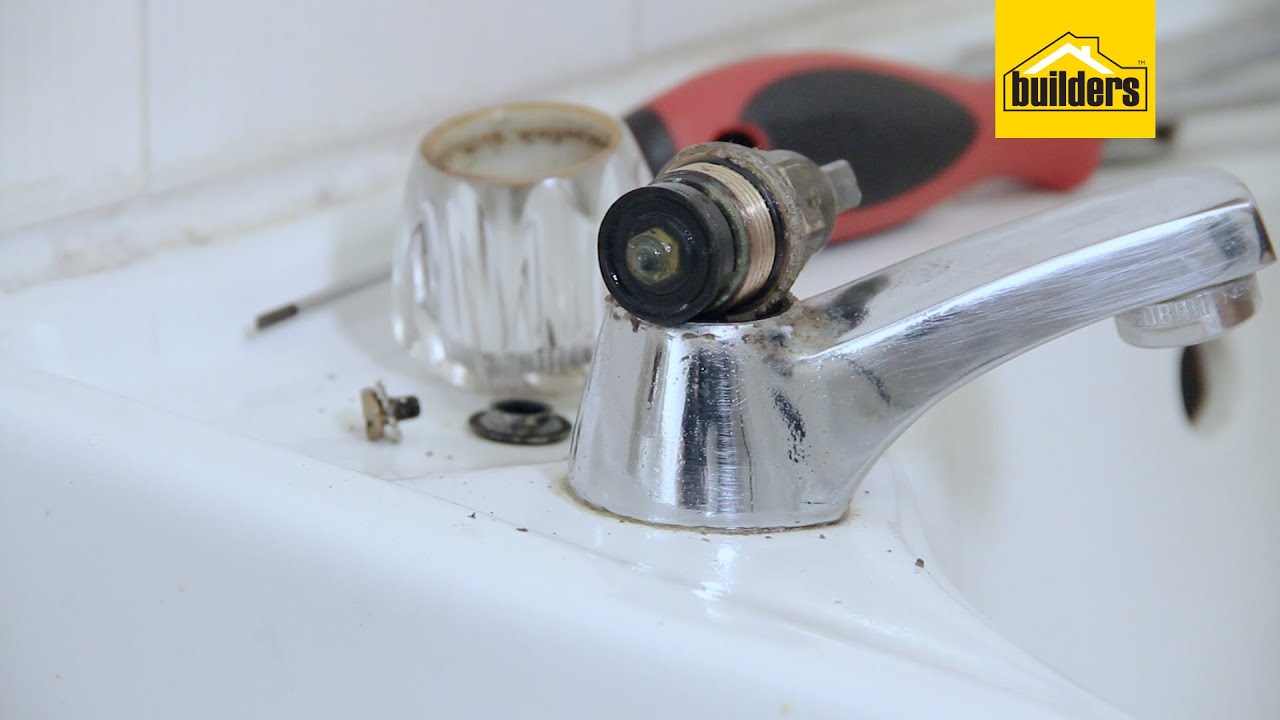
Ready to dive in? Here are some simple, practical tips to get you started. First and foremost, the most crucial step is to turn off the water supply. Usually, there are isolation valves under the sink or behind the toilet. If you can’t find them or they’re stubborn, you'll need to turn off the main water supply to your house. Next, you'll need a few basic tools: a screwdriver (often a Phillips head), an adjustable wrench, and of course, your new tap washer. You can pick these up at any hardware store – just take a picture of your tap or the old washer if you’re unsure. Gently prise off the decorative cap on the tap handle, then unscrew the handle itself. You'll then see the valve mechanism; the washer is usually held in place with a screw at the bottom. Replace the old, worn-out washer with a fresh one, reassemble, and turn the water back on. Listen carefully for any remaining drips!
There you have it! A simple fix that brings peace and quiet back to your home, and a satisfying sense of accomplishment. It's amazing what a little bit of know-how and a tiny rubber washer can do. So next time that drip starts, don't despair – embrace the challenge and enjoy the quiet, drip-free result!