How To Change A Light Bulb In A Ceiling Fan
Alright, gather 'round, my fellow adventurers of the domestic realm! Today, we're tackling a task so monumental, so fraught with peril (okay, maybe not peril, but definitely a mild existential crisis), it deserves its own epic saga. We are, my friends, going to conquer the beast that is: changing a light bulb in a ceiling fan.
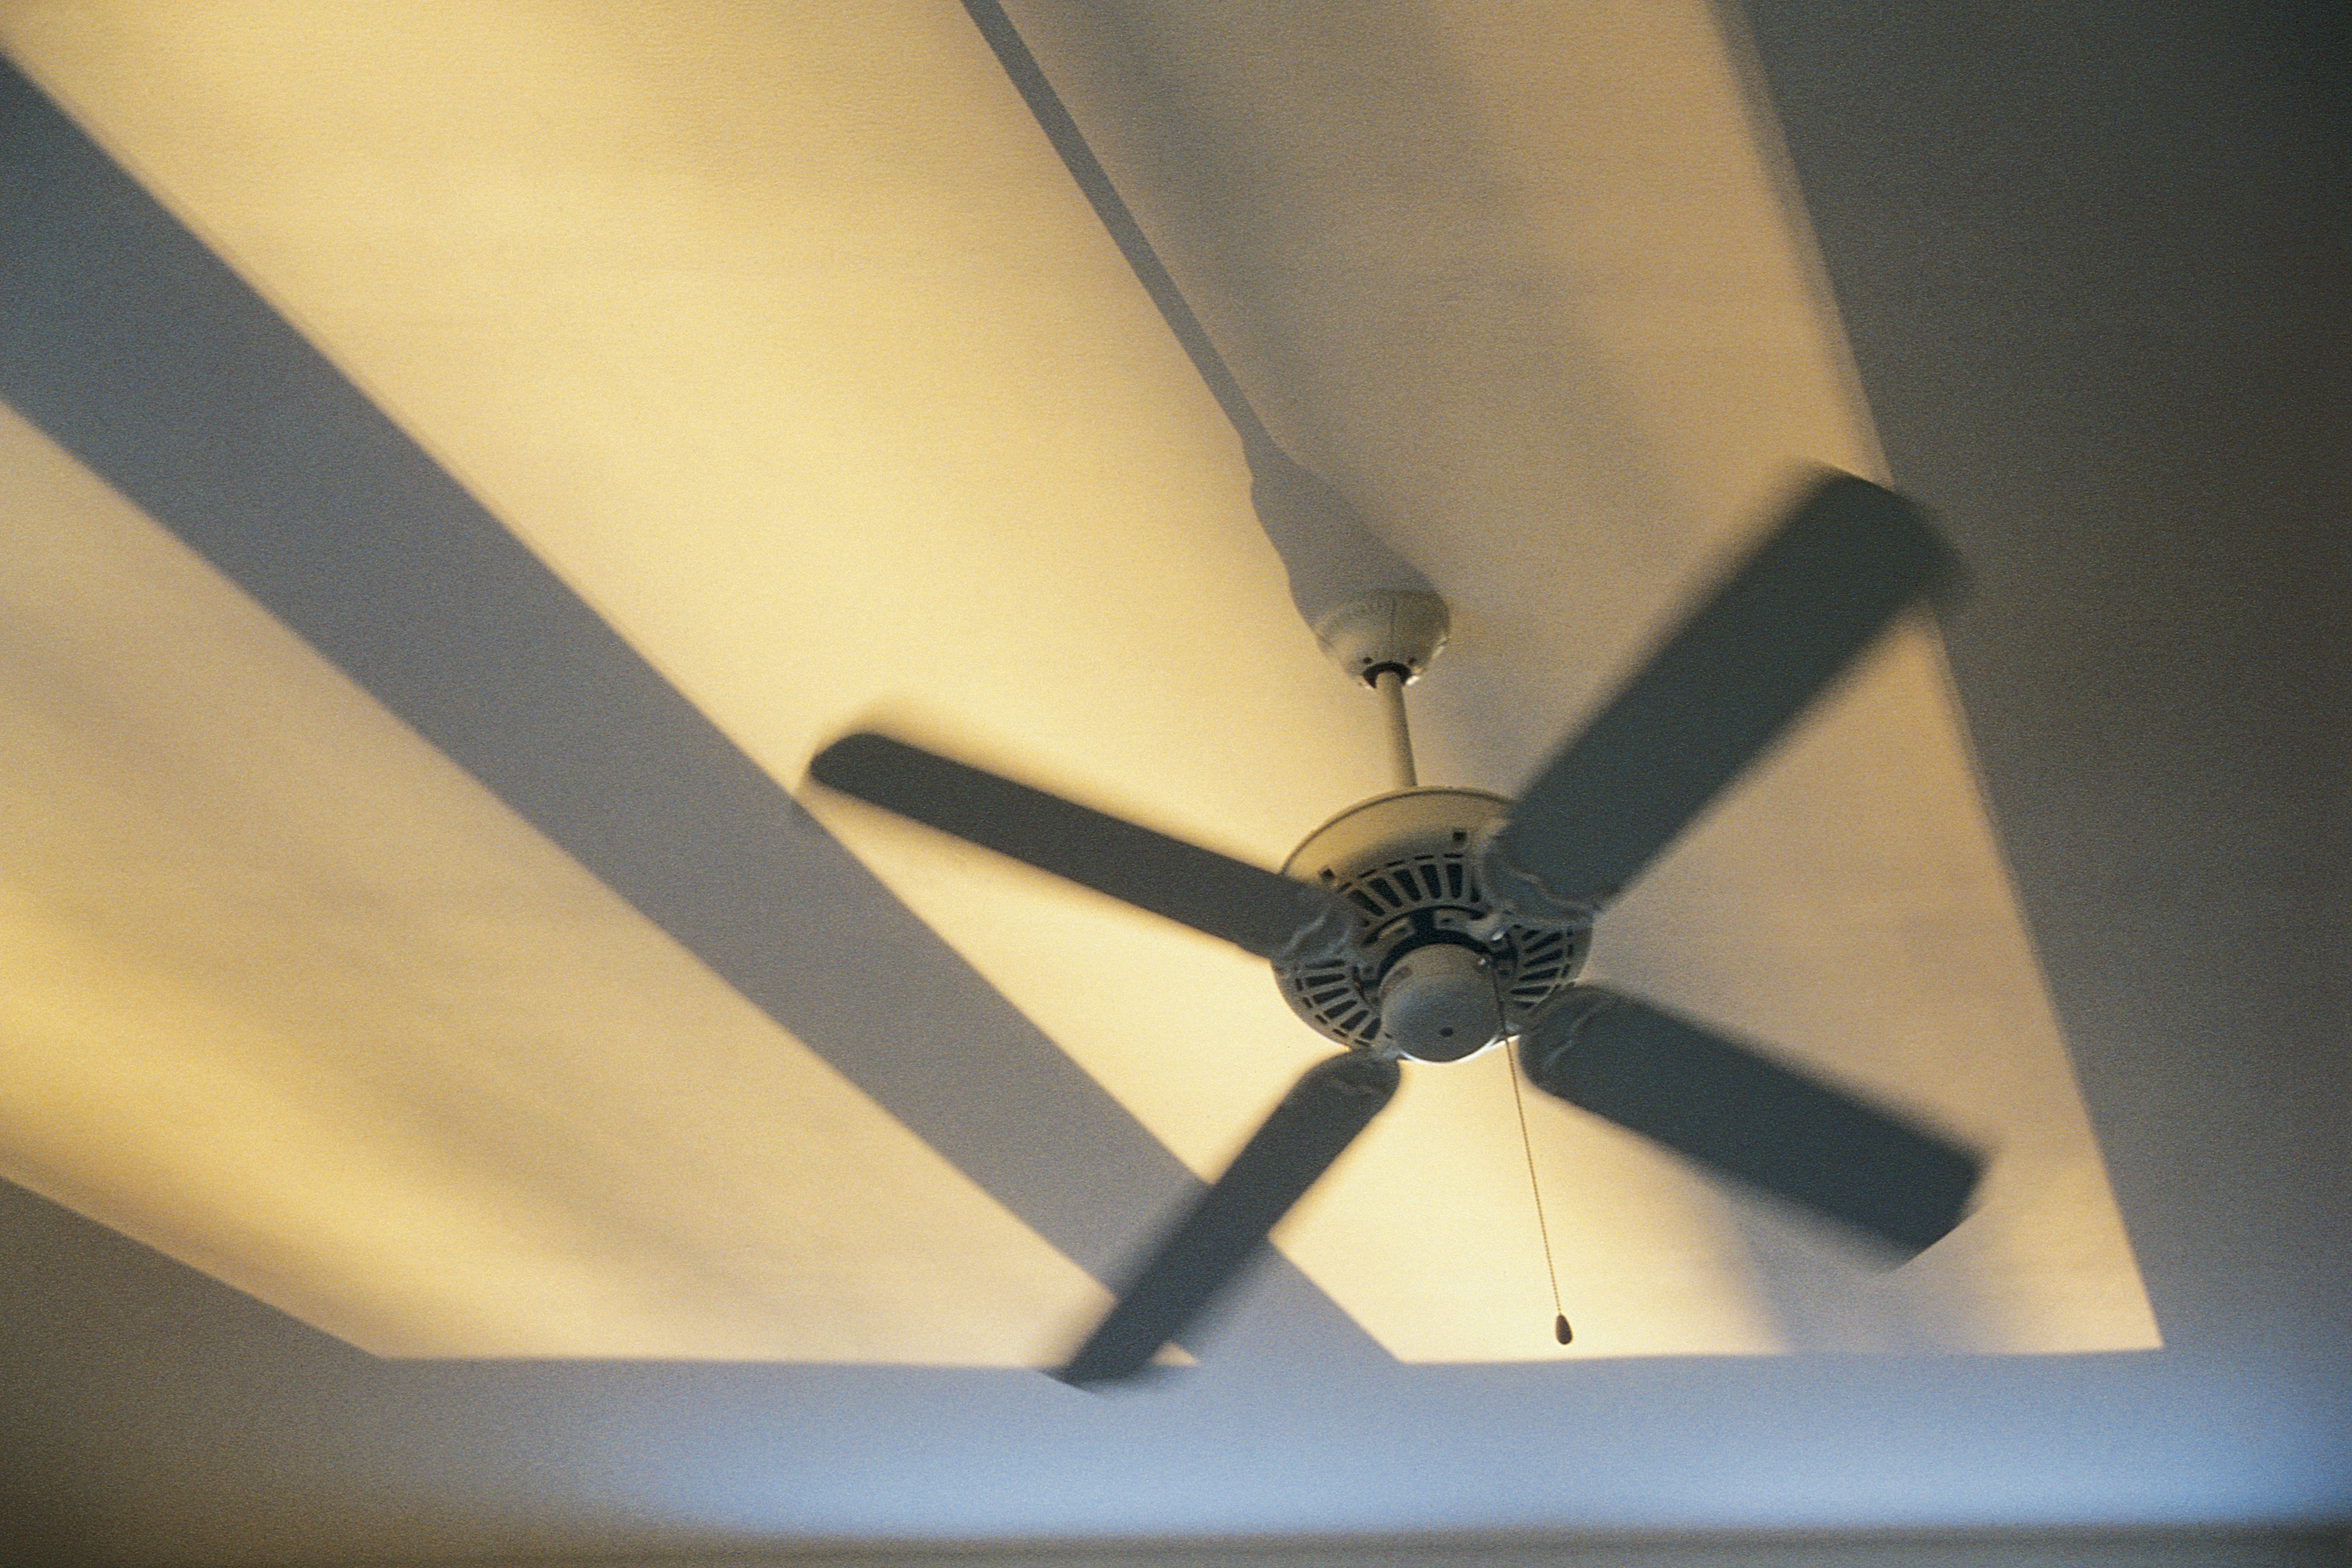
You know the one. It's the bulb that’s been flickering like a haunted house prop for weeks, casting spooky shadows on your otherwise perfectly normal living room. The one that, every time you look up at it, whispers sweet nothings of darkness and the impending doom of complete illumination failure. And the fan? Oh, that's just its accomplice, spinning its blades like a silent, judgment-filled sentinel, daring you to ascend its lofty perch.
The Great Light Bulb Heist: Mission Briefing
Now, I know what you’re thinking. "But I change light bulbs all the time!" And to you, I say, "Bless your heart, you haven't truly lived until you've attempted this specific brand of high-stakes, gravity-defying bulb swap." It's not just a bulb change; it's a ballet of precarious balancing, a symphony of slightly-too-loud grunts, and a masterclass in controlled panic. Think of it as your personal Cirque du Soleil, but with more dust bunnies and the distinct possibility of a minor concussion.
Must Read
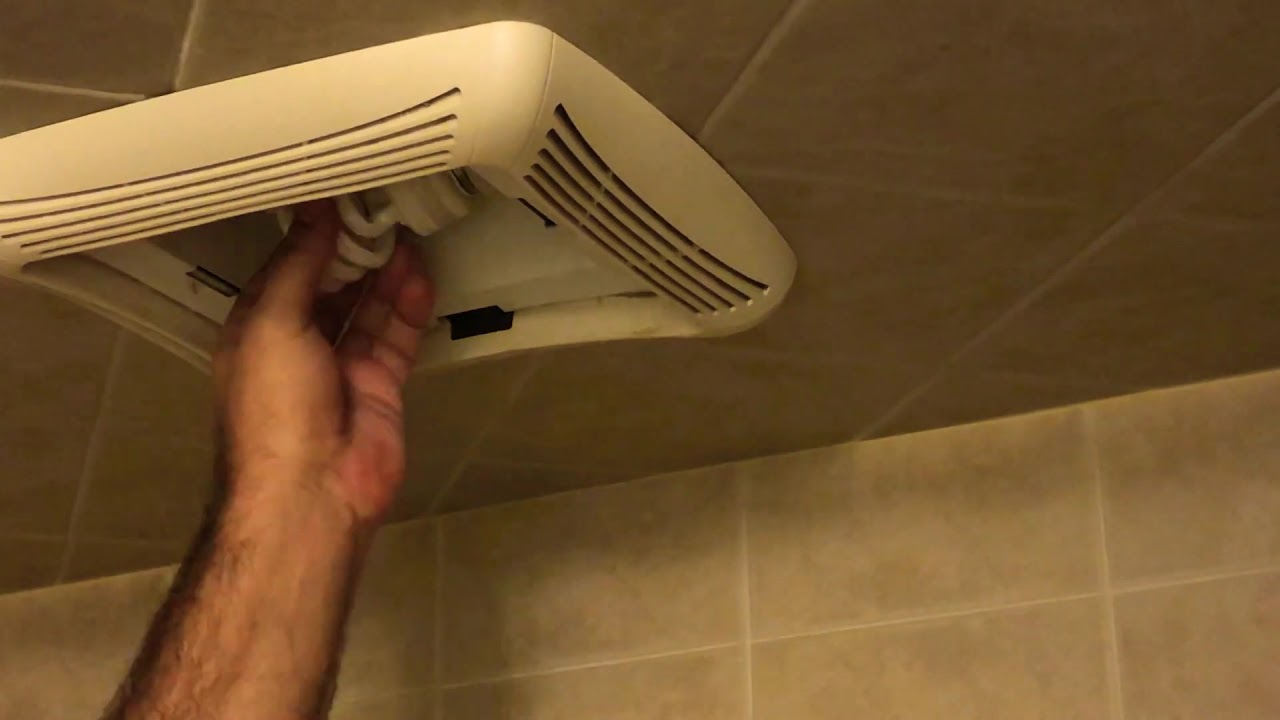
First, let's acknowledge the elephant in the room. Or rather, the light fixture in the room. These ceiling fan bulbs are often tucked away like precious jewels in a dragon's hoard. They're either shrouded in elaborate glass globes that look like they were designed by a mad scientist, or perched precariously on the edge of infinity, just begging to take a tumble. It's like they want you to struggle. I’m convinced the bulb manufacturers are in league with the ladder companies. It’s a conspiracy, I tell you!
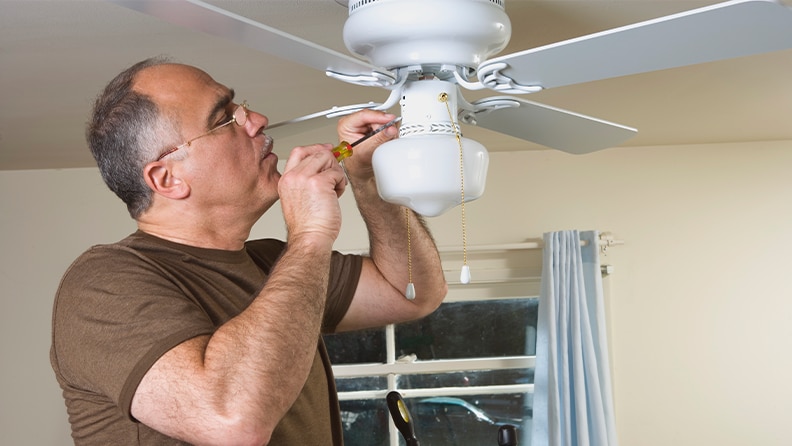
Step 1: The Equipment Acquisition (aka, "Don't Be a Hero")
Before you channel your inner daredevil and attempt a death-defying leap from the sofa, let’s talk tools. You're going to need a few things. First and foremost, a sturdy ladder. And when I say sturdy, I mean the kind that doesn’t wobble like a newborn giraffe on roller skates. If your ladder has aspirations of becoming a modern art installation, it’s probably not the right one. Safety first, people! Remember, your life insurance policy likely doesn't cover "fell off a wobbly ladder while trying to change a light bulb in a ceiling fan."
Next, the actual replacement bulb. This is crucial. Don't just grab any old bulb. Consult the arcane markings on your old bulb, or better yet, take a picture of it before you embark on this quest. You don’t want to climb up there and realize you’ve brought a miniature disco ball when you needed a sensible LED. And for the love of all that is luminous, make sure the new bulb is the correct wattage. Nobody wants their ceiling fan to spontaneously combust into a supernova. That’s a story for a different, much more dramatic article.

You might also want a cloth or rag. Why? Because ceiling fan fixtures are notorious dust magnets. When you inevitably jiggle something, you’re going to unleash a cloud of ancient dust that will make you question how long you’ve lived in this place and if you should start wearing a hazmat suit indoors. A small screwdriver might also come in handy if your fixture is of the "screws hold the world together" variety.
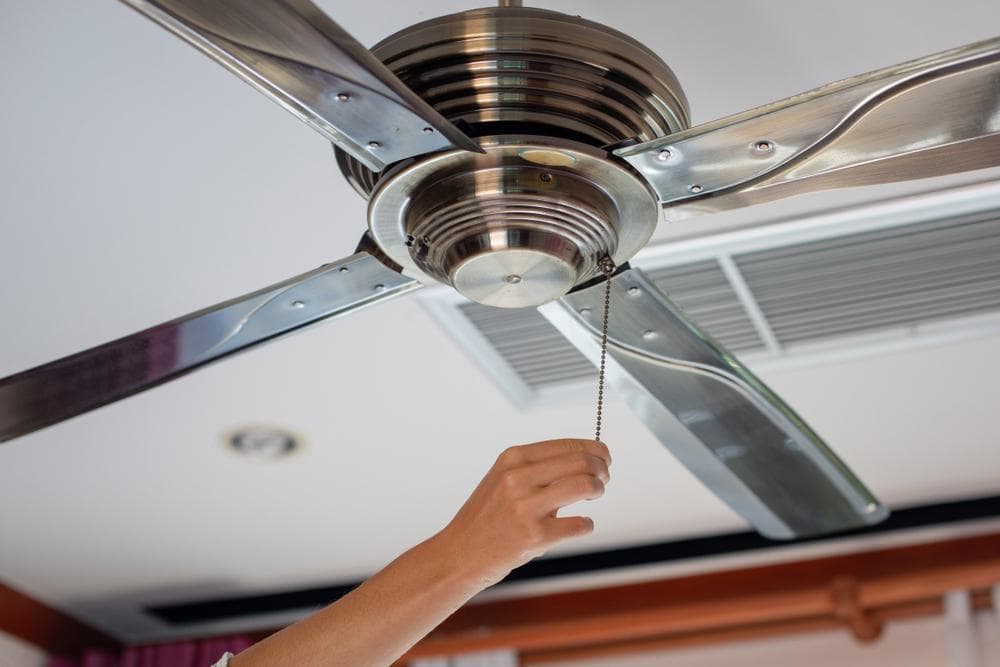
Step 2: The Ascent (aka, "Pray to the Gods of Stability")
Now for the main event! Position your trusty ladder directly beneath the offending fixture. Ensure it's on a level surface. If your floor is sloped, well, that’s a whole other DIY disaster waiting to happen. Just… try your best. Gently, gently, ascend the ladder. Take it slow. Imagine you are a highly trained ninja, moving with grace and precision. Or, you know, just don’t trip. That’s a good starting point.
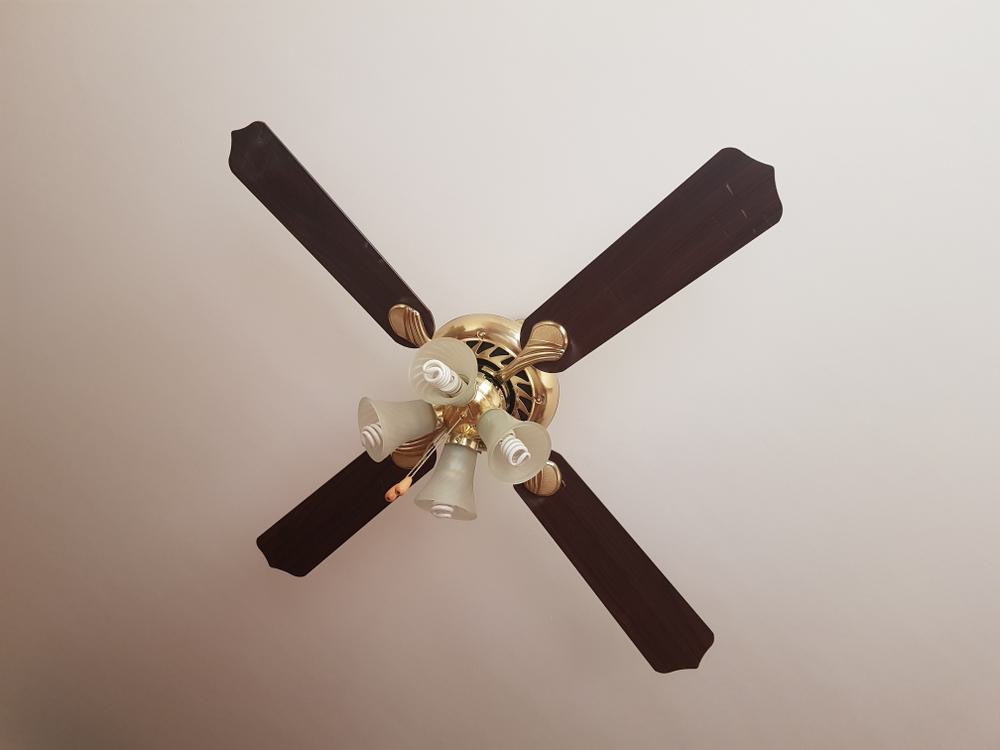
Once you’re at a comfortable height – which, let’s be honest, will probably feel like the troposphere – take a moment to assess the situation. Is there a glass shade? These can be tricky. Some twist off, some have little clips, and some require a PhD in engineering to figure out. If it’s the twist-off kind, remember the old adage: “Lefty loosey, righty tighty.” It applies here, even if your brain is currently screaming, "Just rip it off!"

If there are clips, be gentle. They are often made of the same material as your hopes and dreams: fragile. Don’t force them. A little wiggle, a gentle pull. If it feels like it’s going to snap, pause. Take a deep breath. Maybe hum a calming tune. The fan is watching, you know. It knows if you’re getting frustrated.
Step 3: The Bulb Extraction (aka, "The Moment of Truth")
Once you have access to the bulb itself, make sure the power is OFF. Seriously, I can't stress this enough. Your hand is about to be very close to a live electrical current, and while I appreciate the desire for a truly electrifying experience, this isn't it. Flip that switch at the wall, or even better, flip the breaker for that room if you’re feeling extra cautious. When in doubt, always err on the side of "less likely to become a human resistor."
Now, grip the old bulb firmly but not with the crushing force of a supernova. Again, "lefty loosey." It might be a bit stuck, especially if it's been there since the Mesozoic era. Give it a gentle twist. If it’s really stubborn, you can try wrapping your hand in the cloth you brought – it gives you a better grip and protects you from any lingering heat or dust. Astonishingly, some bulbs are designed to be screwed in. Who knew? As the bulb comes free, admire your handiwork. You’ve conquered the first half of the battle!
Here’s a fun fact for you: the average lifespan of an incandescent light bulb is about 1,000 hours. LEDs, on the other hand, can last up to 25,000 hours! So, if you’re using LEDs, you might be able to pass this knowledge down to your grandchildren. Imagine: "Yes, children, in my day, we had to change bulbs… it was a whole thing."
Step 4: The New Arrival (aka, "Illumination Station")
Take your shiny new bulb and prepare for the reverse operation. Line it up with the socket. Remember: "righty tighty." Gently screw it in. Don’t overtighten it! You don’t want to crack the glass or strip the threads. Just snug is perfect. If it feels like you’re forcing it, stop. Something is probably misaligned.
Once the new bulb is securely in place, it’s time to reattach any shades or covers you removed. Again, be gentle. Work in reverse order of disassembly. If you had to twist off a shade, twist it back on. If you dealt with clips, re-clip them. You are a professional now. A certified ceiling fan illuminator.
Step 5: The Grand Finale (aka, "The Switch")
This is it. The moment of truth. Carefully descend the ladder. Make sure you don’t leave any tools precariously balanced. Now, with bated breath, approach the wall switch. Flip it. And behold! If all has gone according to plan, a glorious cascade of light will flood your room, banishing the shadows and making your previously dimly lit existence seem like a distant, hazy memory.
If it doesn't work? Don't panic. Well, panic a little. Then, retrace your steps. Is the bulb screwed in properly? Did you actually turn the power back on at the breaker? Did a rogue squirrel chew through the wiring while you were up on the ladder? (Okay, probably not the squirrel thing, but you never know). Sometimes, the new bulb is faulty. It happens. It’s the universe’s way of testing your resolve. Just sigh, grab the old bulb (or the new faulty one), and head back to the store. You’ve got this.
And there you have it, folks! You’ve successfully navigated the treacherous, dusty, and potentially gravity-challenged world of changing a light bulb in a ceiling fan. You are now a legend in your own home. Go forth and bask in the glorious glow. You’ve earned it!