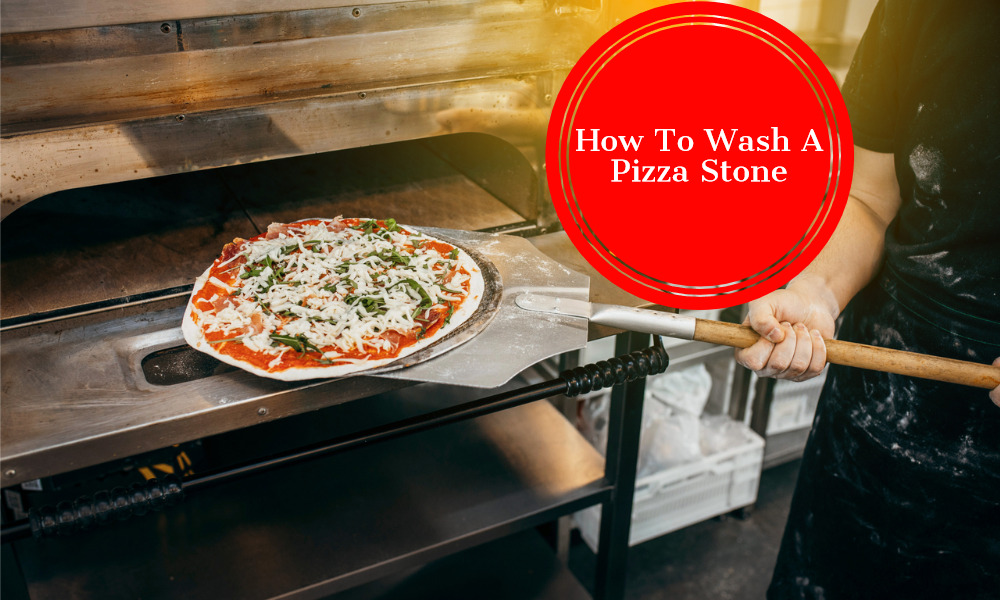
How Do You Wash A Pizza Stone

Okay, confession time. My first pizza stone… well, let's just say it saw more action as a very expensive, very porous frisbee than a culinary tool. I mean, who knew you couldn't just scrub it like a regular pan? Spoiler alert: you absolutely cannot. It was a glorious, charred, cheese-crusted mess, and honestly, I think I traumatized it. That stone spent its short, sad life in the back of the cupboard, gathering dust and judging me silently. But then, a pizza revelation happened, and I decided to give these magnificent ceramic circles another chance. And this time, I was determined to not ruin it. So, how do you wash a pizza stone, you ask? Grab a metaphorical apron, because we're diving in!
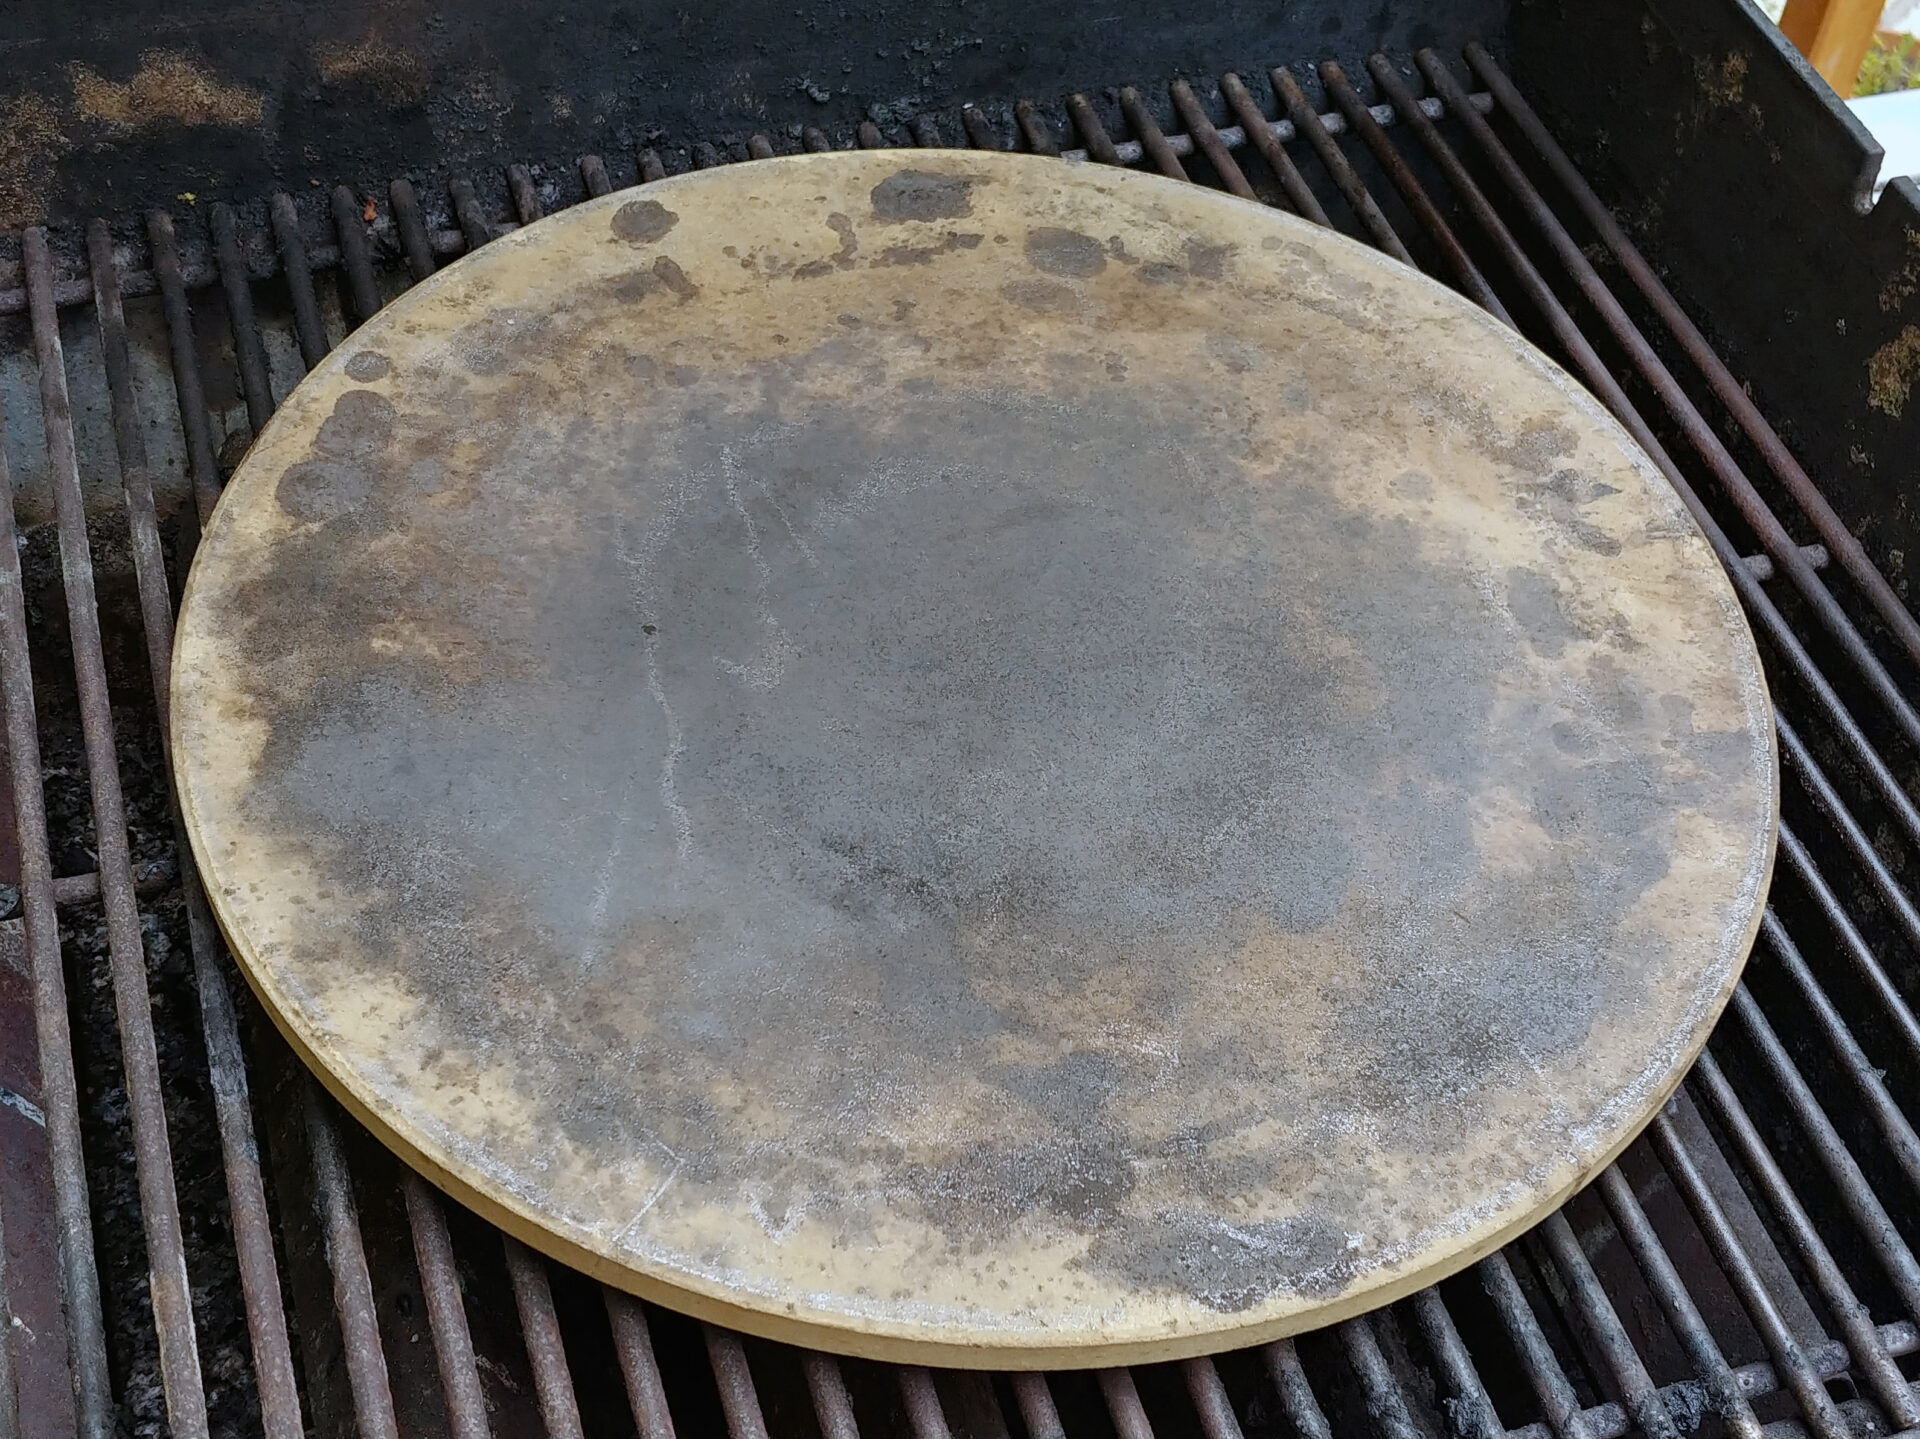
The thing is, pizza stones are a bit like… delicate snowflakes. Or maybe really, really stubborn barnacles. They have this incredible ability to absorb heat, which is why your homemade pizza gets that perfect, crispy crust. But that porous nature? It’s also their Achilles' heel when it comes to cleaning. Think of it like a sponge, but for all the greasy, cheesy, saucy bits that inevitably escape. And just like you wouldn't throw a sponge in the dishwasher (unless you really want to see what happens), you definitely shouldn’t treat your pizza stone the same way.
So, let’s get down to brass tacks, or rather, to slightly damp cloths. The golden rule, the absolute, non-negotiable, etched-in-stone (pun intended!) rule of pizza stone care is: NO SOAP. EVER.
Must Read
I know, I know. It feels wrong. Like not washing your hands after touching something questionable. Your brain screams, "But it's dirty! It needs soap!" But trust me on this. Pizza stones are designed to be seasoned, much like a cast-iron skillet. They develop a non-stick surface over time through repeated use and a little bit of grease. Soap, my friends, strips away that precious seasoning. It can also be absorbed by the stone, leaving behind a soapy residue that will then, inevitably, transfer to your next pizza. And nobody wants a dish soap-flavored Margherita, right? Shudder.
So, what's the alternative? It's actually surprisingly simple, though it might require a little more patience than your average dishwashing session. The primary method for cleaning a pizza stone involves a good old-fashioned scrape and a gentle wipe-down. For most minor messes, this is all you'll need. Think of it as a gentle spa treatment for your stone, rather than a full-on industrial scrub-down.
The Gentle Scrape: Your First Line of Defense
After your pizza has been triumphantly removed from the stone (preferably onto a cooling rack, not directly onto the counter where it will get cold and sad!), let the stone cool down considerably. It doesn’t have to be completely cold, but you don’t want to be wrestling with a scorching hot ceramic. Once it’s cool enough to handle (or at least touch without immediate incineration), it’s time for the scrape.
For most stuck-on bits, a stiff nylon brush or a plastic dough scraper is your best friend. Imagine you’re gently coaxing a shy cat out from under the sofa. You don't want to yank or pull too hard. Just a firm, steady pressure to dislodge any rogue bits of cheese or crust.
I find that angling the scraper slightly and working in a circular motion often helps. It’s like you’re giving the stone a little back rub. And honestly, sometimes I even talk to my stone. "Come on now, you magnificent disc of deliciousness, let go of that burnt bit of pepperoni. You can do it!" Yes, I’m that person. Don't judge. We'll get to that later.
For those really stubborn, baked-on bits that refuse to budge with the scraper, you might need to try a little something more. This is where a metal spatula can be used, but with extreme caution. Think of it as a last resort, like bringing in the heavy artillery. You want to use the flat side of the spatula, not the edge, and apply very gentle pressure. The goal is to lift the burnt bits, not to dig into the stone itself. If you hear a grinding noise, you’re probably going too hard. Ease up, cowboy!
Some people swear by scraping when the stone is still slightly warm, just after taking the pizza off. The idea is that the heat makes the debris a bit more pliable. This can work, but you have to be incredibly careful not to burn yourself. Personally, I prefer to let it cool a bit to avoid any unexpected trips to the emergency room, but if you’re nimble and cautious, give it a try and see what works best for you. Just remember, safety first. Always.
The Watery Embrace: When Scraping Isn't Enough
So, you’ve scraped, you’ve coaxed, you’ve possibly even muttered sweet nothings to your pizza stone, and there are still a few lingering bits of culinary evidence. What now? It’s time for a light rinse. And by light, I mean light.
Run your stone under lukewarm water. Not hot, not cold, just… lukewarm. Think of it as a gentle shower. You’re not trying to give it a full-on bath. As the water runs over the stone, use your nylon brush or scraper again to help dislodge any remaining particles. The water acts as a lubricant, making it easier for the debris to lift away.
Crucially, do NOT soak your pizza stone. Seriously. Don't leave it sitting in the sink full of water. This is a one-way ticket to disaster. Remember that porous nature we talked about? If you soak it, it will absorb water like a sponge. And then, when you put that waterlogged stone in a hot oven, the trapped moisture will turn to steam, potentially causing the stone to crack or even explode. Nobody wants a pizza-sized shrapnel incident in their kitchen. Just say no to soaking.

After you’ve given it a quick rinse and a gentle scrub, it’s time for the most important step of this watery phase: thorough drying.
Drying is NOT Optional, My Friends
This is where many a pizza stone has met its untimely demise. You've cleaned it, you're feeling smug, and you just toss it back in the cupboard. Big mistake. Huge.
Your pizza stone needs to be completely, utterly, 100% dry before you even think about putting it away. And I mean bone dry.
The best way to achieve this is to place the cleaned stone back in a low oven. Think around 200-250°F (90-120°C). Leave it in there for at least an hour, or even longer, depending on how damp it got. You're essentially baking the moisture out of it.
I like to leave mine in for a couple of hours just to be absolutely sure. It's like a little sauna for your stone. You can even leave the oven door slightly ajar to help speed up the process, but be mindful of your energy consumption, and of course, anything else you might be cooking in the oven.
Once you’re confident it’s dry, take it out and let it cool completely. Then, and only then, can you store it.
If you’re really pressed for time and the stone isn’t that wet, a good old-fashioned towel dry can work for the surface. But again, the oven method is the most foolproof way to ensure there's no residual moisture hiding in those tiny pores.
Dealing with the Unmentionables: Stains and Smells
Let's be honest, pizza stones are not going to stay pristine white forever. They’re going to get stained. They’re going to get splotchy. They might even get a little… aromatic. And that’s okay! It’s a sign of a well-loved, well-used pizza stone.
For general discoloration and those light, oily spots, the scraping and light rinsing method is usually sufficient over time. With each use, the stone continues to season, and the stains become less noticeable. Embrace the patina! It’s like a battle scar, a badge of honor for all the delicious pizzas you’ve created.
What about those particularly tough, burnt-on cheese welds that refuse to yield? For these, you can try a little trick: baking soda. Make a paste of baking soda and water and apply it to the stubborn spot. Let it sit for a while (maybe 30 minutes to an hour), then gently scrape it off. Baking soda is a mild abrasive and can help lift some of those really tough residues. Just remember to rinse thoroughly afterwards and, you guessed guessed it, dry it completely in the oven.
What if your stone starts to smell a little… funky? Usually, this means something has gotten into the pores. Again, the key is to avoid soap. If a strong smell persists, you can try the baking soda paste method, but focus on gently scrubbing the affected areas. Sometimes, a good long session in a hot oven (turned off, of course, to cool down) can also help dissipate lingering odors. Think of it as airing it out. If the smell is really bad and you suspect it’s from something that's deeply embedded, and nothing else works, some people have been known to very carefully use a small amount of vinegar with water for a quick scrub, followed by extremely thorough rinsing and drying. But this is a high-risk, low-reward strategy, so proceed with extreme caution and only as a last resort.

The Occasional "Deep Clean" (with caveats)
Now, for the controversial stuff. Can you ever truly deep clean a pizza stone? The answer is a resounding… it depends. As we’ve established, soap is a big no-no. But what about those times when you’ve had a culinary catastrophe of epic proportions? A whole pizza slid onto the floor? A cheese explosion that coated every inch of the oven?
If your stone is truly, deeply, irrevocably covered in something that the scraping and rinsing methods just won't tackle, you might consider a very mild, diluted scour. Some people have had success using a little bit of a very mild dish soap (think a single drop in a sink full of water) for a very quick scrub, followed by immediate, extensive rinsing and an extended drying period in the oven. The key here is speed and dilution. You want to minimize contact with the soap and ensure every trace is gone.
However, I will reiterate: this is a last resort and carries significant risk. You are essentially overwriting the seasoning of your stone. If you do this, you’ll likely need to re-season your stone before its next use. This involves rubbing it with a thin layer of oil (like vegetable or canola oil) and baking it at a high temperature for an extended period. It's a bit of a process, and honestly, most of the time, the simpler methods are more than sufficient.
Personally, I try to avoid this at all costs. I’d rather live with a few stains than risk damaging my stone or ending up with cheesy soap flavor. My philosophy is: if it’s not causing actual harm, let it be. A well-used pizza stone should look like it’s been well-used.
Preventative Maintenance: The Best Defense
The best way to avoid a major cleaning crisis is to prevent it in the first place. Here are a few tips to keep your pizza stone in tip-top shape:
- Always preheat properly: A fully preheated stone helps prevent dough from sticking.
- Use parchment paper or cornmeal/flour: This acts as a barrier between your dough and the stone, making for easier transfer and less sticking. If you use parchment, make sure it's oven-safe!
- Don’t overload your pizza: Too many toppings can lead to a soggy, messy pizza that’s harder to handle and clean.
- Use a pizza peel: A good pizza peel makes transferring your pizza to and from the oven a breeze, minimizing spills.
- Clean spills immediately (if possible): If a small bit of cheese drips, and it’s safe to do so, try to scrape it off while it’s still a little warm.
So, there you have it. Washing a pizza stone isn't rocket science, but it does require a little understanding and a lot of respect for its unique nature. No soap, gentle scraping, a light rinse if necessary, and always, always, always dry it thoroughly. Embrace the imperfections, savor the crispy crusts, and remember, that slightly stained, well-seasoned stone is a testament to all the delicious pizzas you've shared. Now go forth and bake! And try not to give your stone a complex.