How Do You Use A Weed Grinder
Alright, so let's talk about something that's probably a little more commonplace than you might think, even if the specifics are a bit… hush-hush for some folks. We're diving headfirst into the wonderful world of the weed grinder. Now, before you start picturing some mad scientist contraption, think of it more like your kitchen blender, but for a very specific, very chill kind of herb.
Seriously, if you've ever tried to break down your stash with your bare hands, or, heaven forbid, scissors, you know the struggle is real. It's like trying to knit a sweater with mittens on – frustrating, messy, and you end up with a lumpy, uneven disaster. That’s where our trusty little grinder comes in, like the unsung hero of your smoking sessions, ready to bring order to the herbaceous chaos.
The Humble Beginnings: Why Grind at All?
Think about it. When you're baking, you don't just throw a whole loaf of bread into the oven, right? You slice it. You prepare it. The same principle applies here, just with a slightly different outcome. Grinding your weed isn't just about making it look pretty (though it does that too). It's about maximizing surface area. More surface area means a more even burn, which translates to a smoother, more efficient experience. No more big, chunky bits that refuse to catch, leaving you frustrated and inhaling nothing but hot air. It’s the difference between a gentle breeze and a mini-tornado of smoke.
Must Read
Imagine trying to toast a whole bagel. You’d get a burnt outside and a cold, doughy middle. That’s what happens with un-ground weed. You're essentially setting yourself up for disappointment. A grinder is like the magic wand that ensures every bit of your precious herb gets its moment in the sun – or rather, its moment in the flame. It’s about respect for the plant, and respect for your own enjoyment, really.
Anatomy of a Grinder: It's Not Rocket Science (Thank Goodness)
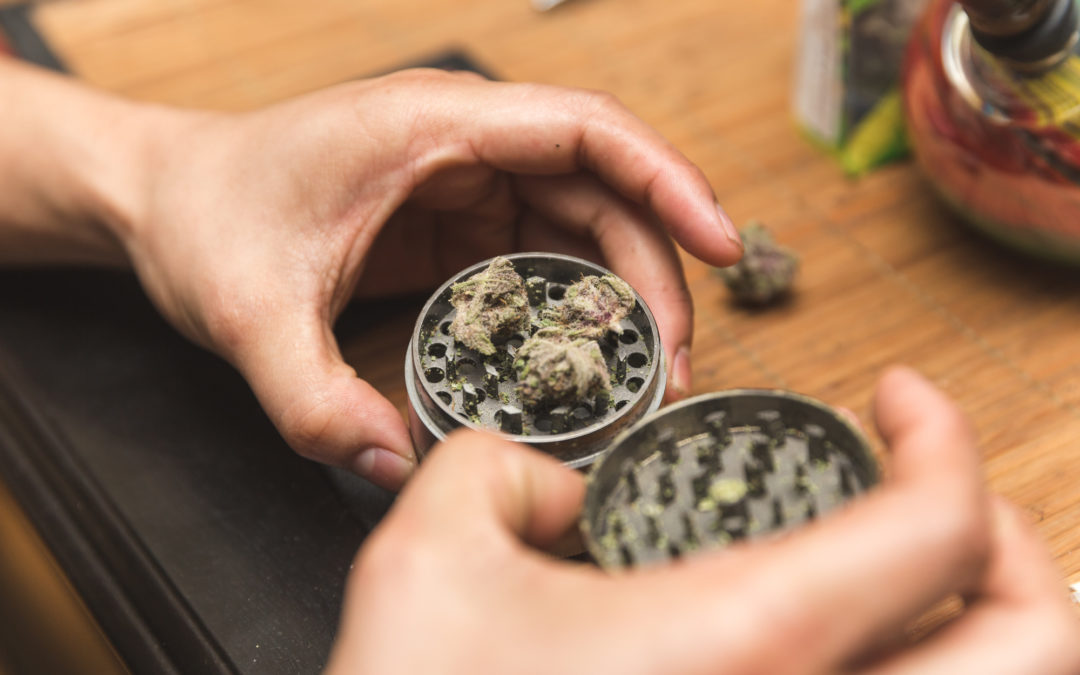
So, what is this magical device? Most commonly, you'll find yourself with a two-piece or a three-piece grinder. Think of them as the minimalist cousins of the more complex models.
A two-piece grinder is your absolute beginner's model. It's basically two halves, usually round, with little pointy bits, or "teeth," that interlock when you twist them. You put your weed in one half, put the other half on top, and twist away. Voilà! You've got ground weed. Simple as that. It’s like the automatic transmission of grinders – no fuss, no muss.
Then you have the three-piece grinder. This one’s a little more sophisticated, adding an extra layer of… well, separation. You've got your top half with the teeth, your middle section that catches the ground weed, and a bottom section. The genius here is that the ground herb falls through a screen, separating it from any larger, un-ground bits. It’s like having a little quality control inspector in your grinder. Some might even have a fourth piece – a kief catcher! We’ll get to that delightful bonus later.

The teeth themselves can come in various shapes and sizes. You've got the classic diamond-cut teeth, which are super sharp and effective at shredding. Then there are the pyramid-shaped teeth, which are also great for breaking things down. Some might have more rounded teeth, which can be a bit gentler, especially if you're working with something a little more delicate. It’s all about finding the texture you prefer, like choosing between smooth or chunky peanut butter – a deeply personal, yet important, decision.
The Twisting Tango: How to Actually Use It
Okay, so you've got your grinder. You've got your herb. Now what? It’s honestly as straightforward as it sounds, but there are a few little tricks that can make the process even smoother.
Step 1: The Prep Work (It's Minimal, Promise!)
First things first, make sure your herb is dry enough. If it's too moist, it's going to clump up and make your grinder work overtime, like trying to push a soggy sponge through a sieve. Think of it like trying to chop wet parsley – it just smears. A good cure on your herb is key for a good grind.
Gently break up any really huge buds with your fingers. You don't need to go crazy here, just get them to a manageable size so they fit comfortably in your grinder's chamber. You're not performing surgery, you're just doing a little pre-grind massage.
Step 2: Loading the Chamber of Dreams
Open up your grinder. If it's a two-piece, one half is usually slightly deeper. If it's a three-piece, you'll see the chamber where the ground stuff will eventually land. Place your prepared herb into the top chamber, the one with the teeth. Don't overstuff it. Imagine you're packing a tiny suitcase for a weekend trip – you want enough, but not so much that it’s bursting at the seams. Overpacking leads to uneven grinding and potential jamming, which is about as fun as a root canal.

You want enough space for the herb to tumble and get properly shredded by the teeth. If you cram too much in, it’s like trying to get everyone into a tiny elevator – it’s not going to end well for anyone.
Step 3: The Grinding Ballet
Now, the fun part. Put the top half of your grinder back on. Hold the two halves firmly, one in each hand. And then, with a gentle but consistent pressure, start twisting. Imagine you're opening a stubborn jar of pickles – you need a good grip and a steady rotation.
Don't go Hulk-smash mode. A smooth, circular motion is your best friend. Twist one way for a few rotations, then maybe switch directions for a bit. You’re looking for that satisfying feeling of resistance giving way. Listen for the sound. You’ll hear the gentle tearing and breaking of the herb. It’s like a tiny, satisfying ASMR session, but with weed.
Keep going until you feel the resistance lessen significantly. This usually means most of the herb has passed through the teeth and into the lower chamber. You don’t want to grind it into dust unless that’s specifically what you’re going for, which is usually not the case for a standard grind. You're aiming for a fluffy, consistent texture, like coarse sand or finely chopped parsley. Think fluffy clouds, not concrete dust.
Step 4: The Reveal – Unveiling Your Masterpiece
Once you feel like you've achieved the perfect grind, unscrew the top half. Take a peek! You should see beautifully ground herb sitting in the lower chamber. If you see any larger chunks that missed the memo, you can put the top back on and give it a few more twists. It's all about achieving that uniform consistency.
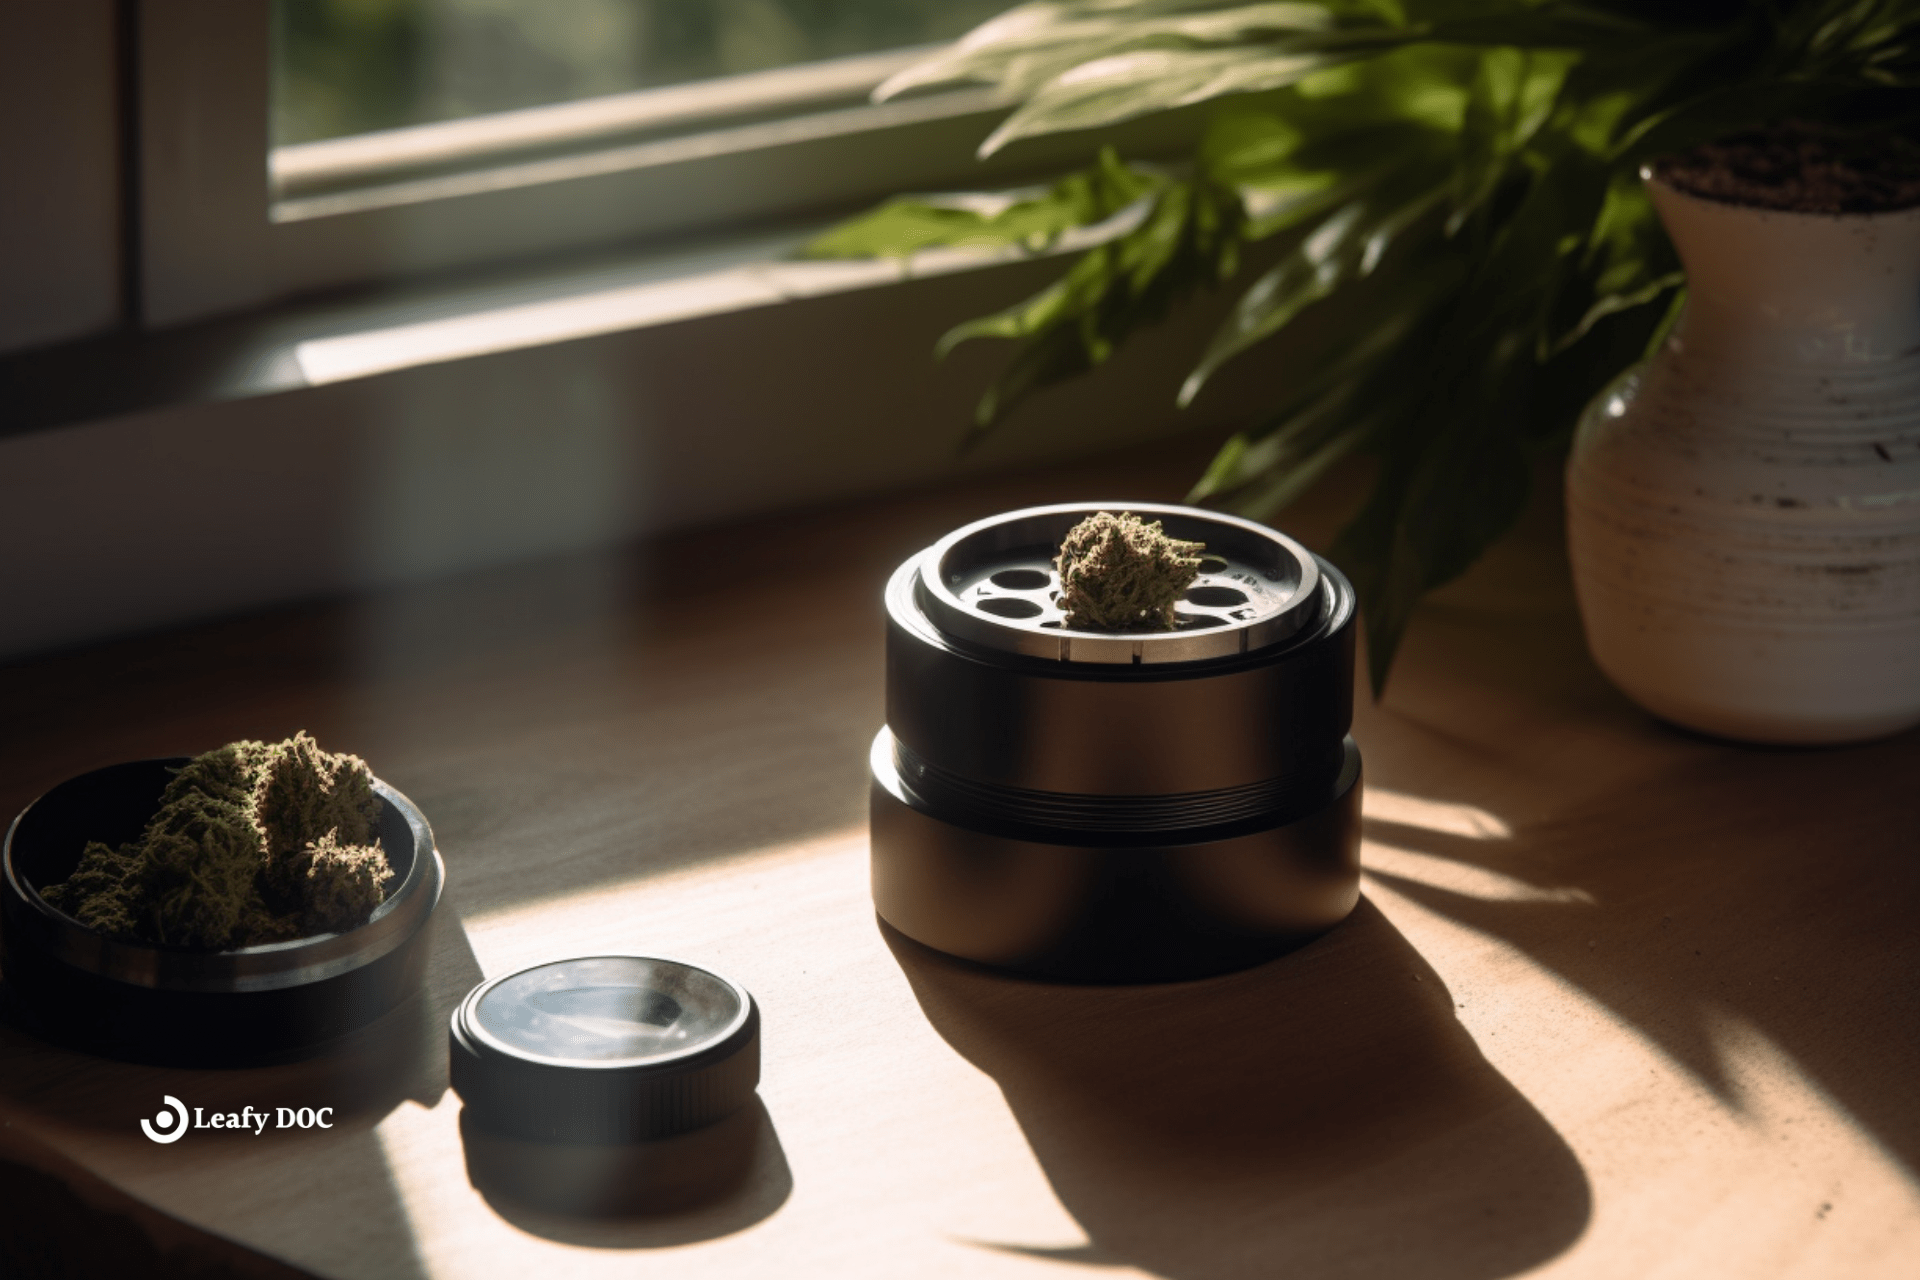
If you have a three-piece grinder, you'll likely see the ground herb sitting on top of a screen. Gently scrape or tap this out into your waiting bowl, joint, or vaporizer. It’s like getting your perfectly portioned serving of ice cream. Beautiful, fluffy, and ready to go.
The Kief Catcher: The Cherry on Top (or rather, the Frosting on the Weed)
For those lucky enough to have a four-piece grinder, you've got an extra special treat: the kief catcher. This is usually the very bottom chamber of your grinder, separated by an even finer mesh screen. As you grind your herb, tiny, potent crystals called trichomes – also known as kief or pollen – will fall through the screen and collect in this bottom chamber.
Think of kief as the concentrated essence of your weed. It's like the super-concentrated flavoring in an ice cream compared to just the plain milk. Over time, this little chamber can fill up with a powdery, golden dust. When you've got a decent amount, you can scrape it out. This stuff is potent, so a little goes a long way. You can sprinkle it on top of your bowl for an extra kick, or even use it to press your own hash. It’s like finding a forgotten twenty-dollar bill in your old jeans – a delightful surprise!
Grinder Care: Keeping Your Tool Sharp and Clean
Now, like any good tool, your grinder needs a little love to keep performing at its best. Over time, sticky resin can build up on the teeth and screens, making it harder to grind and potentially affecting the taste.
The easiest way to clean is with a small brush – an old toothbrush works wonders. You can also use a cotton swab dipped in isopropyl alcohol to get into those nooks and crannies. For a deeper clean, you can soak the grinder in isopropyl alcohol for a few hours (make sure to rinse it thoroughly afterwards and let it dry completely before use). Some metal grinders are even dishwasher safe, but always check the manufacturer's instructions.
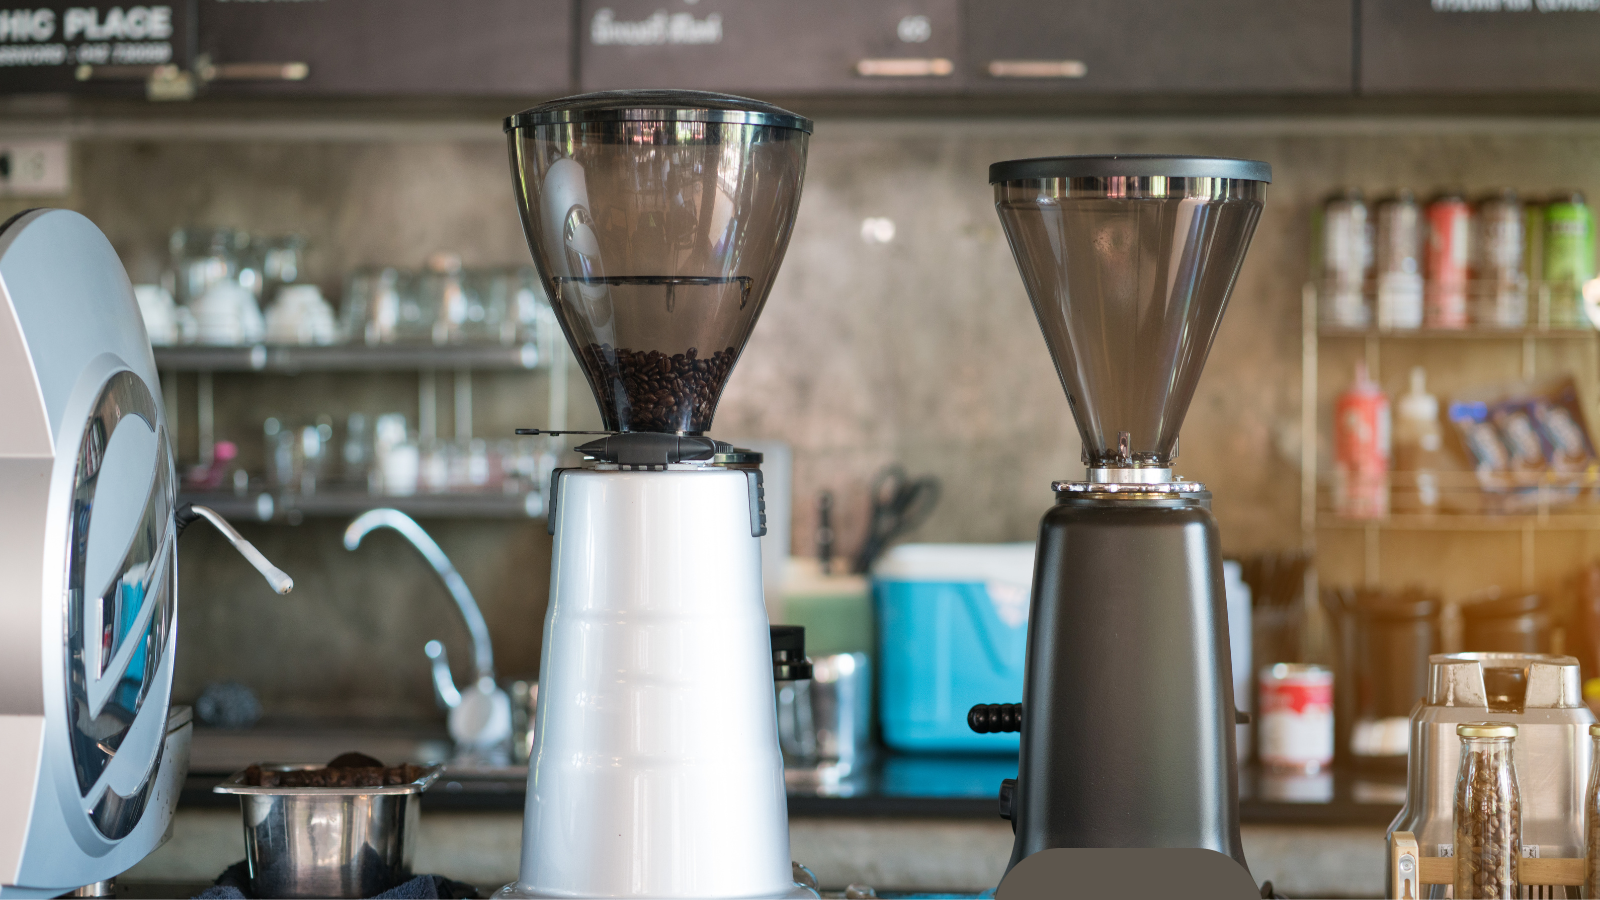
Think of it like cleaning your coffee grinder. If you don't clean it, your coffee starts tasting a little… stale. The same goes for your weed grinder. A clean grinder means a cleaner taste and a more enjoyable experience. It's a small effort for a big reward.
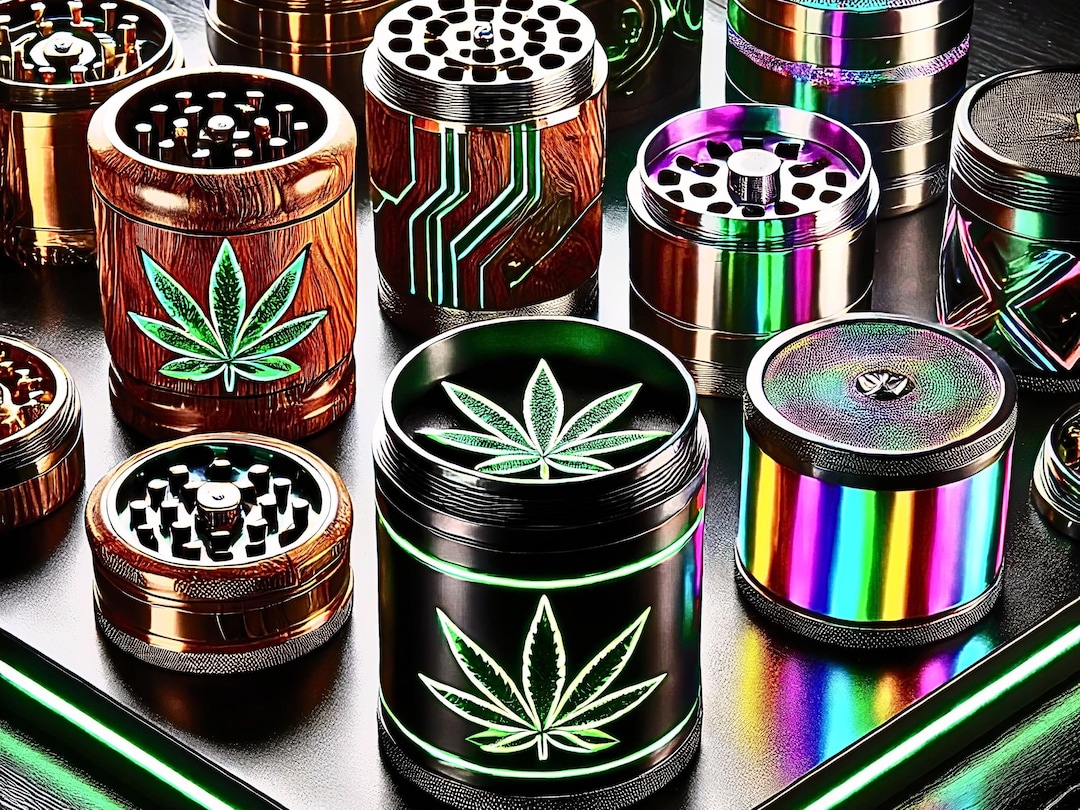
Beyond the Basics: Different Grinder Materials and Styles
While plastic grinders are often the most affordable and lightest option, they can wear down over time and aren't always the most effective. Metal grinders, usually made from aluminum or stainless steel, are more durable, efficient, and generally preferred by most users. They're built to last and provide a consistently sharp grind.
You can also find grinders made from wood, ceramic, or even stone, each with their own unique aesthetic and feel. Electric grinders exist too, for those who want to automate the process, but for most people, the manual twist is part of the ritual. It's like the satisfaction of hand-washing your favorite mug – a little more effort, but it feels right.
Consider the number of teeth. More teeth generally mean a finer grind. If you prefer a coarser grind for rolling, you might opt for a grinder with fewer, larger teeth. It's all about personal preference and finding what works best for your preferred method of consumption. Some people even have multiple grinders for different needs – a fine-grind one for vaporizers and a coarser one for joints. It's like having different knives in your kitchen – a chef's knife for chopping and a paring knife for detailed work.
Ultimately, using a weed grinder is a simple, yet essential, step in preparing your herb for enjoyment. It’s about efficiency, consistency, and getting the most out of your experience. So, next time you reach for your stash, remember this little guide, give your grinder a spin, and enjoy the smooth, even burn that a good grind provides. It’s the little things, you know? And a well-ground bowl is definitely one of those little things that makes a big difference.