How Do You Use A Caulking Gun

Ever looked at a project around your house and thought, "This needs a little something extra"? Maybe a bathtub that's seen better days, or a window frame with a sneaky draft? Well, get ready for a little bit of DIY magic, because we're diving into the wonderfully satisfying world of the caulking gun!
Think of it as your trusty sidekick for sealing up those gaps and cracks. It's not just a tool; it's a ticket to a smoother, tidier, and more professional-looking finish on all sorts of jobs. And the best part? It's surprisingly fun to use!
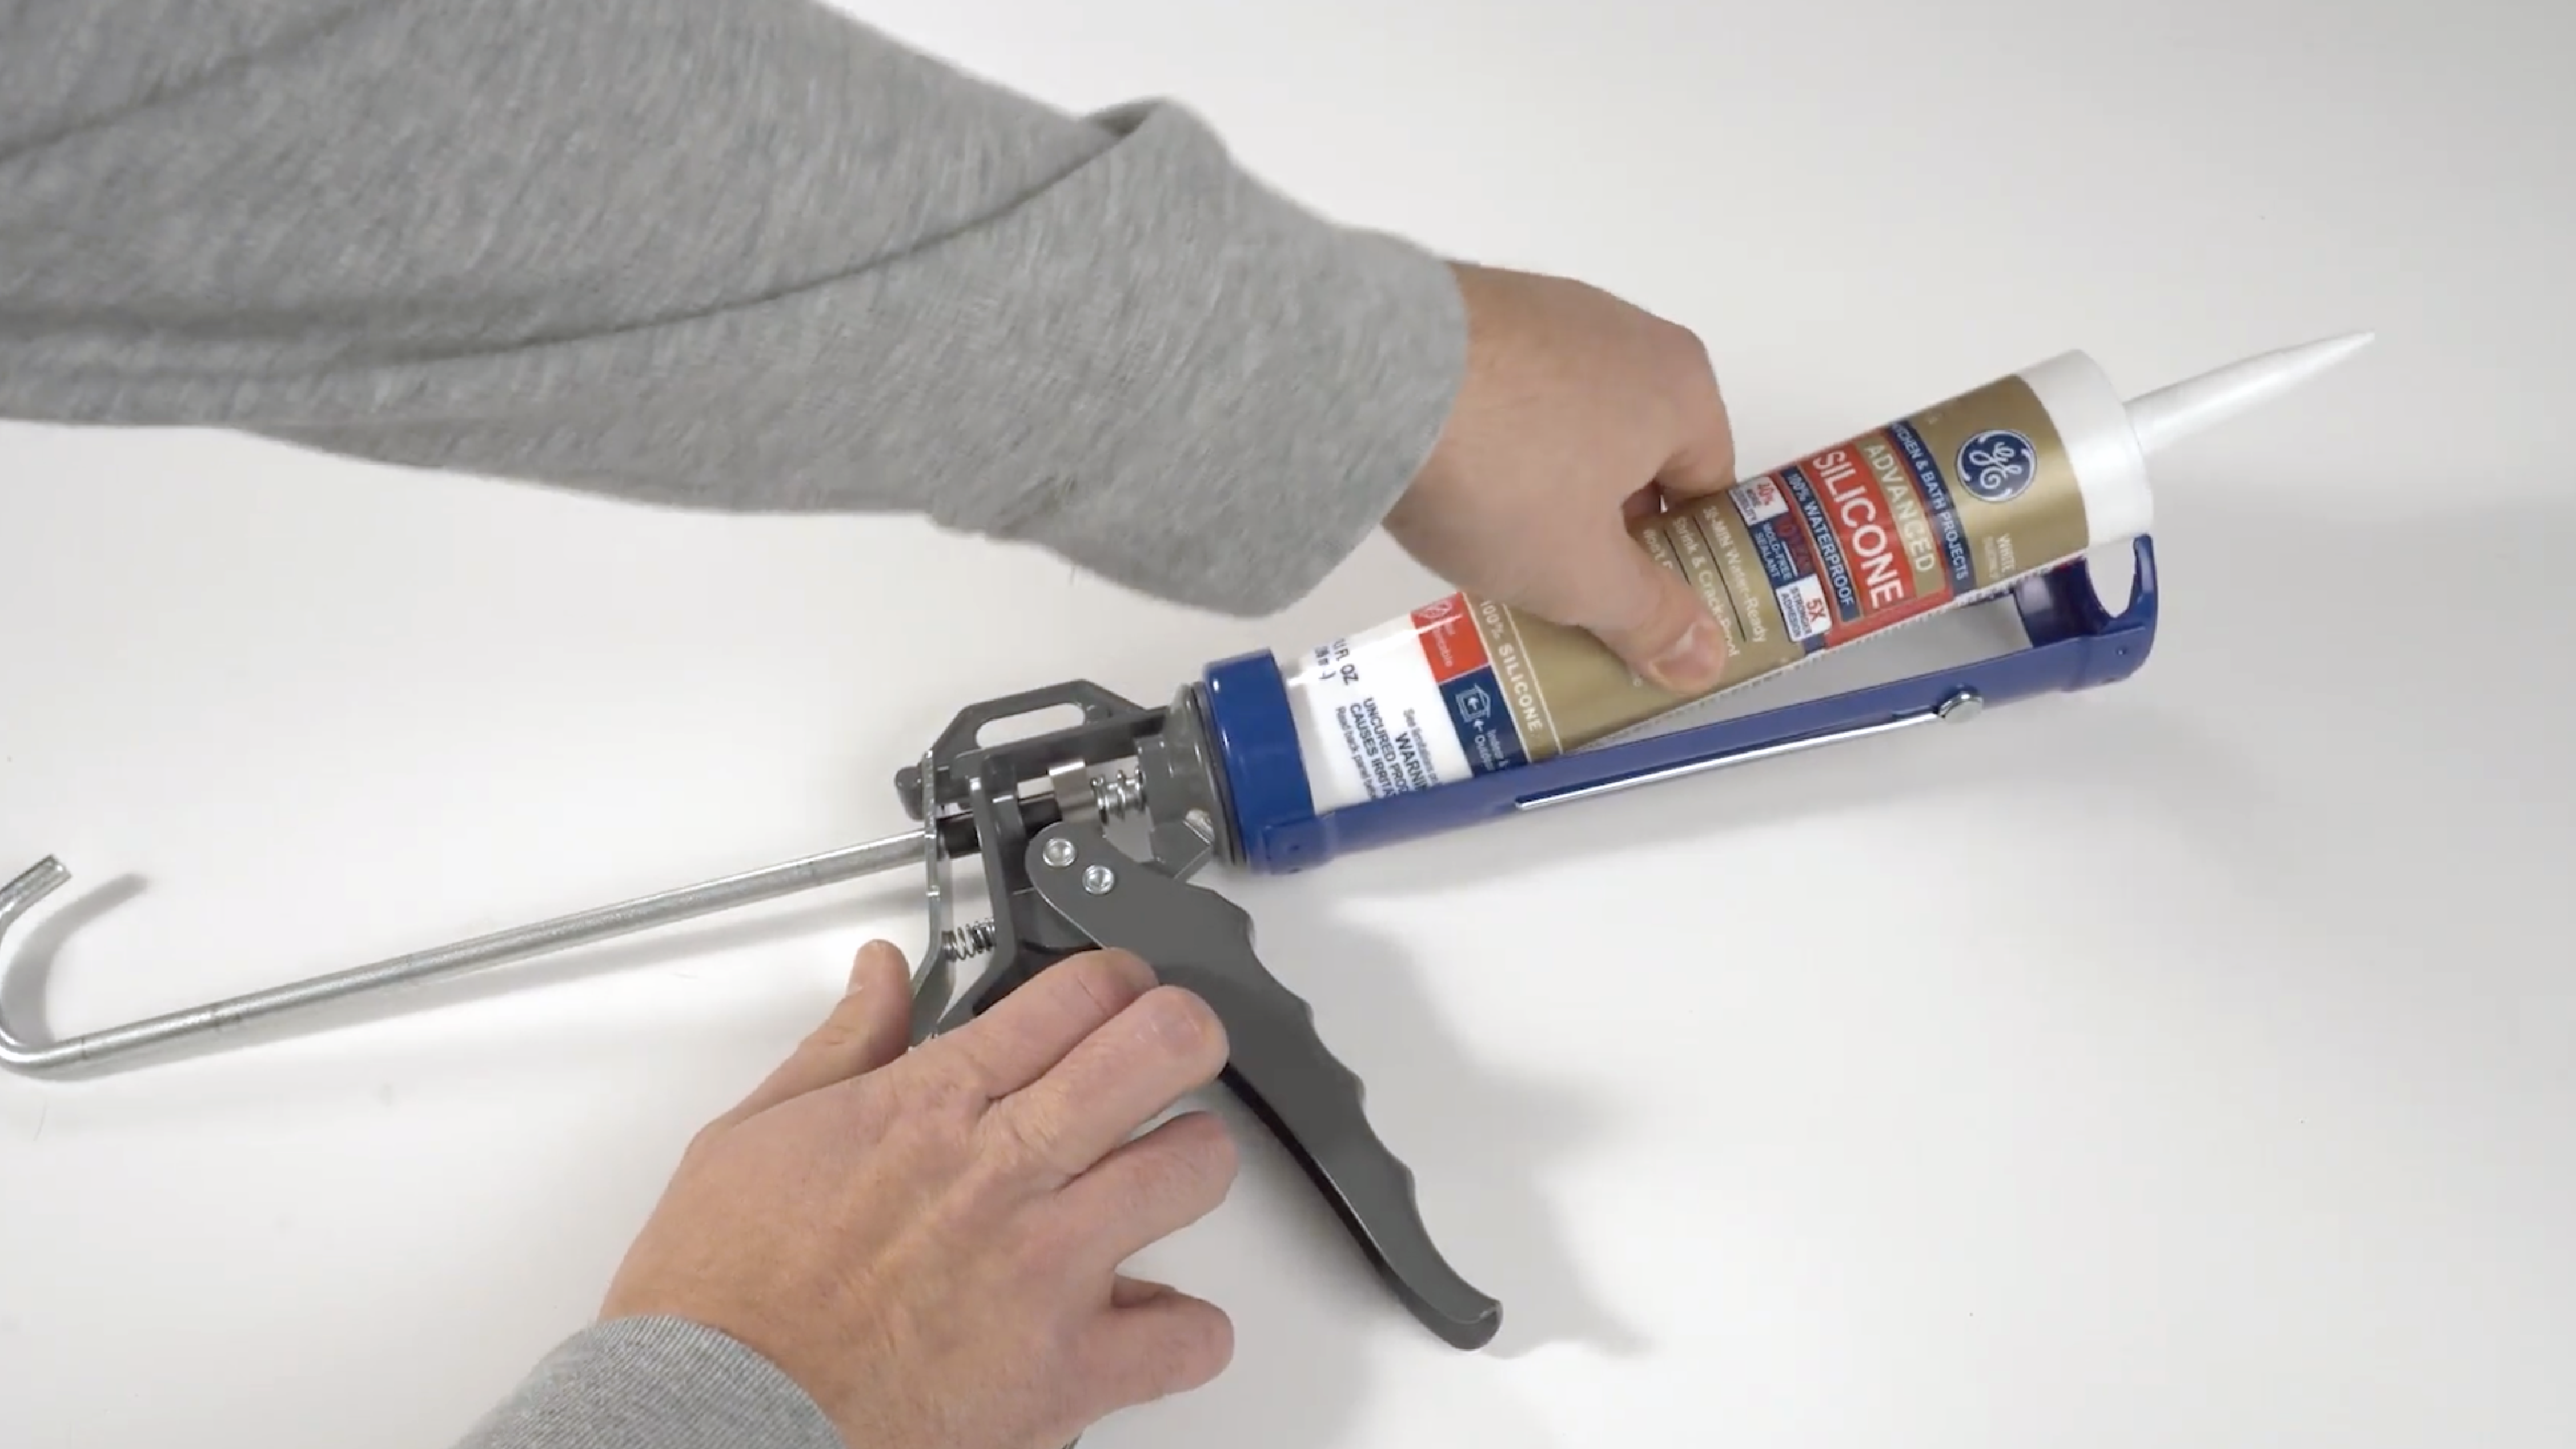
So, what exactly is this magical device? At its heart, a caulking gun is a frame with a trigger. You load a tube of caulk into it, and when you squeeze the trigger, it pushes the caulk out in a neat, controlled bead. Easy peasy!
Must Read
The Thrill of the Squeeze
There's something so incredibly satisfying about that first squeeze. It’s like a little burst of creation. You press down, and whoosh, out comes this perfect ribbon of sealing goodness. It feels… powerful, yet precise.
It’s not just about getting the job done; it's about the experience. The gentle resistance of the trigger, the smooth flow of the caulk, and the immediate visual transformation. It’s like an instant gratification station for your home.
You can go from a messy, gaping hole to a sleek, sealed line in seconds. It’s almost meditative, in a way. Just you, the gun, and the mission to create a perfect seal.
Making it Your Own
And the best part? You get to be the artist! You control the pressure, the speed, and the direction. This means you can create lines that are thick and bold, or thin and delicate. It’s all about your personal touch.
Imagine transforming a drab, unfinished edge into a clean, crisp line. It’s like giving your home a little makeover with every pull of the trigger. You're not just filling a gap; you're adding a professional polish.

The variety of caulk colors also adds to the fun. While white is classic, you can also find shades of clear, beige, and even gray. This means you can match your caulk to your decor, making your work almost invisible or intentionally contrasting.
The Joy of a Perfect Bead
Let's talk about the perfect bead. It’s that smooth, unbroken line of caulk that looks like it was applied by a seasoned pro. When you achieve it, it’s a moment of pure triumph!
It takes a little practice, of course. Your first few beads might be a little wiggly, a little bumpy, or maybe a little too thick. But that’s part of the charm! It’s a learning curve, and each attempt gets you closer to that elusive perfection.
And when you finally nail it? Oh, the feeling is glorious. You look at that flawless line and think, "I did that!" It’s a small victory, but a deeply rewarding one. It's the kind of accomplishment that makes you proud of your space.
"It’s like drawing with a very useful, very sticky pencil. But instead of a picture, you’re making a barrier against drafts and leaks!"
The sound it makes, too, is distinctive. That gentle whirring as the plunger pushes the caulk forward is a sound that says "progress" and "improvement." It’s a soundtrack to home beautification.
Beyond the Basics: Advanced Techniques (Not Really!)
While the basic squeeze is fantastic, there are a few little tricks that can make your caulking adventures even more exciting. For instance, tilting the gun slightly can help you create different bead shapes. It’s like discovering secret levels in a game!

You can also use your finger, a damp cloth, or a special caulking tool to smooth the bead. This step is crucial for that truly professional, seamless look. It’s where you refine your masterpiece.
And don't be afraid to experiment! What happens if you pull the gun faster? What if you go slower? Each variation can lead to a slightly different outcome, keeping things interesting.
The Unexpected Perks
Using a caulking gun isn’t just about filling gaps. It’s about empowerment. You're taking control of your home’s comfort and appearance. No more waiting for someone else to fix that leaky sink or drafty window.
It’s also incredibly cost-effective. A tube of caulk and a gun are relatively inexpensive, especially when you consider the money you save on professional repairs. It’s a smart investment in your home and your DIY skills.
And think about the sense of accomplishment! Finishing a project, big or small, with your own two hands is incredibly satisfying. You can point to that perfectly sealed shower surround and say, "Yep, I did that!"
The "Before and After" Magic
The most visually rewarding part of using a caulking gun is the dramatic transformation. You see a messy, worn-out seam, and with a bit of effort and a steady hand, you replace it with a clean, crisp line. It's like a magic trick for your home!
:strip_icc()/BHG-how-to-use-a-caulk-gun-7091790-step-03-BG-32096-1-72693a884dce44fa8954dfda33eb99aa.jpg)
That instant visual improvement is incredibly motivating. It encourages you to tackle other small projects and see the potential for improvement everywhere. Suddenly, your home feels more like a canvas.
It’s the simple, tangible results that make it so enjoyable. You can literally see the difference you're making, and that's a powerful feeling.
"It's a simple tool, but the results are surprisingly impactful. It's like adding the finishing touches to a beautiful painting."
And don't forget the practical benefits! A good seal means less energy lost, which can save you money on heating and cooling bills. So, not only are you making your home look better, you're making it more efficient too.
When to Unleash Your Inner Caulk Artist
The opportunities are endless! Bathtubs and showers are prime real estate for caulk. Sealing around sinks and countertops also prevents water damage.
Windows and doors are another big one. A good bead of caulk can stop those annoying drafts and make your home feel cozier. Baseboards, trim, and even the exterior of your home can benefit from a little caulking love.
Think about any place where two surfaces meet and there's a potential for water, air, or pests to get in. That’s your cue to grab that caulking gun!
:max_bytes(150000):strip_icc()/BHG-how-to-use-a-caulk-gun-7091790-step-02-BG-32095-1-0809026d5ae242e48d1c14da1e81b5e2.jpg)
Even small cosmetic fixes, like covering up tiny nail holes in trim, can be handled with a touch of caulk and some careful smoothing. It’s a versatile tool for all sorts of home improvement dreams.
Tips for Maximum Caulking Fun
Make sure your surfaces are clean and dry before you start. This helps the caulk adhere properly and gives you a better finish. A little prep work goes a long way.
Cut the tip of the caulk tube at a slight angle. This helps you control the flow and create a nice, even bead. Experiment with different angle cuts to see what works best for you.
Go slowly and steadily. Rushing will likely lead to a messy bead. It’s better to take your time and get it right.
Don't be afraid to wipe away mistakes. A damp cloth or sponge can easily clean up excess caulk before it dries. You’ve got this!
So, if you're looking for a fun, satisfying, and surprisingly effective way to improve your home, give the caulking gun a try. You might just discover your new favorite DIY superpower!