How Do You Trim A Roller Blind

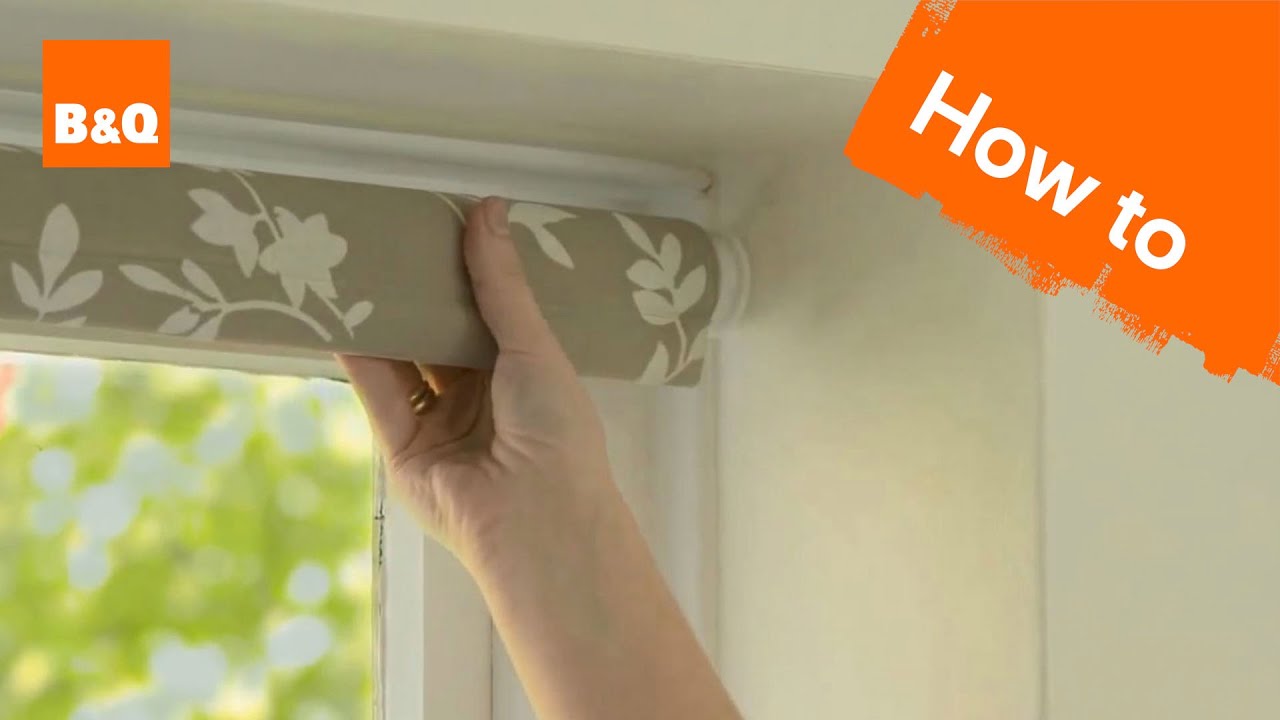
Ah, roller blinds! Those sleek, minimalist marvels that grace so many windows, offering a perfect blend of privacy and light control. There's a quiet satisfaction, a DIY triumph, in knowing you've not only chosen the perfect fabric and pattern but also expertly fitted them to your exact needs. And sometimes, those needs mean a little bit of… trimming.
Why on earth would you want to trim a roller blind, you ask? Well, it's all about achieving that perfect, seamless look. While many blinds come in standard sizes, your windows, bless their unique hearts, often don't conform. Maybe you have a particularly narrow window, a quirky bay window, or you simply want the blind to sit just so, hugging the frame without a millimeter to spare. Trimming your roller blind allows you to customize it to perfection, eliminating unsightly gaps and ensuring it functions flawlessly. Think of it as tailoring your window treatments for a bespoke fit!
The benefits are more than just aesthetic. A well-trimmed blind means better light blocking, crucial for those of us who cherish a dark bedroom for a good night's sleep or want to prevent glare on our screens during the day. It also means improved insulation. By fitting snugly, a trimmed blind can help keep drafts out in winter and heat out in summer, subtly contributing to your home's comfort and potentially even your energy bills.
Must Read
We see trimmed roller blinds everywhere, from the neatening up of kitchen windows that are a bit too wide for standard offerings, to the precise finishing touches in modern living rooms where clean lines are paramount. Home offices also benefit immensely, as the reduced light bleed can create a more focused working environment.

Now, for the fun part: how to make trimming your roller blind an enjoyable and successful endeavor! First and foremost, measure twice, cut once is your mantra. Grab a good quality measuring tape and be meticulous. Decide exactly how much you need to trim from each side – consistency is key for that professional finish.
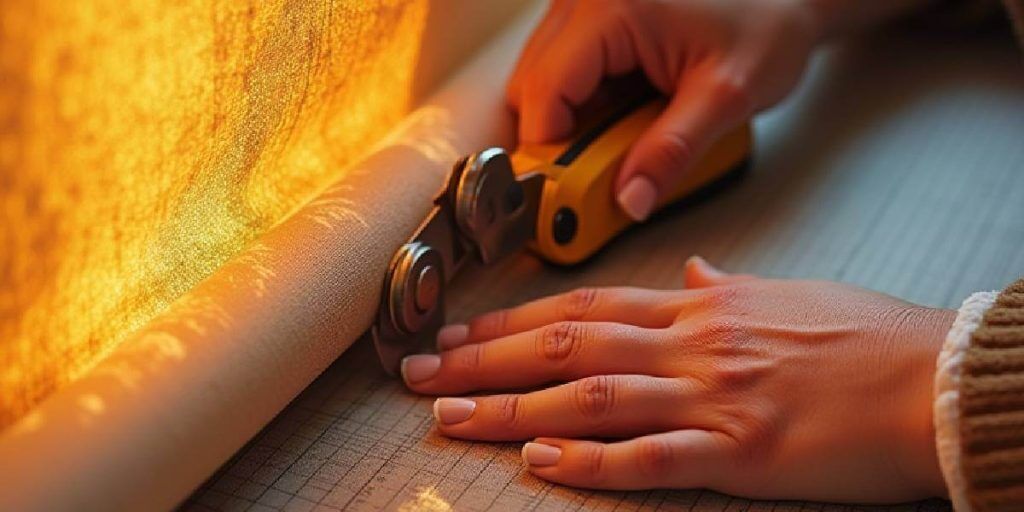
Next, choose the right tools. A sharp craft knife or a heavy-duty utility blade is your best friend here. Don't be tempted by scissors, as they can fray the edges and create an uneven cut. You'll also need a sturdy cutting mat or a piece of thick cardboard to protect your work surface. Unroll the blind onto a flat, clean surface. Carefully align your cutting line with a ruler or straight edge, and make your cuts in a single, confident stroke. Go slowly and steadily; there’s no need to rush.
For those who might be a little nervous, remember you can always trim a little, then a little more. It's easier to remove excess than to magically add it back! And if your blind has a decorative edge or a hem, pay close attention to how you're trimming to maintain the intended look.
Ultimately, trimming a roller blind is a straightforward process that delivers incredibly rewarding results. It's about taking control of your space, adding that personal touch, and enjoying the satisfaction of a job well done. So, embrace the craft knife, channel your inner perfectionist, and get ready to admire your beautifully tailored blinds!