How Do You Take A Stool Sample

So, you've been told you need to collect a stool sample. Ugh, right? It's not exactly the most glamorous task, is it? Let's be honest, nobody wakes up thinking, "Today's the day I get to play in the potty!" But hey, sometimes it's a necessary evil, and knowing how to do it right makes all the difference. Think of me as your friendly neighborhood poop-sampling guide. We're going to tackle this together, no judgment, just a little bit of practical advice and maybe a chuckle or two.
First things first, don't let it freak you out. It’s a perfectly normal bodily function, and frankly, the medical world needs to know what's going on in there. It’s like a little window into your digestive system, and that window can tell doctors a whole lot. Is it for a check-up? Are you feeling a bit off? Whatever the reason, let's get this done, and then you can get back to more exciting things, like, I don't know, watching paint dry? Okay, maybe not that exciting, but you get the idea.
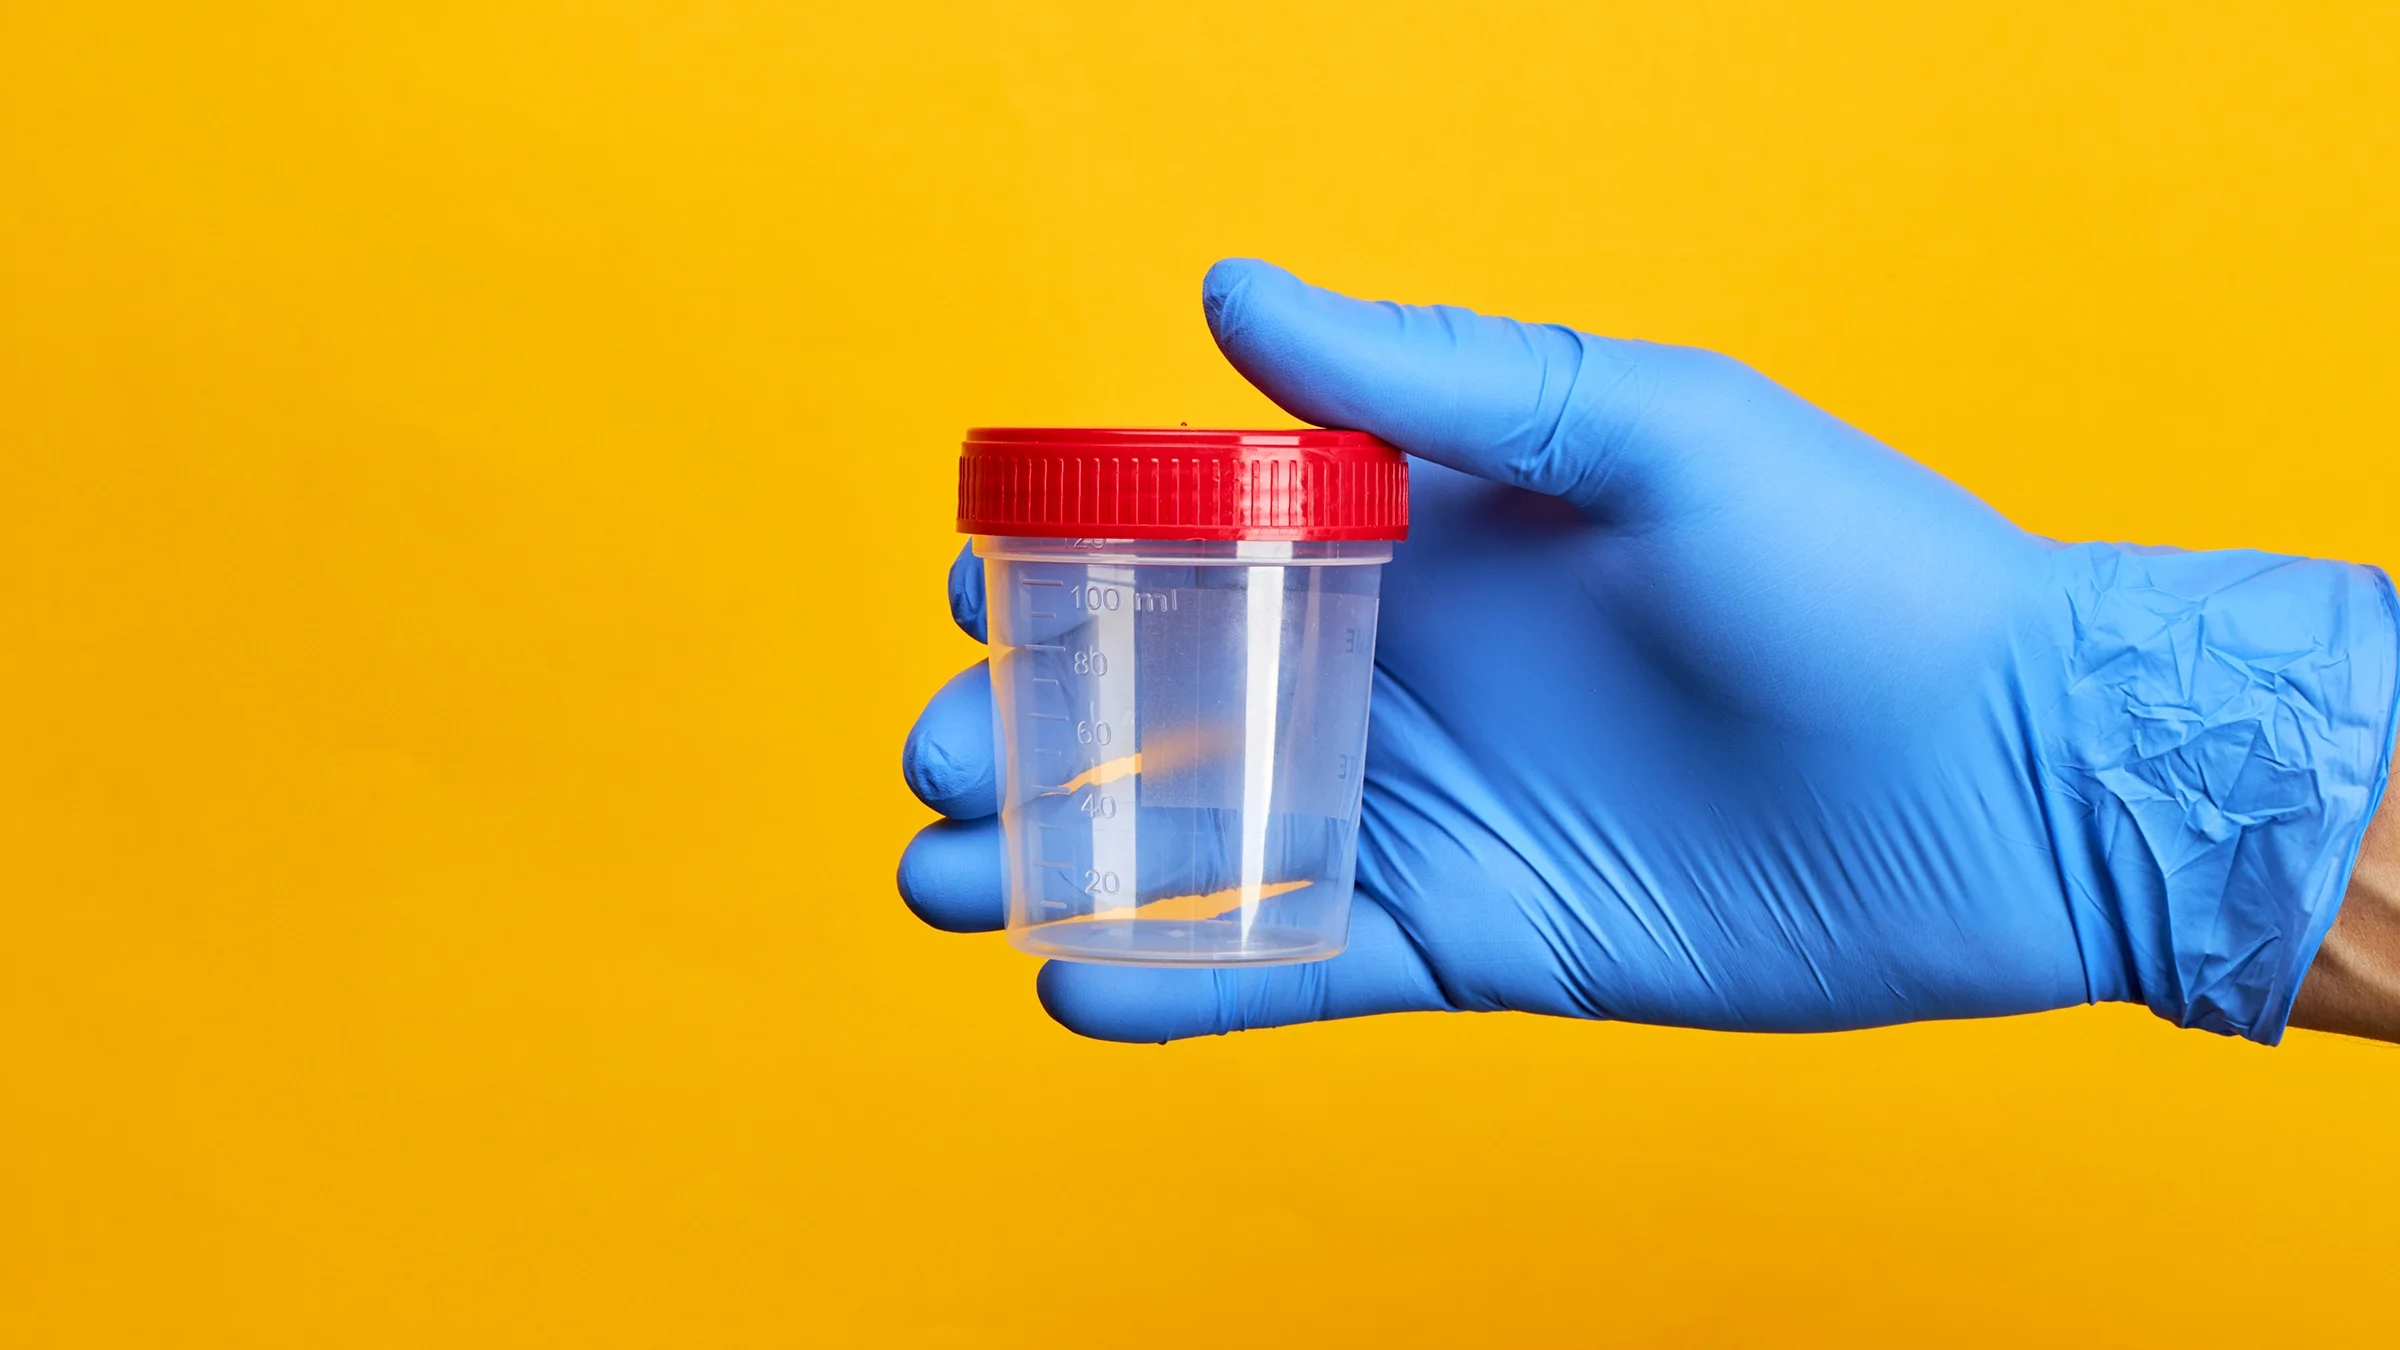
The first thing you’ll usually get is a special collection kit. These are pretty neat, actually. They’re designed to make the whole process a bit less… messy. You’ll probably get a container, maybe some little scoops or spatulas, and instructions. Read those instructions! I know, I know, reading instructions feels like a chore when there’s actual… business… to attend to. But seriously, they’re there for a reason. Each kit might be slightly different, and following them precisely can save you from a whole lot of awkwardness later. It’s like getting the LEGO instructions – skip them and you end up with a wobbly spaceship.
Must Read
Now, for the main event. You need to actually… collect… the sample. This is where things can get a little… creative. The goal is to get a representative sample, not just a tiny crumb. And, importantly, you want to avoid contaminating it with anything else. Like, you know, toilet paper. Or, gasp, water from the toilet bowl. Nobody wants a soggy poop sample, right? That’s just… undignified.
One of the most common methods involves this nifty little plastic sheet that you often place in the toilet bowl, right under the seat. It’s kind of like a tiny, temporary swimming pool for your… offering. You lift the toilet seat, place this sheet inside the bowl, and then put the seat back down. Ingenious, isn't it? It catches everything without letting it fall into the dreaded water. So, when the moment arrives, you can have a more controlled… deposit. Think of it as a safety net for your health report.
Then, it's time for the real action. When you feel the urge, and you know it’s the urge, you’ll position yourself. This is where you might feel like a contortionist, trying to get things just right. You want to aim for that plastic sheet. It’s a bit of an art form, really. You might have to wiggle a bit, adjust your stance… basically, do whatever it takes to make sure your specimen lands where it’s supposed to. No pressure, just the fate of your medical diagnosis resting on your ability to perform this delicate maneuver.

Once you’ve successfully… delivered… your sample onto the sheet, the next step is to transfer it to the collection container. This is where those little scoops or spatulas come in handy. They're usually designed to pick up a decent amount without making a huge mess. You’ll want to get a few different parts of the sample, if possible. Why? Because sometimes the important stuff isn't in just one spot. It’s like a treasure hunt, but the treasure is… well, you know. You’re looking for those valuable clues for your doctor.
Here’s a little tip: try to get a bit from the beginning, middle, and end of the bowel movement. This gives the lab technicians the best chance of finding anything they’re looking for. Think of it as a diversified portfolio of your internal workings. You wouldn’t just invest in one stock, would you? Okay, maybe that’s a stretch, but you get the idea. Variety is the spice of life, and the key to a good stool sample.
After you’ve collected enough, you’ll put the lid on the container. And here’s a crucial part: make sure that lid is on TIGHT. We’re talking superhero-tight. You do not want any leakage. Imagine opening your fridge and finding a surprise… visitor… from your bathroom. That’s a scene nobody wants to relive. So, give it a good twist, maybe a second twist for good measure. Feel the satisfaction of a secure seal.
Now, what if you don’t have one of those fancy toilet collection sheets? Don’t despair! There are other ways. Sometimes, doctors will give you a small, clean container and just ask you to try and collect it directly. This is where it gets a little more… hands-on. You might need to use a clean disposable glove (highly recommended!) and scoop directly from your posterior. It sounds a bit… intimate, but it’s doable. Just be as careful as possible to avoid touching the toilet bowl or any other surfaces.

Another common method for at-home collection is using a clean, empty plastic container or a disposable tray. You can place this under you while you’re on the toilet to catch the sample. Again, the key is to avoid any contamination from toilet water or toilet paper. Some people even use a clean, old take-out container if they’re really in a pinch, but make sure it’s thoroughly washed and dried first. And please, please, label it clearly so nobody mistakes it for leftover curry.
And what about diarrhea? This can be a tricky one. If you have loose, watery stools, the collection method might need to be adjusted. Sometimes, you can use a clean, wide-mouthed container and try to catch the liquid directly. If it’s too difficult, your doctor might have alternative instructions or recommend a different type of test. Don't be afraid to call them and ask for clarification if you're unsure. They've heard it all, believe me.
What if you can’t produce a sample when you need to? Ah, the joys of a stubborn digestive system! Sometimes, the urge just isn't there. If you've waited for a while and nothing's happening, don't force it too much. You might need to try again later. Sometimes, a bit of walking around or a change of scenery can help get things moving. And if it’s really a struggle, again, call your doctor. They might have some helpful tips or suggest rescheduling. It’s better than submitting an empty container and looking bewildered.
Once you have your sample safely contained, you'll need to label it. This is super important! You'll usually be given a label with your name, date of birth, and the date and time of collection. Fill it out accurately and legibly. Imagine the chaos if the lab gets samples mixed up! They might be trying to figure out why Mrs. Henderson's sample is showing signs of, well, something that's definitely not hers. Stick to the facts, folks!

Now, what about storage and transport? This is where things get a bit time-sensitive. Most stool samples need to be analyzed fairly quickly. Your collection kit will usually have instructions on how to store the sample. This might involve keeping it at room temperature for a short period, or refrigerating it if you can't get it to the lab right away. Never freeze a stool sample unless specifically instructed to do so. It can mess with the results. Think of it like trying to freeze your milk – it’s just not the same afterwards.
When it comes to getting it to the lab, again, follow the instructions. Some clinics want you to drop it off directly. Others might have a courier service. If you're dropping it off yourself, try to do it as soon as possible, especially if it's been sitting around. You want those little critters (or lack thereof) to be as fresh as possible for the analysis. It’s like delivering a birthday cake – the sooner it gets there, the better.
What about those special tests? Sometimes, your doctor might be looking for something specific, like blood in your stool (which you definitely don't want to see, but if you do, tell your doctor immediately!). For these tests, there might be specific instructions, like not eating certain foods or taking certain medications for a few days beforehand. For example, if they’re testing for microscopic blood, you might be told to avoid red meat or certain vitamins. Again, read those instructions meticulously. It’s the difference between accurate results and a "we're not sure, let's do it again" scenario.
And what about the dreaded “pinworm test”? This is a whole other ballgame. Pinworms are notoriously sneaky, and their eggs are usually laid around the anus, not directly in the stool. For this, you’ll often get a special piece of tape. The instructions are usually to press the sticky side of the tape firmly around your anus, especially first thing in the morning before you’ve showered or used the toilet. Then, you peel the tape off and stick it back onto a slide or a special card. It sounds a bit… icky, but it’s the most effective way to catch those little buggers. So, when you get that tape, take a deep breath and channel your inner detective. Sherlock Holmes, eat your heart out!
Let’s talk about hygiene. Even though you’re dealing with… biological material… it’s still important to practice good hygiene. Wash your hands thoroughly with soap and water before and after collecting the sample. This protects you and prevents contamination of the sample. Think of it as a crucial step in your personal protective equipment (PPE) for this mission. You wouldn't go into battle without your armor, would you? Well, this is your battle against… whatever’s going on inside!
And if you’re a parent collecting for your child? Oh boy, bless your heart. Children can be… challenging. They might be uncooperative, or just not understand what’s going on. For little ones, sometimes a diaper collection is necessary. You can line the diaper with plastic wrap to prevent the urine from contaminating the stool sample. Then, carefully scoop the stool from the diaper into the collection container. This might require a bit of finesse and a lot of patience. You might also find that giving them a little juice or a fruit that tends to get things moving can help. Whatever you do, stay calm. Your child will pick up on your stress, and that won’t help anyone.
So, to recap: read the instructions, use the collection kit properly, aim for accuracy, seal it tight, label it clearly, and get it to the lab promptly. It might not be your favorite way to spend an afternoon, but it’s a vital part of keeping yourself healthy. Think of it as a small sacrifice for a bigger reward – understanding what’s going on inside and getting the care you need. And hey, at least you’ll have a great story to tell at parties, right? "Remember that time I had to… collect…?" It’s certainly a conversation starter!
Ultimately, taking a stool sample is a process. It requires a bit of preparation, a touch of bravery, and a whole lot of attention to detail. But when you’ve got the right information and a can-do attitude, it’s entirely manageable. So, next time you’re handed that little kit, don’t groan. Give yourself a little pep talk, maybe put on your favorite upbeat music (though I’m not sure what would be appropriate!), and get it done. You’ve got this!

