How Do You Seal Air Dry Clay

So, you've been dabbling in the magical world of air-dry clay. You've sculpted a magnificent, albeit slightly wobbly, dragon. Or perhaps a pot that holds precisely three beans and a button. Whatever your masterpiece, you've reached that crucial, slightly nail-biting stage: sealing it. Because let's be honest, nobody wants their artistic triumph to crumble into a pile of dusty regret like a forgotten biscuit at the bottom of a tea tin. We're talking about turning your humble creation into something that can survive the occasional accidental knock from a passing toddler or a rogue feather duster. And thankfully, it’s not rocket science, though it can feel like it sometimes when you’re staring at a dozen different varnish options.
Think of sealing your air-dry clay as giving it a fancy raincoat. It’s not just about looking pretty (though it can certainly help with that!). It’s about protection. Protection from moisture, from dust bunnies staging a coup, and from the sheer, unadulterated curiosity of your pets who seem to believe everything is a chew toy. Air-dry clay, bless its porous little heart, is like a sponge for the elements. Leave it bare, and you might as well be leaving a slice of cake out for ants. Not ideal, right?
Now, before we dive headfirst into the glamorous world of sealants, let's have a little chat about what you can't do. You can't just slop some PVA glue on it and call it a day. Well, you could, but your creation will likely end up with a sticky, permanently damp sheen that screams "I was made in a kindergarten classroom by someone who’d just discovered glitter for the first time." We’re aiming for something a little more… sophisticated. Something that says, "Yes, I made this, and it’s going to last longer than my New Year's resolutions."
Must Read
The Pre-Sealing Pep Talk (and a Warning)
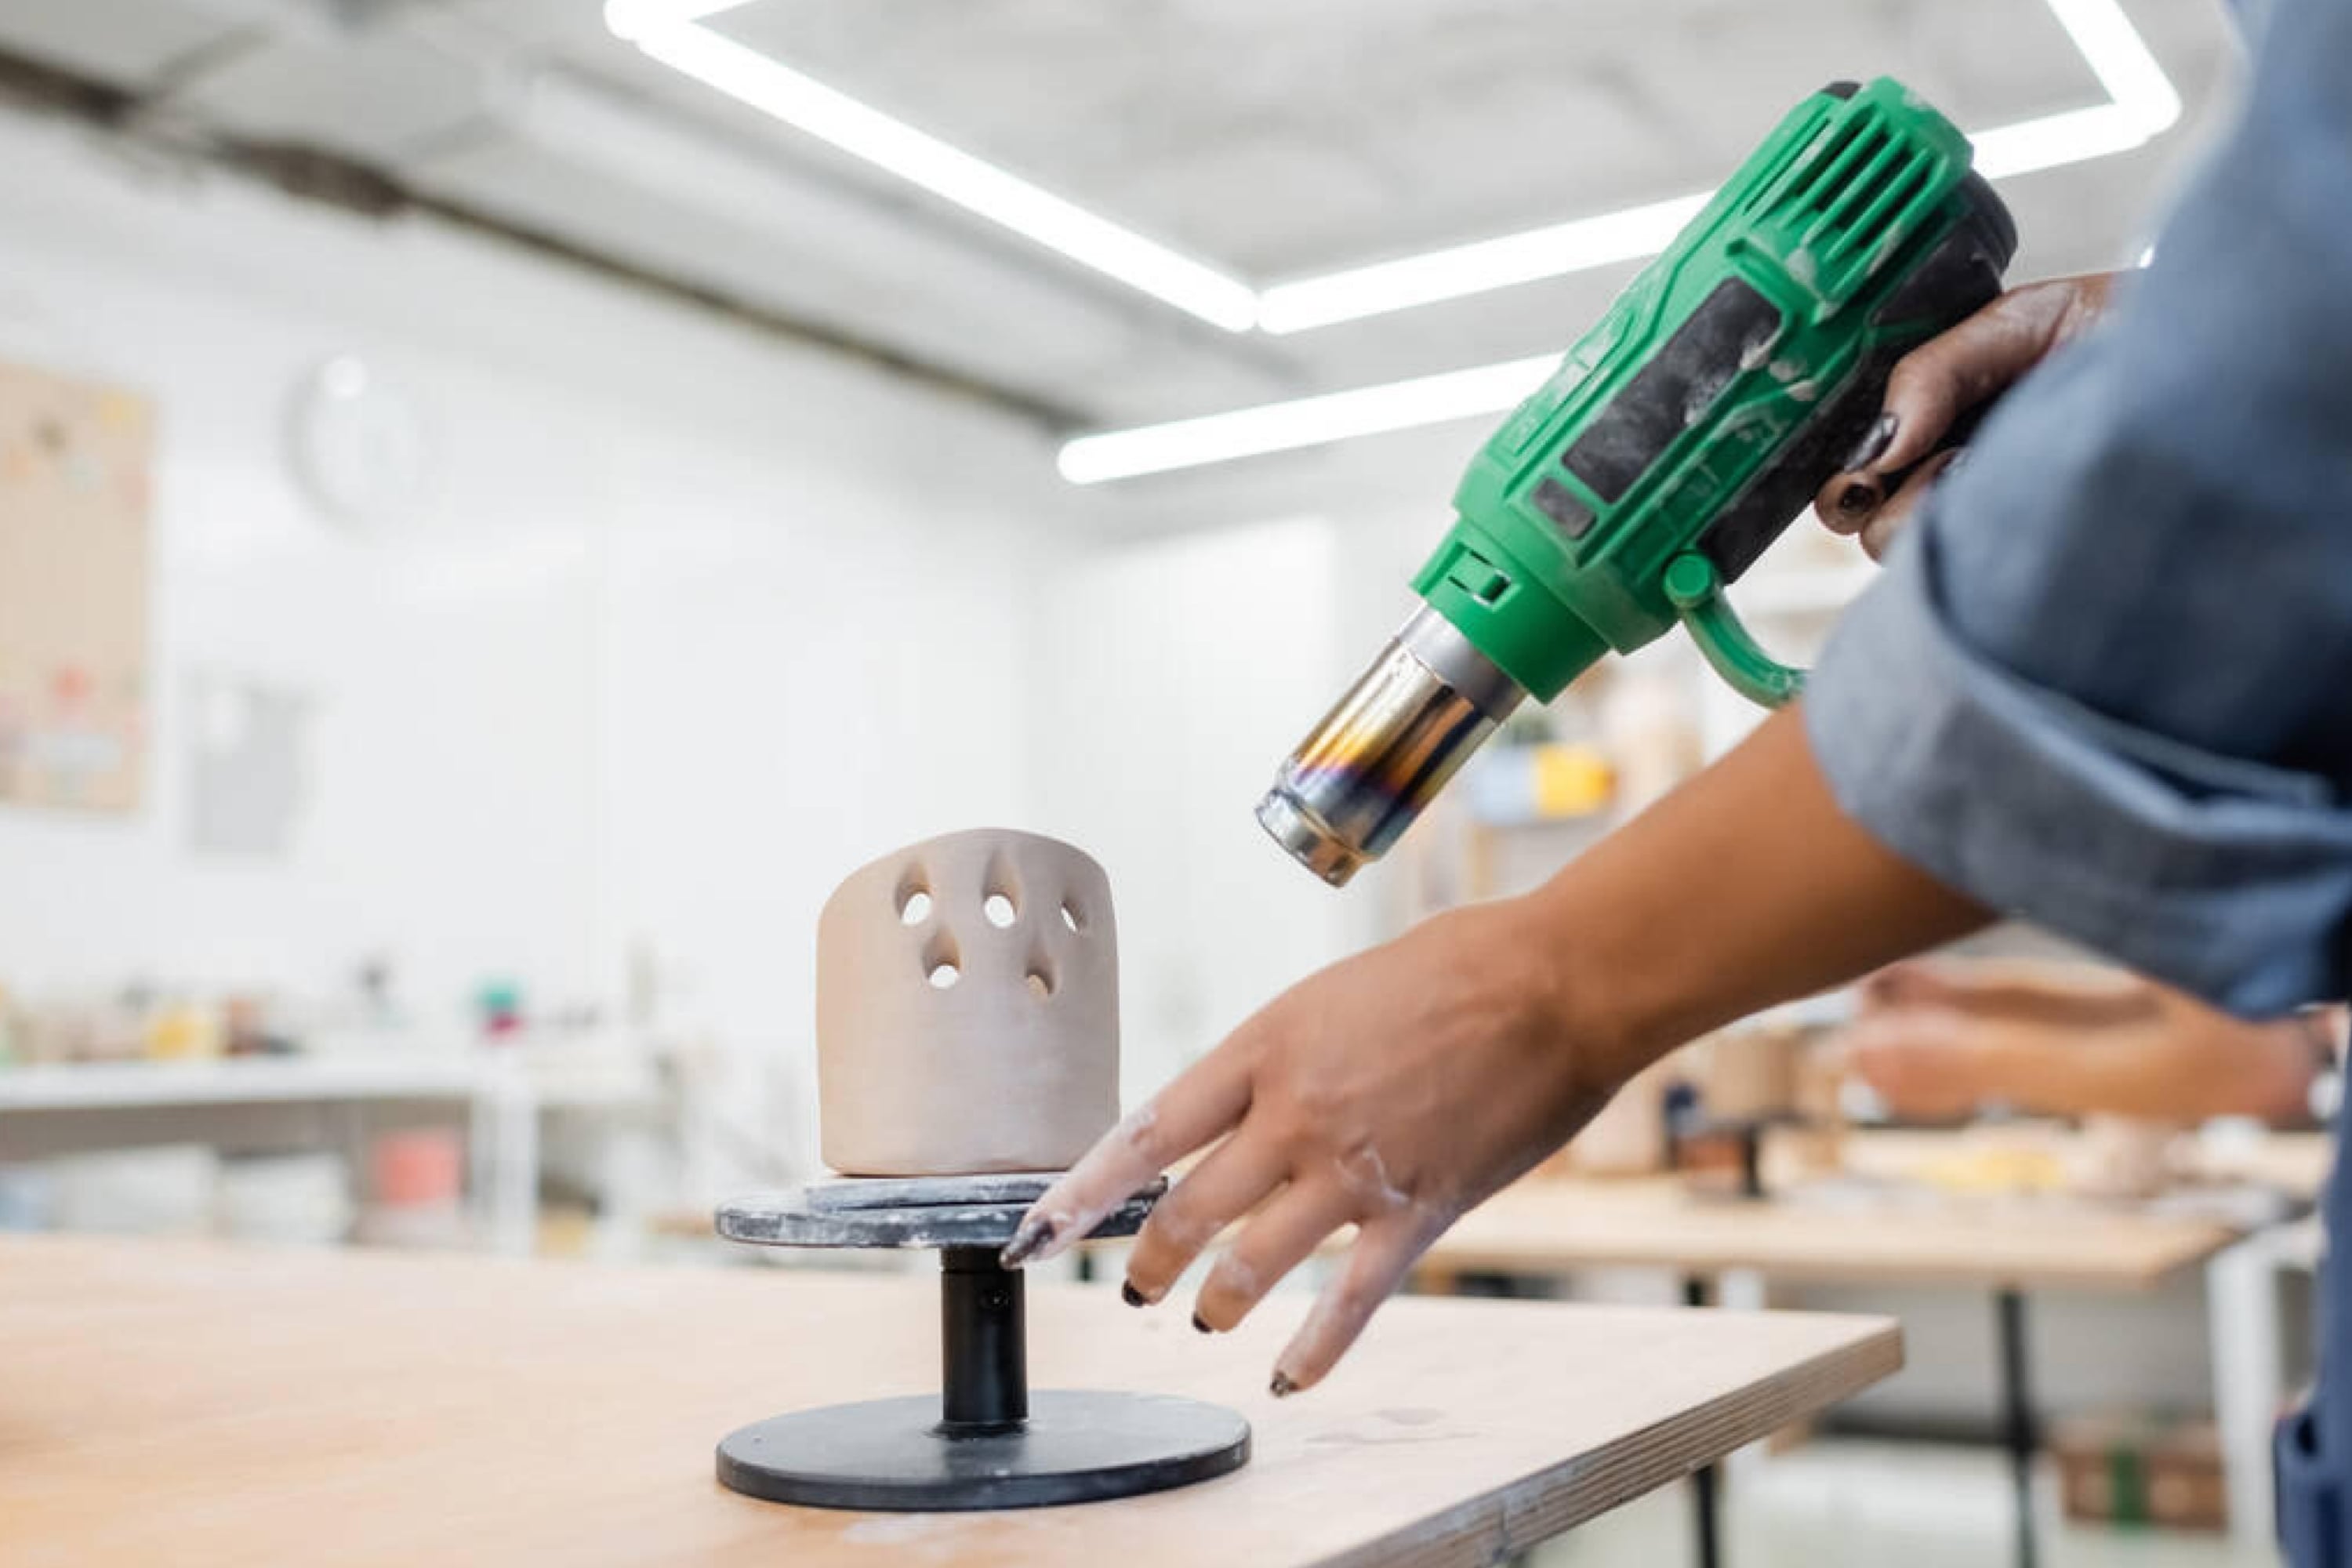
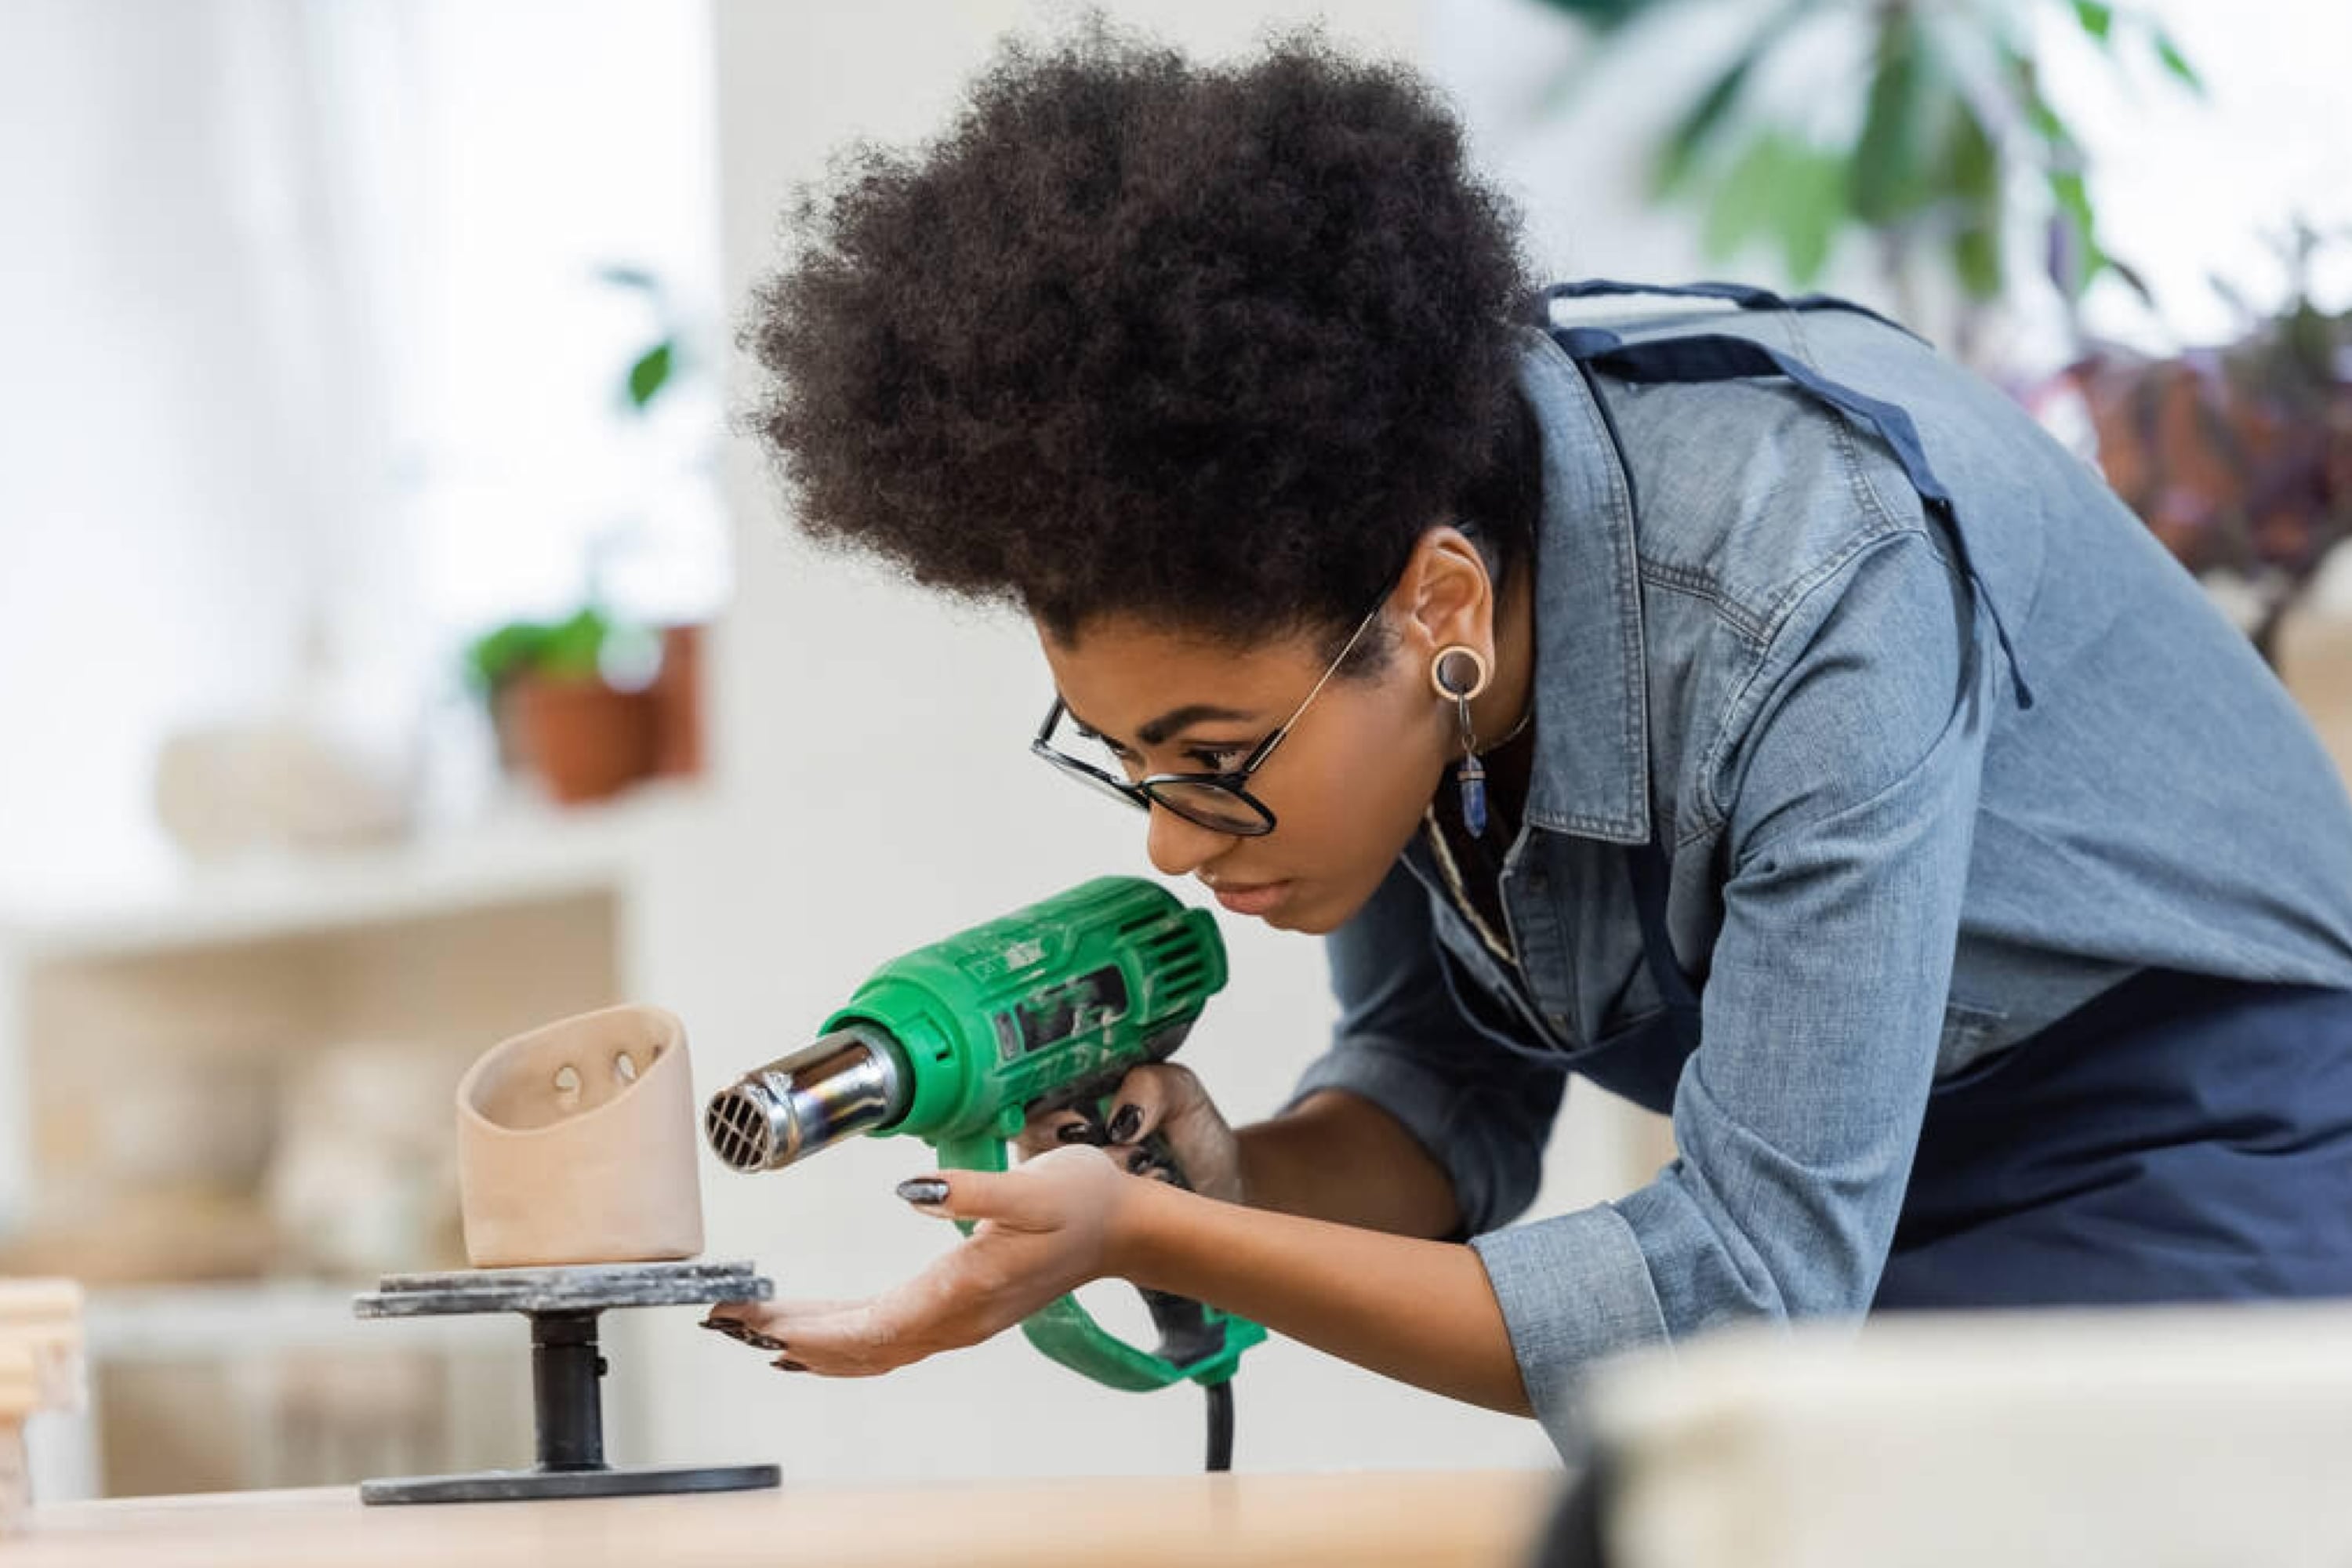
First things first: your clay needs to be bone dry. I mean really dry. Like, the Sahara Desert on a hot day dry. If you try to seal damp clay, you're essentially trapping moisture, which can lead to mould. And nobody wants a fuzzy, green dragon. This can take anywhere from 24 hours to several days, depending on how thick your creation is and the humidity levels in your home. Think of it like waiting for a soufflé to rise – patience is key, and rushing it will result in a deflated disaster.
And a little insider tip: sometimes, even when it feels dry, it’s not. You can gently tap it. Does it sound hollow? Good. Does it feel cold and damp? Nope. Put it back. Maybe give it a fan-assisted drying session if you’re impatient. We’ve all been there, staring at our unfinished project, practically willing it to dry faster. I once tried putting a hairdryer on it, which resulted in a slightly warped, very smooth bit on one side and a very bumpy bit on the other. Let’s just say my sculpture looked like it had a very awkward haircut.
Your Sealant Superstars: The Usual Suspects
Alright, let’s get down to the nitty-gritty. What are your options for turning that earthy dust-catcher into a gleaming work of art? The most common heroes in this story are acrylic sealants and varnishes. These are your best friends, your trusty steeds, your… well, you get the picture.
Acrylic Sealants: These are often water-based and come in a variety of finishes: matte, satin, and glossy. They’re generally easy to use, clean up with water, and dry pretty quickly. For a natural look, a matte or satin finish is usually the way to go. If you want that "oh la la" high-shine, then glossy is your man (or woman, or sealant). It’s like giving your creation a little sparkle, a little je ne sais quoi. I once sealed a little clay bird with glossy sealant, and it looked like it had just emerged from a spa treatment. It was fabulous.

Varnishes: Similar to acrylic sealants, varnishes offer protection and can come in different finishes. Some people prefer varnishes because they can be a bit more robust and offer a higher level of protection, especially if your piece is going to be handled a lot. Think of them as the armoured knights of the sealant world. They’re here to protect your delicate creation from the dragon-slaying (or rather, clumsy-child-slaying) world.
Application: The Art of the Brushstroke (or Spray)
So, you’ve got your chosen sealant. Now what? It’s time to apply it. This is where things get exciting, or at least mildly interesting.
Brushing it on: This is the most common method. Grab yourself a soft, synthetic brush (don't go using your grandmother's antique sable brush; she'd not be pleased). Dip it lightly into your sealant and start applying. Think long, even strokes. You want to get a nice, thin, even coat. Resist the urge to glob it on like you’re frosting a cake. Too much sealant can lead to drips, tackiness, and a generally unhappy finish. It’s like trying to put on too much sunscreen – you end up with streaky patches and looking a bit ridiculous.

Multiple Coats are Your Friends: For proper protection and a beautiful finish, you’ll likely need two or three thin coats. Let each coat dry completely before applying the next. This is where that drying time comes into play again. Don't rush it! Each layer builds upon the last, creating a stronger, more durable barrier. Imagine building a castle, brick by brick. You wouldn't just chuck all the bricks on at once and expect a sturdy fortress, would you?
Spraying it on: Some sealants come in spray cans, which can be fantastic for intricate details or for achieving a super smooth finish. If you go this route, make sure you're in a well-ventilated area. Seriously, open a window, put on a mask, and maybe warn your family not to come looking for you for a while. Spraying is like giving your art a gentle misting. Hold the can about 10-12 inches away and use light, sweeping motions. Again, thin, even coats are the name of the game. You don't want to drown your masterpiece in a cloud of acrylic vapour.

Beyond the Basics: A Little Something Extra
What if you’re feeling a bit more adventurous? You can get sealants with added features, like UV protection (great if your art is going to be near a sunny window, preventing it from fading like an old photograph) or even waterproofing (for those brave souls who want to make their clay creations shower-proof – though I wouldn't test that too rigorously!).
And don't forget the creative possibilities! Some sealants can be tinted, allowing you to subtly alter the colour of your piece or add a beautiful, almost stained-glass effect. It’s like giving your clay a subtle blush or a sophisticated sheen. The world of sealants is your oyster, my friend. Or rather, your perfectly sealed clay oyster.
So there you have it. Sealing air-dry clay isn't some dark art reserved for seasoned professionals. It's a simple, yet vital, step in preserving your hard work and transforming your creations from ephemeral dust-magnets into something truly special. Go forth, my artistic warriors, and seal with confidence!