How Do You Make An Elf Hat
Ever found yourself staring at a Christmas stocking and thinking, "You know what's missing? A perfectly pointy, festive elf hat!" Or maybe you've got a little one who's obsessed with the idea of being Santa's tiny helper, even if it's just for a backyard barbecue? Well, my friends, making an elf hat isn't some sort of mystical holiday magic that only the elves themselves can perform. It's actually surprisingly simple, and honestly, incredibly satisfying. Think of it as your personal shortcut to instant holiday cheer, or even just a way to inject a little playful whimsy into an ordinary day.
Why should you care about making an elf hat, you ask? It’s more than just a silly piece of headwear. It’s a symbol, really. It’s the visual cue that says, “I’m ready for some fun!” It’s the secret ingredient that can transform a quiet living room into a buzzing workshop. Imagine this: you’re feeling a bit glum, the weather outside is frightful, and your to-do list is… well, let’s not even go there. Suddenly, you pull out some felt, a little stuffing, and a needle, and within an hour, you’ve got a bright, jaunty elf hat sitting proudly on your head. It’s like a little pop of personality, a wearable smile. It’s a reminder that even when life feels a bit mundane, we can still create moments of joy and silliness.
Plus, let's be real, store-bought elf hats can be a bit… uninspired. They’re often a bit flimsy, a bit generic. Making your own means you get to control every single stitch, every single sparkle. You can go classic red and green, or you can go wild with glitter and pom-poms. It’s your hat, your rules! It’s like choosing your own adventure, but with fabric!
Must Read
So, let's dive into the wonderful world of DIY elf hat making. Don't worry, we're not talking about intricate sewing patterns or advanced tailoring techniques. This is for everyone. Even if your sewing experience is limited to sewing on a button that decided to make a break for it, you've got this.
The Essential Ingredients: What You'll Need
Alright, let’s gather our supplies. Think of this as assembling your Santa’s workshop inventory. You don’t need much, and chances are, you might even have some of these things tucked away in a craft bin or a forgotten sewing kit.
The Fabric: Your Hat’s Canvas
The most important thing is your fabric. For a classic, sturdy elf hat, felt is your absolute best friend. It’s easy to cut, doesn’t fray (hallelujah!), and comes in an explosion of festive colors. Think vibrant reds, emerald greens, snowy whites, and even cheerful blues. You can usually find felt sheets at any craft store, fabric shop, or even in the craft section of larger department stores. A yard of felt will make a ton of hats, so you’ll be set for all your festive needs!
If you’re feeling a bit more adventurous, you could try using fleece. It’s wonderfully soft and cozy, perfect for a warmer elf hat. Just be aware that fleece can stretch a bit, so you might need to adjust your cutting slightly. For a really special, heirloom-quality hat, you could even consider velvet or a festive patterned fabric. Just remember, if your fabric frays, you might need to finish the edges with a serger or a zigzag stitch, but for beginners, felt is your easiest bet.

The Stuffing: Giving Your Hat Character
To get that perfect, adorable, slightly-floppy-but-still-pointy elf hat look, you’ll need a little bit of stuffing for the tip. Polyester fiberfill, the kind you find in pillows or stuffed animals, is perfect for this. A small bag will last you ages. You can also use scraps of batting or even cotton balls in a pinch, but fiberfill gives the most consistent and fluffy result. It’s like giving your hat its own little personality!
The Thread and Needle: Your Magical Wands
You’ll need some basic sewing supplies. A good pair of fabric scissors are essential – don’t use your kitchen scissors, they’ll thank you for it! A measuring tape or ruler is helpful for getting accurate measurements. And, of course, a needle and thread. You can use a sewing machine if you have one, but a simple hand-stitch is perfectly fine and, dare I say, often more charming for this kind of project. Choose a thread color that either matches your fabric or provides a fun contrast. Red thread on green felt? Chef’s kiss!
Optional Embellishments: The Sparkle and Shine!
This is where the real fun begins! Think of these as the bells and whistles that make your elf hat truly unique. Ribbons in all sorts of colors and patterns are fantastic for tying around the base or creating a bow. Pom-poms are a classic elf hat embellishment – you can buy them pre-made or even try your hand at making your own fluffy creations. Glitter, oh, the glitter! A sprinkle of glitter glue or some loose glitter can add a touch of magic. And don't forget little bells, faux fur trim, or even some felt cut-outs in festive shapes like stars or snowflakes. The more, the merrier!
The Simple Steps: Turning Fabric into Festive Fun
Okay, deep breaths. This is where we go from a pile of supplies to a masterpiece. It's so easy, you'll wonder why you didn't do it sooner.

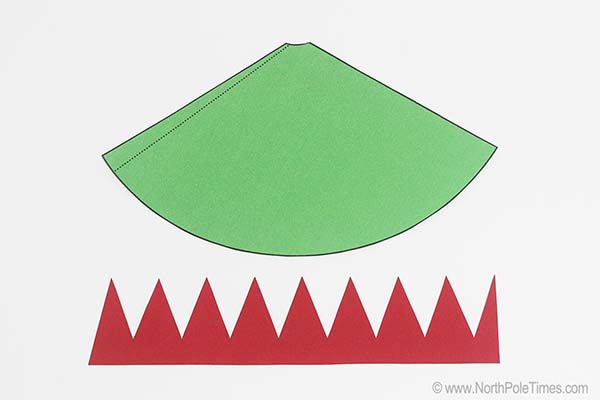
Step 1: Measure and Cut Your Base
First things first, we need to decide how tall and how wide you want your elf hat. This is where your measuring tape or ruler comes in handy. For a standard adult hat, a piece of felt that’s about 12-15 inches tall and 7-9 inches wide (when folded in half) is a good starting point. For a child's hat, you'll want to scale that down. It’s better to cut a little larger than you think you need, as you can always trim it down.
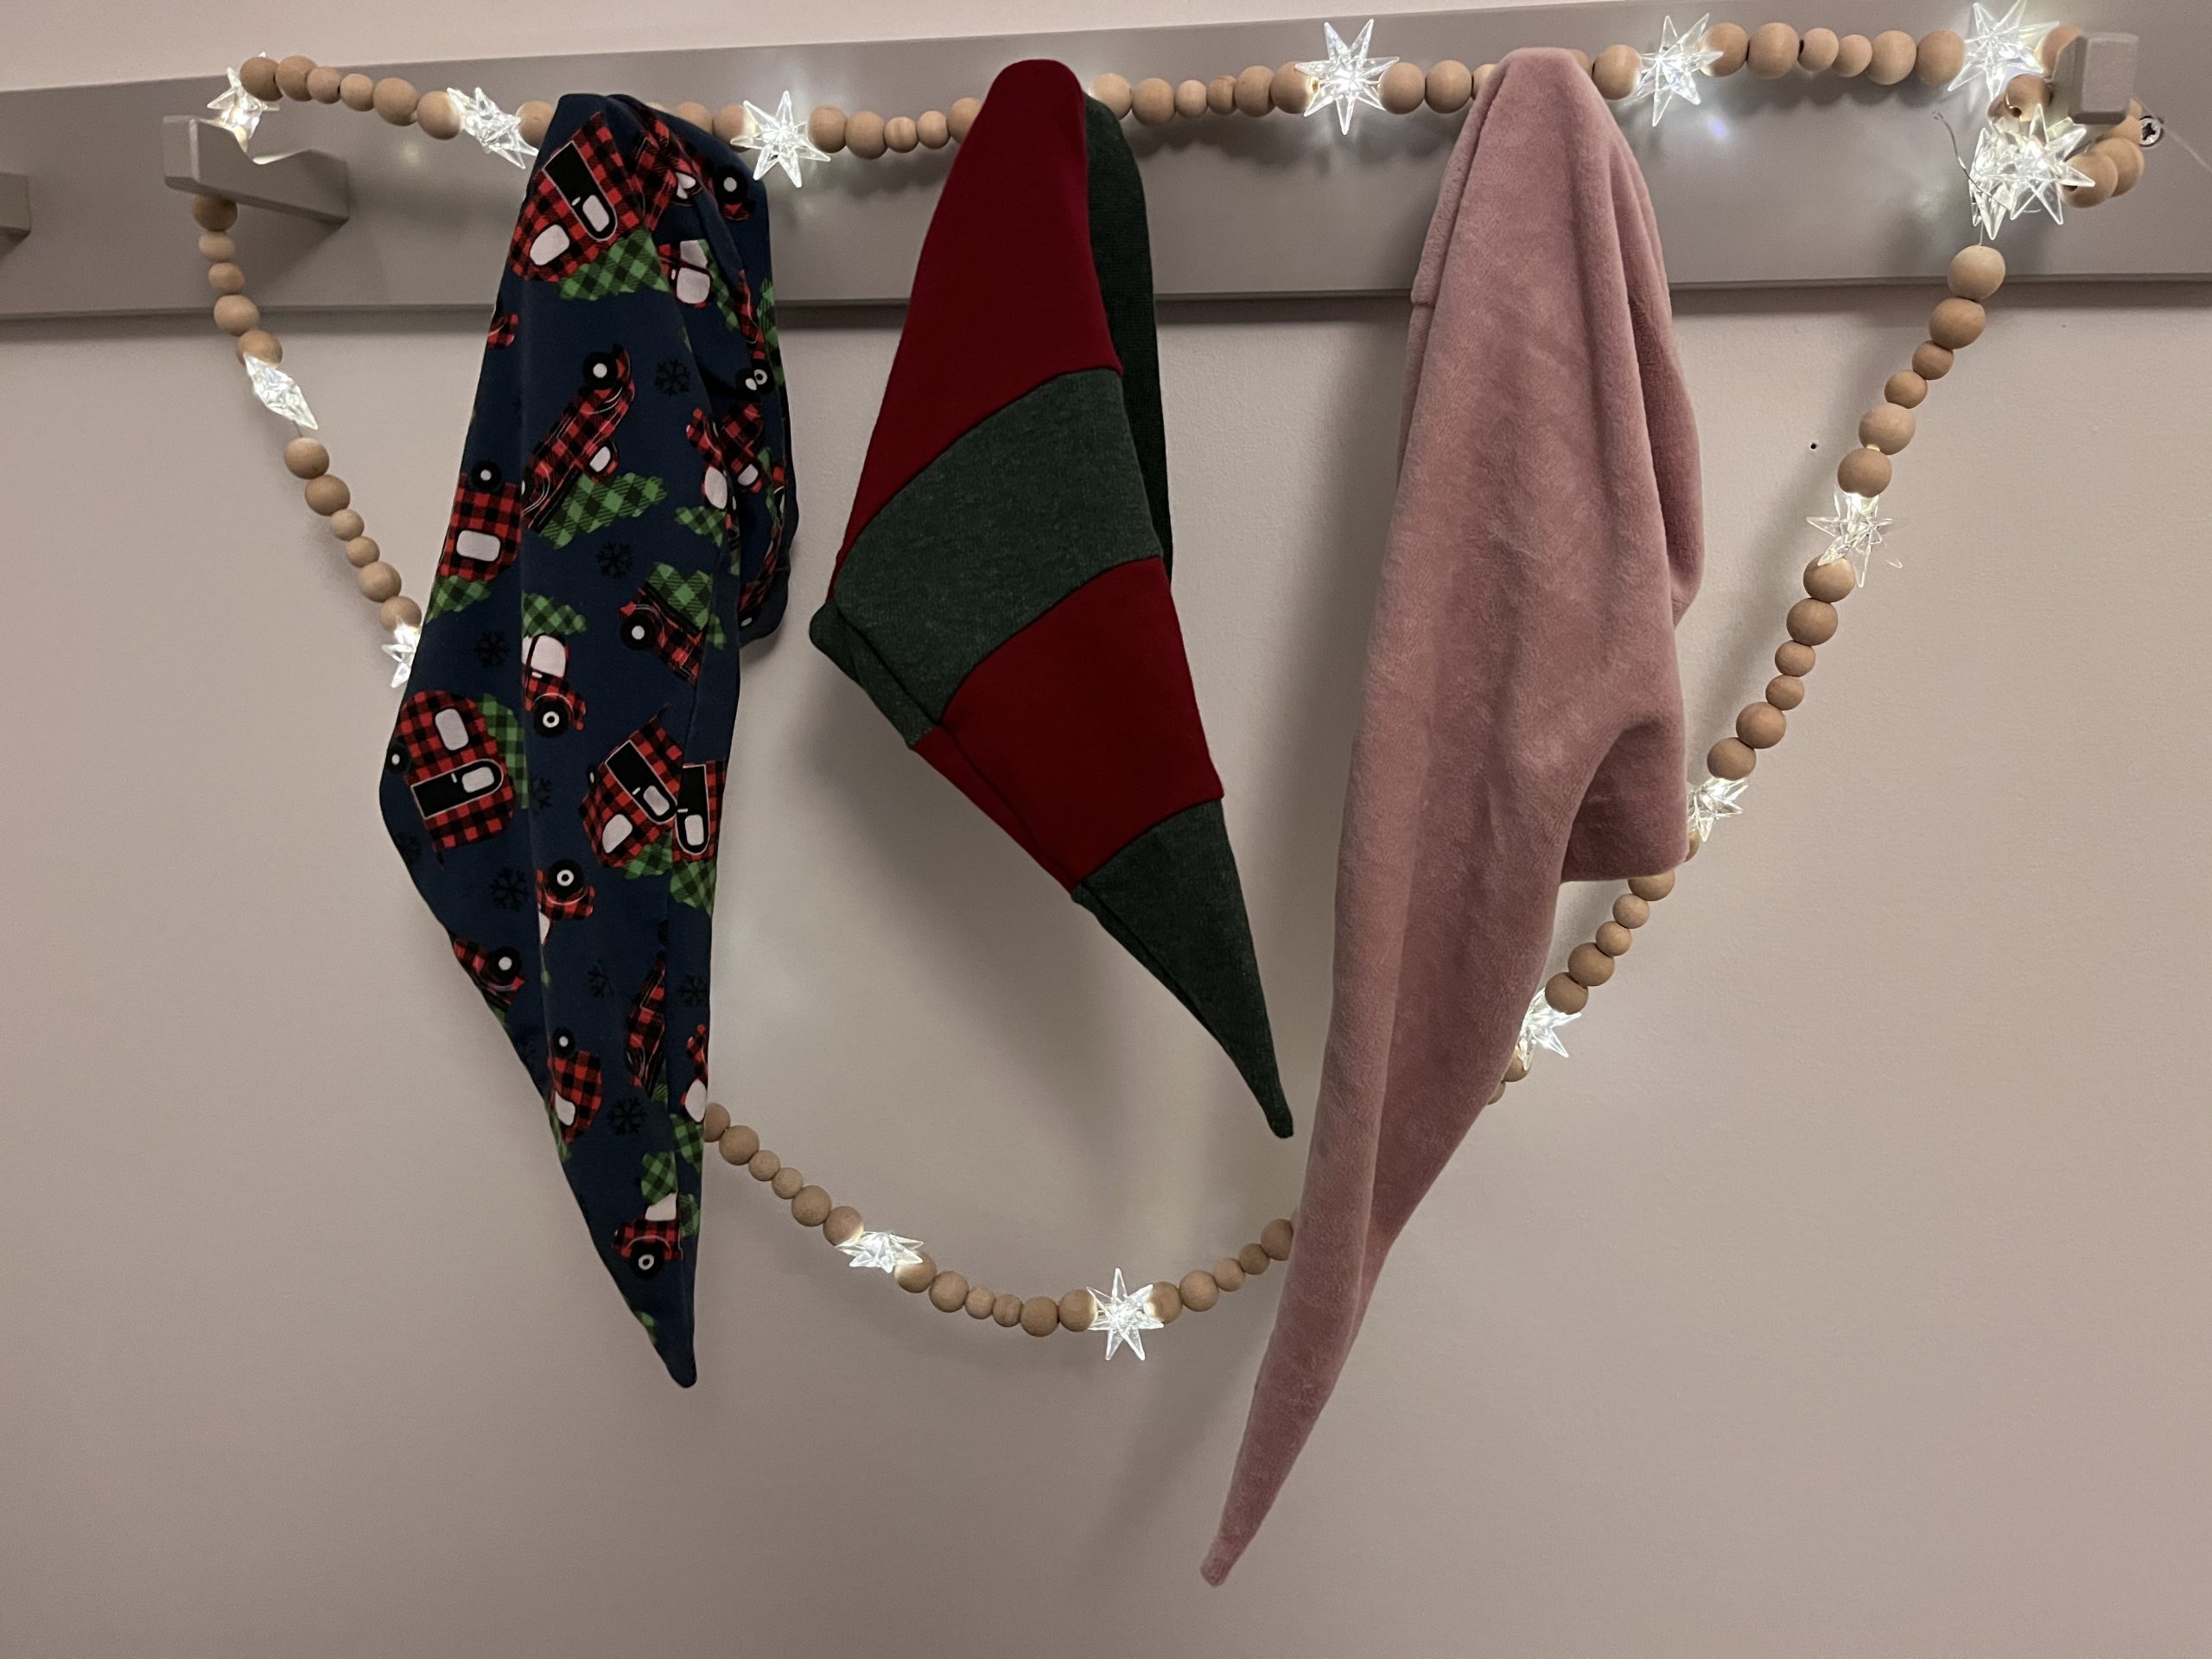
Now, take your chosen fabric and fold it in half. On the fold, draw out the shape of your elf hat. Think of it as a long, skinny triangle with a slightly rounded bottom. The top point should be nice and sharp, and the bottom edge should be a gentle curve, like the top of a gentle hill. You want the widest part of your triangle to be roughly the circumference of your head, plus a little extra for seam allowance. Don’t stress about perfection here! A slightly wobbly line adds character.
Carefully cut along your drawn lines. You should now have two identical pieces of fabric that, when opened up, form the basic shape of your elf hat. If you’re using a fabric that frays, now’s the time to consider how you’ll finish those edges. But with felt, we can usually just sew them right up!
Step 2: Stitching it Together – The Magic Happens!
Now it’s time to bring our two pieces of fabric together. Place your two hat pieces right sides together (meaning the pretty sides are facing each other). You'll be sewing along the two straight sides that will form the back and the point of the hat. Leave the bottom edge open – that's where your head will go!

If you’re hand-sewing, use a simple running stitch or a backstitch. A backstitch is a bit sturdier and will hold up better to enthusiastic elf-like activities. Just aim for stitches that are about ¼ inch from the edge of the fabric. Imagine you're sewing along a dotted line you drew, keeping it nice and even. If you're using a sewing machine, just set it to a straight stitch and sew along those edges, again, about ¼ inch from the raw edge.
Once you’ve sewn both sides, carefully turn your hat right side out. Ta-da! You should now have a recognizable, pointy hat shape. It might look a little flat and sad at this stage, but don't worry, we're not done yet.
Step 3: The Fluffy Tip and Finishing Touches
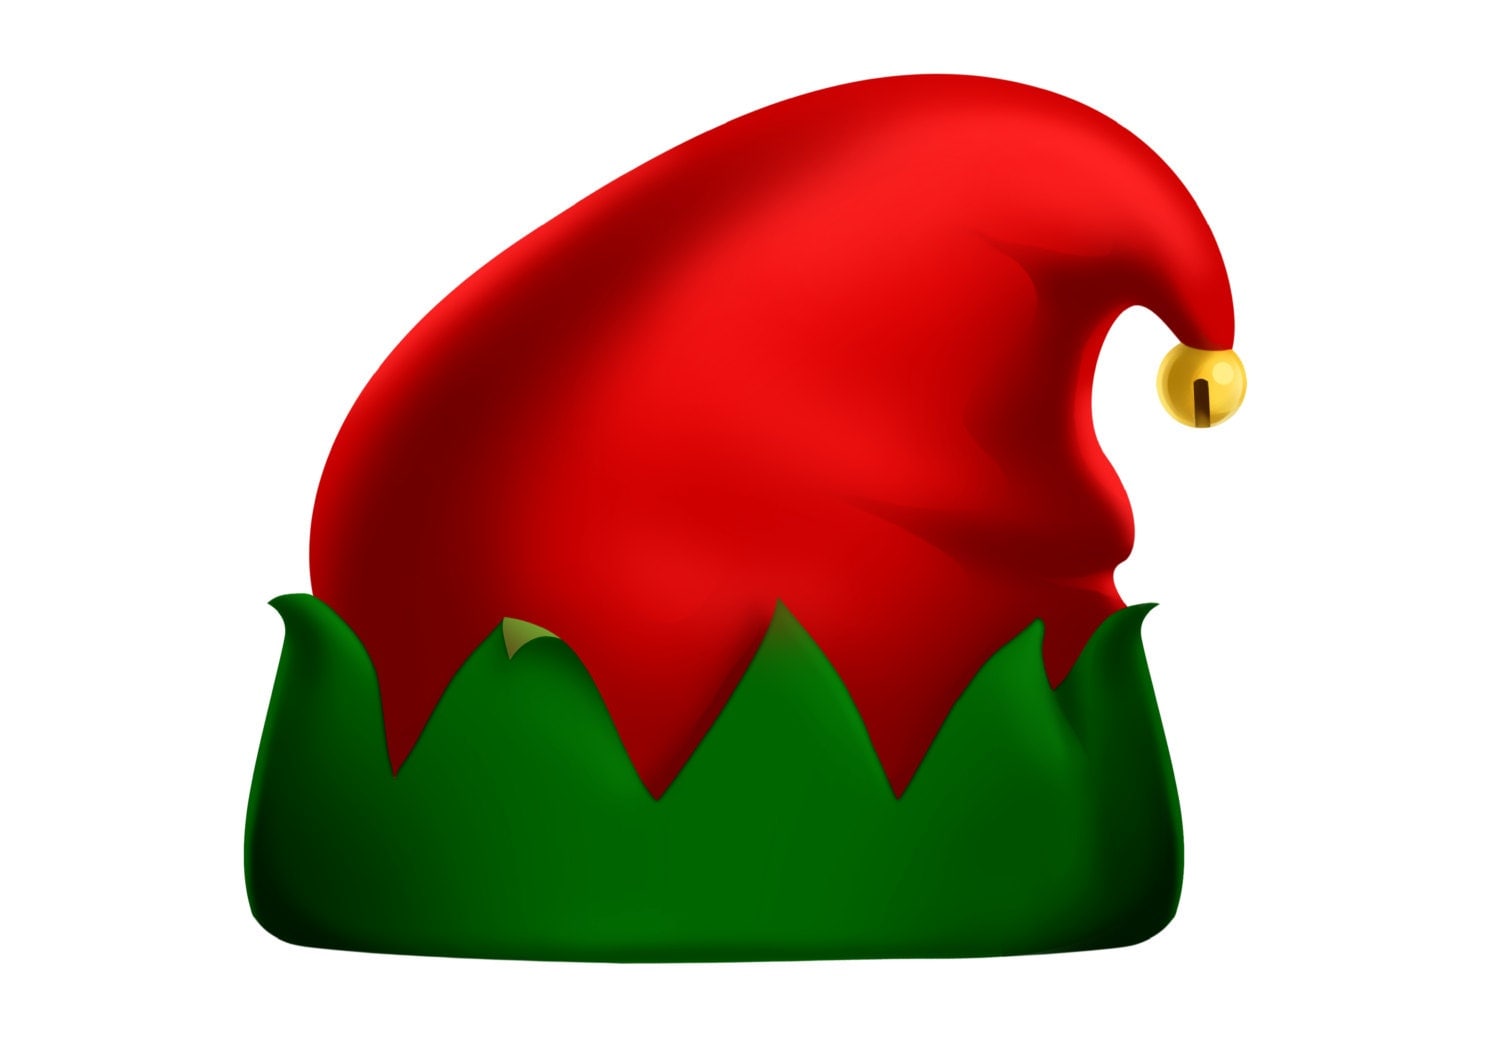
This is where we add that signature elf hat floof! Take a small handful of your fiberfill stuffing and gently push it into the very tip of the hat. You don’t need a ton – just enough to give it a nice, rounded point. Don't overstuff it, or it might look more like a wizard hat! You want that cute, slightly droopy effect.
Now, if you want a brim, you can cut a strip of contrasting felt (or the same felt) about 2-3 inches wide and long enough to go around the bottom edge of your hat. You can sew this on by hand or by machine, or even just glue it on if you're in a hurry. A simple folded-over hem on the bottom edge of the hat can also give it a neat finish if you don't want a brim.
Step 4: Embellish Away!
This is your time to shine! Grab all those fun embellishments we talked about. Tie a jaunty ribbon around the base of the hat. Glue on a fluffy pom-pom to the very tip (over the stuffing, if you like!). Add a sprinkle of glitter glue for that extra bit of sparkle. Cut out little felt stars and glue them on. The possibilities are truly endless!
If you're adding a bell, carefully sew it onto the tip of the hat, or near the top. You want it to jingle with every movement! If you're using faux fur, you can sew or glue a strip around the bottom or even as a little trim at the tip.
Why This Little Project is Worth It
So, you’ve made an elf hat. What now? Well, you've unlocked a secret level of fun! Suddenly, you have a prop that can instantly elevate any occasion. Is it Christmas? You've got your festive headwear ready! Is it someone's birthday? A silly elf hat can bring unexpected giggles. Planning a holiday-themed photoshoot? Your DIY elf hat will steal the show. It’s a reminder that a little bit of creativity and effort can bring a lot of joy, both to yourself and to those around you.
Think about the look on a child's face when you surprise them with a handmade elf hat. Or the shared laughter when you and your friends don matching, quirky elf hats for a holiday party. It’s these small, handmade touches that create lasting memories. It’s about embracing the playful spirit that often gets lost in our busy adult lives. It’s about reminding ourselves that it’s okay to be a little bit silly, a little bit magical.
And honestly, the feeling of accomplishment when you’ve made something with your own two hands? It’s unbeatable. So, the next time you see a plain old piece of felt, don't just see fabric. See the potential for joy, for laughter, for a little bit of elf magic. Go forth and create your own pointy masterpieces!