How Do You Get Window Tint Off

So, you’ve got this situation, right? That old window tint is looking… well, less than stellar. Maybe it's peeling, fading into a questionable shade of purple, or just plain ruining the vibe of your otherwise awesome ride. Whatever the reason, you've decided it's time for it to go. But how, exactly, do you get that stuff off without ending up with a sticky, shredded mess and a whole lot of regret? Let's dive in, shall we?
First off, a little pep talk. You can totally do this. It might feel like wrestling a particularly stubborn sticker, but with a bit of patience and the right approach, those old tints are gonna be history. Think of it as a little DIY spa day for your car windows. A really, really sticky spa day.
The Big Question: Can I Actually Do This Myself?
Absolutely! You don't need a superhero cape or a degree in advanced adhesives. Most of us can tackle this with common household items. Of course, if you're feeling particularly fancy (or just really, really busy), there's always the option of taking it to a professional. But where's the fun in that? Learning a new skill is always a win, even if that skill involves a lot of scraping.
Must Read
Let's Talk Tools of the Trade
Before we get elbow-deep in this sticky business, let's gather our arsenal. You don't need much, thankfully. Think of it as your "Tint Removal Starter Pack."
First up, the undisputed champion: a good ol' hair dryer. Yep, your trusty bathroom appliance. We're not trying to style our hair here, but the heat is going to be our best friend. It softens that adhesive like a dream.
Next, we need something to help us lift and peel. A razor blade scraper (the kind with a handle is best, for your hand's sake!) or a plastic scraper will be your go-to. Some folks swear by a credit card or a plastic putty knife. Basically, anything that's thin and sturdy enough to get under an edge without scratching your glass. Pro tip: Metal scrapers are powerful, but use them with extreme caution. You don't want to end up with a scratch you'll see every time the sun hits that spot.
And then there's the cleanup crew. You'll want a few clean microfiber cloths. These are great for wiping away residue and polishing. A spray bottle filled with warm, soapy water (dish soap works wonders!) is also a must. And for those stubborn sticky bits that refuse to budge? A little bit of rubbing alcohol or a specialized adhesive remover can be a lifesaver. Just make sure whatever you use is safe for automotive glass. We’re not trying to dissolve the window, after all!
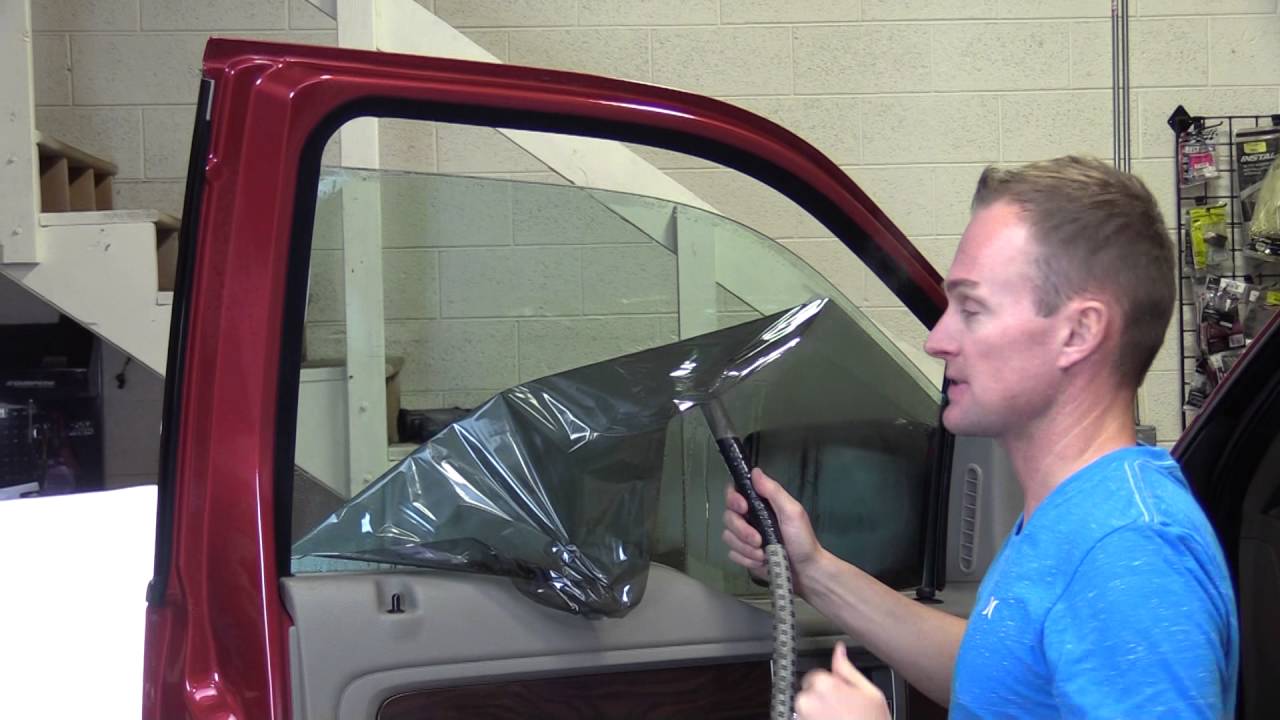
The "Heat and Peel" Method: Your New Best Friend
This is, hands down, the most popular and generally most effective way to go about it. It's simple, it's straightforward, and it usually yields great results.

So, how does it work? You guessed it: you apply heat. Grab that hair dryer, set it to a medium-high setting, and start warming up a section of the tint. Don't go crazy and scorch the paint, just a nice, even heat to make the tint and its adhesive pliable. Think of it like warming up a stubborn piece of cheese – you want it soft, not melted into a puddle.
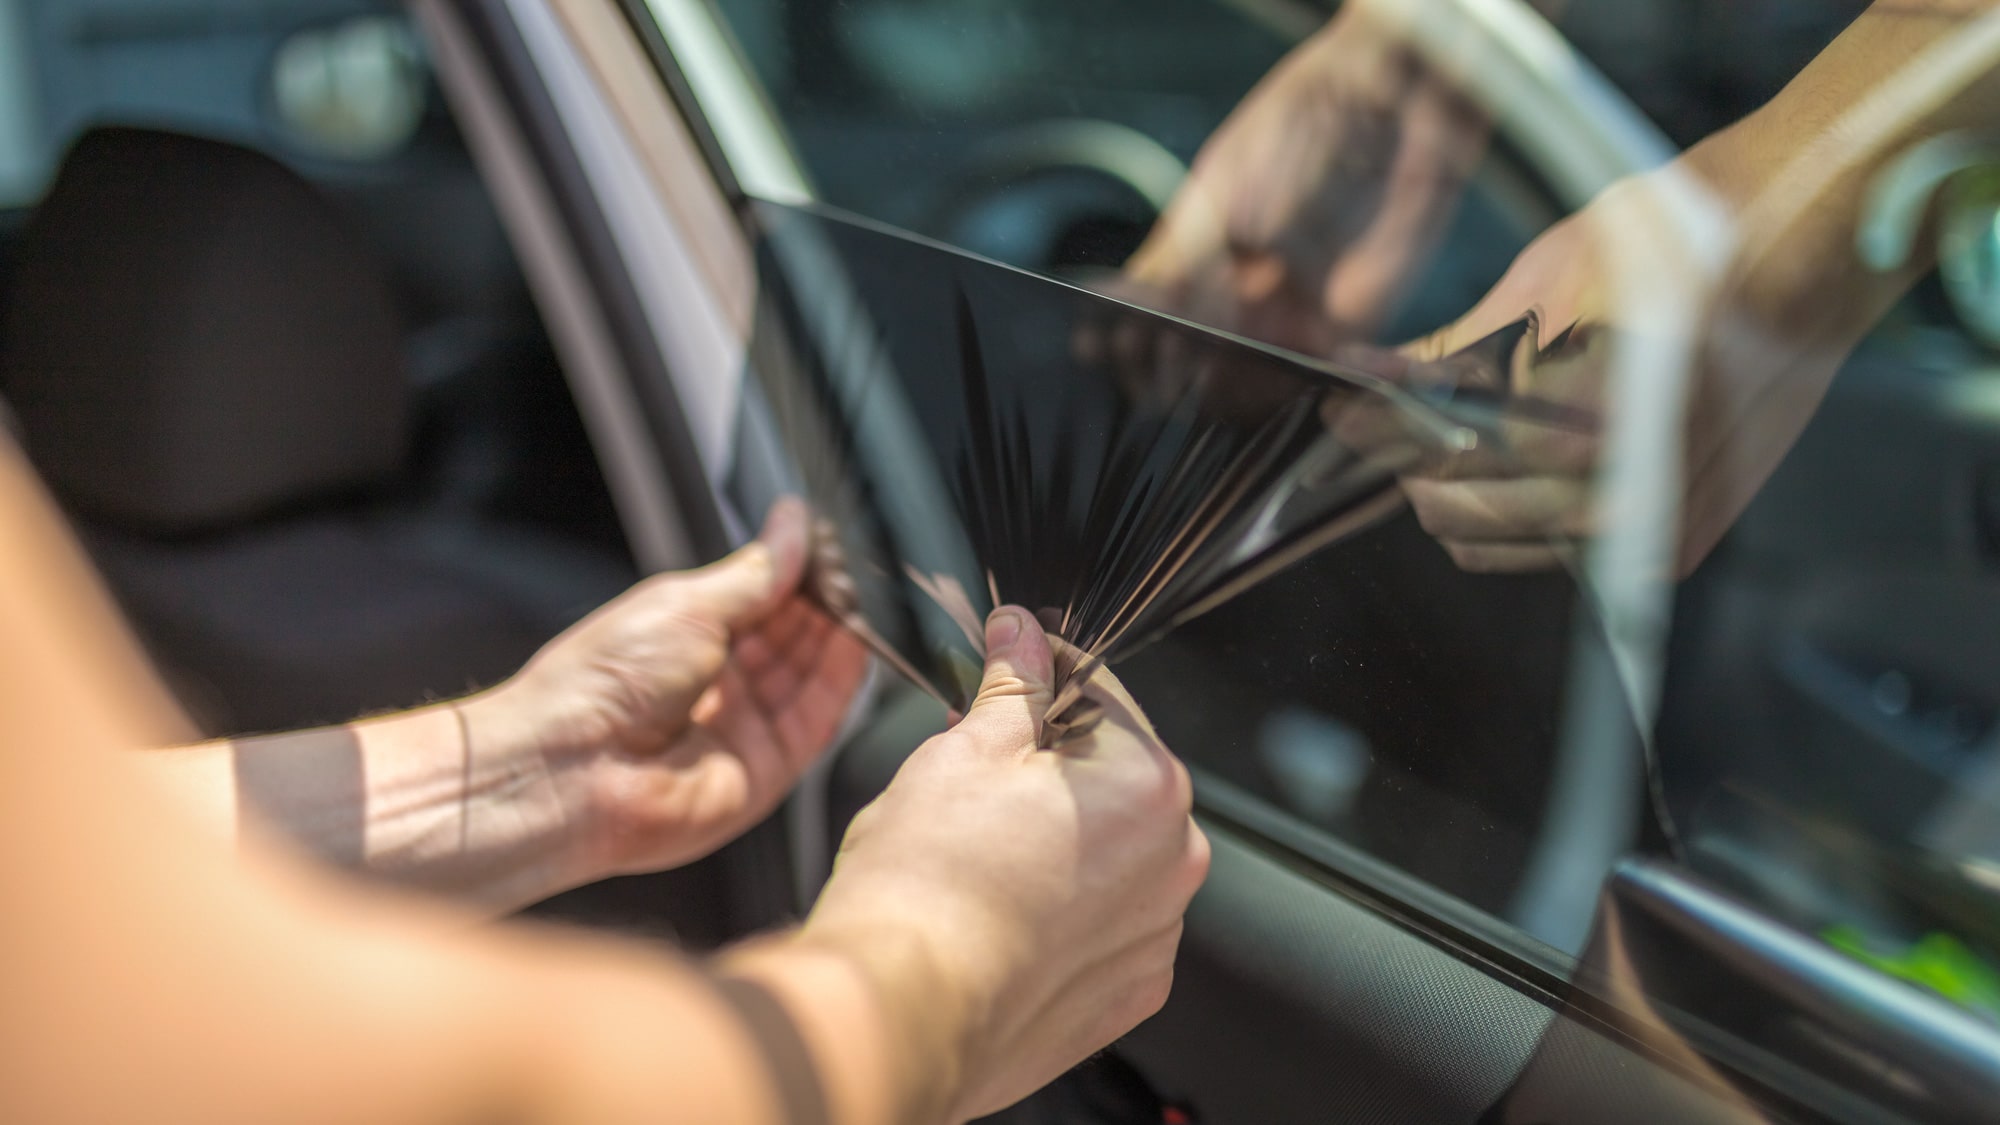
Once it's nice and warm, grab your scraper. Look for a loose corner or edge. If you don't see one, gently try to lift an edge with your fingernail or the edge of your scraper. The heat should have made it cooperative. Once you get a grip, start peeling slowly and steadily. Keep applying heat to the area you're peeling as you go.
The key here is slow and steady. If you yank it too fast, you risk tearing the tint, leaving behind more of that annoying adhesive. And nobody wants more of that annoying adhesive. So, take your time. Imagine you’re unwrapping a very fragile, very sticky present.
What If It Starts Tearing? Panic? No!
Okay, deep breaths. It happens. The tint might decide it wants to split into a million tiny pieces. Don't freak out. Just go back to applying heat to the area where it tore. Sometimes, a little more warmth is all it needs to become cooperative again.
If a large piece tears off, leaving behind the dreaded film, don't despair. You’ll likely have a good amount of that sticky goo left behind. This is where the scraper and your soapy water come in. You can often scrape away larger sections of the remaining film after applying heat. Work in small, manageable sections. Trying to tackle the whole window at once is a recipe for frustration.

Dealing with the Sticky Residue: The Not-So-Fun Part
Ah, the adhesive. The bane of every DIY window tinter's existence. Even with the best heat and peel technique, you’re almost guaranteed to have some sticky residue left behind. It’s like that one friend who always leaves a bit of glitter everywhere. Annoying, but manageable.
Your first line of defense is that warm, soapy water. Spray the residue generously, let it soak for a few minutes, and then gently try to scrape it away. You might need to use your scraper at a shallower angle here to avoid scratching the glass.
If the soapy water isn't cutting it, it's time to bring out the heavy hitters. A little bit of rubbing alcohol on a cloth can work wonders. Just dab it onto the residue, let it sit for a minute, and then try wiping or scraping again. It's surprisingly effective at breaking down that stickiness.
For really stubborn patches, you might need a specialized adhesive remover. Products like Goo Gone or WD-40 (yes, really!) are often recommended. Always test these in an inconspicuous area first, just to be safe, and follow the product's instructions carefully. Remember, ventilation is your friend when using these stronger chemicals. Open those doors!
The Scraper is Your Friend (But Also Your Enemy if You're Not Careful)
I know I’ve mentioned it a lot, but the scraper is critical. When you’re dealing with residue, you’ll be using it a lot. Hold it at a low angle to the glass. Think of it like you’re trying to gently shave off the sticky stuff, not dig into the glass. Patience is key here. You’ll get there. Eventually.

And again, if you’re using a metal razor blade, please be careful. A fresh blade is sharp and efficient, but it’s also unforgiving. Keep it flat against the glass. A dull blade can actually be more dangerous, as you’ll have to apply more pressure, increasing the risk of damage.
Alternative Methods: For When Heat Just Isn't Enough
Sometimes, no matter how much heat you blast, that tint just clings on for dear life. What then? Don't give up hope! There are a few other tricks up our sleeves.
The "Soapy Water Soak" Method
This is a bit more time-consuming, but it can be very effective, especially for older, more brittle tints that might not respond well to excessive heat. You're basically going to soak the tint to loosen its grip.
First, you’ll need to score the tint. Make a few small slits with your razor blade or a sharp utility knife. This allows the water to penetrate. Then, generously spray the window with warm, soapy water. You can even use a spray bottle and keep reapplying. Let it sit for a good 10-15 minutes (or even longer!). The goal is to let the water seep between the tint and the glass.
After soaking, try to peel up a corner. You might find it comes off in larger, more cooperative pieces. You’ll still need your scraper for residue, but this method can sometimes make the initial removal much smoother. It's like giving the tint a long, steamy bath before its eviction.
The "Steam Cleaner" Option
If you happen to have a handheld steam cleaner, you’re in luck! This is essentially an amped-up version of the hair dryer method. The consistent, moist heat from a steamer can be incredibly effective at loosening the adhesive.
Simply apply the steam to a section of the tint, hold it there for a bit until you see it start to bubble or lift, and then use your scraper to peel it away. Again, work in small sections. This method can be very efficient, but be sure to wipe away any excess water as you go to avoid drips and streaks.
A Word of Caution: What NOT to Do
We’ve talked about what to do, but let’s quickly touch on what to avoid. These are the mistakes that can turn a DIY project into a costly repair.
- Don't use ammonia-based cleaners: While they're great for cleaning windows, they can react with tint adhesives and make them even harder to remove. Plus, some window films can be damaged by ammonia. Stick to soapy water and rubbing alcohol.
- Don't use anything too abrasive: Steel wool, brillo pads, or anything that can scratch your glass is a big no-no. You want a clear view, not a frosted one.
- Don't rush: I know, I know, I've said it a million times. But seriously, impatience is the enemy of successful tint removal. Take your time, be methodical, and you'll thank yourself later.
- Don't forget about the inside: Most of these methods apply to the inside of the window too. Just be extra careful with your tools and liquids, as you don't want to damage your car's interior.
The Grand Finale: A Sparkling Clean Window
Once all the tint and residue are gone, it’s time for the final clean. Give your windows a good wash with your regular glass cleaner. A streak-free finish is the ultimate reward for all your hard work!
Admire your handiwork. You’ve conquered the tint! You’ve faced the sticky beast and emerged victorious. Give yourself a pat on the back. Maybe even treat yourself to a coffee – you’ve earned it. Now your car looks refreshed, and you’ve got a cool new skill in your DIY repertoire. Who knew wrestling with old window tint could be so… satisfying?