How Do You Change A Kitchen Tap
So, you've decided it's time. Your kitchen tap, that trusty old soldier, has started to whisper secrets in a language only you and maybe your cat understand. It drips with the rhythm of a forgotten disco beat. Or perhaps it spews forth water with the enthusiasm of a startled badger. Whatever the reason, you're staring at it, a feeling of vague dread and a surprising amount of curiosity bubbling up. You think, "How hard can it be to change a kitchen tap?"
This, my friends, is where the adventure begins. Forget the glossy DIY magazines. Forget the impossibly calm YouTube instructors with their perfectly organized toolboxes. This is a journey into the land of slightly damp overalls and the unexpected discovery of ancient civilizations under your sink. It’s a rite of passage, really. A test of your patience and your ability to reason with inanimate objects.
Let's be honest, the thought of tackling this might send a tiny shiver down your spine. You picture yourself wrestling with mysterious pipes, water erupting like a miniature geyser, and a growing pile of tools you've never seen before. But here's my unpopular opinion: changing a kitchen tap is not a Herculean task. It’s more like a mildly annoying puzzle with a very satisfying solution.
Must Read
First things first, the isolation. This is crucial. Think of it as giving your plumbing a spa day, a moment of peaceful quiet before the big transformation. You need to find those little handles, usually hiding like shy garden gnomes, that control the flow of water. They’re often tucked away, perhaps behind the sink unit or somewhere you’d least expect them. Embrace the treasure hunt!
Once you've located the valves, give them a gentle (or not so gentle, depending on their stubbornness) turn. Clockwise, usually. If you’re unsure, a quick tap on the pipe might reveal a muffled "nope" or a contented sigh, indicating you’ve found the right direction. Then, for good measure, turn on the old tap. A few sad dribbles should confirm your success. No gushing torrents means you're on the right track. This is your moment of triumph, however small.
Next, the tools. Ah, the tools. You’ll need a few things. A wrench is essential, of course. Not just any wrench, mind you. A good adjustable one. Think of it as the magical key to unlocking the mysteries of plumbing. You might also need some pliers, a screwdriver, and possibly a bucket. Because, let’s be realistic, a little bit of water is going to make an appearance. It’s like the universe’s way of saying, "I see you, brave DIYer!"
Now, for the uncoupling. This is where things get interesting. Underneath your sink, where your current tap lives, you'll find a network of pipes. They're like the plumbing equivalent of tangled headphone cords. There are usually a few nuts and bolts holding the tap in place. These are the grumpy gatekeepers of your old tap.
You’ll need to get your wrench in there. It might be a tight squeeze. You might have to contort yourself into shapes previously only known to Olympic gymnasts. This is where the bucket comes in handy. Place it strategically. You’re aiming for those nuts. They might be a bit crusty. They might have seen better days. They might be bonded by years of water-borne friendship.
This is the point where you might start to question your life choices. "Why didn't I just call a plumber?" you might ask yourself. It's a fair question. But then you remember the sheer joy of accomplishment. The smug satisfaction of knowing YOU did this. You conquered the grumpy gatekeepers. You are a plumbing warrior.
Once those nuts are loosened, and I stress loosened, not necessarily removed completely at this stage, you can start to wiggle the old tap. It might feel like it’s fused to the sink. It might put up a fight. This is its last act of defiance. Be firm, but don’t use brute force. Think of it as a gentle negotiation. "Come on, old friend," you might whisper, "it's time to retire."
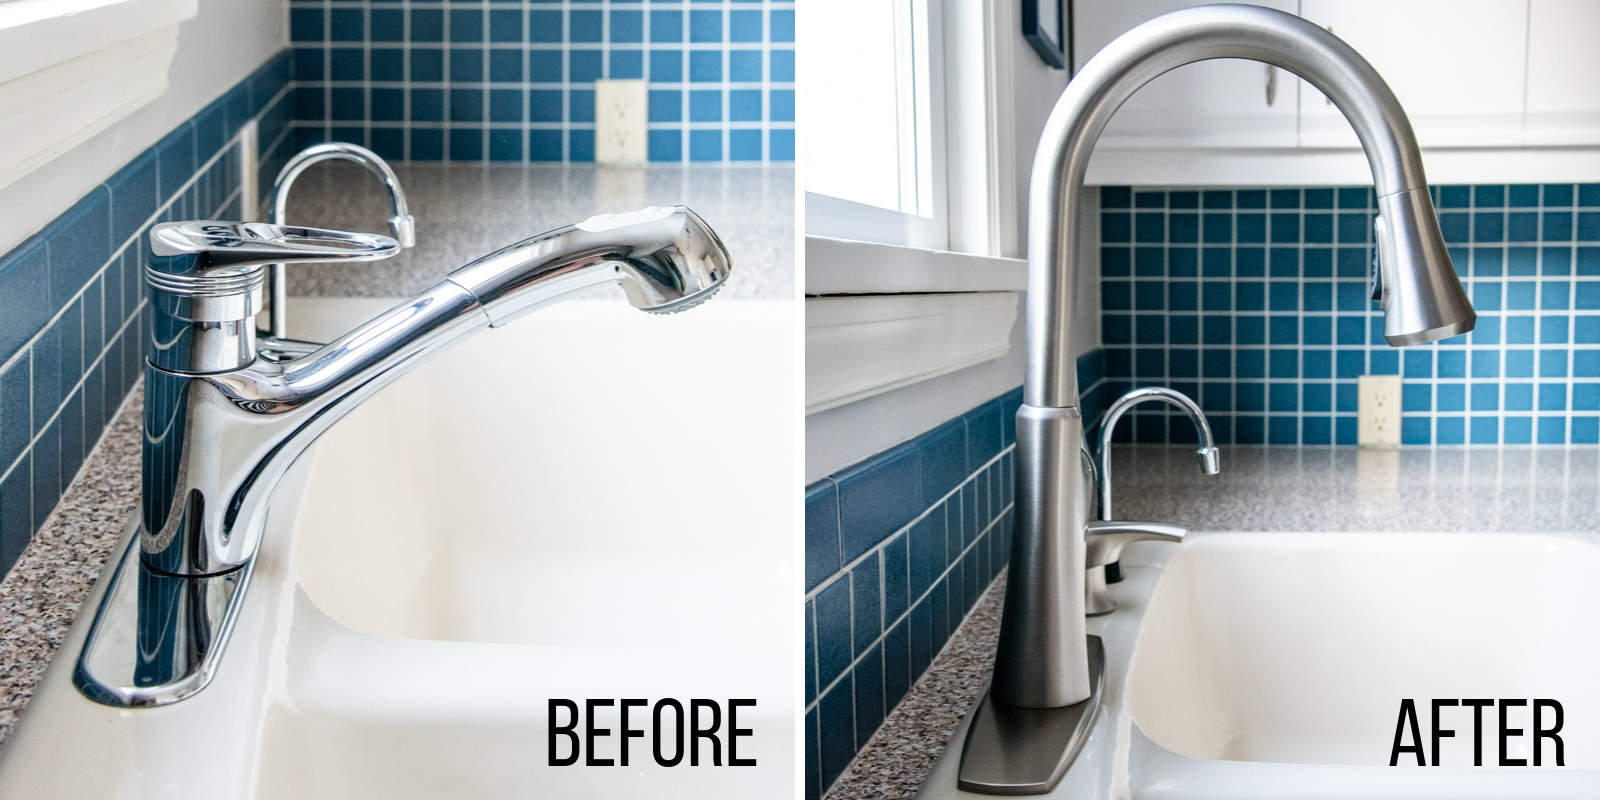
Eventually, with a final, triumphant heave (or a subtle shift in weight), the old tap will come free. Congratulations! You’ve officially removed the old guard. Take a moment to admire your handiwork. You might have a slightly damp hand, a smudge of grime on your cheek, but you’ve done it. The space where the old tap once stood is now a blank canvas.
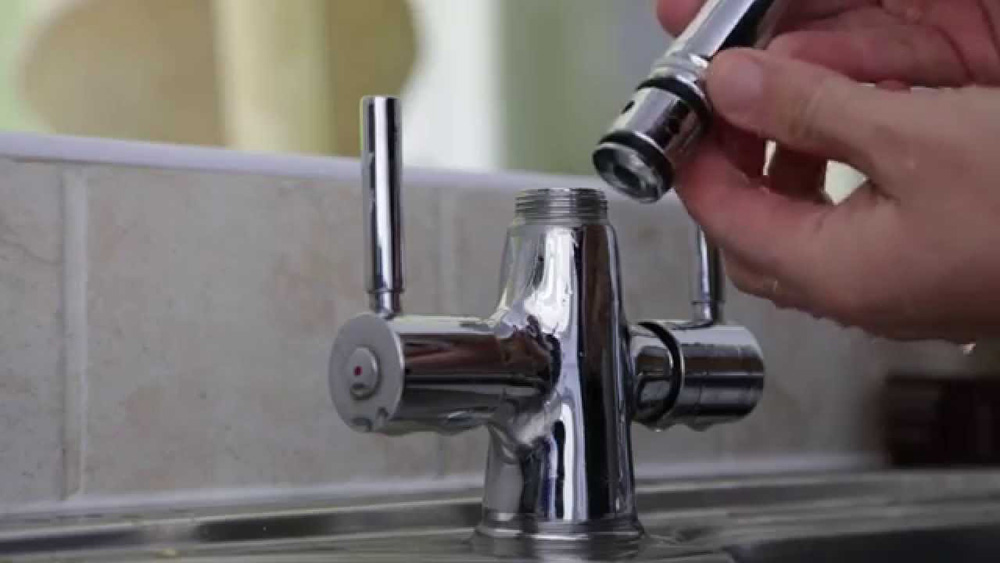
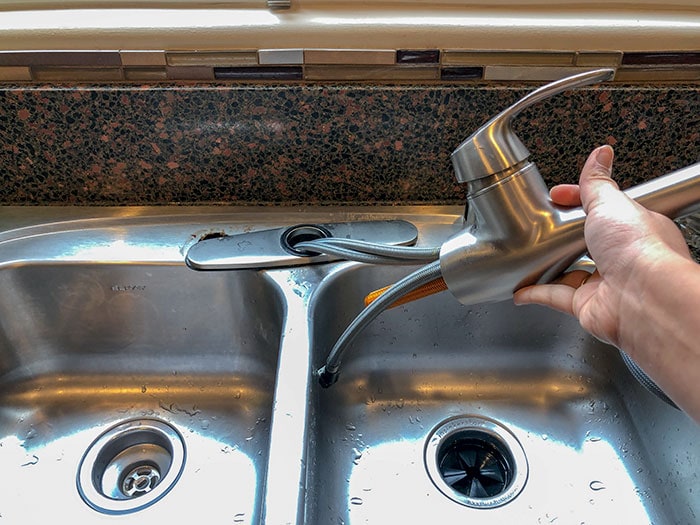
Now, for the star of the show: the new tap. Unpack it carefully. Admire its shine. It’s probably much sleeker and more modern than the one you just retired. It’s got dreams of a better, less drippy life. It’s ready to serve. It’s ready to sparkle.
The installation process is essentially the reverse of the removal, but with a hopeful, new beginning vibe. You’ll likely have some new nuts and bolts to contend with. They are usually much friendlier than their predecessors. They come with instructions, which is a novel concept in the world of DIY plumbing, I know.
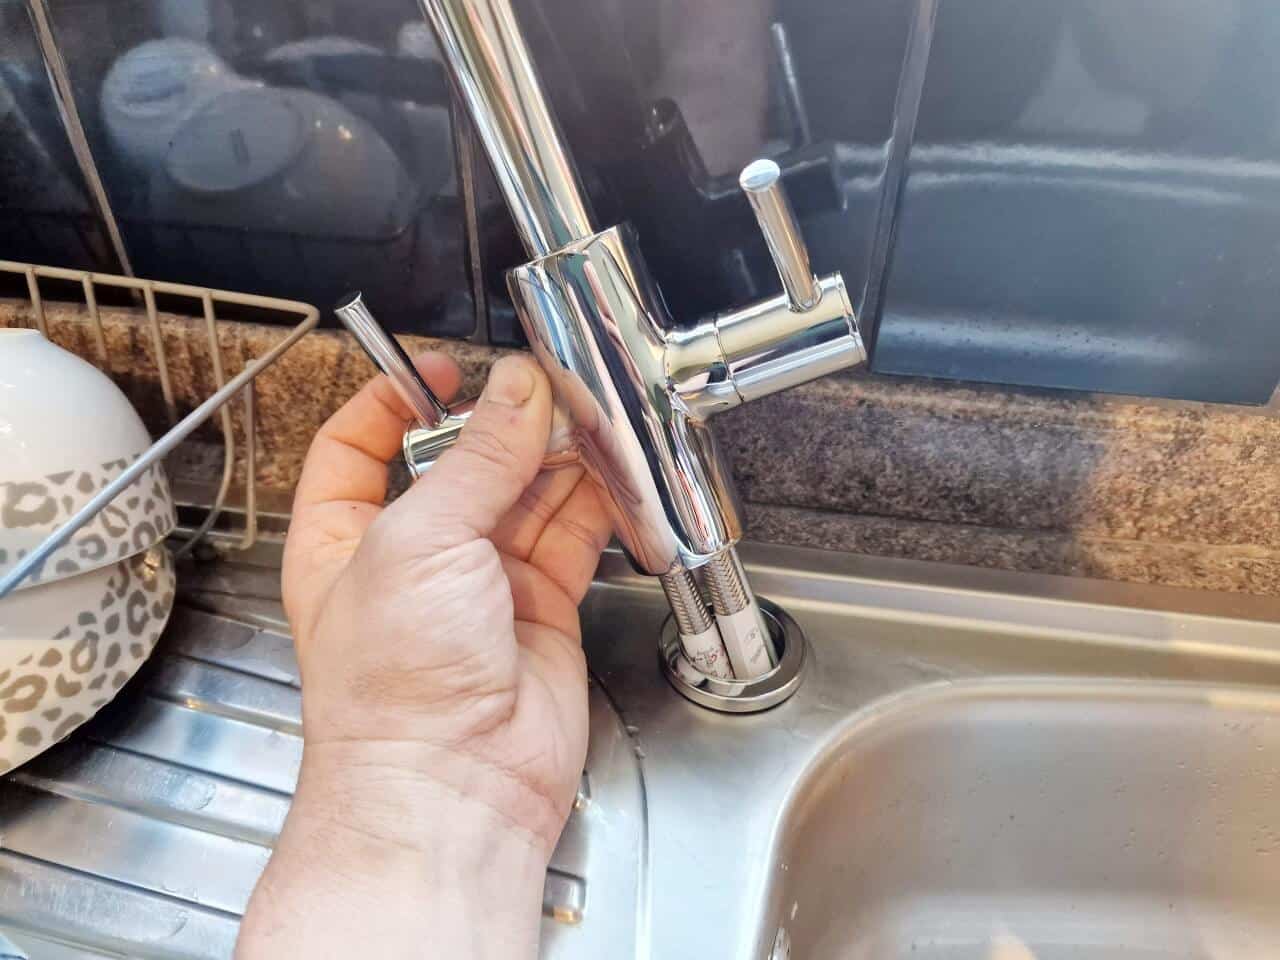
Feed the pipes of your new tap through the holes in the sink. This is the moment of truth. It should slide in relatively smoothly. Then, from underneath, you’ll start reattaching those nuts. Again, hand-tighten first. This is a good practice. It prevents cross-threading and future plumbing headaches. We’re aiming for a stress-free future here.
Once everything is hand-tight, it's time for the wrench again. Gently tighten those nuts. You don't want to over-tighten. That can cause cracks or damage. It's like dating: firm, but not forceful. Find that sweet spot where it feels secure.
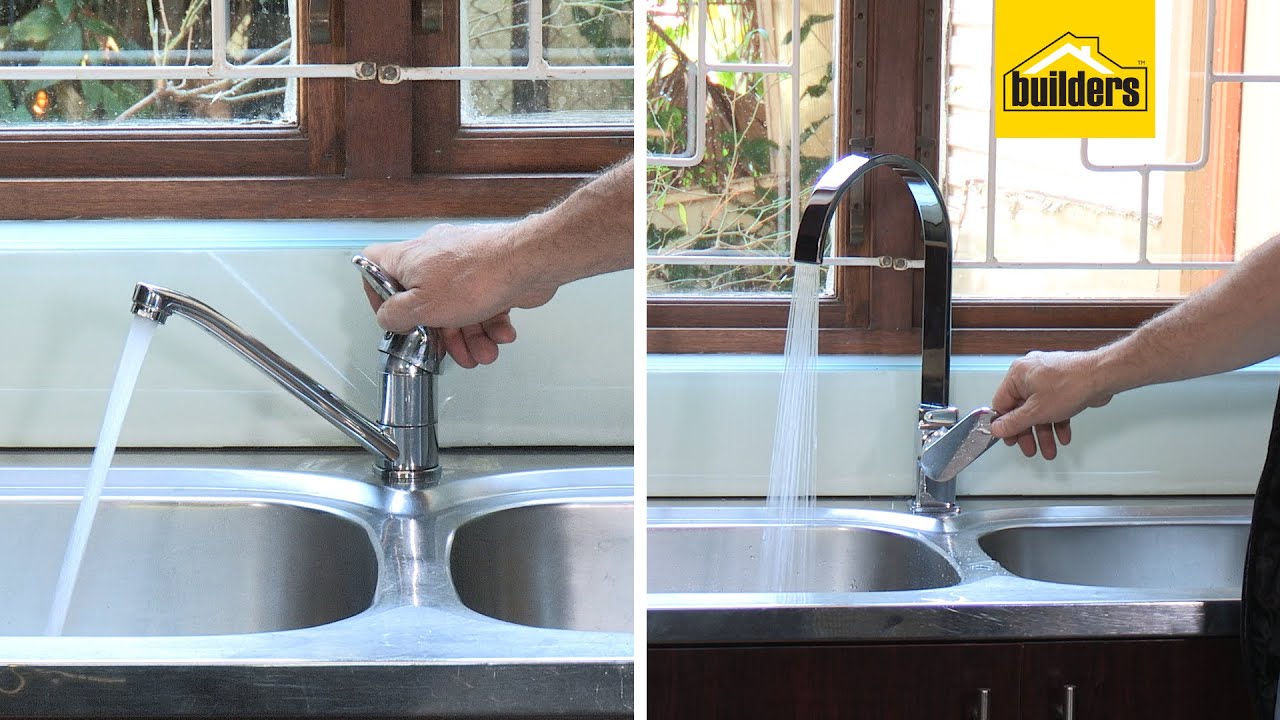
Now, the grand finale. You’re going to turn those water valves back on. Slowly. Observe. Listen. You’re listening for the gentle hum of water, not the angry hiss of a leak. Turn on your brand new tap. Watch the water flow. Is it a steady stream? Does it turn off cleanly? Does it look majestic? It probably does.
And there you have it. You’ve done it. You’ve changed your kitchen tap. You’ve faced the plumbing beast and emerged victorious. You have a functioning, non-dripping, non-badger-spewing tap. You’ve saved yourself a plumber’s fee. You’ve gained a newfound respect for the humble wrench. And most importantly, you’ve proven that you, yes YOU, are capable of more than you thought.
So next time your tap starts to misbehave, don't despair. Remember this adventure. Remember the slightly damp overalls and the triumphant turn of the wrench. Remember the simple, everyday magic of transforming your kitchen with your own two hands. It’s not just about changing a tap; it’s about changing your perception of what you can achieve. And that, my friends, is a truly wonderful thing.

Of course, if all else fails and you find yourself knee-deep in water with a look of sheer panic on your face, there’s always the plumber. But at least you can say you gave it a go. And that, in itself, is a victory. A slightly wet, but still very real, victory.
The satisfaction of seeing that new tap gleam, knowing you were the architect of its installation, is a feeling that’s hard to beat. You’ve added a touch of modern flair to your kitchen, and a whole lot of confidence to your DIY repertoire. So go forth and conquer those taps!
It’s a simple act, really, but it feels monumental. You’ve tamed the water beast. You’ve brought order to the chaotic plumbing under your sink. And you’ve got a shiny new tap to show for it. What’s not to love about that?
Consider this your official permission to feel incredibly proud of yourself. You’ve earned it. Now, go enjoy that beautifully flowing water. Perhaps with a cup of tea made from that very same, newly installed, wonderful tap. You deserve it.
And who knows, this might be the start of something bigger. You might find yourself looking at other plumbing challenges with a glint in your eye. A leaky shower head? A stiff toilet flusher? Bring them on! You’re a tap-changing warrior now!
But for today, let’s just celebrate the tap. The humble, yet essential, kitchen tap. You’ve given it a new lease on life. And in doing so, you’ve given your kitchen a little bit of a lift too. It’s a win-win situation. A truly magnificent plumbing win.
So, there you have it. The not-so-terrifying, surprisingly entertaining, and ultimately rewarding journey of changing a kitchen tap. It’s a story of courage, a little bit of grime, and a whole lot of satisfaction. And that, I think, is something worth smiling about.
Remember, the best tool for the job is often a good attitude and a willingness to learn. And maybe a spare towel.
This is your chance to shine, to prove your mettle. It’s your moment to be the hero of your own kitchen saga. So grab that wrench, take a deep breath, and let the adventure begin!
And if you happen to find any forgotten coins or particularly interesting bits of gunk under there, well, that’s just part of the charm. It's like uncovering ancient artifacts. Plumbing archeology, if you will.
So, the next time you’re faced with a dripping tap, remember this. It’s not a daunting task; it’s an opportunity. An opportunity for accomplishment, for learning, and for a fantastic new tap. Go get 'em!