How Do You Apply Toner To Hair
Ah, hair toner. That magical potion that transforms your hair from "I've-been-to-the-beach-too-long-and-now-I'm-a-little-yellow" to "Oh, that's the shade I was going for!" If you've ever dyed your hair, especially to lighter shades, you've probably encountered this mythical creature. And if you haven't, well, buckle up, buttercup, because we're about to demystify the art of applying toner, all without making you feel like you need a chemistry degree.
Let's be honest, the world of hair color can feel like a labyrinth designed by a mischievous sorcerer. You start with a clear vision, a Pinterest board full of dreamy blonde locks, and then BAM! Reality hits, and you're sporting a hue that could best be described as "newly hatched chick" or "overcooked spaghetti." This is where toner swoops in, like a stylish superhero, ready to save the day. It's not about changing your hair color from brown to purple (that's dye, a whole other adventure!), but more about refining the color you already have. Think of it as the final dusting of ✨ sparkle ✨ on your hair masterpiece.
So, how does this little miracle worker actually get onto your head? It's not exactly rocket science, though sometimes it feels like we're performing a delicate experiment in our own bathrooms. The goal is to neutralize those unwanted brassy, yellow, or orangey tones that love to creep in after bleaching. It’s like hitting the "undo" button for hair color gone rogue.
Must Read
The Pre-Toner Pep Talk: What You Need to Know
Before we dive headfirst into toner application, let's have a little chat. This is the "get ready, set, go" moment, but with less running and more carefully measuring.
First things first, have you bleached your hair? If your hair is still its natural, gorgeous shade, toner probably isn't your friend. Toner works on hair that has been lightened, typically to a pale yellow stage. Think of it like painting a canvas. You wouldn't paint a masterpiece on a dirty, unprimed surface, right? You need that lightened base for the toner to do its magic.
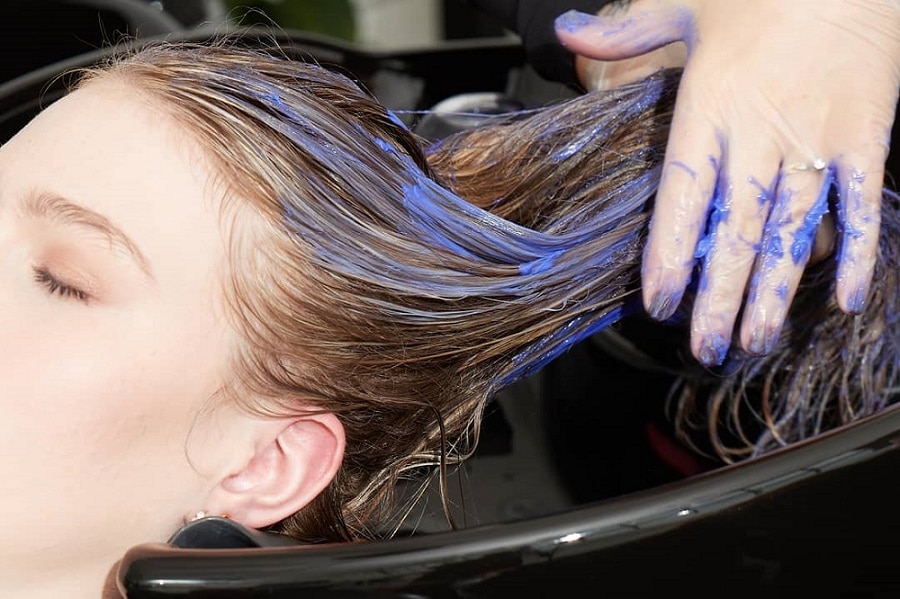
Next, what color are you trying to achieve? Toner isn't a one-size-fits-all deal. If you're aiming for icy blonde, you'll likely need a violet-based toner. Going for a cooler, ashier blonde? You might be looking at a blue-based toner. It's like choosing the right filter on your favorite photo app – you pick the one that best complements your existing vibe. Too much of the wrong toner, and you might end up with a hint of "Smurf hair," which, unless that's your jam, isn't usually the end goal.
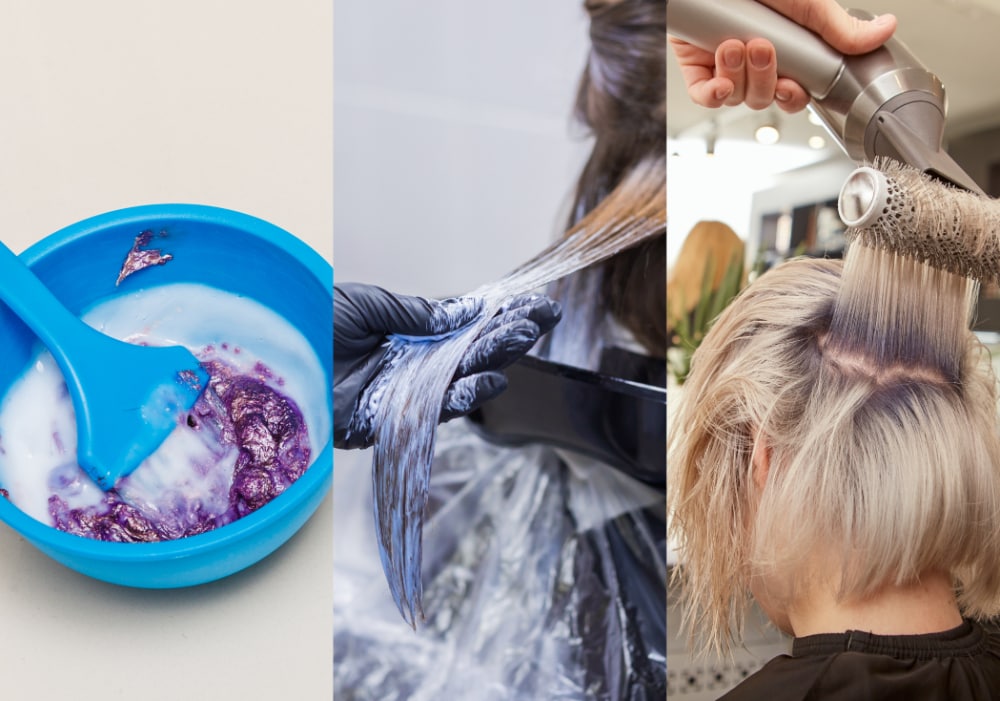
Gather your supplies. This is crucial. Don't be that person who realizes mid-toner application that they're missing a key ingredient. You'll need your toner, of course. This usually comes in a tube, looking a bit like fancy toothpaste. You'll also need a developer. This is the stuff that activates the toner. Think of it as the spark that ignites the toner's power. Developers come in different volumes (10, 20, 30, 40). For toner, you almost always want a low-volume developer, like a 10 or 20. Using a high-volume developer is like trying to cook a delicate souffle with a blowtorch – not recommended. You’ll also need mixing bowls (plastic, people, plastic!), applicator brushes (the kind your stylist uses), gloves (because nobody wants stained hands), and an old towel or t-shirt to protect your clothes.
The Great Prep: Setting the Stage for Success
Alright, now for the actual pre-game ritual. This is where you prepare your hair and your sanity for the toner journey.
Wash your hair, but don't condition it. This is a bit of a weird one, I know. Most toners work best on clean, dry, or slightly damp hair. Why no conditioner? Because conditioner is like a protective shield for your hair, and we want the toner to penetrate that shield and do its job. So, shampoo it like you mean it, but then rinse and towel dry until it's just a little damp. Some people prefer to apply toner to dry hair; this can result in a more intense tone. For a gentler application, slightly damp hair is the way to go. It’s like choosing between a full-on spotlight and a soft ambient glow.
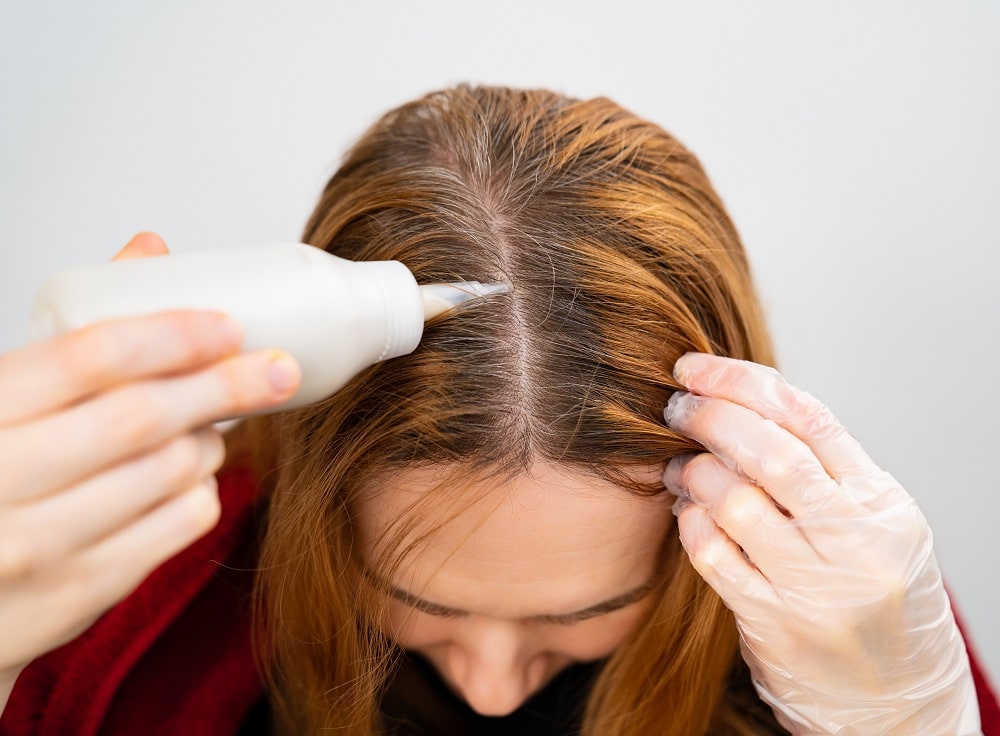
Section your hair. This is not the time to go rogue and slop toner on haphazardly. Trust me. Grab some clips and divide your hair into manageable sections. Think four to six sections, depending on how thick your hair is. This ensures even application, which is key to avoiding patchy, "did you do this in the dark?" results. Imagine frosting a cake – you wouldn't just dump the frosting on one spot, right? You’d spread it evenly. Same principle applies here.
Gloves on! Seriously, put on those gloves. Toner can stain your skin, and those purple or blue streaks aren't as chic on your hands as they are on your hair. Some people even apply a thin layer of Vaseline or a barrier cream around their hairline and ears to prevent staining. It’s like putting on a bib before tackling a plate of spaghetti – a sensible precaution.
The Main Event: Slapping on That Toner
Here we go! This is the moment of truth, the hair-dyeing equivalent of defusing a bomb (but way more colorful and less life-threatening).
Mix the toner and developer. Follow the instructions on your toner's packaging like it’s the secret recipe to Grandma’s famous cookies. Generally, you'll mix a certain amount of toner with an equal amount of developer (a 1:1 ratio is common). Stir it gently with your applicator brush until it’s a smooth, creamy consistency. You want it to look like a thick, luxurious conditioner, not watery soup. If it looks too thin, you might have overdone the developer. If it looks like cement, you might need a smidge more developer.
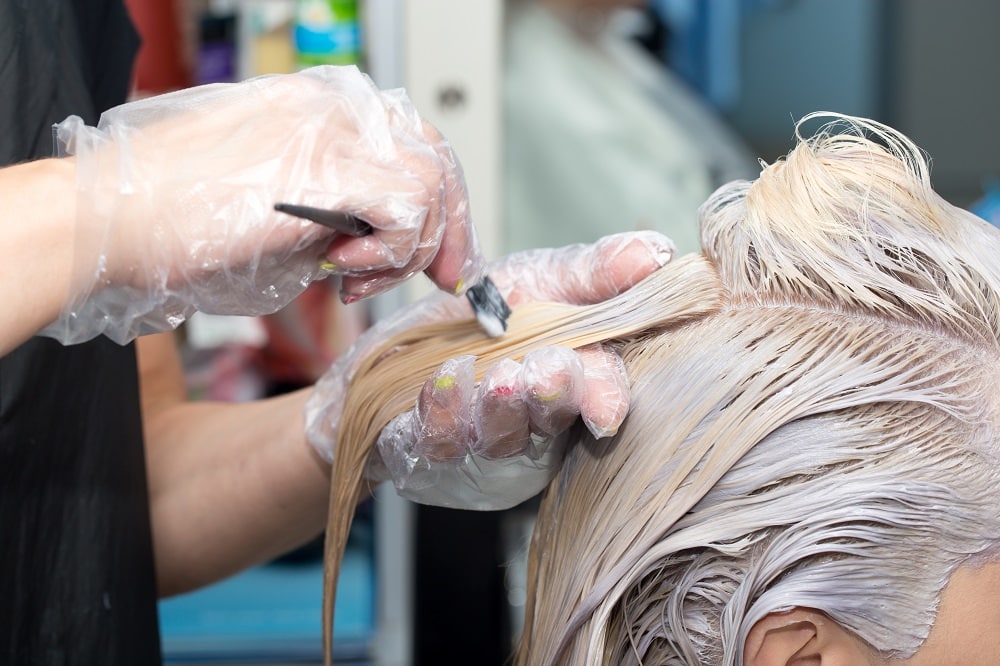
Start applying. Working section by section, start applying the toner mixture to your hair. Begin at the roots and work your way down to the ends. Use your applicator brush to ensure every strand is coated. Think of it like painting with a very fine brush, making sure you get into all the nooks and crannies. Some people like to use their gloved hands to really massage the product in, ensuring saturation. Don't be afraid to really get in there!
Be thorough! This is where that sectioning comes in handy. You don't want to miss any spots, especially if you're trying to tone your entire head. Pay extra attention to the areas that are the most brassy or yellow. If you have any dark spots or streaks that you want to tone down, make sure you saturate those areas well. It's like making sure every single piece of popcorn in the bowl gets a good coating of butter and salt.
The Waiting Game: Patience is a Virtue (and a Hair Color Necessity)
Now comes the hardest part for most of us: waiting. It's like watching a kettle boil when you're craving tea, or waiting for your pizza to arrive when you're starving.
Set a timer. The processing time for toner can vary significantly depending on the product and your hair's porosity. Most toners will have a recommended processing time, usually somewhere between 10 and 30 minutes. Don't just guess! Set a timer and check your hair periodically. This is where you might want to peek in the mirror every 5-10 minutes. You’re looking for the unwanted yellow or brassy tones to disappear and the desired shade to emerge. It's a bit like watching paint dry, but with the exciting potential for a fabulous hair transformation.
Don't over-process! This is crucial. Leaving toner on for too long can actually dry out your hair or, in some cases, cause it to become a bit purple or blue if you’re using a violet-based toner and it’s left on too long. It’s a delicate balance. If your hair starts looking a bit too… toned, it might be time to rinse. You can always add more toner, but you can’t easily take it away!
The Grand Finale: Rinsing and Revealing
You've done it! You've bravely embarked on the toner journey, and now it's time to see the fruits of your labor.
Rinse thoroughly. Once your timer goes off or you’re happy with the tone, it’s time to rinse. Use cool or lukewarm water. Rinse until the water runs clear. This might take a while, especially if you have longer hair. Make sure all the toner is out. You don't want any residual product hanging around.
Shampoo and condition. Now you can finally use your conditioner! A good, moisturizing conditioner is your best friend after toning. It helps to replenish moisture that might have been stripped during the bleaching and toning process. Some people opt for a purple or blue shampoo and conditioner afterwards to maintain their tone, but for the initial rinse, a regular, nourishing conditioner is great.
Admire your work! Step back, grab a mirror, and behold your fabulous, toned hair! You’ve transformed it from "eek!" to "oooh la la!" You’ve successfully applied hair toner, and you should be incredibly proud of yourself. It’s like mastering a new recipe or finally conquering that complicated IKEA furniture – a major win!
Troubleshooting: When Things Go a Little Sideways
Even with the best intentions, sometimes things don't go exactly as planned. Don't panic!

Too Yellow/Brassy? If you rinse and your hair is still a little too yellow, you can try applying the toner again. This time, you might want to let it sit for a few minutes longer, or ensure you're really saturating those yellow areas. It’s like giving a second coat of paint to a stubborn wall.
Too Purple/Blue? If you've accidentally gone a bit too "cool," don't despair. This usually fades over a few washes. You can also try washing your hair with a clarifying shampoo, which can help to lift some of the excess toner. Alternatively, you might need to apply a toner with opposite undertones to neutralize the purple/blue. For example, if it's too purple, a yellow-toned toner might help cancel it out. This is where understanding color theory comes in handy, but for a quick fix, time and gentle washing are often your best bet.
Uneven Tone? This is the most common issue. If you have patchy spots, you can try a spot-treatment with toner. Apply it only to the areas that need it, and keep a close eye on it. This is where having some leftover toner mixture can be a lifesaver. It’s like a touch-up on a paint job.
My Hair Feels Dry! Toner, especially when combined with bleach, can be drying. Make sure you're using deep conditioning treatments regularly. Hair masks are your new best friends. And always remember to use heat protectant when styling your hair.
Applying hair toner at home might seem daunting, but it’s a totally achievable feat for anyone who wants to refine their blonde or lightened hair. It’s a bit of an art, a bit of science, and a whole lot of "fingers crossed!" Just remember to read those instructions, be thorough, and don't be afraid to do a strand test if you're feeling nervous. You’ve got this, and soon you’ll be rocking that perfectly toned hair like a pro! So go forth, embrace the toner, and let your fabulous hair shine!

