How Do I Unscrew A Stuck Screw

Okay, confession time. I once spent an entire Saturday wrestling with a single, stubborn screw. Yes, one screw. It was on a ridiculously ornate antique picture frame that my significant other absolutely adored. The glass had cracked, and I, in my infinite wisdom and boundless DIY confidence, declared, "I'll fix it!" Famous last words. This particular screw seemed to be fused to the wood, a tiny metal tyrant holding my beloved's cherished memory hostage. I tried everything. My trusty screwdriver felt like a butter knife against its steely resolve. I may have even, and I'm not proud of this, resorted to a bit of… aggressive persuasion involving a hammer. Let's just say the frame did not survive that particular encounter unscathed. But that, my friends, is how I learned the true, painful, and often hilarious art of the stuck screw. And today, I'm sharing my hard-won wisdom with you, so you don't have to relive my shame.
We've all been there, right? That moment when you're so close to finishing a project, fixing something, or just trying to get into that annoying battery compartment, and then BAM! The screw just… stops. It tightens, it loosens a millimeter, and then it's like it's cemented in place, mocking your efforts with its sheer immovability. It's infuriating! It's humbling! It makes you question your entire toolbox and your life choices that led you to this very moment.
The Silent Scream of the Stuck Screw
So, why do screws get stuck in the first place? It’s usually a combination of factors, like a perfect storm of metallic misery. Sometimes, it’s just good old friction. The threads have dug themselves in really, really well. Other times, it’s corrosion – rust, especially in metal-to-metal situations, can create a bond stronger than a teenager's grip on their phone. Then you have stripped heads, where the screwdriver just spins uselessly, like a hamster on a broken wheel. Or, the screw might be slightly bent, jamming itself against the material.
Must Read
Whatever the reason, the result is the same: a tiny metal obstacle that feels like it has a personal vendetta against your ability to complete even the simplest task. It's the universe's way of reminding you that it’s not always about brute force. Sometimes, it’s about being a little bit clever. Or at least, a little bit less clumsy than I was with that picture frame.
Let's Get Practical: Your Stuck Screw Survival Guide
Alright, enough with the war stories. Let’s dive into the trenches and actually do something about these little rebels. We're going to go from gentle coaxing to more… assertive measures. Think of this as a graduated approach to screw extraction. No need to reach for the jackhammer just yet. (Though, if you've got a really, really stuck screw, I understand the temptation.)
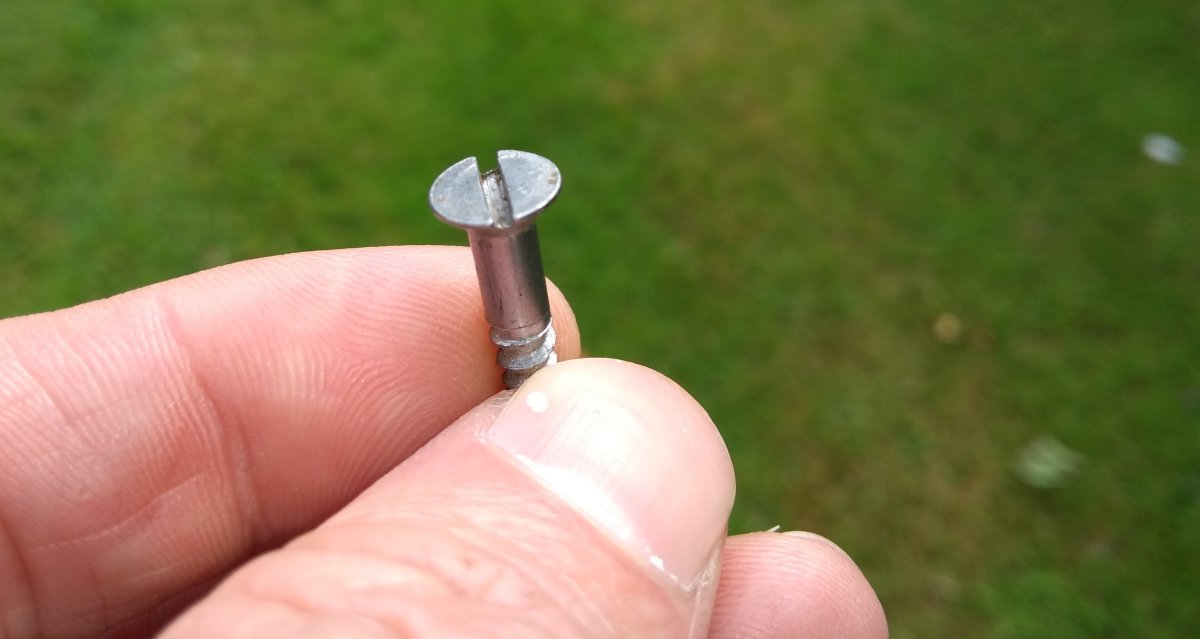
Step 1: The Gentle Touch – Screwdriver Savvy
Before you go all Hulk on it, let's make sure you're using the right tool for the job. This sounds obvious, I know, but you’d be surprised. Is it a Phillips head? A flathead? A Torx? Using the wrong screwdriver is a fast track to stripping the screw head, and then you've just escalated the problem. You’ve gone from "stuck screw" to "stripped and stuck screw." Congratulations, you played yourself.
Once you have the correct screwdriver, apply firm, downward pressure. This is crucial. You want the screwdriver to bite into the screw head, not slip out and make things worse. Imagine you're trying to push the screw in a tiny bit while you turn it counter-clockwise. This can sometimes help break the initial seal. Try a slow, steady turn. Don't just yank it with all your might. Gentle, consistent pressure is key here.

If it's still not budging, try a few gentle taps on the end of the screwdriver handle with a hammer. Not a full-blown, send-it-through-the-wall smash, but a few sharp raps. This can sometimes shock the threads loose. It’s like a little percussive encouragement. Think of it as a friendly nudge from your trusty tool.
Step 2: The Lubrication Station – Giving it Some Slip
Okay, so the screwdriver isn't performing miracles on its own. Time to bring in the cavalry: lubricants. These are your best friends when it comes to reducing friction. For most household situations, penetrating oil is the go-to. WD-40 is the classic, but there are other brands out there too. Just a small spray or a few drops directly onto the screw head and where it meets the material.
Now, the hard part: waiting. These oils need time to work their magic and seep into those tiny gaps. I'm talking at least 15-30 minutes, but for really stubborn cases, I’ve left it overnight. Yes, overnight! Patience is a virtue, especially when dealing with recalcitrant fasteners. While you're waiting, maybe go make a cup of tea, read a chapter of a book, or contemplate the vastness of the universe and why screws were invented in the first place. You know, the usual.
After the waiting period, try the screwdriver again. Apply that same firm downward pressure and turn slowly. If it moves even a little bit, keep going. Don't stop to celebrate until it's completely out! If it’s still stuck, you might need to reapply the lubricant and give it more time. Persistence is your middle name now.
Step 3: Heat and Cold – The Thermal Trickery
This is where things get a little more advanced, but sometimes, a good thermal shock can be just the ticket. Heat can cause metal to expand, which might break the bond. A hairdryer on its highest setting, directed at the screw for a few minutes, can work. Be careful, though, especially if you're working with wood or plastic that could be damaged by excessive heat. You don't want to accidentally set your project ablaze, do you? That would be a whole other kind of DIY disaster.
Alternatively, you can try cold. Freezing sprays, or even a bag of ice wrapped in a cloth, can cause the metal to contract. This can also help break the bond. Again, be mindful of the surrounding materials. This method is often more effective in metal-to-metal situations.
After applying heat or cold, try turning the screw immediately. The rapid temperature change can be the key to loosening its grip. You might hear a little crack or pop as the bond breaks. That's the sound of victory, my friends!
Step 4: The Grip of Power – Pliers and Vice Grips
What if the screw head is a little too rounded or damaged for your screwdriver to get a good grip? This is where pliers come in. If the screw head is protruding enough, you can try to grip it firmly with a pair of locking pliers (Vise-Grips). Clamp them down as tightly as you can onto the head, then slowly twist the pliers counter-clockwise. This gives you a much more substantial grip than a screwdriver.
You’ll need to really put some muscle into it here. It’s not the most elegant solution, but when you’re staring down a screw that refuses to budge, elegance goes out the window. Think of it as a wrestling match with a tiny metal opponent. You’re going for the takedown.
If you’re using regular pliers, make sure they have good teeth for grip. Flat-jawed pliers might slip more easily. The key is to get a solid, unwavering hold on that screw head.

Step 5: The Last Resort – Screw Extractors and Drilling
Now we’re entering the "serious business" phase. If all else fails, and you're starting to get that familiar feeling of despair creeping in, it's time to consider screw extractors or, as a last resort, drilling. Screw extractors are specialized tools designed to bite into a stripped screw head and allow you to turn it out. They usually require drilling a small pilot hole into the center of the screw first.
There are different types of extractors, but the general idea is that they have a reverse thread. You drill your hole, insert the extractor, and then turn it counter-clockwise. As it bites into the metal, it will hopefully start to unscrew the damaged screw. This method can be very effective, but it does require a drill and some precision. You don't want to drill too deep and damage what the screw is holding.
If even the extractor fails, or if you don't have one, the final, ultimate weapon is the drill bit. You’ll need a drill bit that is slightly smaller than the shaft of the screw. The goal here is to drill straight down the center of the screw, essentially destroying it and allowing you to remove the material it's holding together. This is a destructive method, so it's definitely a last resort. You’ll likely need to replace the screw afterwards, and possibly repair the surrounding material if the drilling is a bit messy.
When drilling, go slow and steady. Use a metal drill bit if you’re drilling into metal. Keep the drill straight. If you’re really struggling, don’t be afraid to watch a few YouTube tutorials specifically on using screw extractors or drilling out screws. Visual aids can be incredibly helpful here.
A Few Extra Tips from Your Fellow Screw-Struggler
1. Take a Break: If you're getting frustrated, step away. Seriously. Go for a walk, do something else for an hour. Come back with fresh eyes and a calmer demeanor. You’ll be surprised how much easier it is when you're not fuming.

2. Safety First: Always wear safety glasses. You never know when a screw head might unexpectedly break, or a drill bit might slip. Protect those peepers!
3. The Right Tool for the Job (Again!): I know I’ve said it, but it bears repeating. A good quality screwdriver with a well-fitting tip is worth its weight in gold. Invest in decent tools, and you’ll save yourself a lot of headaches.
4. Prevention is Key: This applies to future projects. Use the right screws for the job, don't overtighten them, and consider using a bit of anti-seize compound on threads in areas prone to corrosion or high heat. A little bit of preventative maintenance goes a long way.
5. Know When to Call for Backup: Sometimes, a screw is just beyond your capabilities, or the item you’re working on is too valuable or delicate to risk. There’s no shame in calling a professional. They have specialized tools and experience that can often solve problems quickly and efficiently. Think of it as outsourcing your frustration.
Dealing with a stuck screw can be one of those deeply frustrating, yet ultimately rewarding, DIY challenges. It tests your patience, your problem-solving skills, and sometimes, your commitment to a particular project. But when you finally hear that satisfying ungh-click as the screw comes free, there’s a sense of accomplishment that’s hard to beat. It’s a small victory, sure, but it’s a victory nonetheless. So, the next time a screw decides to play hard to get, remember these tips. And if all else fails, just remember my picture frame anecdote. It might make you feel a little bit better about your own struggles. Happy unscrewing!

