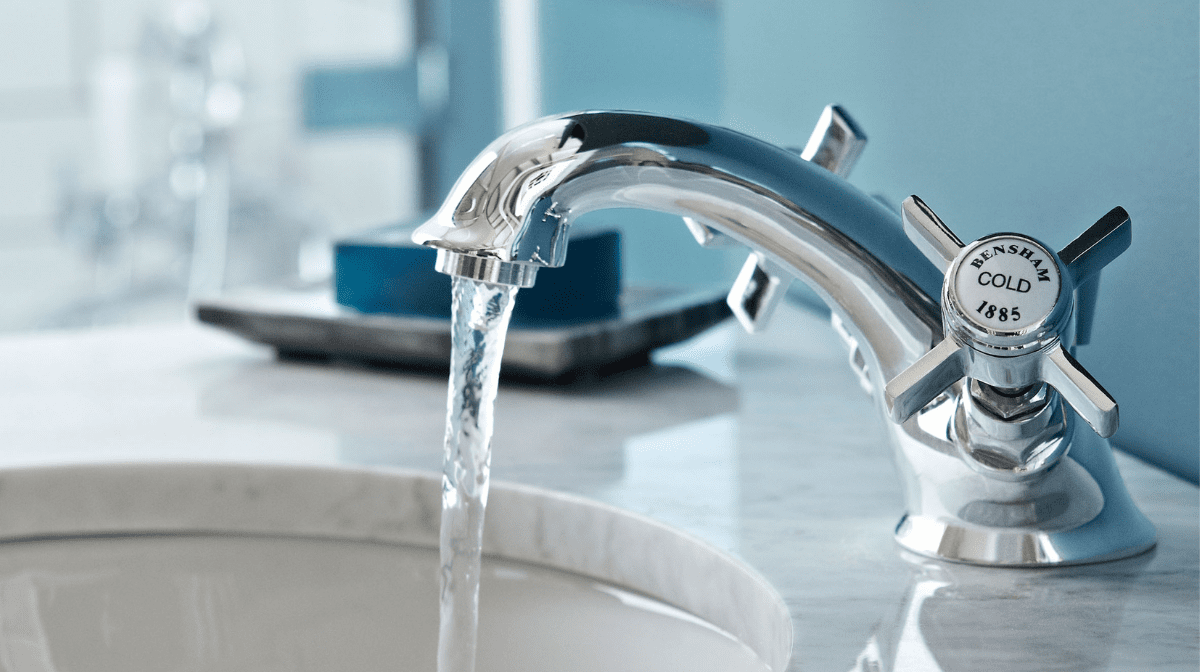
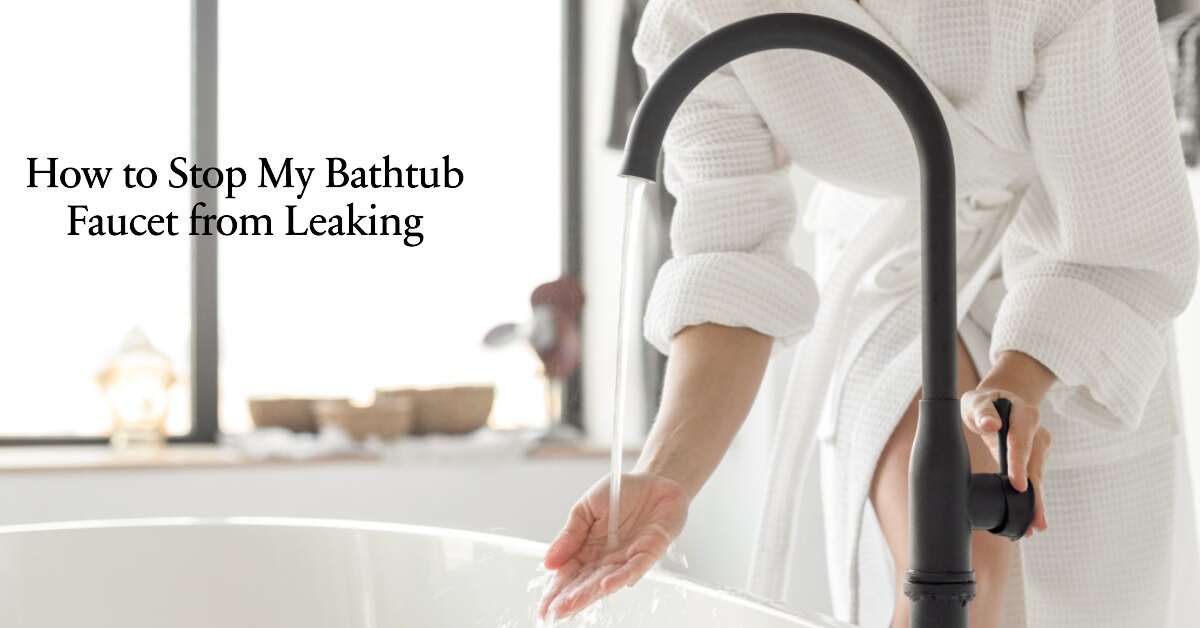
How Do I Stop A Dripping Tap

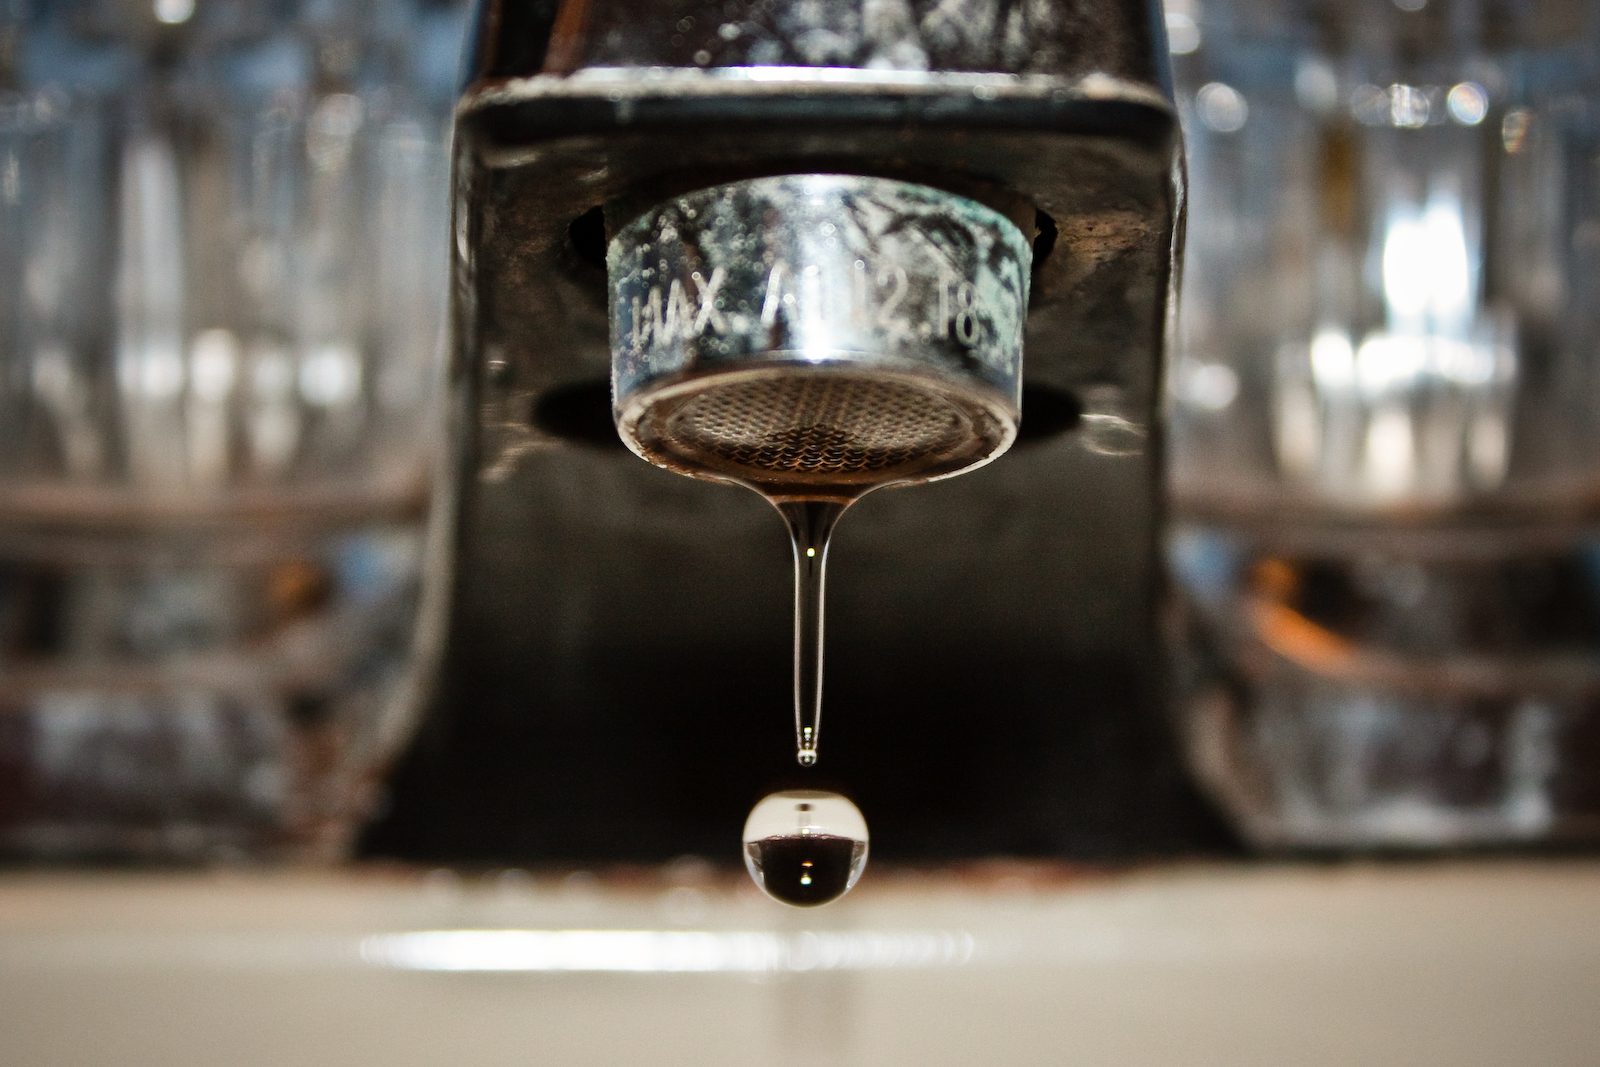
Ah, the dreaded drip. That relentless, maddening drip, drip, drip that echoes through your otherwise peaceful abode like a tiny, aquatic torture device. It’s enough to make you want to wear noise-canceling headphones to bed, or perhaps develop a newfound appreciation for white noise machines. But fear not, brave homeowner! We’re about to embark on a quest, a noble endeavor to silence that watery fiend and reclaim your sanity, one drip at a time.
Think of your dripping tap as a miniature, very persistent saboteur. It’s like that one friend who always has one more thing to say, even when you're trying to get out the door. Except this friend is made of metal and plastic, and its only mission is to waste water and drive you bonkers.
But here’s the good news: you, yes YOU, can become the hero of your own bathroom (or kitchen, or laundry room!). You can be the one who finally tells that drip to take a hike, to find a new place to be annoying. It’s not some arcane magic that only plumbers possess. It’s a bit of common sense, a dash of bravery, and maybe a willingness to get your hands a little bit damp.
Must Read
So, let’s get this party started! Our mission, should we choose to accept it (and trust me, you totally should), is to transform your home from a symphony of drips into a haven of quietude. Imagine it: the gentle hum of the refrigerator, the soft rustle of pages as you read, the blissful absence of that incessant plink… plink… plink.
The Usual Suspects: What’s Causing This Watery Mischief?
Now, before we dive headfirst into fixing this, it’s helpful to know who our enemy is. Most of the time, a dripping tap is a cry for help from a weary washer or a rebellious valve seat. These are the unsung heroes (or villains, depending on your perspective) that control the flow of water. Think of them as the bouncers at the water club – they’re supposed to keep everyone out when the party's over, but sometimes, they get a bit… lax.
A washer is basically a rubber or neoprene ring. It’s designed to create a seal and stop water from escaping when the tap is turned off. When this little guy gets old, cracked, or worn down, it’s like a leaky sieve. No seal, no stop, just a persistent drip.
The valve seat is where the washer does its important sealing work. If the valve seat gets corroded or damaged, even a perfect washer can’t do its job. It’s like trying to seal a cracked glass – no matter how hard you press, it’s just not going to hold water.
Sometimes, it’s a simpler issue, like a loose handle or a faulty cartridge. These are like the smaller, less dramatic problems that can still cause a big headache. But don’t worry, we’ll tackle them all!

Step 1: The Great Water Shut-Off Adventure!
This is the most crucial step. It’s like putting on your superhero cape before you go into battle. You absolutely, positively, must turn off the water supply to the tap you’re working on. Trying to fix a dripping tap with the water still running is like trying to perform open-heart surgery in a hurricane. Messy, dangerous, and ultimately, futile.
You’ll usually find the shut-off valves underneath the sink. They’re typically little knobs or levers. Turn them clockwise as tight as you can. If you can’t find them, or if they’re stuck, you might need to shut off the main water supply to your entire house. This is usually located in the basement, garage, or sometimes outside near your water meter.
Once you’ve turned them off, do a little test. Turn on the tap you’re about to fix. A few drops might come out, and then it should stop completely. If it keeps flowing, you haven't conquered the water yet! Don't despair; just re-check those valves or consider calling for backup (which we’ll get to later).
Step 2: The Disassembly Dexterity Dance!
Now for the fun part: taking things apart! It’s like a puzzle, but with a much more satisfying reward. You'll need a few basic tools. A screwdriver (both flathead and Phillips, just in case), and some pliers are usually your best friends for this mission.
First, you'll want to remove the decorative cap on the tap handle, if it has one. This is often just a small, round piece of plastic or metal. You can usually pry it off gently with a flathead screwdriver. Underneath, you’ll find a screw holding the handle in place.
Unscrew that handle. It might be a bit stiff, so a little gentle wiggling might be required. Once the handle is off, you’ll see the internal workings. This is where the magic (and the potential for a drip) happens!
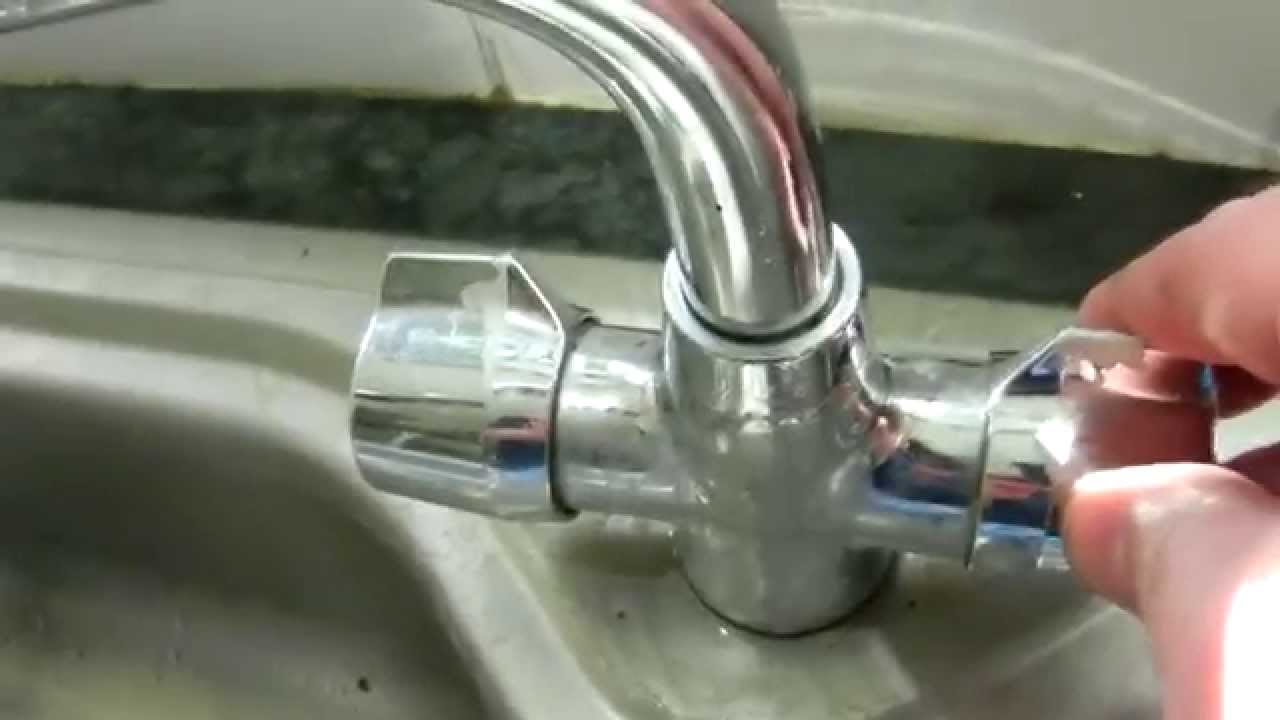
Depending on your tap’s style, you might need to remove a decorative cover or escutcheon. This often screws off or might be held in place by a retaining nut. Again, gentle is key! You don’t want to force anything and risk breaking it.
Step 3: Unmasking the Culprit: The Washer or Cartridge Revealed!
Once you've gotten past the handle and any covers, you'll get a clear view of what’s going on inside. If you have an older, more traditional tap, you’ll likely see a stem. This stem is what you turn to control the water flow, and it’s usually where the washer is located.
You’ll need to unscrew the entire stem assembly. This often requires a wrench or large pliers. Be prepared for a little bit of residual water to come out – that’s why we turned off the main supply! Just have a towel ready.
Carefully remove the stem. At the bottom of the stem, you should find a little rubber washer, usually held in place by a screw. This is our prime suspect!
If you have a newer, more modern tap, you might have a cartridge. This is a self-contained unit that controls both the hot and cold water. Cartridges are usually held in place by a clip or a retaining nut. Removing and replacing a cartridge can sometimes be a bit trickier, and you’ll want to make sure you get the exact replacement for your specific tap model. Don't worry, your local hardware store can be a treasure trove of guidance here.
Step 4: The Grand Replacement Operation!
If you've identified a worn-out washer, this is where you shine! Gently remove the old washer. It might be stuck, so a little prying with your screwdriver might be necessary. Note how it was positioned.
Take the old washer to your local hardware store. They have bins and bins of washers of all shapes and sizes! You want to get an exact replacement. Don't guess! Get the same diameter and thickness.
Once you have your shiny new washer, pop it onto the stem, securing it with the screw. Give it a little snug, but don’t overtighten. You don't want to damage your brand new washer before it even gets a chance to do its job.
If you're dealing with a cartridge, the process is similar but you’ll be replacing the entire unit. Make sure you have the correct cartridge for your tap model. It’s often best to take the old cartridge with you to the store to ensure a perfect match.
Step 5: Reassembly Rendezvous!
Now that you’ve successfully swapped out the faulty part, it’s time to put everything back together. This is the reverse of disassembly. Think of it as putting the puzzle back together, but this time, you know the picture!
Carefully reinsert the stem or cartridge. Make sure it’s seated properly. Then, reattach any covers or escutcheons. Screw the handle back on, and don't forget to put that decorative cap back in place.
The moment of truth is approaching! Take a deep breath. You’ve done it!
Step 6: The Glorious Water Restart!
Now, it’s time to turn the water back on. Go back to those shut-off valves underneath the sink (or your main house valve) and turn them counter-clockwise. Open them up slowly.
Once the water is flowing again, turn on the tap you just worked on. Watch it closely. Is it still dripping? Hopefully not! If it’s silent, congratulations! You are a drip-slaying champion!
If it’s still dripping, don’t panic! Sometimes, the valve seat might be the real issue, and that might require a bit more specialized tool called a valve seat dresser. Or, you might have a crack in the tap body itself, which is a rarer but more serious problem.
But for the vast majority of dripping taps, a simple washer replacement or cartridge swap is all it takes. You’ve just saved yourself a plumbing bill and the sanity of your household. Go forth and enjoy the glorious silence!
And hey, if you encountered any unexpected challenges, or if the drip persists, there's absolutely no shame in calling in a professional plumber. They’re the seasoned veterans of the plumbing world, and they can get even the most stubborn drips to surrender. But you, my friend, have taken your first heroic steps into the world of home repair. You’ve faced the drip and emerged victorious. Cheers to that!