Ever scrolled through Instagram and admired those cool, custom t-shirts with vibrant graphics? Or maybe you've seen unique artwork on tote bags, posters, or even skate decks? Chances are, a lot of that awesome stuff was brought to life using a technique called screen printing. And guess what? It's not just for big factories or professional artists. You can totally get in on the action and make your own screen prints, bringing your creative visions to life on all sorts of cool items!
Why bother learning screen printing when you can just buy things? Well, it’s incredibly rewarding to create something with your own hands, a tangible piece of your imagination. It’s a fantastic way to express your personal style, whether that's slapping your favorite band logo on a shirt, creating unique gifts for friends, or even starting a small business selling your designs. Plus, it's a surprisingly accessible craft. While it looks high-tech, the basic principles are straightforward, and with a little guidance, you can be well on your way to producing professional-looking prints.
The beauty of screen printing lies in its versatility. You can print on a huge range of materials – cotton, polyester, paper, wood, you name it! This means your creativity isn’t limited to just apparel. Think custom tote bags for your next event, personalized tea towels for your kitchen, or even unique art prints to adorn your walls. The ability to achieve bold, opaque colors, fine details, and even special effects like metallic inks or puff prints makes screen printing a favorite for both hobbyists and professionals.
At its core, screen printing is a stencil-based printing method. Imagine a sieve with a fine mesh. You create a stencil on this mesh, blocking out certain areas. Ink is then pushed through the open areas of the mesh onto your chosen surface. Simple, right? But the magic happens in how you create that stencil and apply the ink!
What You'll Need: Your Screen Printing Toolkit
Don't be intimidated by the list; you can start with a basic kit and expand as you get more into it. Here are the essentials:
Print screen print window - lulifan
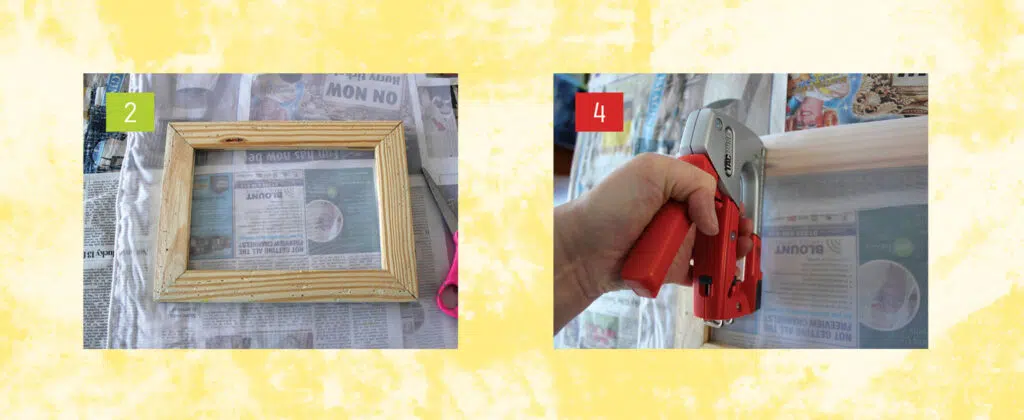
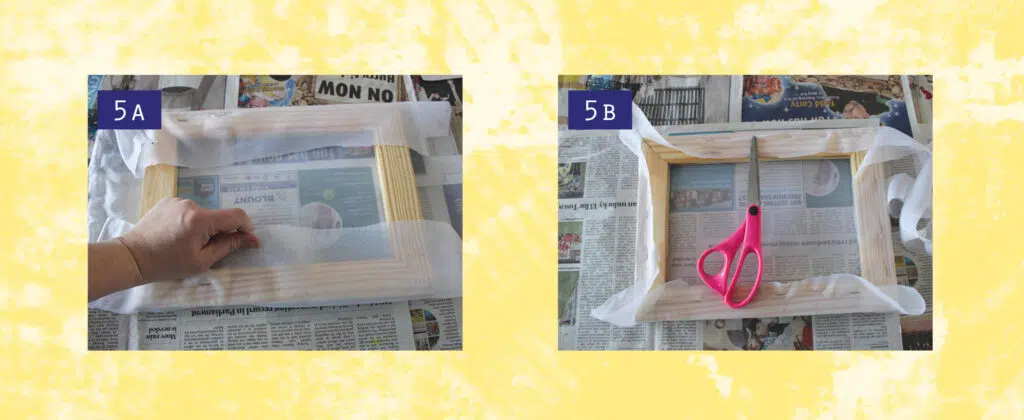
A Screen: This is usually a wooden or aluminum frame with a polyester mesh stretched tightly across it. The mesh count (threads per inch) determines the detail you can achieve – higher counts for finer details, lower counts for bolder prints.
Emulsion: This is a light-sensitive liquid that you coat onto the mesh. When exposed to light (in a controlled way, which we'll get to), it hardens and creates your stencil.
A Light Source: For hardening the emulsion and burning your design onto the screen. This could be a special exposure unit, a strong incandescent bulb, or even direct sunlight on a clear day (though be consistent with direct sunlight!).
Ink: Screen printing inks come in various types, like plastisol (great for fabric, durable, vibrant) and water-based (softer feel, eco-friendlier, good for paper and some fabrics).
A Squeegee: This is a rubber blade attached to a handle, used to push the ink through the screen. The hardness of the rubber (durometer) affects how much ink is applied.
Your Design: This needs to be created on a transparent film (like acetate or a special transparency film) that will block light where you want your design to be open on the screen.
A Base or Printing Surface: Whatever you plan to print on – a t-shirt, a tote bag, paper, etc.
A Workspace: Ideally a well-ventilated area, as some materials have fumes.
The Process: Step-by-Step Magic
While there are variations, the general process looks like this:
Step 1: Prepare Your Design. Create your artwork digitally or by hand. Print your design in solid black ink onto a transparent film. Remember, the black areas on your film will be the areas where ink passes through to your printing surface.
How to Make a Screen Print: 12 Steps (with Pictures) - wikiHow
Step 2: Coat Your Screen with Emulsion. In a dark or dim room (emulsion is light-sensitive!), coat your screen evenly with emulsion. Let it dry completely. This might take a few hours, and a fan can help.
Step 3: Expose Your Screen. This is where your design becomes a stencil. Place your transparency film with your design onto the dried, coated screen. Then, expose the screen to your light source. The light hardens the emulsion everywhere except where the black ink on your film blocked the light. This creates the open areas for your ink.
Step 4: Wash Out Your Screen. After exposure, gently wash the screen with water. The unhardened emulsion (where the light was blocked by your design) will wash away, leaving you with a perfectly stenciled screen!
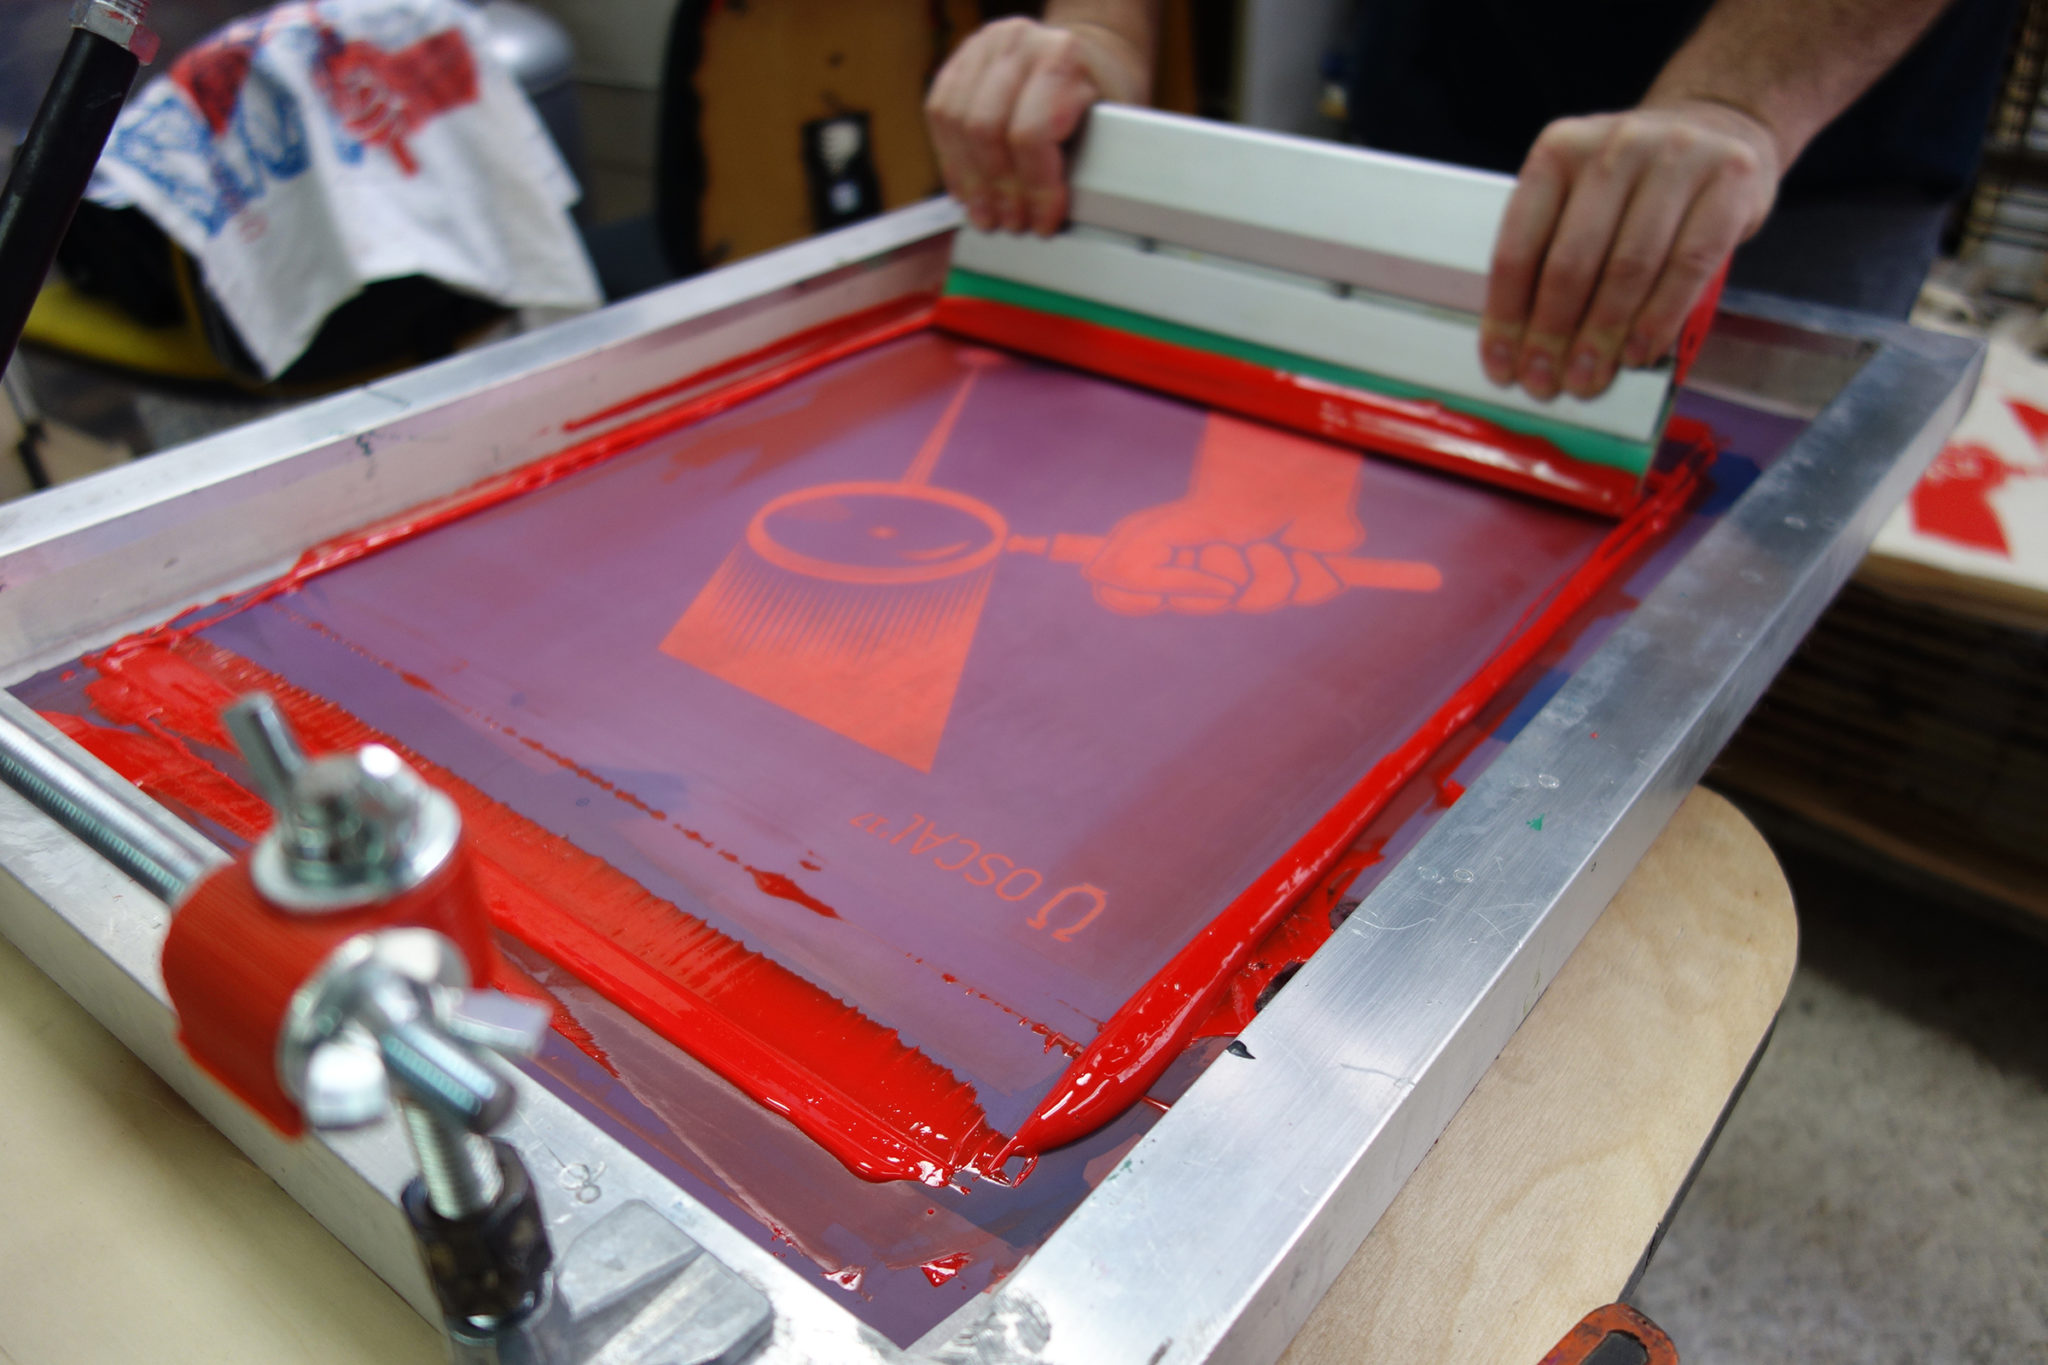
Step 5: Print! Secure your screen over your item (e.g., a t-shirt). Apply a line of ink to the top of the screen. Using your squeegee, firmly pull the ink across the screen, pushing it through the open stencil areas onto your item. You might need a couple of passes to get good coverage.
How to Make Screen Print Transfers: Step-by-Step Tutorial
Step 6: Cure Your Ink. This is crucial for durability, especially with fabric inks. Plastisol inks usually require heat to cure (like a heat gun or flash dryer). Water-based inks might air dry or require a gentler heat cure.
It might sound like a lot, but each step is quite manageable. Many beginner kits come with pre-sensitized screens or simpler methods to help you get started. The initial learning curve is about understanding how the light and emulsion interact and mastering that squeegee pull. But once you nail it, the possibilities are endless. You’ll be looking at everyday objects and thinking, “I could print on that!”
So, if you're looking for a creative outlet that’s both fun and functional, dive into the world of screen printing. It’s a tactile, rewarding process that allows you to put your unique stamp on the world, one printed item at a time. Get ready to embrace your inner printmaker!