How Do I Do A Home Pedicure
You know, I’ve always been a bit of a reluctant spa-goer. The thought of being surrounded by all those hushed whispers and the faint scent of eucalyptus just… intimidates me, I guess? Like, what if I accidentally ask for a "soak" in a voice that sounds suspiciously like a foghorn? Or worse, what if my feet, after a long winter cooped up in socks, are just not ready for their close-up in a brightly lit salon? So, for years, my toenails remained a mystery to the outside world, peeking out only in the darkest corners of my sandals during a rare summer day. Then, one particularly dreary Tuesday, I was staring down at my feet, which looked like they’d been through a mild forest fire (don’t ask), and I had a revelation. Why was I letting my feet live in shame? And more importantly, why was I paying someone else to sort them out when I had perfectly good hands… and, well, feet… right here?
That was the moment the home pedicure bug bit me. Hard. And let me tell you, it’s been a journey. A journey filled with surprisingly satisfying results, a few minor mishaps (involving way too much cuticle remover, but we’ll get to that), and a whole lot of newfound foot confidence. So, if you're like me, a little intimidated by the salon scene or just craving a bit of pampering without leaving your comfy couch, then pull up a virtual chair, my friend, because we’re about to embark on the glorious adventure of the home pedicure together. Forget the fancy jargon; this is about making your feet feel good, and looking pretty darn decent while they’re at it. Ready to give those toes the TLC they deserve?
The Pre-Pedicure Pep Talk (and What You Actually Need)
Before we dive into the nitty-gritty, let's have a little chat. Your feet are amazing. Seriously, think about all the miles they carry you. They deserve some respect, and frankly, a little bit of glamour. So, ditch any lingering self-consciousness. We’re on a mission to make them happy and healthy. And the best part? You don't need a professional kit to get started. Most of what you'll need is probably already lurking in your bathroom cabinets. If not, a quick trip to your local drugstore will set you up.
Must Read
So, what are we actually looking for? Think of it as gathering your superhero arsenal for foot rejuvenation. First up, we need something to soak those tired soles in. A nice basin or even your bathtub will do the trick. Then, for the actual cleansing part, we’ll need some gentle soap. Nothing too harsh, we don't want to strip all the natural goodness away. Now, for the slightly more intense stuff: exfoliation! A good foot scrub is your best friend here. You can buy one, or get creative with a DIY mix. More on that later!
Next, we need to tackle those cuticles. A cuticle pusher and maybe some cuticle remover are key. Don't go overboard with the remover, though; it's potent stuff! And for the inevitable rough patches, a good old-fashioned pumice stone or a foot file is essential. Think of it as a gentle sculptor for your heels. Finally, the grand finale: polish! Grab your favorite nail polish, a topcoat, and a base coat. Oh, and a good nail file to shape those nails just right. A cotton pad or ball for cleanup, and maybe some nice moisturizer to seal the deal. That’s pretty much it! See? Not so scary, right?
Step 1: The Big Soak – Melting Away the Day
Alright, let’s get down to business. The first, and perhaps the most anticipated, step is the soak. This is where the magic begins. Find your comfiest spot, whether it’s your favorite armchair with a footstool or even the edge of your bathtub. Fill your basin or tub with warm water. Not scalding hot, mind you, but a nice, cozy temperature that feels like a warm hug for your feet. You want to relax, not boil them!
Now, here’s where you can get a little fancy. If you have some Epsom salts lying around, throw a generous handful in. They’re brilliant for soothing tired muscles and reducing any puffiness. Feeling extra? Add a few drops of your favorite essential oil. Lavender is always a winner for relaxation, but peppermint can be wonderfully invigorating if your feet are feeling sluggish. Even just a bit of bubble bath works wonders if that’s what you have on hand. The goal here is to create a little sanctuary for your feet, a brief escape from the world.
Submerge your feet and let them luxuriate for at least 10 to 15 minutes. This is your cue to switch off. Scroll through Instagram (but try not to compare your current foot state to those perfectly airbrushed ones!), read a book, or just close your eyes and listen to some calming music. You’ll feel your skin softening and the tension melting away. It’s like a spa treatment, but with better snacks and zero chance of being judged for wearing mismatched socks to get here. This step is crucial for softening the skin, making everything else so much easier. Don't rush it!
Step 2: The Great Exfoliation – Buffing Out the Rough Spots
Okay, your feet have had their spa treatment. They're soft, they're relaxed, and they're ready for the next phase: exfoliation. This is where we say goodbye to all those dry, flaky bits and hello to smooth, happy skin. If you have a store-bought foot scrub, now's the time to use it. Apply a good amount to your feet and start massaging it in, focusing on any particularly rough areas like your heels, soles, and the sides of your feet. Use circular motions, really getting in there.
No foot scrub? No problem! You can easily make your own. My go-to is a simple mix of sugar (white or brown, both work) and a carrier oil like olive oil, coconut oil, or even almond oil. Start with a 2:1 ratio of sugar to oil and adjust to your preferred consistency. You can even add a drop of essential oil for extra scent and benefits. Some people like to add a pinch of cinnamon for warmth or a bit of finely ground coffee for an extra exfoliating punch. Just be careful with coffee grounds in your drain – maybe do this over a towel!
Spend a few minutes really working the scrub into your skin. You should feel the grit gently sloughing away the dead skin. Once you’re done, rinse your feet thoroughly with warm water. You’ll immediately notice a difference. Your skin should feel noticeably smoother and softer. This is the secret to that post-pedicure glow. If you have very dry, cracked heels, you might want to follow this up with your pumice stone or foot file, but be gentle! We’re aiming for smooth, not raw.
Step 3: Taming the Cuticles – The Delicate Art
Now, onto the cuticles. This is where some people get a little nervous, but it’s really quite straightforward. First, pat your feet dry with a towel, making sure to get in between your toes. Then, apply a small amount of cuticle remover to each cuticle. Let it sit for the time recommended on the product, usually around a minute or two. Be patient and don't overdo it with the remover; it’s designed to soften, not dissolve!
Once the cuticle remover has done its job, gently push back your cuticles with a cuticle pusher. Use the curved end of the pusher and work your way around the base of your nail. Be gentle! The goal is to push back the excess skin, not to dig into it. If any bits of cuticle are really stubborn, you can try to gently trim them with cuticle nippers, but again, be super careful. Less is more when it comes to cuticle care. Over-trimming can lead to painful infections.
If you're not using cuticle remover, you can also try soaking your feet for an extra few minutes to soften them up before gently pushing them back. Some people swear by just a damp washcloth to gently push them back after soaking. The key is to be soft and deliberate. We want tidy cuticles, not injured ones! After you've pushed back and trimmed any necessary bits, give your nails a quick wipe with a damp cotton pad to remove any residue.
Step 4: Shaping Up – The Foundation for Flawless Polish
Before we even think about polish, we need to make sure our nails are in tip-top shape. Grab your nail file and get ready to work some magic. Start by deciding on your desired nail shape. For toenails, a straight edge is generally recommended to prevent ingrown nails. So, file your nails straight across.
When filing, always file in one direction. Sawing back and forth can weaken the nail and cause splitting. Gently file the edges to create a smooth, even shape. If you have any snags or rough edges, carefully file them down. Don't go too short! You want to leave a little bit of the white tip visible. Leaving your nails a healthy length is important for preventing breakage and ingrowns.

Once you’re happy with the shape, use your buffer to gently smooth out the surface of your nails. This helps to create a nice, even base for your polish and can give your nails a subtle shine even without polish. Just a few gentle strokes are all you need. After buffing, wipe your nails with a cotton pad and some nail polish remover to ensure they are completely clean and free of any dust or oils. This is vital for ensuring your polish adheres properly.
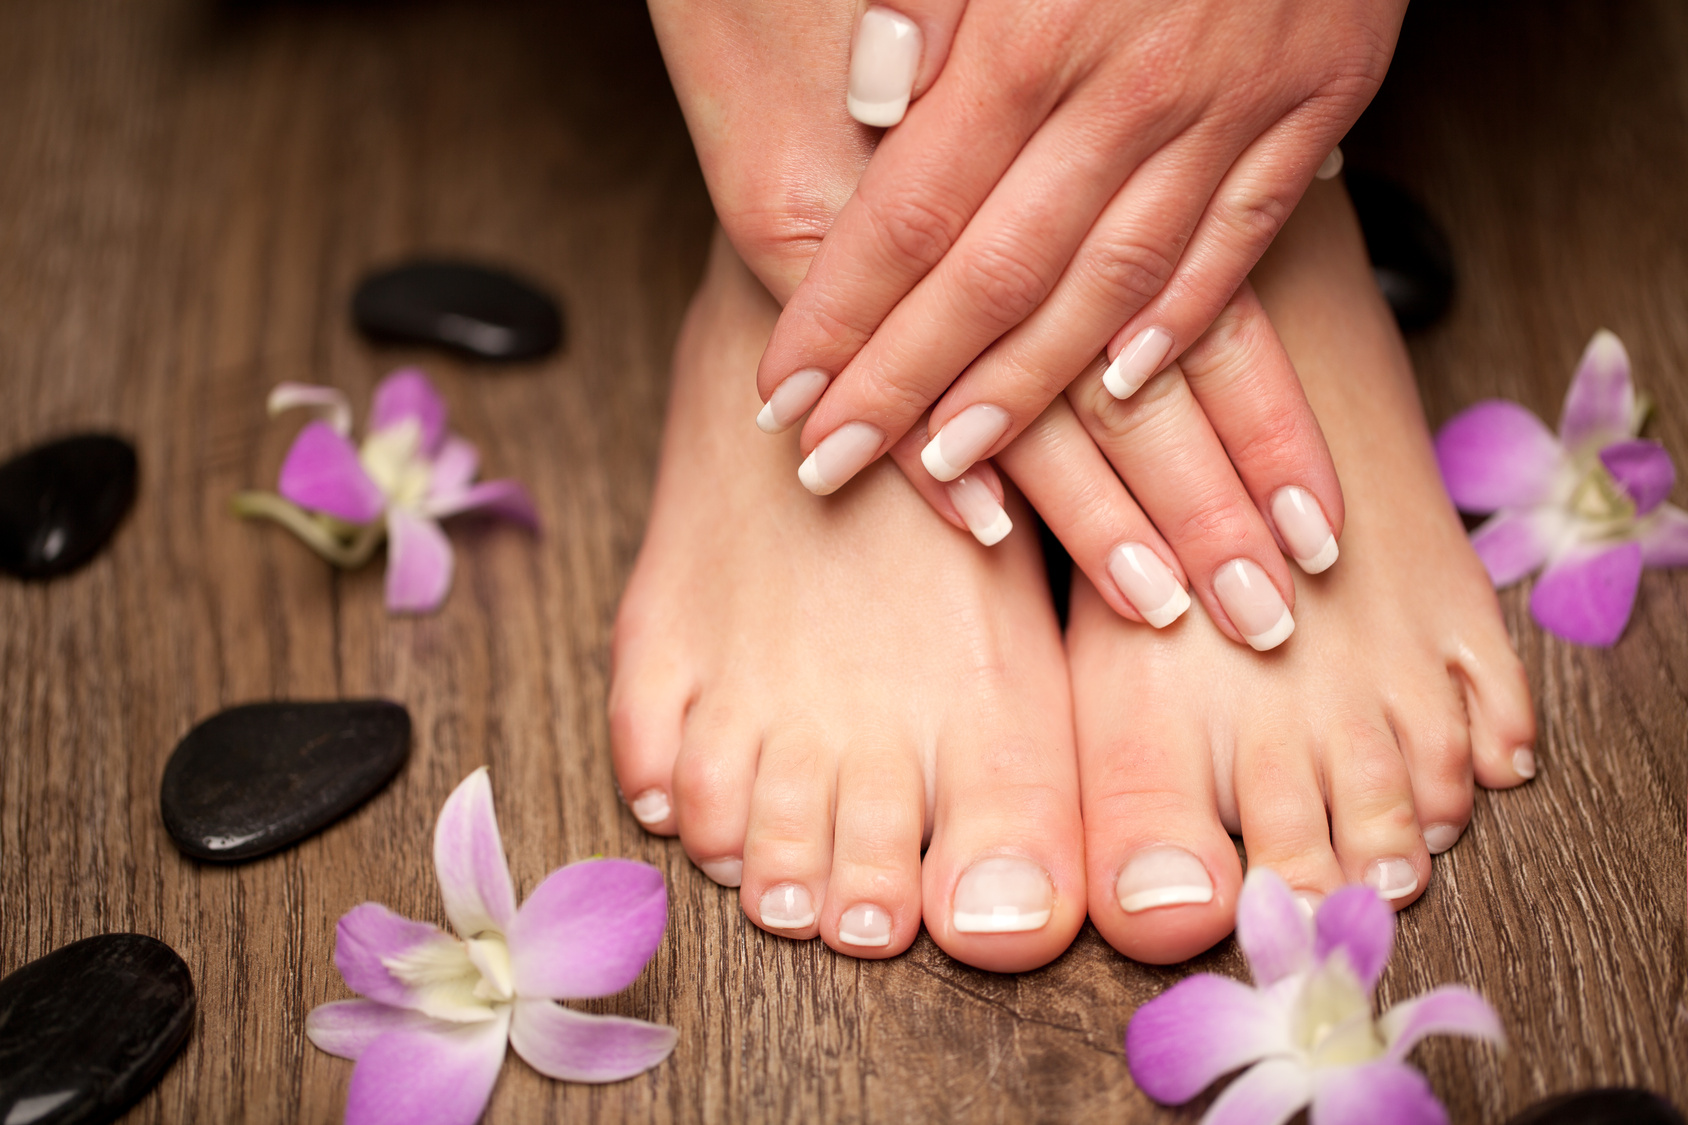
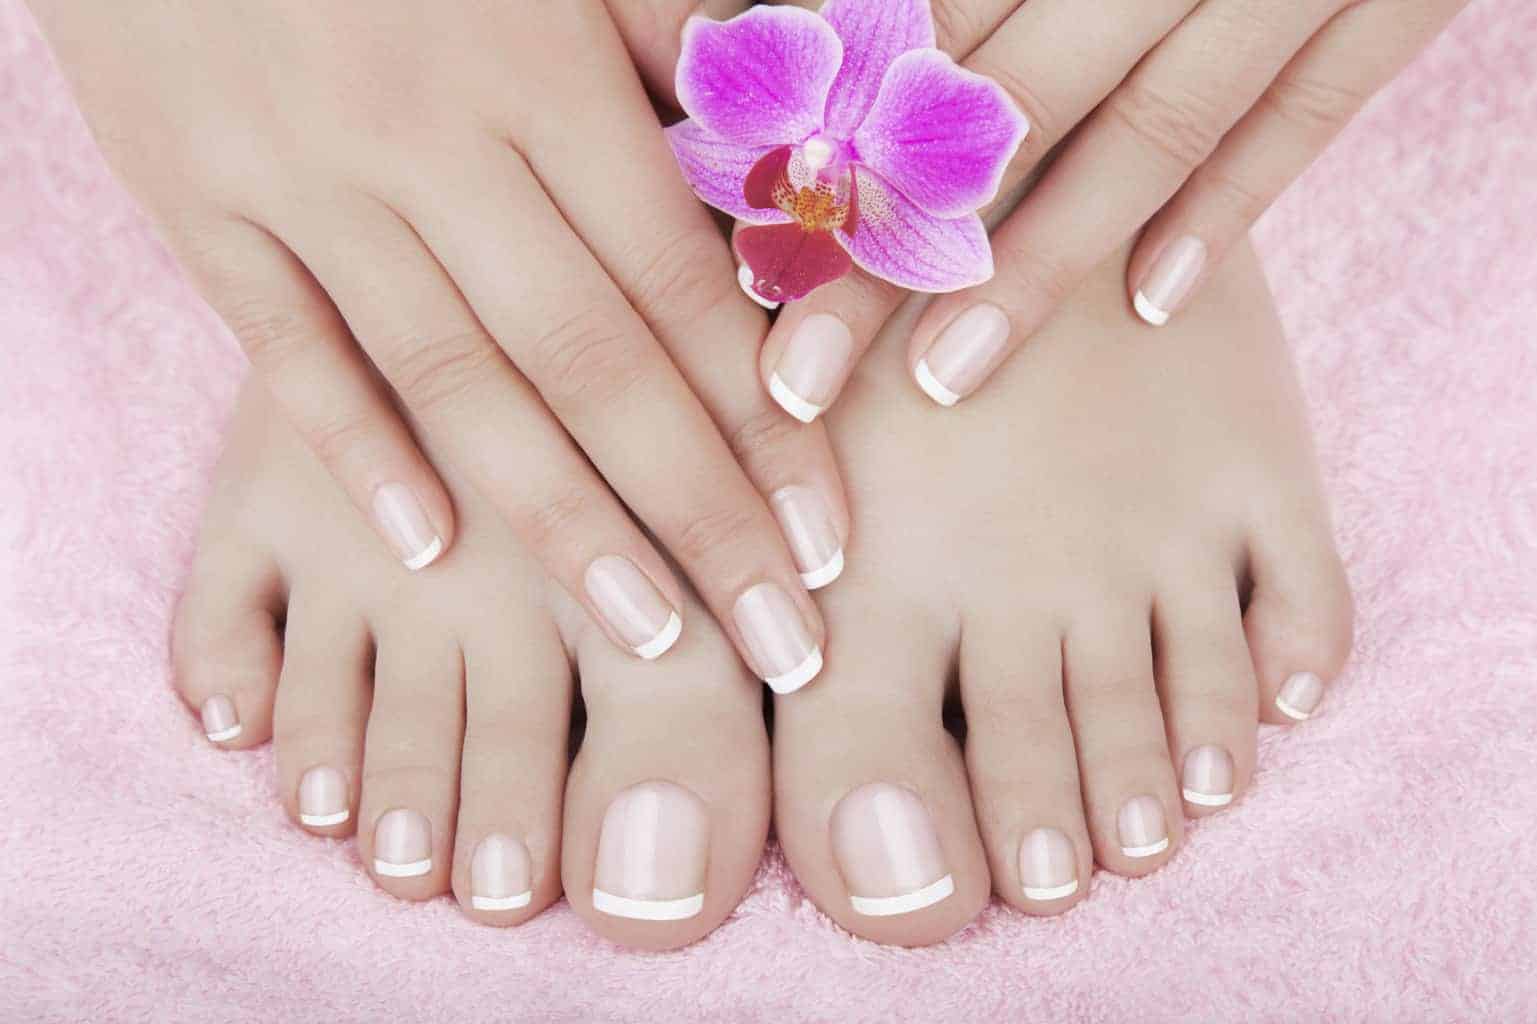
Step 5: The Polish Application – Color Me Happy!
This is the fun part! The moment we've all been waiting for. Make sure your nails are completely dry and free of any dust or oils. It’s time to apply your base coat. The base coat is your polish's best friend. It helps to prevent staining (especially if you're using dark colors) and creates a smooth surface for the color to adhere to. Apply a thin, even layer and let it dry completely. This is non-negotiable for a long-lasting manicure.
Next, it’s time for color! Shake your polish bottle gently – don't shake it vigorously, as this can create air bubbles. Start with a thin coat of your chosen color. Wipe most of the polish off the brush onto the neck of the bottle before applying it to your nail. Start in the middle of the nail, then do one stroke down each side. Aim for three strokes per nail. Thin coats are key to a smooth, chip-free finish.
Let the first coat dry for a couple of minutes before applying a second coat. If your color is sheer or you want a more opaque finish, two coats are usually perfect. Again, keep the coats thin and even. If you make any mistakes, grab a small brush dipped in nail polish remover and carefully clean up the edges. A steady hand is your friend here, but don't stress if it's not perfect!
Finally, the topcoat. This is what seals everything in and gives your pedicure that professional, glossy finish. A good topcoat also adds durability and helps prevent chips. Apply a generous, even layer over your color. Make sure to cap the free edge of your nail by running the brush along the tip. This is a pro trick that seriously helps prevent chips!
Let your pedicure dry completely. This can take longer than you think, so be patient! Avoid putting on socks or shoes until you’re absolutely sure they’re dry. I like to sit with my feet propped up, maybe watching a movie, and just let them air dry. Resist the urge to touch them! You'll thank yourself later.
Step 6: The Finishing Touches – Moisturize and Admire!
You’ve done it! Your feet are polished, pretty, and ready to face the world (or at least the living room). But we’re not quite done yet. For that ultimate pampering experience, it’s time to moisturize. Grab your favorite foot cream or body lotion and give your feet a good massage. This is especially important after all the scrubbing and filing. Get in between your toes, massage your arches, and really focus on those heels.
A good foot massage not only makes your skin feel amazing but can also boost circulation and relieve any lingering tension. It’s the perfect way to end your home pedicure ritual. You can even use a nourishing oil, like jojoba or almond oil, for an extra boost of hydration. Really soak it all in.
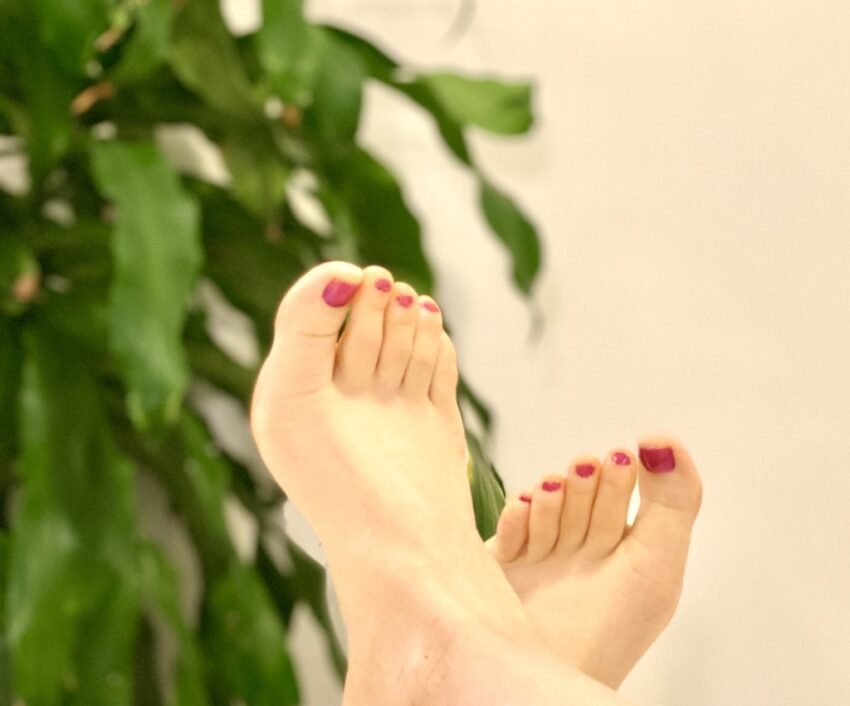
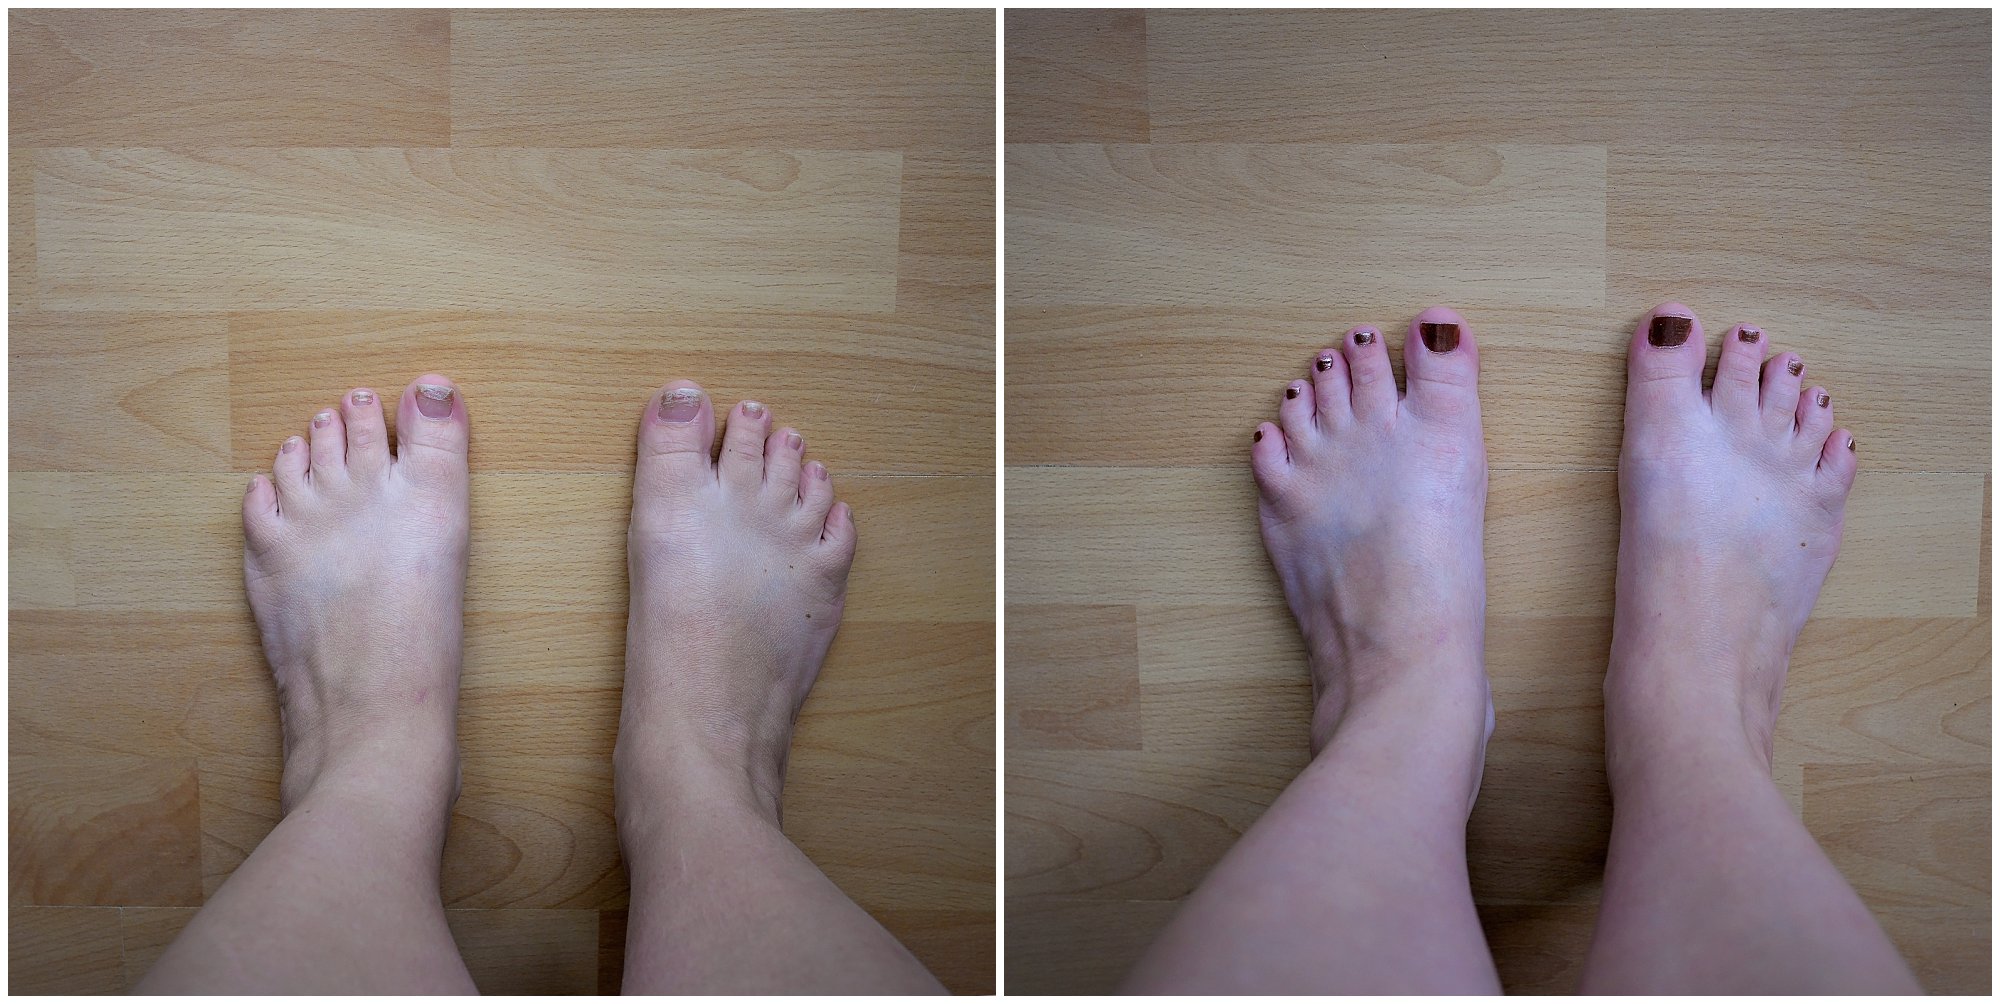
Take a moment to admire your handiwork. Look at those beautiful, polished toes! You’ve transformed your feet from drab to fab, all from the comfort of your own home. Now, go on, slip on those open-toed shoes (once they're completely dry, of course) and enjoy the feeling of perfectly pedicured feet. You’ve earned it!
Beyond the Basics: DIY Tips and Tricks
So, you've mastered the basic home pedicure. Feeling confident? Good! Now, let's talk about elevating your at-home spa experience with some DIY tricks and tips. These little additions can make your pedicure even more luxurious and beneficial.
DIY Foot Soak Boosters: Beyond Epsom salts and essential oils, consider adding a splash of milk to your soak. The lactic acid in milk is a gentle exfoliant and can leave your skin feeling incredibly soft. A few tablespoons of baking soda can also help to deodorize and soften your feet. For a cooling sensation, especially in warmer months, add a few slices of cucumber to your soak!
Homemade Scrubs for Every Need: We touched on the sugar and oil scrub, but the possibilities are endless. For extra dry skin, try an oatmeal and honey scrub. Oatmeal is soothing and anti-inflammatory, while honey is a natural humectant. For a refreshing scent and invigorating scrub, combine finely ground coffee with a bit of coconut oil and a few drops of peppermint essential oil. Remember to be mindful of your drain with coffee grounds!
The Power of a Good Foot Mask: If you’re feeling extra, a foot mask can be a game-changer. You can buy them, or make a simple one at home. Mash up half an avocado with a tablespoon of olive oil. Avocado is rich in vitamins and fatty acids, leaving your skin deeply moisturized. Apply this to your feet, wrap them in plastic wrap, and let them sit for 20-30 minutes before rinsing. Another option is a yogurt and honey mask – the probiotics in yogurt can help refresh and revitalize your skin.

Taming Stubborn Calluses: For those really tough spots, a foot file is your best bet. Use it after soaking and exfoliating, when your skin is soft. File in gentle, sweeping motions, and don't overdo it. You’re aiming to reduce thickness, not remove all the skin. Follow up with a rich moisturizer or even a dab of petroleum jelly to keep the area hydrated and prevent it from becoming rough again.
Cuticle Care Alternatives: If you don’t have cuticle remover, try warming up a small amount of olive oil and massaging it into your cuticles. Let it sit for a few minutes before gently pushing them back with an orange stick or your cuticle pusher. The oil will soften them beautifully.
Nail Health Hacks: Before polishing, consider a nail strengthener if your nails are prone to breaking or peeling. For a natural shine, buffing your nails regularly can work wonders. If you have any yellowing on your nails, a gentle scrub with lemon juice and baking soda can help brighten them up.
The Importance of Drying Time: I know I’ve said it before, but it bears repeating: allow ample drying time. Seriously. It’s the number one reason for smudged polish. If you're impatient, try the cold water trick: after your polish is mostly dry to the touch, soak your feet in a bowl of cold water for a few minutes. This helps to harden the polish faster.
Regular Maintenance is Key: The best home pedicure is one that’s part of a routine. Try to do a basic maintenance pedicure once every two to three weeks. This will prevent things from getting too unmanageable between full pampering sessions. Even just a quick file and polish can make a huge difference!
Don't Forget Between Your Toes! It’s easy to neglect this area, but it’s important for hygiene and preventing fungal infections. Make sure to dry thoroughly between your toes after soaking and moisturizing this area well.
So there you have it! A comprehensive guide to rocking your own home pedicure. It’s a skill that’s surprisingly easy to learn, incredibly rewarding, and a fantastic way to practice some self-care. So go ahead, give your feet the attention they deserve. They’ll thank you for it, and you’ll feel a whole lot more confident stepping out in those open-toed shoes. Happy pedicuring!