How Do I Cancel A Print Queue
Oh, the dreaded print queue! It's that magical, sometimes mischievous, digital holding pen where your documents go to wait patiently for their turn to grace the page. But what happens when your printer decides to take a siesta, or you accidentally hit "print" on a document that looks suspiciously like your grocery list (but is actually a 500-page novel)? Fear not, brave adventurer of the digital realm! We're about to embark on a quest to conquer the print queue and emerge victorious!
Think of your print queue like a line at the ice cream shop. Everyone's excited, everyone's waiting, and then... disaster strikes! The ice cream machine breaks, or someone cuts in line (we're looking at you, rogue Error 404 message!). It's chaos! And just like you wouldn't want to wait forever for your double-fudge brownie sundae, you definitely don't want your important documents stuck in digital purgatory. So, let's get this party started and banish those stubborn prints!
This is where we become the sheriffs of our own digital printing town, rounding up those rogue print jobs and sending them packing!
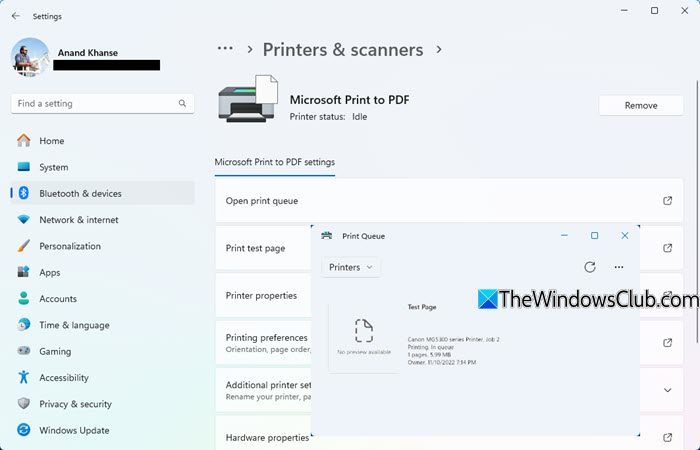
First things first, let's find our quarry. Usually, your print queue is hiding in plain sight, just waiting to be discovered. On your trusty Windows computer, it's often nestled within the Printers & Scanners section of your Settings. Don't worry if it's not immediately obvious; sometimes these things are like ninjas, super stealthy. Just poke around your Control Panel or search for "printers" and you'll likely stumble upon it. Once you find your printer's name, a little clicky-clicky on it should reveal its secret lair – the print queue!
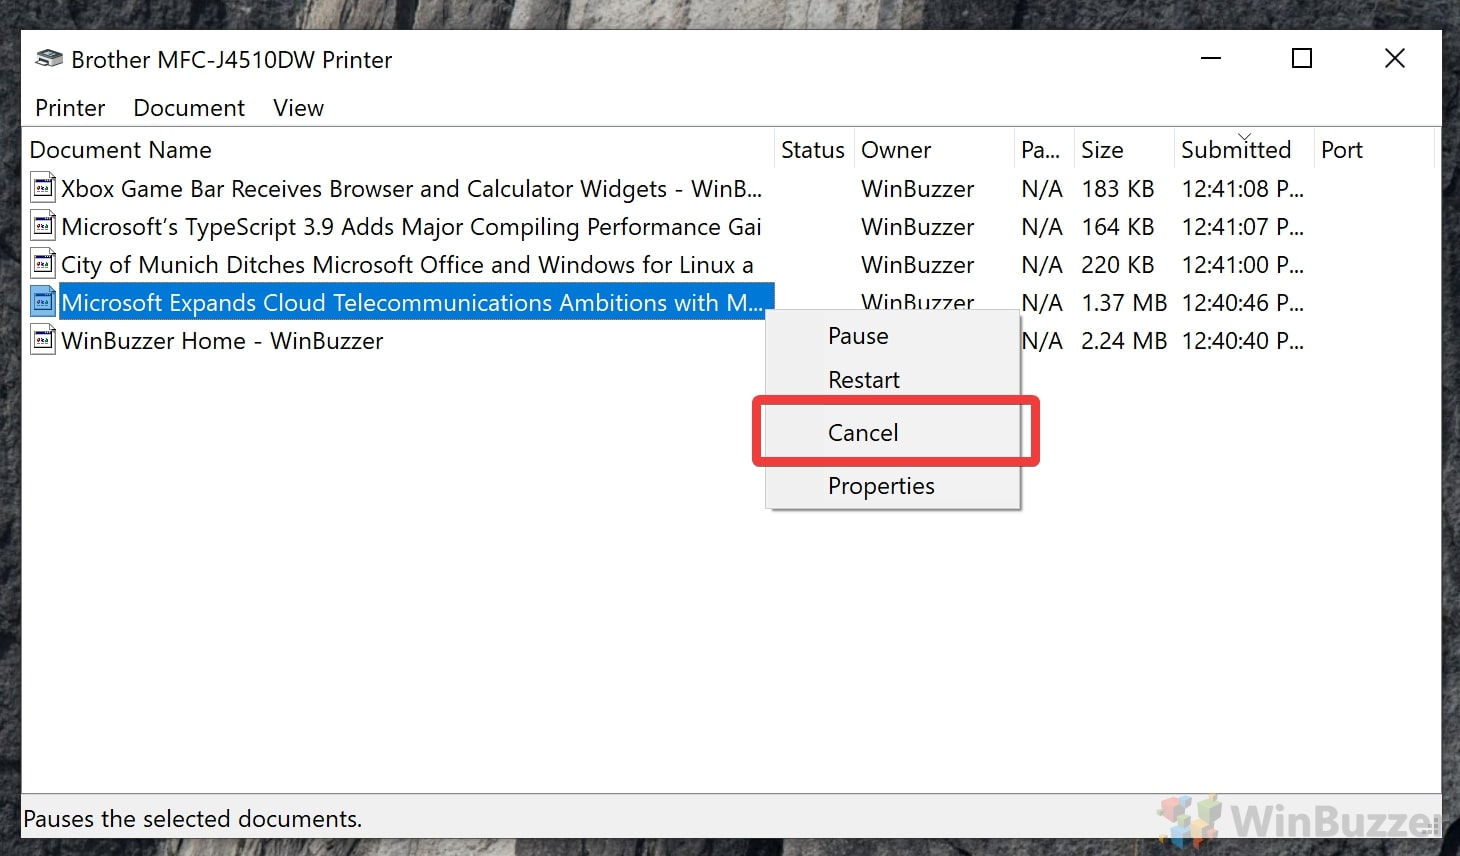
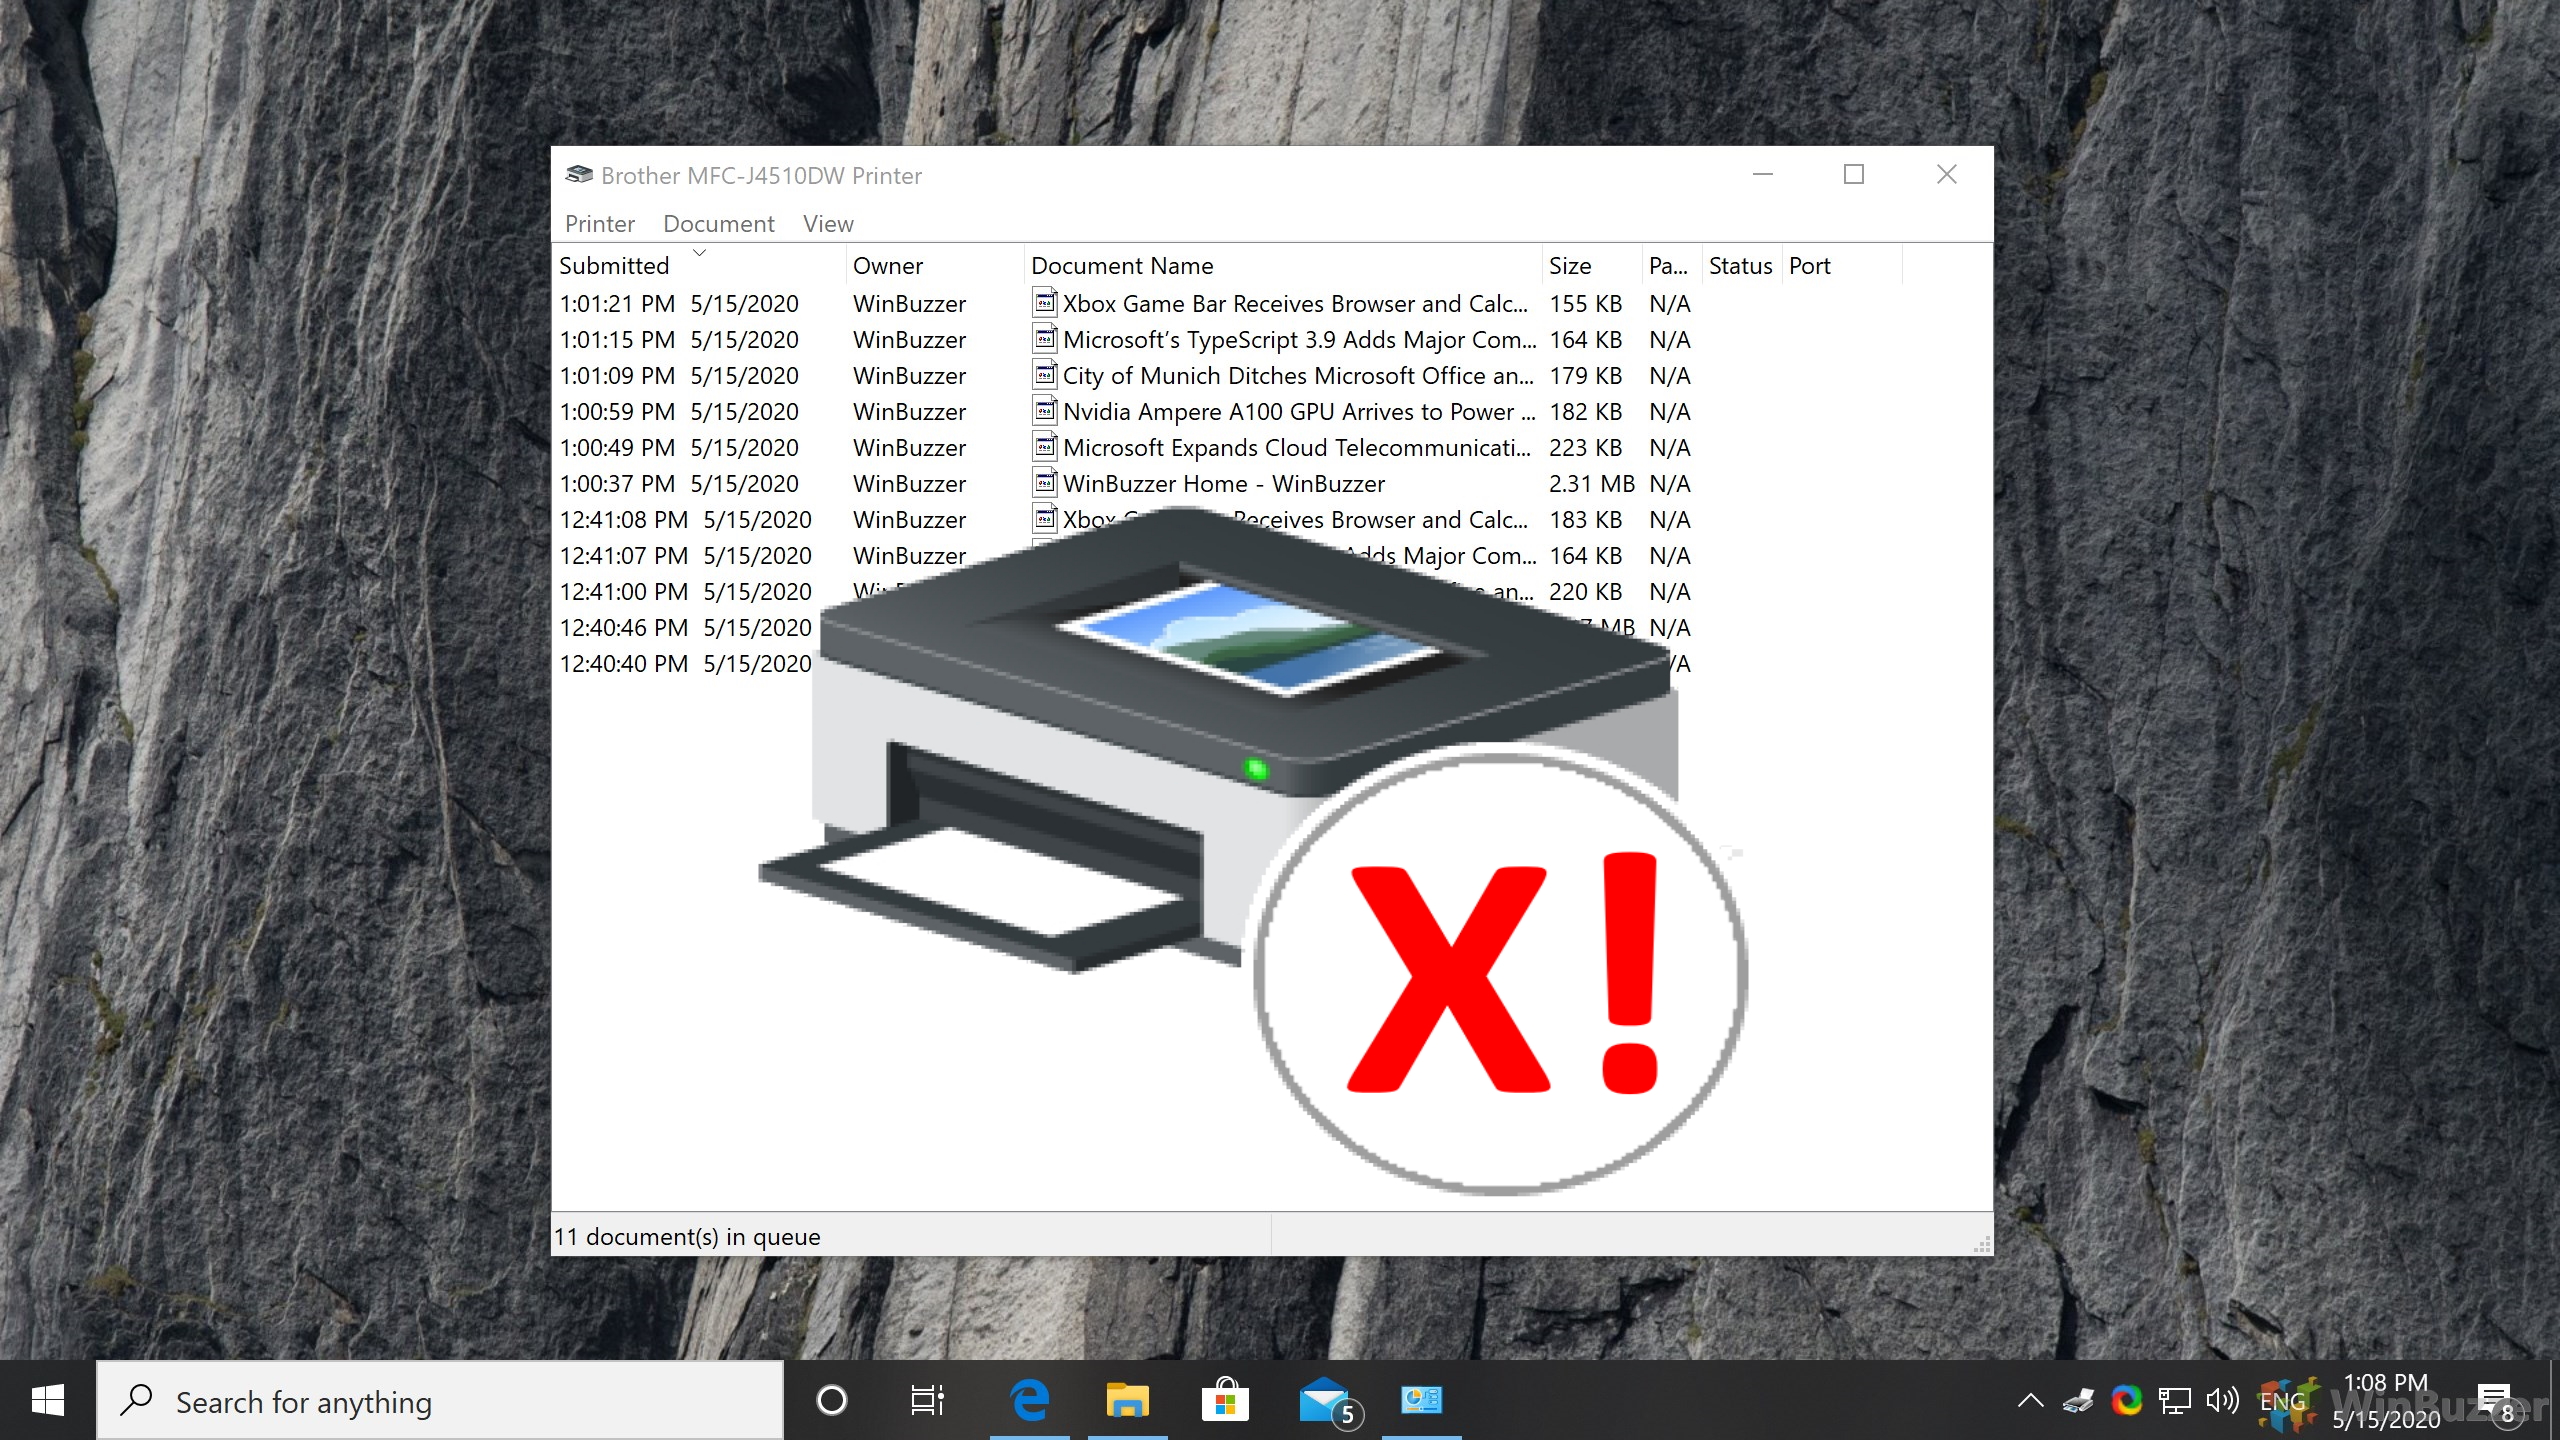
Now, you'll see a list of all the documents that are patiently, or perhaps impatiently, waiting their turn. They might look innocent, but some of them are the culprits behind your printer's standstill. They're like little digital gremlins, holding up the entire operation. Our mission is to politely, but firmly, escort them out the door.
The easiest way to do this is to select the document (or documents!) you want to banish. You can click on a single one, or if you're feeling particularly efficient, you can often hold down the Ctrl key and click on multiple items to select them all. Imagine you're picking out the least appealing flavors of ice cream to send back – that's the vibe!
Once your chosen documents are highlighted, it's time for the grand finale. Look for a glorious button or menu option that says something like "Cancel" or "Cancel All Documents." This is your magic wand, your secret handshake, your ticket to freedom! Give it a good, solid click. You might hear a faint digital sigh of relief from your computer and printer as the offending jobs are released from their watery graves.

Sometimes, and this is where the playful exaggeration comes in, the print queue can be as stubborn as a toddler refusing to eat broccoli. You might click Cancel, and nothing happens. It's like the document is saying, "Nah, I'm good here. I'm going to stay and gather digital dust, thank you very much." In these rare cases, we might need to bring out the big guns.
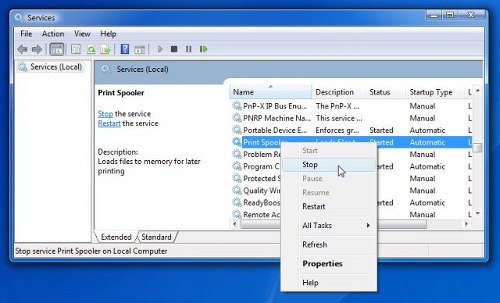
This often involves a little restart-a-thon. You might need to stop and start the Print Spooler service. Now, don't let that fancy name intimidate you! Think of the Print Spooler as the traffic cop for your printer. If the traffic cop is taking a nap, things get congested. To wake them up, you can go to your Services (just search for it in your Windows search bar) and find the Print Spooler. Right-click on it and select "Restart." It's like giving the traffic cop a gentle nudge and a strong cup of coffee. Poof! Your print queue should magically clear itself.

Another fun trick is to simply restart your computer. This is the ultimate "turn it off and on again" solution, and it often works wonders. It's like hitting the reset button on the entire printing universe. Your computer wakes up, remembers its duties, and hopefully, your print queue has been tidied up during its digital slumber.
For our Mac-loving friends, the process is just as straightforward and equally as triumphant! You'll usually find your print queue by opening the application you were trying to print from (like Pages or Word) and looking for the Printer icon in your Dock. It often looks like a little printer. Give it a click, and voilà! Your print queue appears. From there, it's the same drill: select the offending document(s) and hit the glorious "Delete" or "Cancel" button. If that doesn't work, a quick restart of your Mac usually sorts out any lingering digital stubbornness.
So there you have it! You've successfully navigated the sometimes-baffling world of the print queue. You've faced down rogue documents, you've wrestled with digital gremlins, and you've emerged victorious, with a clear path for your next important print job. Give yourself a pat on the back, a digital high-five, or maybe even treat yourself to a virtual scoop of ice cream. You've earned it!
Remember, you are the master of your printing destiny. The print queue is just a temporary roadblock, and you now have the keys to unlock its secrets and keep your printing life running smoothly. So go forth and print with confidence, knowing that you've got this!