How Can I Do Pedicure At Home

Ah, the humble pedicure! That little ritual of pampering your feet, transforming them from tired travelers into polished perfection. It’s more than just a pretty polish job; it’s a mini-spa experience you can whip up in the comfort of your own home. Think about it: a warm soak, the satisfying scrub, the satisfying glide of a nail file, and finally, the vibrant pop of color. It’s a moment of self-care, a chance to escape the daily grind and give your hardworking feet the attention they truly deserve. Plus, who doesn't love a fresh, flawless pedicure? It’s the perfect confidence booster, making you feel ready to take on the world, one perfectly pedicured step at a time. Forget expensive salon appointments; this guide is your ticket to achieving salon-worthy results without leaving your living room.
Why Home Pedicures Are a Game-Changer
Let's be honest, the idea of a home pedicure is incredibly appealing for a multitude of reasons. For starters, it's a fantastic way to save money. Those trips to the salon can add up, and for the cost of a few bottles of polish and some essential tools, you can have a lifetime of at-home pampering. Beyond the financial benefits, there's the undeniable convenience. No need to book appointments weeks in advance, rush across town, or worry about fitting it into a packed schedule. You can indulge whenever the mood strikes – a lazy Sunday afternoon, a quiet evening after a long day, or even a pre-party emergency fix. Your home is your sanctuary, and now it can be your personal nail salon.
Then there's the aspect of control and hygiene. When you do your own pedicure, you know exactly what products are being used and that all the tools are sparkling clean. You can choose your favorite brands, experiment with different scents for your soak, and select the exact shade of polish that makes your heart sing. It's a truly personalized experience tailored to your preferences and needs. And let's not forget the sheer satisfaction of mastering a new skill. There's a real sense of accomplishment in creating beautiful results with your own hands. It’s empowering, fun, and incredibly rewarding. Plus, think of the instant mood boost! Slipping on sandals or even just looking down at your beautifully adorned toes can instantly lift your spirits.
Must Read
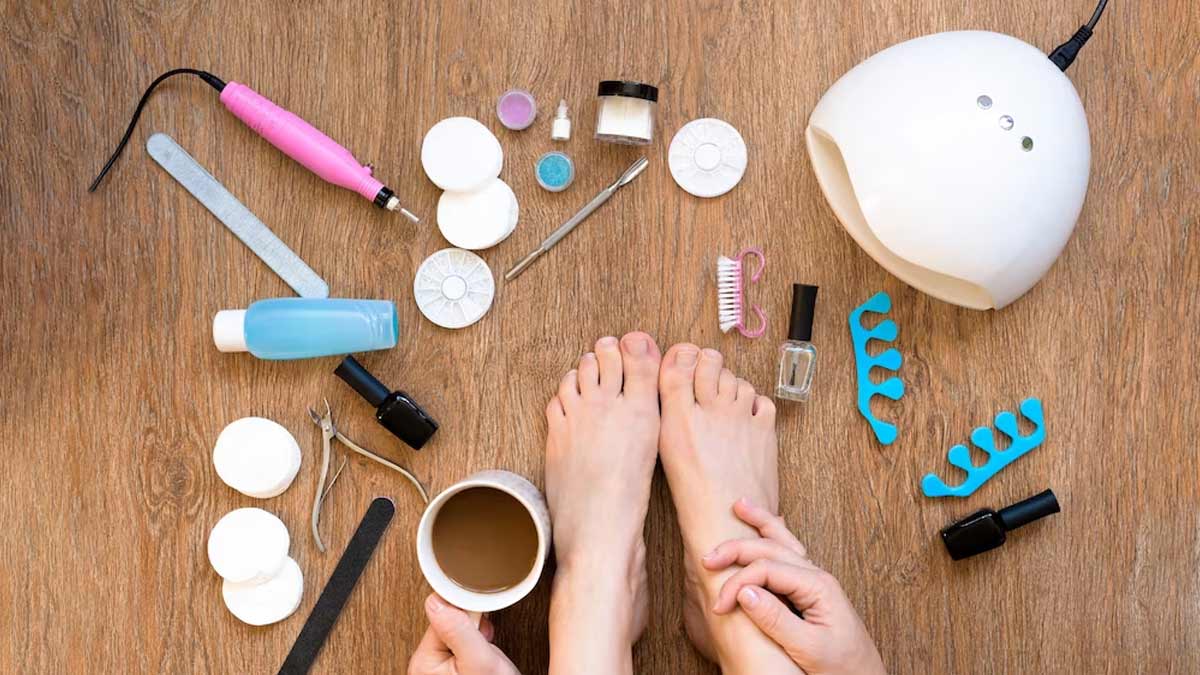
Gather Your Pedicure Arsenal
Before you dive into your at-home spa session, it’s crucial to have your tools and supplies ready. Think of this as gathering your artistic palette for your feet. You don't need a professional salon's worth of equipment, just a few key players to get the job done right. First and foremost, you’ll need a basin or tub for soaking. A large bowl, a clean sink, or a dedicated foot spa will all work beautifully. Next, a good quality nail file is essential for shaping your toenails. Opt for a file with different grits for both shaping and smoothing. Cuticle nippers or a cuticle pusher are important for tidying up the skin around your nails. A pumice stone or a foot scrub will be your secret weapon for banishing rough, dry skin, leaving your feet feeling incredibly soft and smooth.
Don't forget toe separators – these little foam wonders are a lifesaver for keeping your toes apart while you paint, preventing those dreaded smudges. Of course, no pedicure is complete without nail polish! Choose your favorite colors, and consider investing in a base coat and a top coat. The base coat protects your nails from staining and helps the polish adhere better, while the top coat adds shine and extends the life of your manicure. If you're prone to dry skin, a good moisturizer or foot cream will be a welcome addition to keep your feet supple and hydrated. And for that extra touch of luxury, consider some essential oils like lavender or peppermint to add to your soak for a truly spa-like experience. Having these items on hand ensures a smooth and successful pedicure process, turning your bathroom into your own personal oasis.
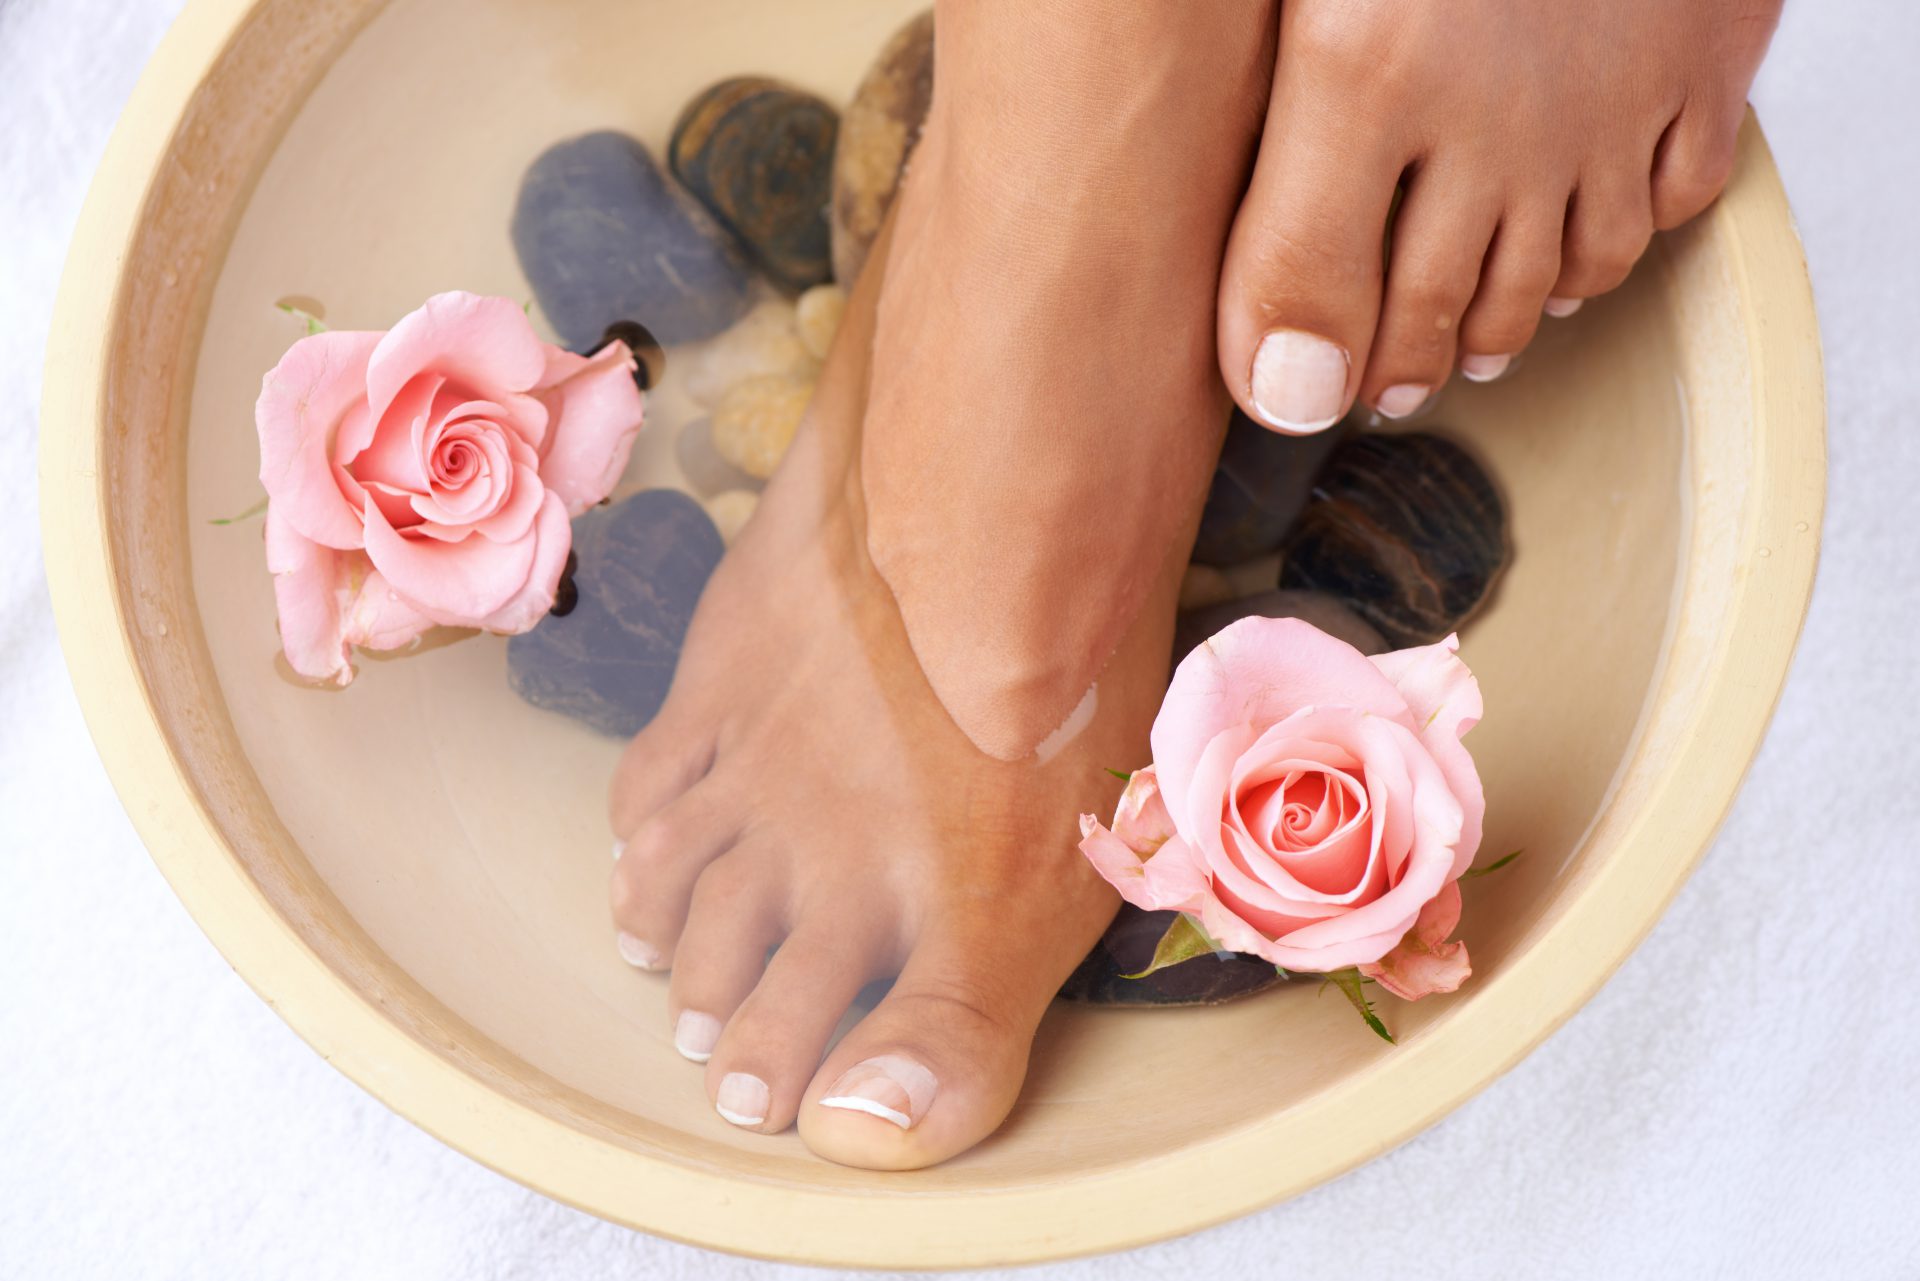
The Soaking Symphony: Preparing Your Feet
The first and arguably most enjoyable step in any home pedicure is the soak. This is where the magic begins, softening your skin and preparing it for the pampering to come. Fill your chosen basin or tub with comfortably warm water. The temperature is key – you want it warm enough to be soothing, but not so hot that it’s uncomfortable. Now’s the time to get creative with your soak! For an extra treat, add a few drops of your favorite essential oils. Lavender is fantastic for relaxation, while peppermint offers a refreshing and invigorating sensation. You can also add a handful of Epsom salts, which are renowned for their muscle-relaxing properties and their ability to draw out toxins. If you don’t have essential oils, a little bit of your regular body wash or a few tablespoons of milk can also create a luxurious, moisturizing soak.
Submerge your feet into this fragrant, warm water and let them soak for a good 10 to 15 minutes. This is your cue to truly relax. Dim the lights, put on some calming music, or even just enjoy the quiet. As your feet soak, you’ll feel the tension melt away, and your skin will begin to soften, making the next steps much easier and more effective. This soaking period is not just about physical preparation; it’s a mental transition, a moment to de-stress and get into the pampering mindset. It’s the prelude to the transformation, ensuring that your feet are not only clean but also wonderfully relaxed and ready for their makeover.
Exfoliate and Smooth: Banish Roughness
Once your feet have enjoyed their warm, soothing bath, it’s time to tackle any rough patches and reveal your smooth, soft skin. This is where the exfoliation comes in, and it’s a crucial step for that truly polished feel. If you opted for a foot scrub during your soak, you can gently massage it into your feet, paying special attention to areas like your heels and the balls of your feet, which tend to accumulate the most dry, calloused skin. If you don't have a foot scrub, you can easily create your own. A simple and effective DIY scrub can be made by mixing equal parts sugar (granulated or brown sugar works well) with a carrier oil like coconut oil or olive oil. You can also add a few drops of your favorite essential oil for added fragrance and benefits.
After massaging in your scrub, it’s time to bring out the pumice stone or a foot file. Gently rub the pumice stone over any particularly rough or calloused areas. Remember to use gentle, circular motions. Don’t scrub too aggressively, as this can irritate your skin. The goal is to gradually remove dead skin cells, not to inflict pain! Rinse your feet thoroughly with warm water after exfoliating to wash away all the scrub and dead skin. You'll be amazed at how much smoother your skin feels already. This step is like a mini-resurfacing treatment for your feet, leaving them feeling incredibly soft, refreshed, and ready for the final stages of your pedicure.
Nail Care: Shaping and Tidying
Now that your skin is soft and smooth, it’s time to focus on the stars of the show: your toenails! This is where precision and gentle care are key. Start by thoroughly drying your feet and toenails with a clean towel. Then, it’s time to trim your nails. Using sharp nail clippers, cut your toenails straight across. Avoid cutting them too short or rounding the corners too much, as this can lead to painful ingrown toenails. The aim is to have them just long enough to be neat and tidy.
Next, grab your nail file. Gently file your nails to your desired shape. Again, file in one direction to prevent weakening the nail. Focus on smoothing any rough edges. Now for the cuticles. If your cuticles are looking a bit dry or overgrown, you can gently push them back using a cuticle pusher or an orange stick. For any excess cuticle skin that’s sticking out, you can carefully trim it with cuticle nippers, but be very gentle. The goal is to tidy, not to cut too deeply. You can also use a fine-grit buffer to gently smooth out any ridges on your nail surface. This preparation ensures a clean canvas for your polish and helps prevent hangnails and other imperfections.
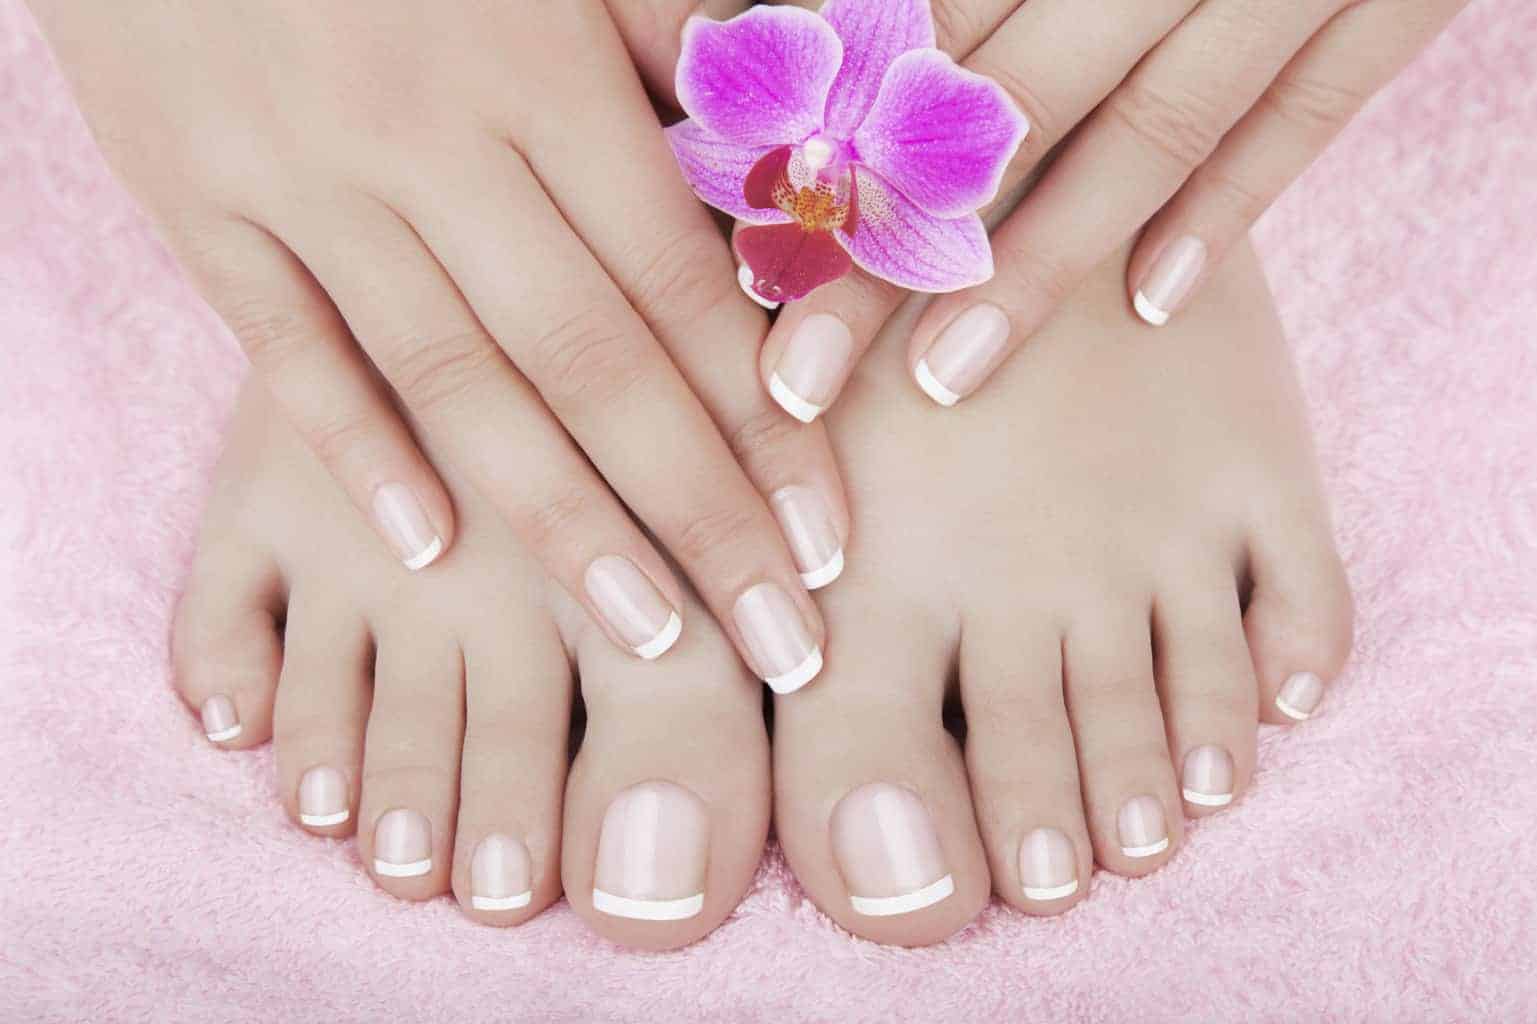
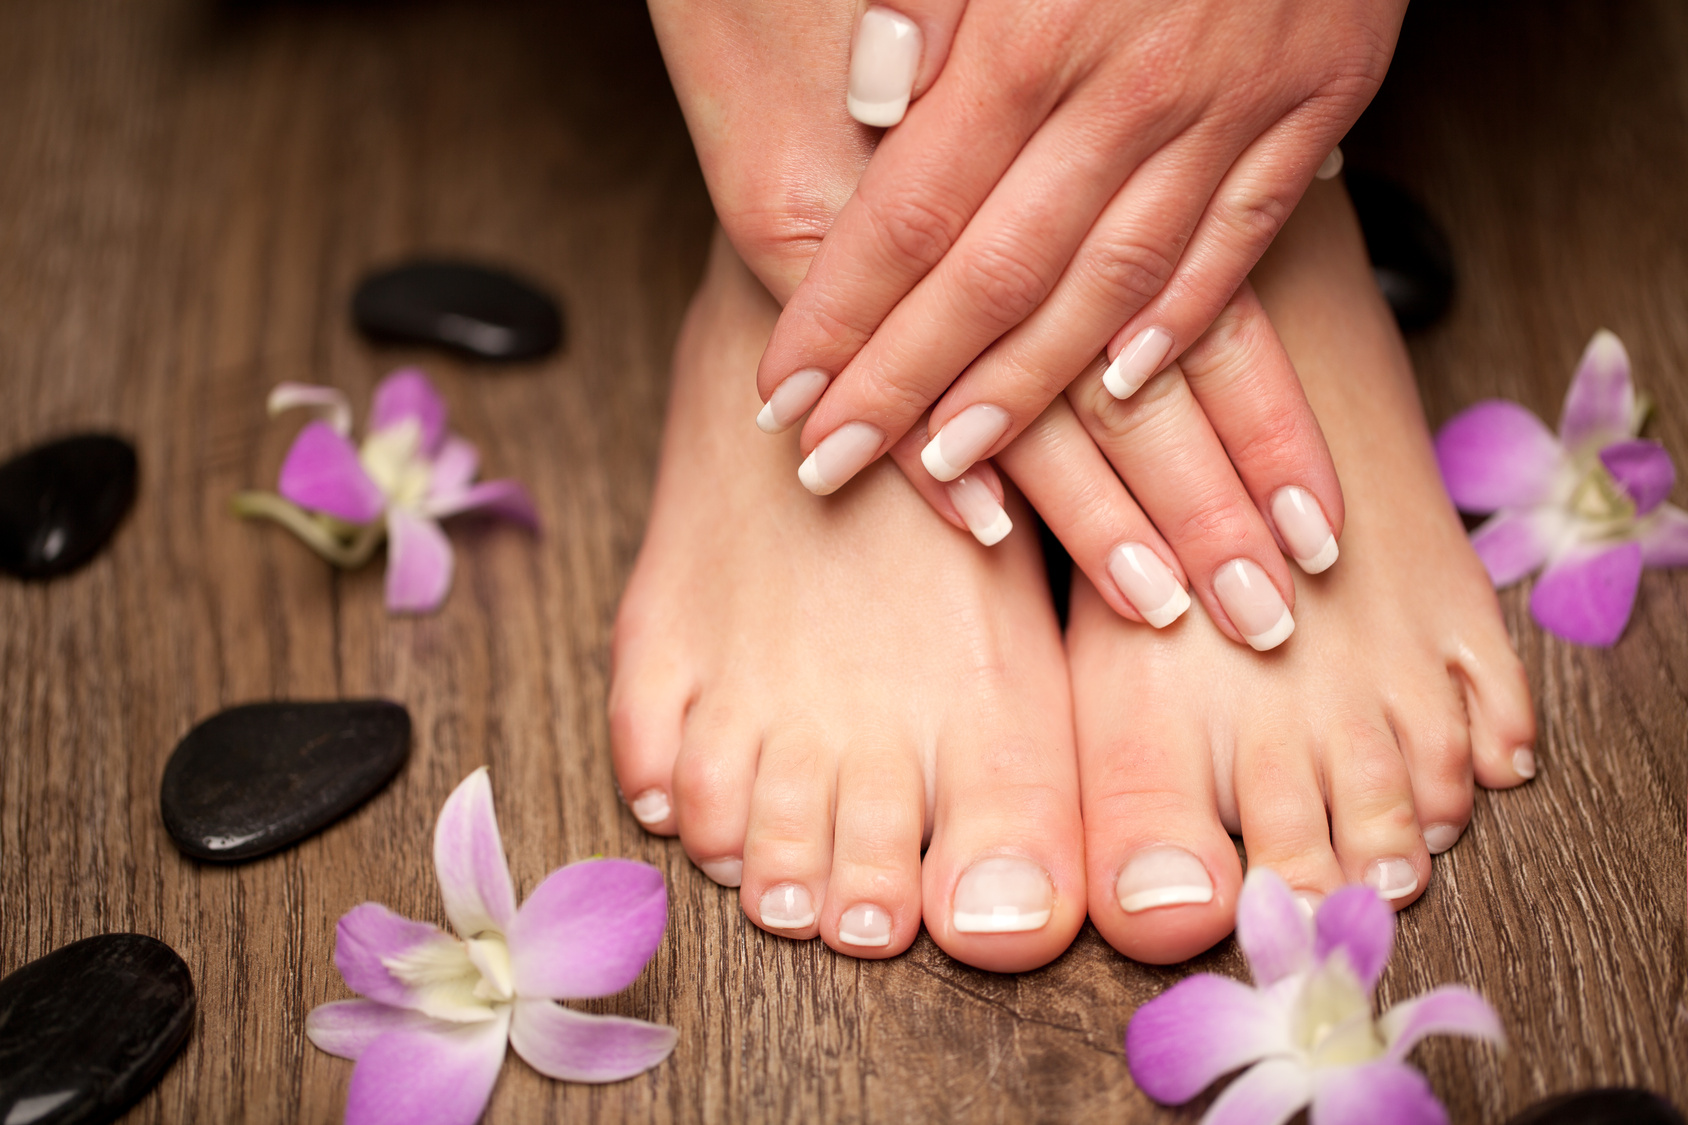
The Grand Finale: Polishing to Perfection
The moment you’ve been waiting for – applying the polish! This is where your feet truly get their makeover. Before you even uncork your polish bottle, make sure your toenails are completely dry and free of any lotion or oil. This is where your toe separators become your best friend. Slide them between your toes to keep them still and prevent accidental smudges as you paint.
Start with a base coat. Apply a thin, even layer and let it dry completely. This is a vital step that protects your nails from staining and provides a smooth surface for your color. Now for the fun part: applying your chosen nail polish. Apply two thin coats of color, allowing each coat to dry for a minute or two before applying the next. Thin coats are key to a smooth, streak-free finish. If you apply one thick coat, it's more likely to chip and take ages to dry. Hold the brush in the center of the nail and stroke outwards, then do the sides. Don’t worry if you get a little polish on your skin; you can clean it up later with a cotton swab dipped in nail polish remover.

Finally, seal the deal with a top coat. This adds a glossy finish, protects your polish from chipping, and helps your pedicure last longer. Apply a generous layer of top coat, ensuring you coat the entire nail, including the tip. Again, let it dry completely. Resist the urge to touch anything! For faster drying, you can try a quick-dry spray or even a blast of cool air from a hairdryer on its lowest setting. Once your nails are completely dry, gently remove your toe separators. You can then use a cotton swab dipped in nail polish remover to tidy up any stray polish around your cuticles or nail edges. The result? Beautifully polished toes that will make you want to show them off!
Post-Pedicure Pampering
Your pedicure is complete, but the pampering doesn't have to end there! To keep your feet feeling soft and looking their best, a little post-pedicure care goes a long way. Once your polish is fully dry, and ideally after a few hours, apply a generous amount of moisturizer or foot cream. Massage it into your feet and ankles, paying extra attention to your heels and any areas that tend to get dry. This will lock in moisture and keep your skin supple and smooth, complementing the beautiful polish on your nails.
Regularly applying moisturizer will help prevent dryness and cracking, ensuring your feet look and feel healthy between pedicures. You can also continue to use a pumice stone or foot file weekly to maintain smoothness. Wearing comfortable, breathable shoes and socks will also help protect your feet and your pedicure. By incorporating these simple steps into your routine, you’ll extend the life of your gorgeous home pedicure and ensure your feet are always feeling soft, smooth, and looking their absolute best. Enjoy your fabulous, freshly pedicured feet!
:max_bytes(150000):strip_icc()/pedicure-ideas-GettyImages-1488962717-23d11da020934a049001259070709694.jpg)