Homelite 13 Electric Trimmer Line Replacement
Hey there, fellow garden warrior! So, you've been out there, wrestling with those unruly weeds and taming those wild edges of your lawn with your trusty Homelite 13 electric trimmer. High five! But then it happens. You're mid-trim, feeling like a lawn-care ninja, and suddenly… fizzle. Silence. Your trimmer is out of line. Literally.
Don't panic! This isn't the end of your landscaping dreams. Think of it like your favorite video game character running out of ammo. You just need to reload, and for your Homelite 13, that means replacing the trimmer line. It sounds a bit intimidating, right? Like, "Oh no, I have to take something apart?" But trust me, it's easier than assembling IKEA furniture on a Sunday afternoon. Probably. (No promises on that last part.)
Let's get this done so you can get back to that satisfying whirr and the smell of freshly cut grass. We're talking about the Homelite 13 electric trimmer, a real workhorse when it comes to keeping your yard looking spick and span. It's not one of those fancy gas-guzzlers that sound like a tiny chainsaw attacking a badger. It's polite, efficient, and gets the job done without making your neighbors question your sanity.
Must Read
So, the line is gone. Poof. Vanished into the great green abyss of your lawn. Before we dive into the nitty-gritty, let's have a little chat about why this happens. Think of the trimmer line as the tiny, but mighty, soldiers that do all the actual cutting. They spin around at a dizzying speed, chopping through grass and dandelions like they're made of butter. Over time, these brave soldiers get worn down, frayed, and eventually… they break. It's a noble sacrifice, really. They give their all for the sake of a beautiful lawn. Sniff.
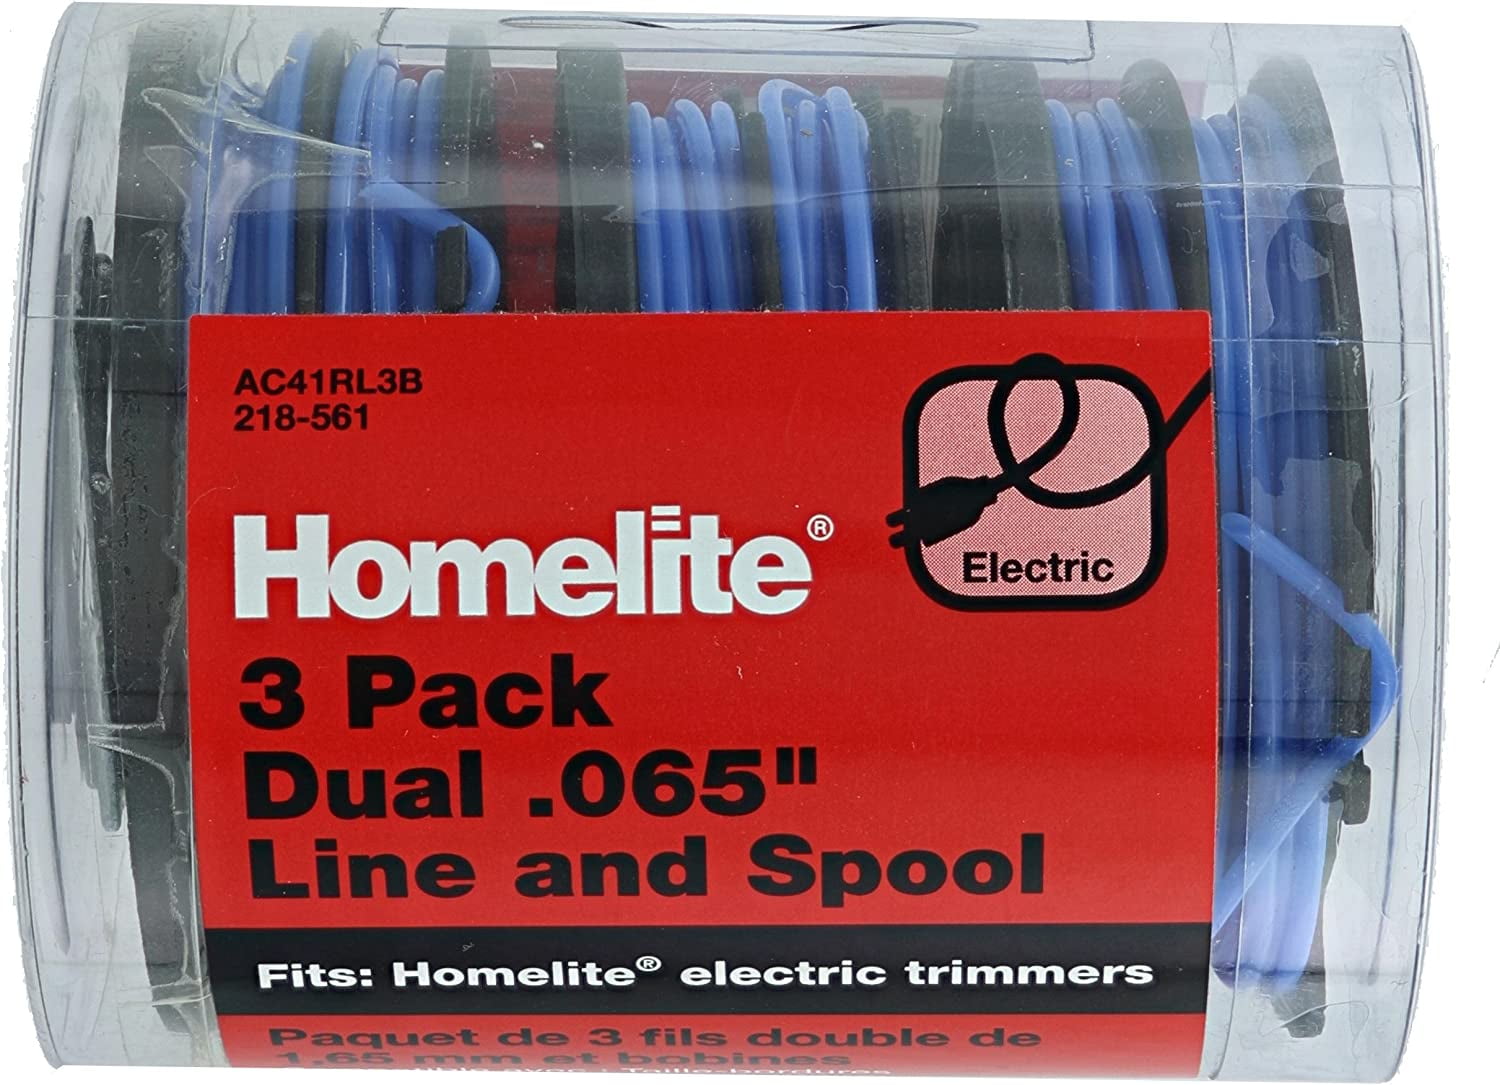
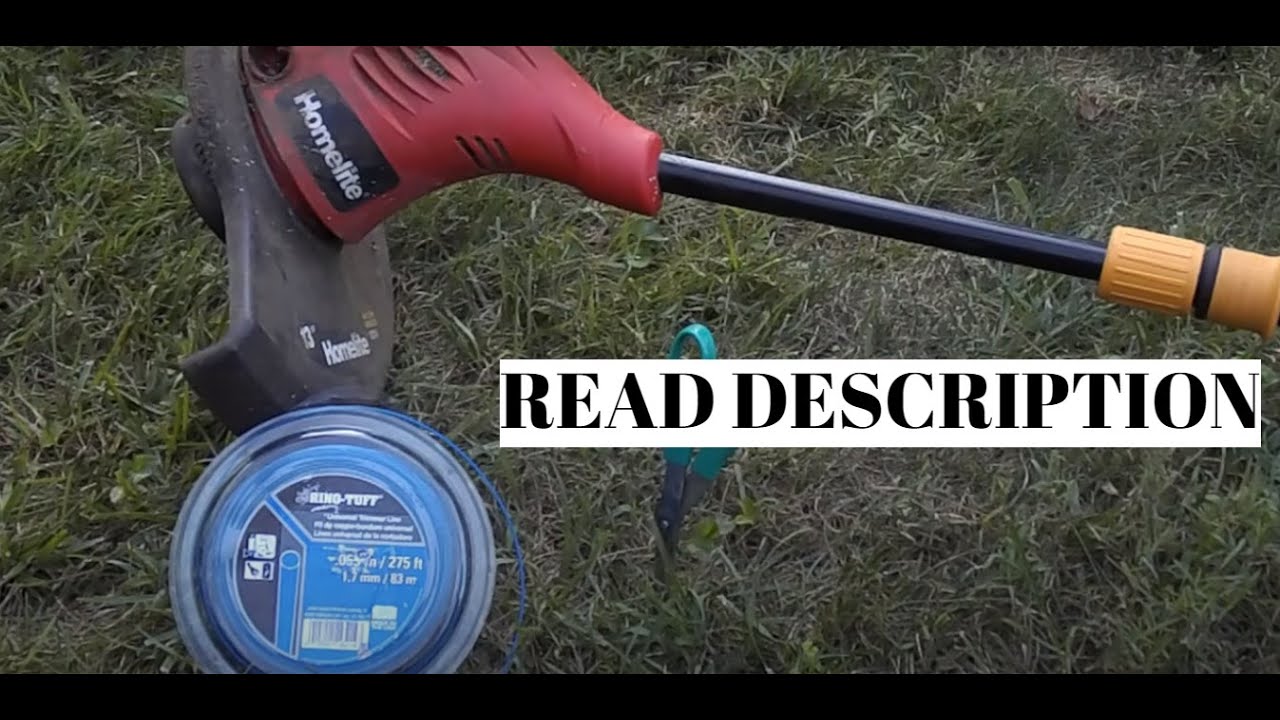
Now, before you go rummaging through your tool shed like a squirrel looking for its misplaced nuts, let's make sure you have the right supplies. You'll need some replacement trimmer line. For the Homelite 13, you're generally looking for a line that's around 0.065 inches (or 1.65 mm) in diameter. This is a pretty common size, so you should be able to find it at any hardware store, garden center, or even online. Don't go for anything too thick or too thin. Too thick and it might strain your trimmer, too thin and it'll disappear faster than a free donut at a company meeting.
You might also want a pair of gloves. Not strictly necessary for this job, but let's be honest, who enjoys getting their hands all grubby? Plus, it adds a professional touch, right? Makes you feel like you're in a DIY infomercial. "But wait, there's more!" (There isn't, but it's the thought that counts.)
Let's Get Down to Business: Replacing That Line
Alright, enough preamble. Let's get our hands dirty – or at least, slightly dusty. The first thing you need to do is unplug your trimmer. I cannot stress this enough. Seriously. Unplug it. Like, physically remove the plug from the wall socket. This isn't a "trust me, it's off" situation. Safety first, always. We want a beautifully trimmed lawn, not a trip to the emergency room because your trimmer decided to have a rogue moment.

Once it's safely unplugged, you need to access the spool housing. This is where all the magic (and the line) happens. On most Homelite electric trimmers, including the 13, the spool housing is usually at the bottom, where the head of the trimmer is. You'll probably see a plastic cap or cover that holds the spool in place. This is the part we need to get off.
There are usually a couple of ways to release this cap. Sometimes there are little tabs or notches around the edge of the cap. You might need to press these in simultaneously. It can be a bit fiddly, so don't get frustrated if it doesn't pop off immediately. Wiggle it a bit, try pressing on different spots. Think of it like trying to open a stubborn jar of pickles. Persistence is key.
In some models, there might be a small hole on the side or bottom of the housing. This hole is often for a tool – like a screwdriver or a small Allen wrench – to help lock the spool in place while you're winding new line. If you find this hole, insert a screwdriver or similar object to hold the spool from spinning freely. This makes the whole process a lot less like trying to wrestle an octopus.
Once you've figured out how to release the cap, gently pull it off. You should now be able to see the old spool of line. If there's any old line still attached, it's a good idea to remove it. Just snip it off with some scissors or wire cutters. We want a clean slate, a fresh start for our trimming adventures.

The Art of Winding New Line (It's Not as Scary as it Sounds!)
Now, for the main event: winding the new line. You'll have your new spool of 0.065-inch line ready to go. Many new spools come with the line already wound, which is super convenient. If yours is like that, great! If you have a bulk spool of line, you'll need to wind it yourself. Don't worry, it's not brain surgery.
First, take your new line and find the center point of the spool. You'll notice there are often slots or notches on the spool where you can secure the end of the line. Thread one end of the line into one of these slots. This stops it from unraveling while you're winding.
Now, it's time to wind. The goal is to wind the line evenly and tightly around the spool. Some spools have two separate sides, so you'll want to wind half the line on one side and the other half on the other side. This is important for balance. Think of it like a perfectly balanced spinning top; you want smooth sailing, not a wobbly mess.
As you wind, try to keep the line neat and tidy. Avoid overlapping too much, as this can cause tangles and make it harder for the line to feed out when you're trimming. Imagine you're wrapping a present for someone you really, really like. You want it neat and presentable.
You'll need to leave a couple of inches of line sticking out from the spool. This is important for when you reassemble everything. It gives the trimmer something to grab onto and feed out easily.
Once you've wound the line onto the spool (or if you're using a pre-wound spool), you'll need to feed the ends of the line through the little eyelets or guides on the trimmer head. You'll usually see two small holes on the side of the spool housing where the line comes out. Thread one end of the line through each hole. If you're using a pre-wound spool, this is usually pretty straightforward. If you wound it yourself, just make sure you feed the ends through the correct slots.
Putting It All Back Together (The Fun Part!)
Now that your spool is loaded with fresh, eager line, it's time to put the cap back on. This is often the trickiest part for some people, so take a deep breath and channel your inner zen gardener.
Align the cap with the housing. You'll notice there are usually grooves or tabs on the cap that need to line up with corresponding slots on the trimmer head. Gently press the cap into place. You might need to twist it slightly as you press. If you're lucky, it'll snap back into place with a satisfying click.
If your model had that little hole for locking the spool, make sure the cap is properly seated before removing the screwdriver. You want that spool to be held securely.

Once the cap is on, give it a little tug to make sure it’s secure. We don’t want it flying off mid-trim, that would be… anticlimactic.
The Moment of Truth: Testing Your Work
You've done it! You've replaced the trimmer line on your Homelite 13. Now for the best part – seeing it in action!
Before you go full throttle, plug your trimmer back in. Make sure it's on a flat, clear surface. Then, give the trigger a gentle squeeze. You should hear that familiar whirr coming back to life. You might need to tap the trimmer head gently on the ground a few times to help the line feed out automatically (this is a feature on many automatic-feed trimmers). If it doesn't feed automatically, you might have to manually pull out a little bit of line with your fingers (after unplugging it again, of course!).
And there you have it! Your Homelite 13 is roaring back to life, ready to conquer that overgrown lawn. Look at you, you magnificent lawn-care guru! You tackled a minor mechanical challenge and emerged victorious. Give yourself a pat on the back. You’ve earned it.
Seriously, you’ve just taken a task that might have seemed a bit daunting and conquered it. You’re not just a homeowner; you’re a homeowner who knows how to keep their tools in tip-top shape. That’s awesome! Now go forth and trim with pride. Your lawn will thank you, and honestly, so will I. Happy trimming!